The Ultimate WooCommerce Wholesale Order Form
The ultimate WooCommerce wholesale order form solution, easy setup & customize. Streamline ordering process for you b2b customers, Get started today!

The ultimate WooCommerce wholesale order form solution, easy setup & customize. Streamline ordering process for you b2b customers, Get started today!

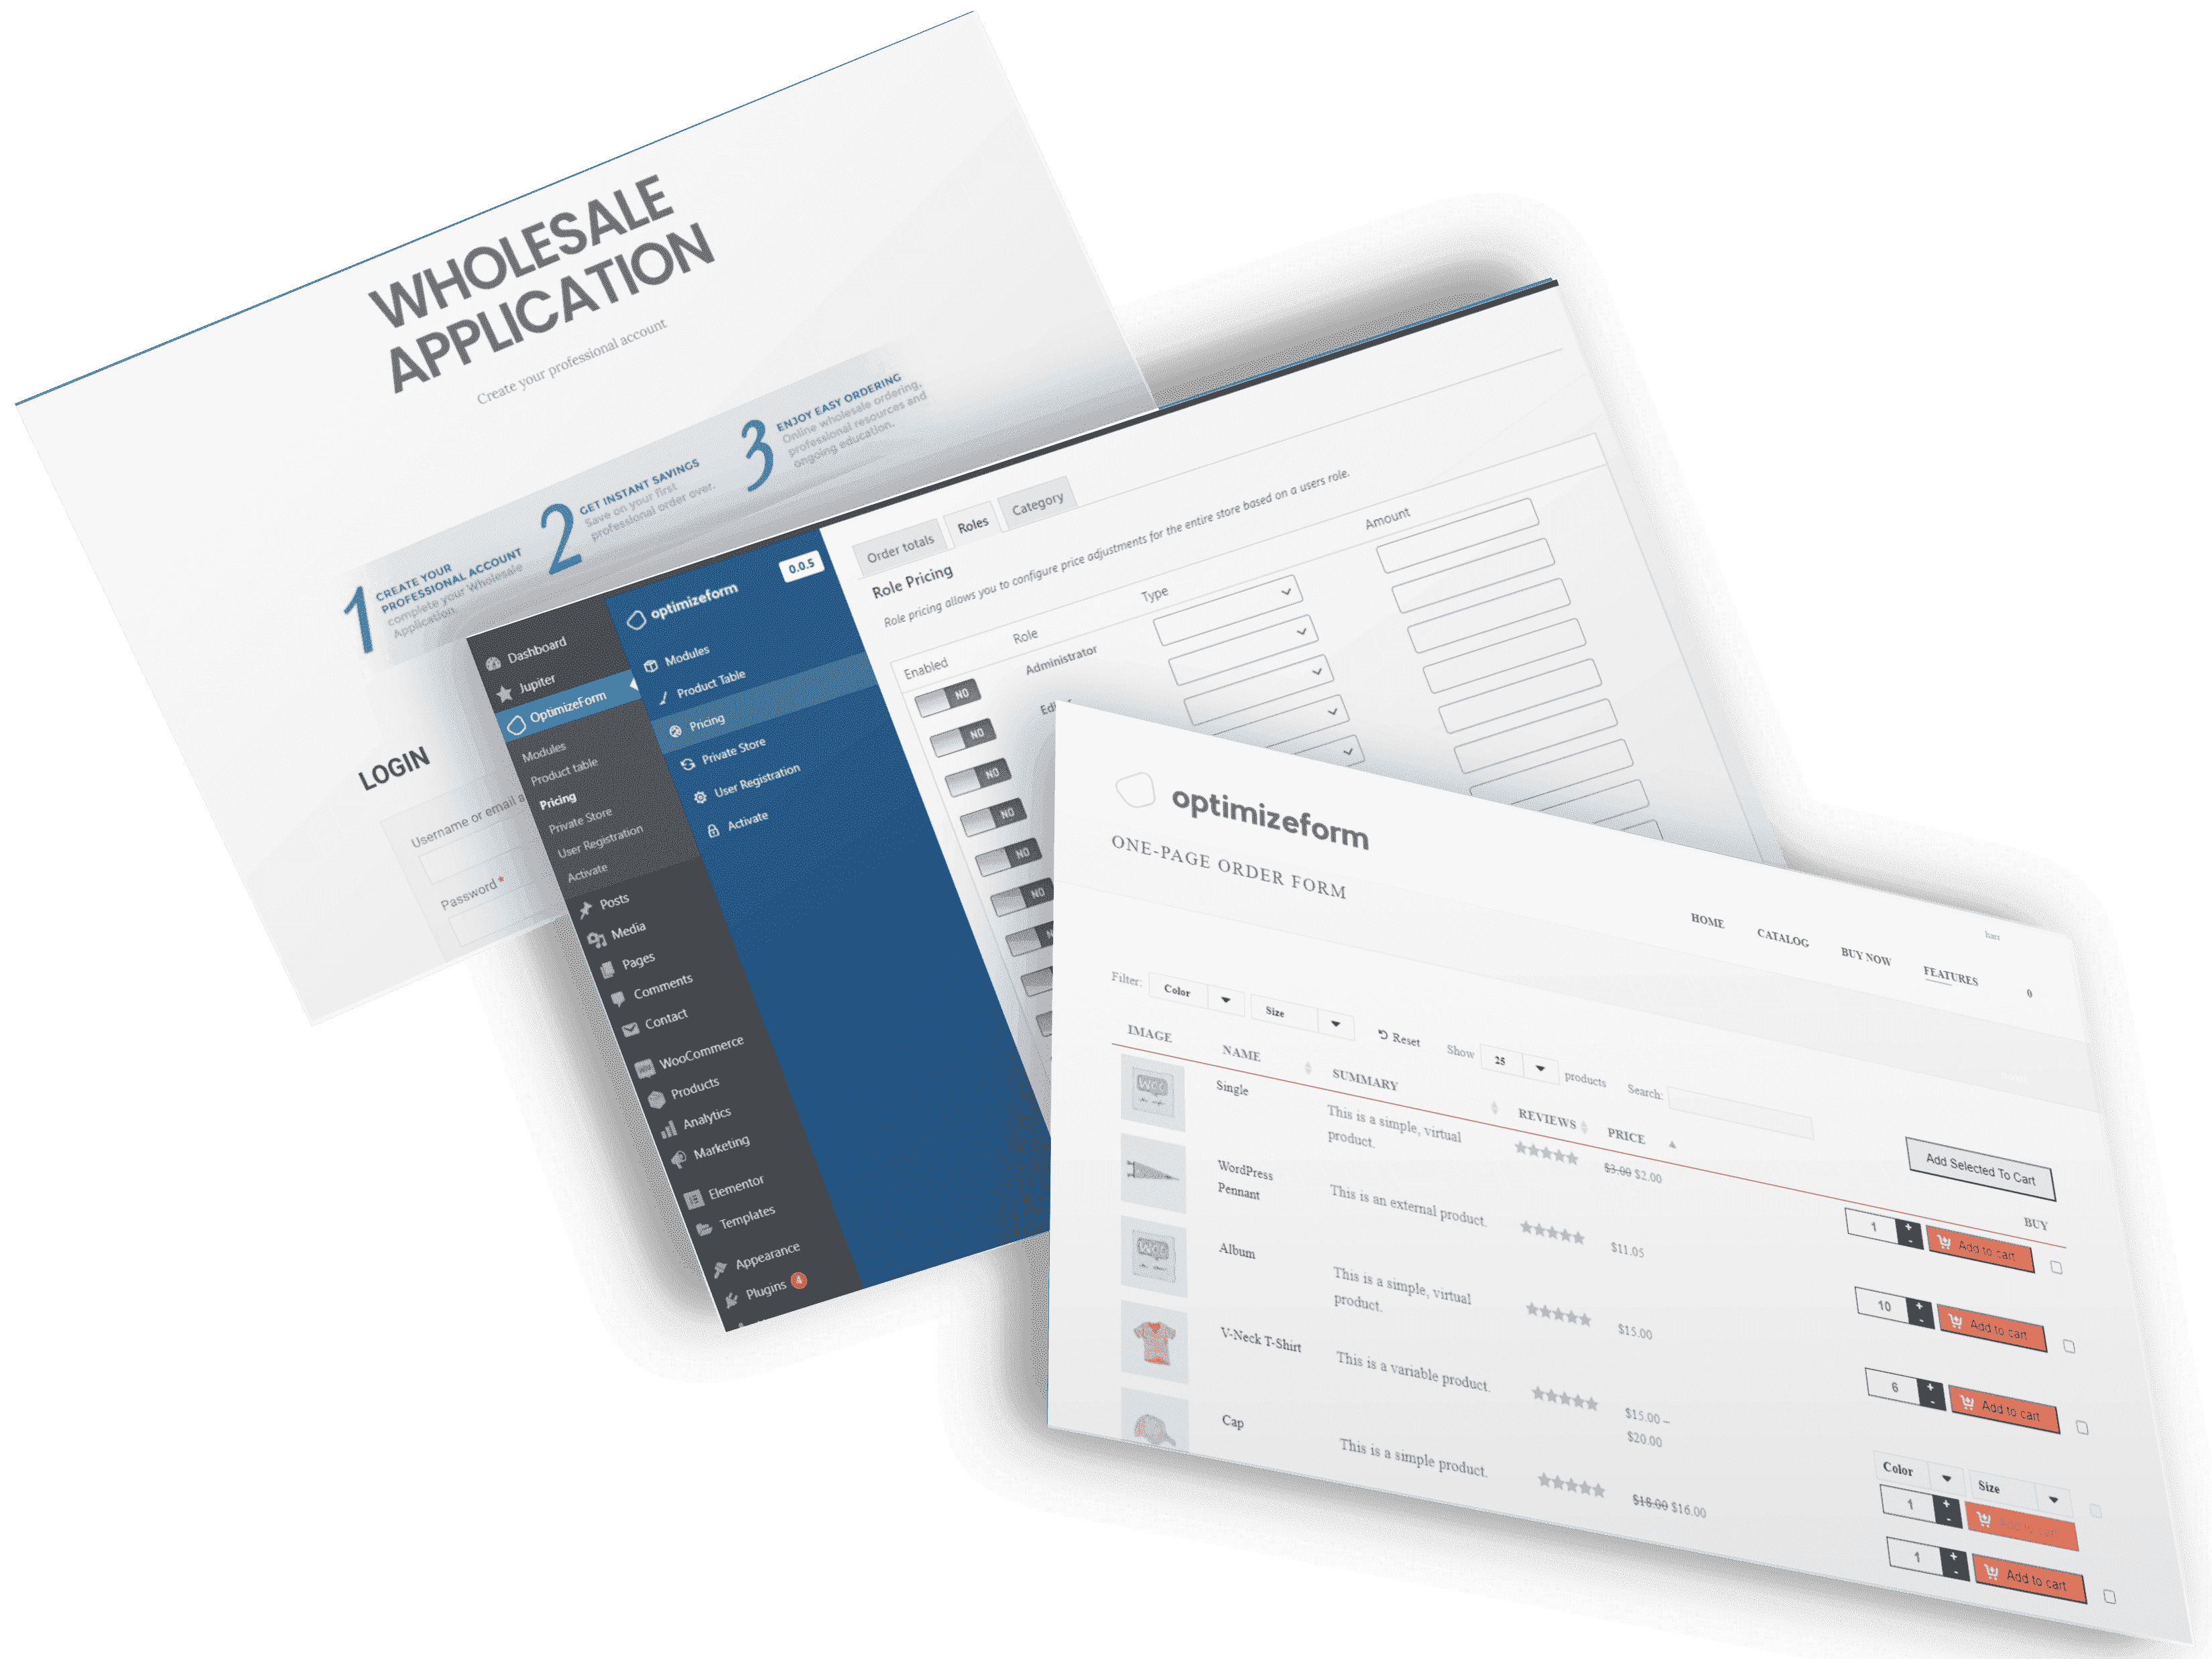
All the tools you need in one place for one simple price to automate your wholesale business from signup to checkout. Expand into the biggest online market online with a few clicks starting from your existing WooCommerce products.
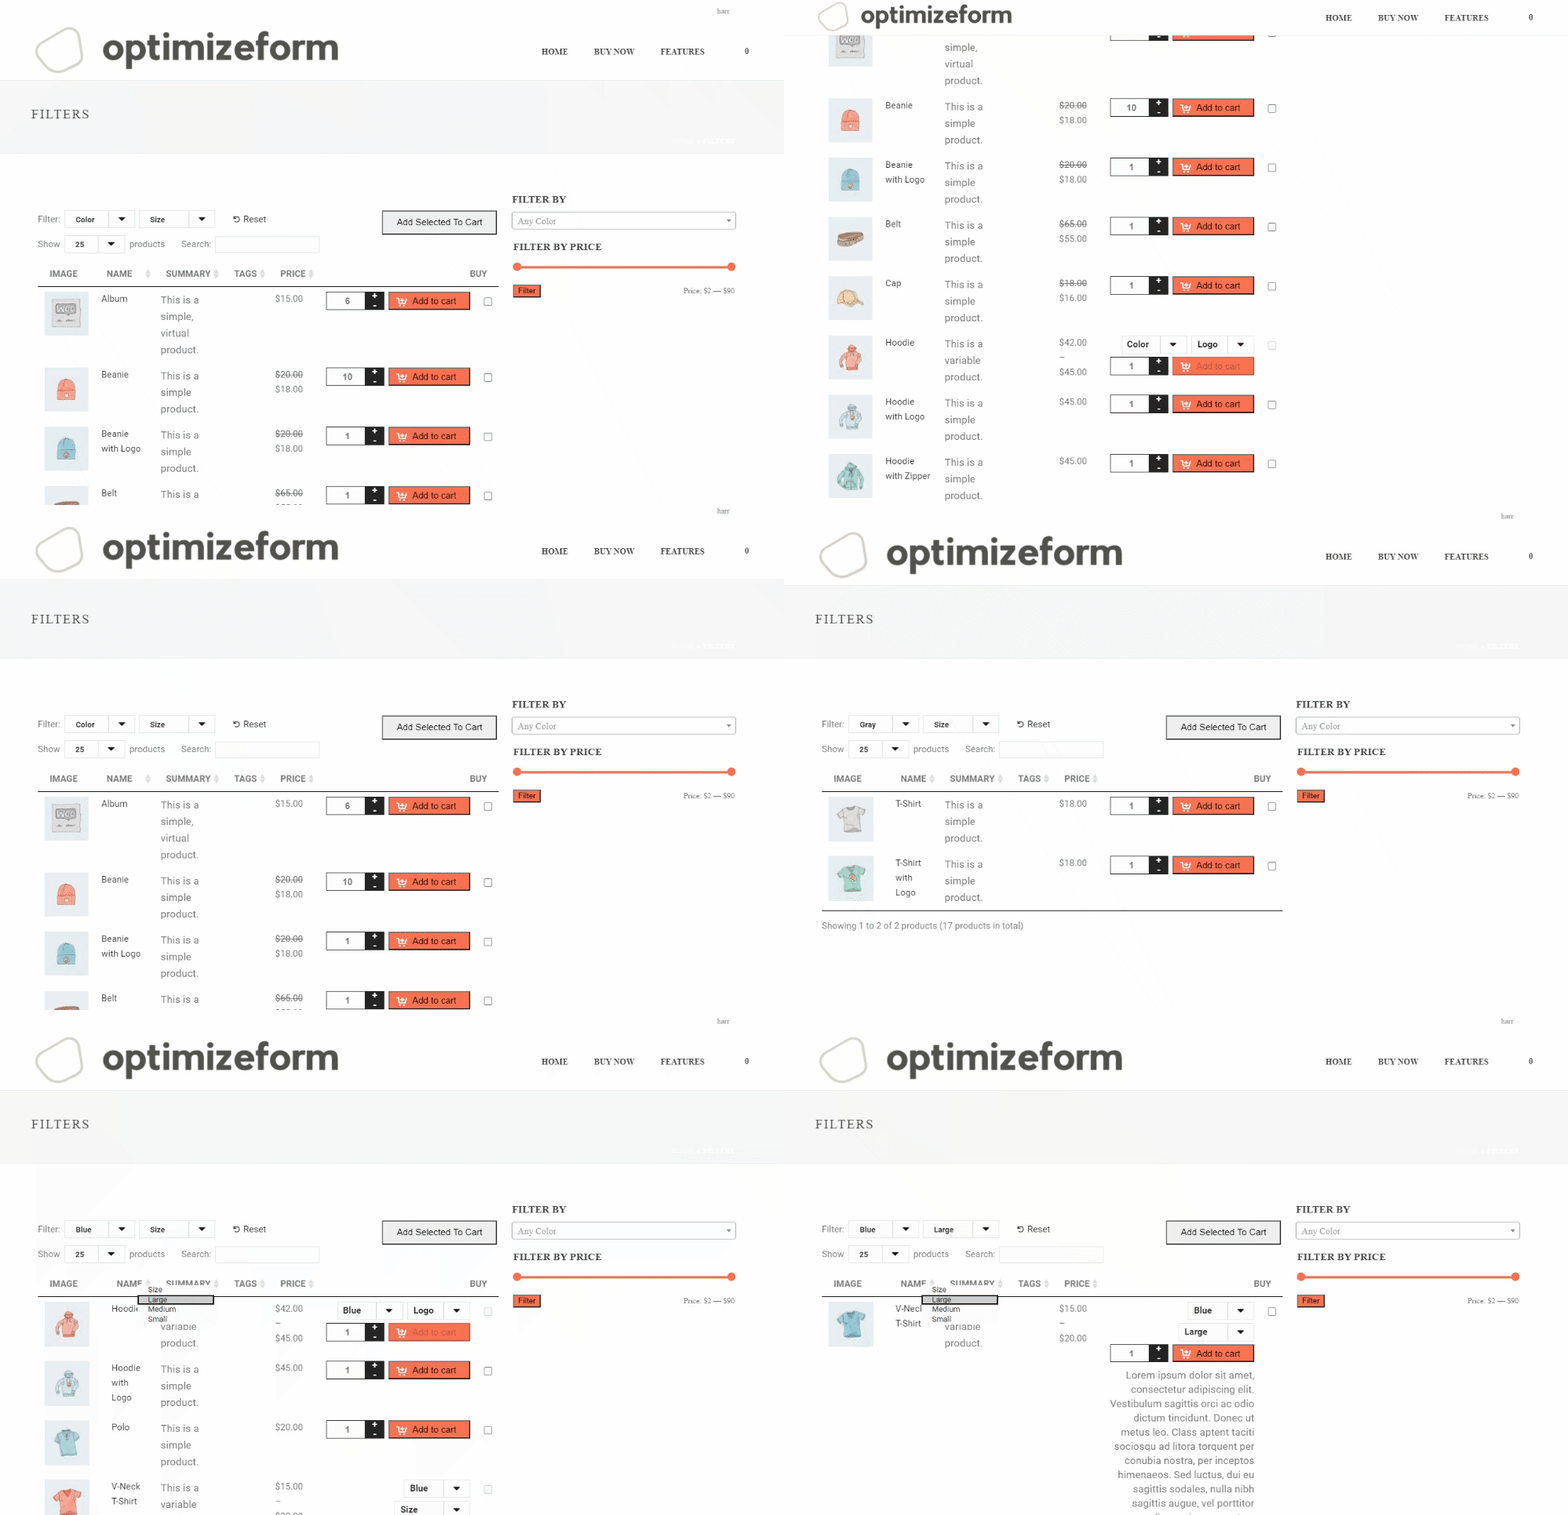
Give wholesale customers a fast and streamlined way to find, bulk buy the products they want with personalized pricing.
Manage your B2B and D2C orders in one central place, no need to duplicate products for your wholesale customers they sync up automagically!
Set minimum, maximum, quantity breaks and quantity increments by product, wholesale level and much more.

Create a more streamlined ordering process for wholesalers to quickly find and order the products they want. Or if you want you can allow them to browse your existing store but instead of seeing retail prices, they will now see the wholesale prices you set for their account type.
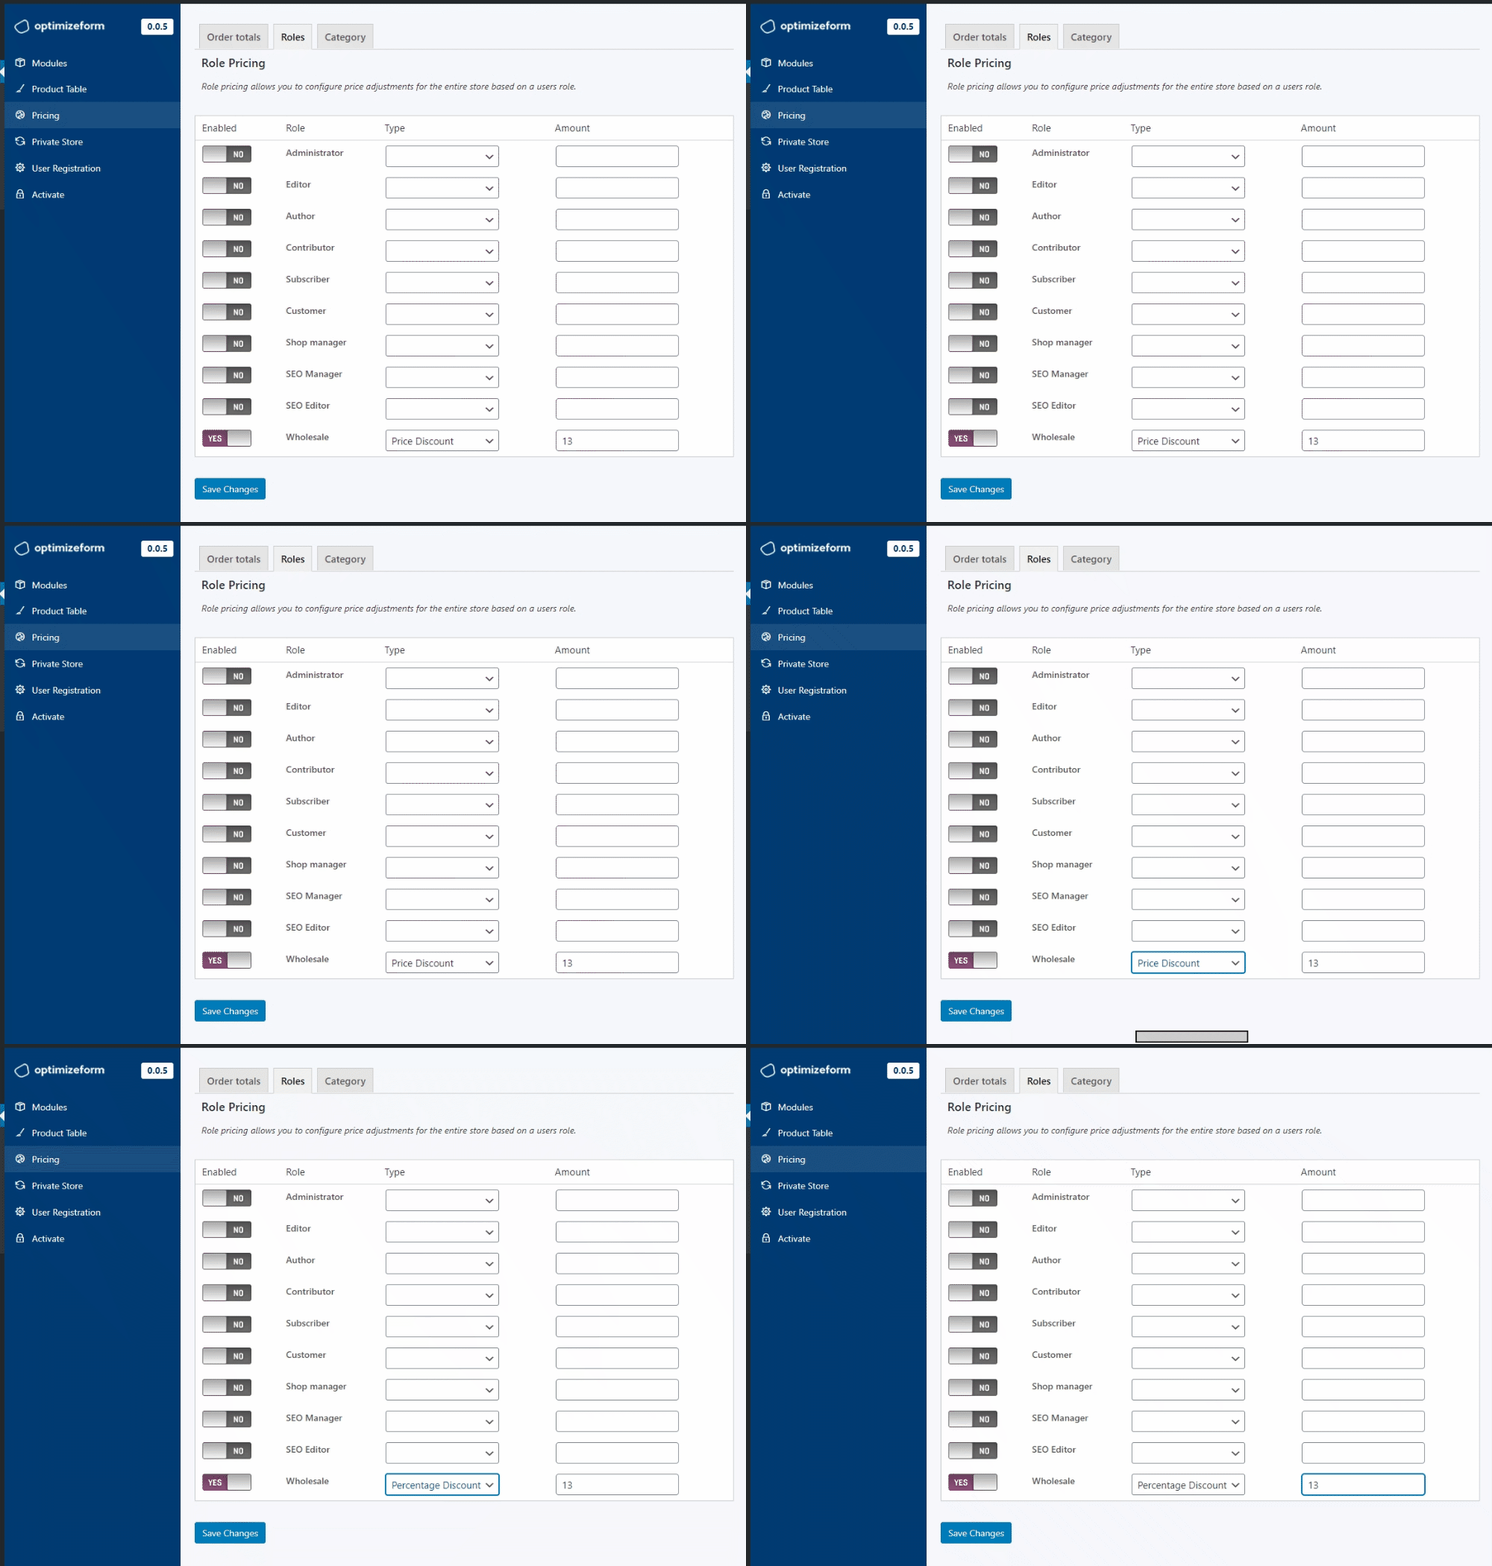
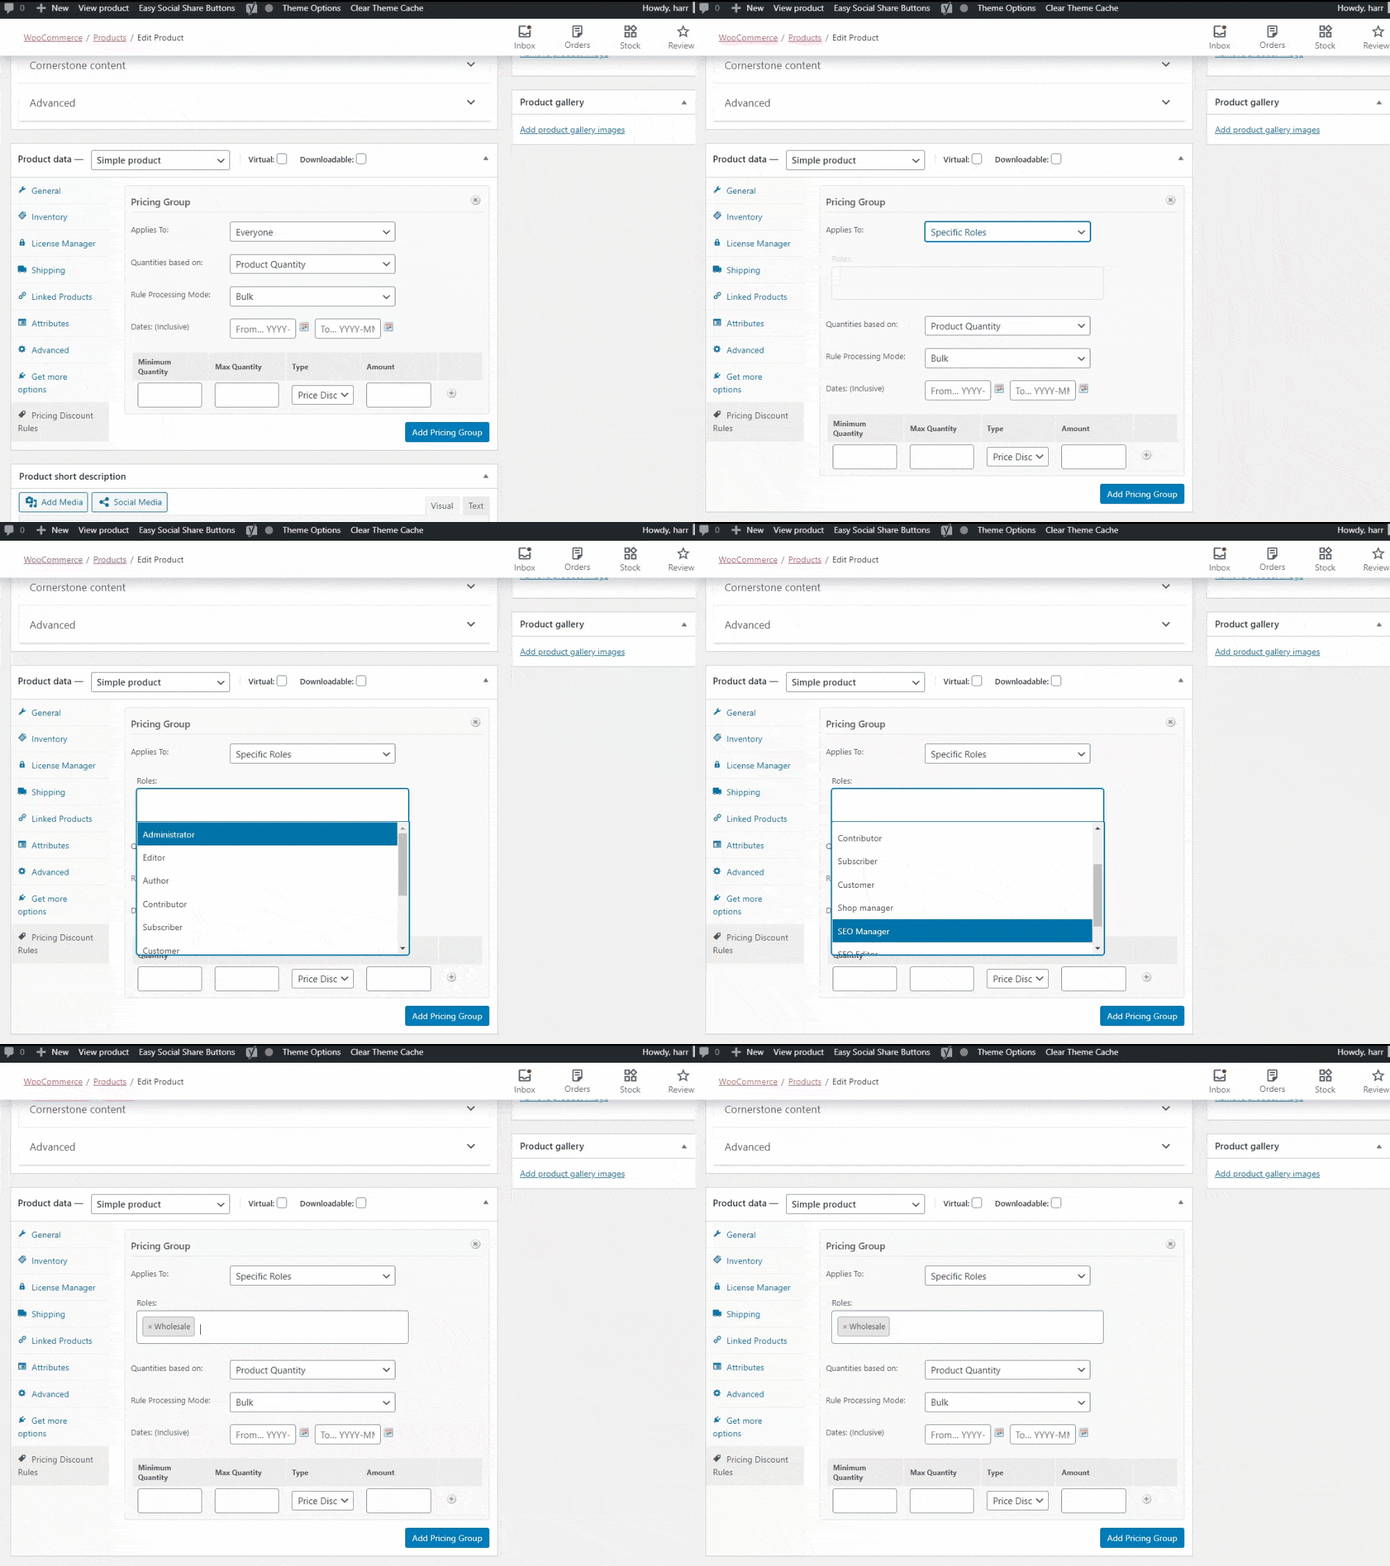
We have made it super easy for you to create separate pricing for your wholesale customers on your existing products. All this without creating and managing two separate products makes it easy and convenient to control stock levels.
✔ Same product, different pricing
You no longer need to duplicate products to offer different pricing, set various pricing for B2B and B2C
✔ Dynamic Discounts
Decreases the price with quantity – all units get highest “unlocked” discount
✔ Tiered Pricing
Decreases the price with quantity – subsequent units get increasing discount
✔ Set minimum Orders
Set minimum or maximum order quantity and more.


✔ Buy X Get Y
Applies a discount to Y quantity when X quantity is purchased at a full price
✔ Spend $1000 & Recieve X% Off
Set percentage discount or a fixed price discount if a set group of users spend X amount.
We have made it super easy for you to create separate pricing for your wholesale customers on your existing products. All this without creating and managing two separate products makes it easy and convenient to control stock levels.
✔ Same product, different pricing
You no longer need to duplicate products to offer different pricing, set various pricing for B2B and B2C
✔ Dynamic Discounts
Decreases the price with quantity – all units get highest “unlocked” discount
✔ Tiered Pricing
Decreases the price with quantity – subsequent units get increasing discount
✔ Set minimum Orders
Set minimum or maximum order quantity and more.


✔ Buy X Get Y
Applies a discount to Y quantity when X quantity is purchased at a full price
✔ Spend $1000 & Recieve X% Off
Set percentage discount or a fixed price discount if a set group of users spend X amount.

Enable and disable payment method depending on who is going through your checkout. Say you want to enable Paypal for your retail customers but disable for your wholesale customers, with this module you can do that.
Let your users select what user role they fall into, whether that is, for example, a distributor, wholesaler etc..
Control which users are accepted/reject or if you want, set up auto-approval. Manage the automation accepted or rejected message.
Create product custom registration fields to collect extra information from your users.
Control the user experience to guest visitors you can hide prices, hide your entire website, show quote request instead of price.
Segment and organize users in customer groups to create a unique experience for each user group.
Catering to B2B and B2C, no worries you can set up dynamic shipping rules to cater to each user groups.
Create custom fields in registration, billing and checkout specifically for your business customers.
Free shipping for specific products, users, or groups. Minimum thresholds.
Compatible with most WooCommerce themes.
Email notification to an admin about a new customer that requires manual review and approval or new quote request.
Plugin status can be “B2B Shop” or “B2B & B2C” with a hybrid whilst creating a seamless user experience for both groups. B2B features are hidden for B2C users.
Enable only the components you need. Easily disable: bulk order form, request quotes, dynamic payments, shipping and much more.
Allow your customers to request a quote or even call for a quote and much more.
Hide pricing to logged out users and prompt them to log in to view price.
If hiding your prices isn't enough you can set your entire store to private mode and decide where to redirect users.
We’re excited to have you experience our wholesale suite. Join your fellow store owners experiences increase revenue and get access to all our plugins, templates, training, and much more
Enter your email address below to get access
*By completing this form you are signing up to receive our emails and can unsubscribe at any time.
We – and our partners – use cookies to deliver our services and to show you ads. By using our website, you agree to the use of cookies as described in our Cookie Policy