In an online WooCommerce store, customer experience plays a key role. You can enhance the customer’s shopping experience by adding the 360-degree product view feature to your store.
This article will guide you through the process of adding the 360-degree product view in WooCommerce. I’ll also share some of its benefits for both online retailers and customers.
The following are the benefits of adding this feature to your store.
On This Page
Benefits of Adding 360-Degree Product View in WooCommerce
Adding a 360-degree view to your products in WooCommerce is like letting customers spin a product around to see it from all angles. It helps customers feel more sure about what they’re buying because they can check out every part of the product.
Here’s why it’s a good idea:
- Better Shopping Experience: Customers can play with the product online, almost like they’re holding it in real life.
- More Confidence: Seeing the product from all sides makes customers more confident about their choices.
- Fewer Returns: When customers know exactly what they’re getting, they’re less likely to return the product.
- Stand Out from Others: Not all online stores have this feature, so it makes your store look cooler and more modern.
- Keeps People Interested: It’s fun for customers and makes them spend more time looking at your products.
- Shows Off Details: For products with cool details, like textures or designs, a 360-degree view helps customers appreciate those details.
- Future-Friendly: It sets you up for the future. As technology gets better, you can do even more cool things like virtual reality shopping.
Tip: You need to be very careful while adding this feature to your store and make sure it is user-friendly, mobile responsive, and doesn’t slow down your website performance.
Now that we are aware of its benefits, let’s jump into the tutorial.
How to Add 360-Degree Product View in WooCommerce?
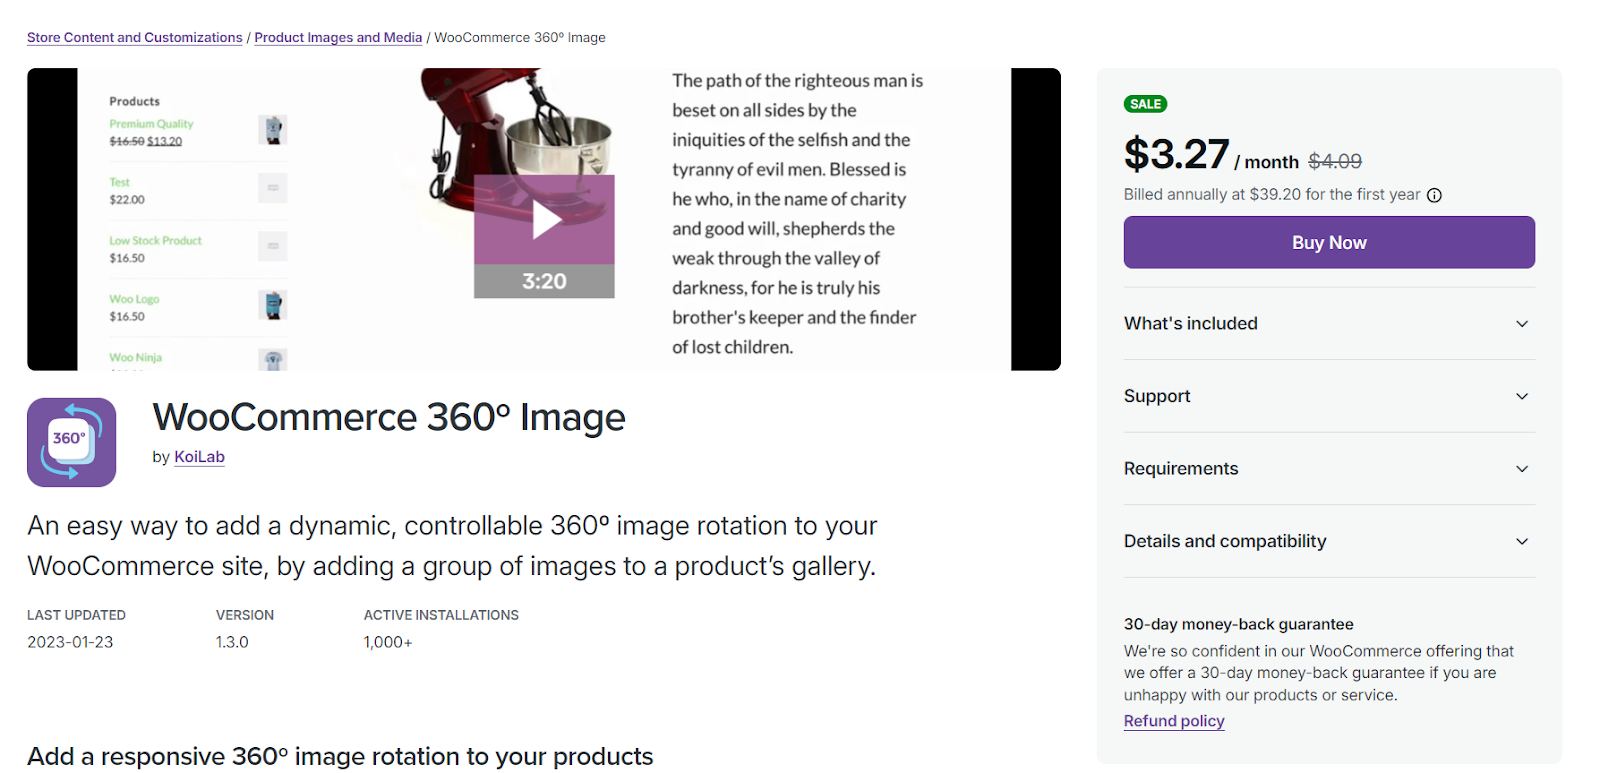
To add the 360-degree product view in WooCommerce, I’ll use the WooCommerce 360º Image plugin. This is a simple and easy-to-use plugin.
Note: If your store is built using a page builder like Elementor, then you can use the Elementor add-ons to add this feature to your store.
The following are the steps to add the 360-degree product view in WooCommerce.
1. Install and Activate the 360-degree Plugin
First, you need to purchase the WooCommerce 360º Image plugin from the official WooCommerce store and download its zip file.
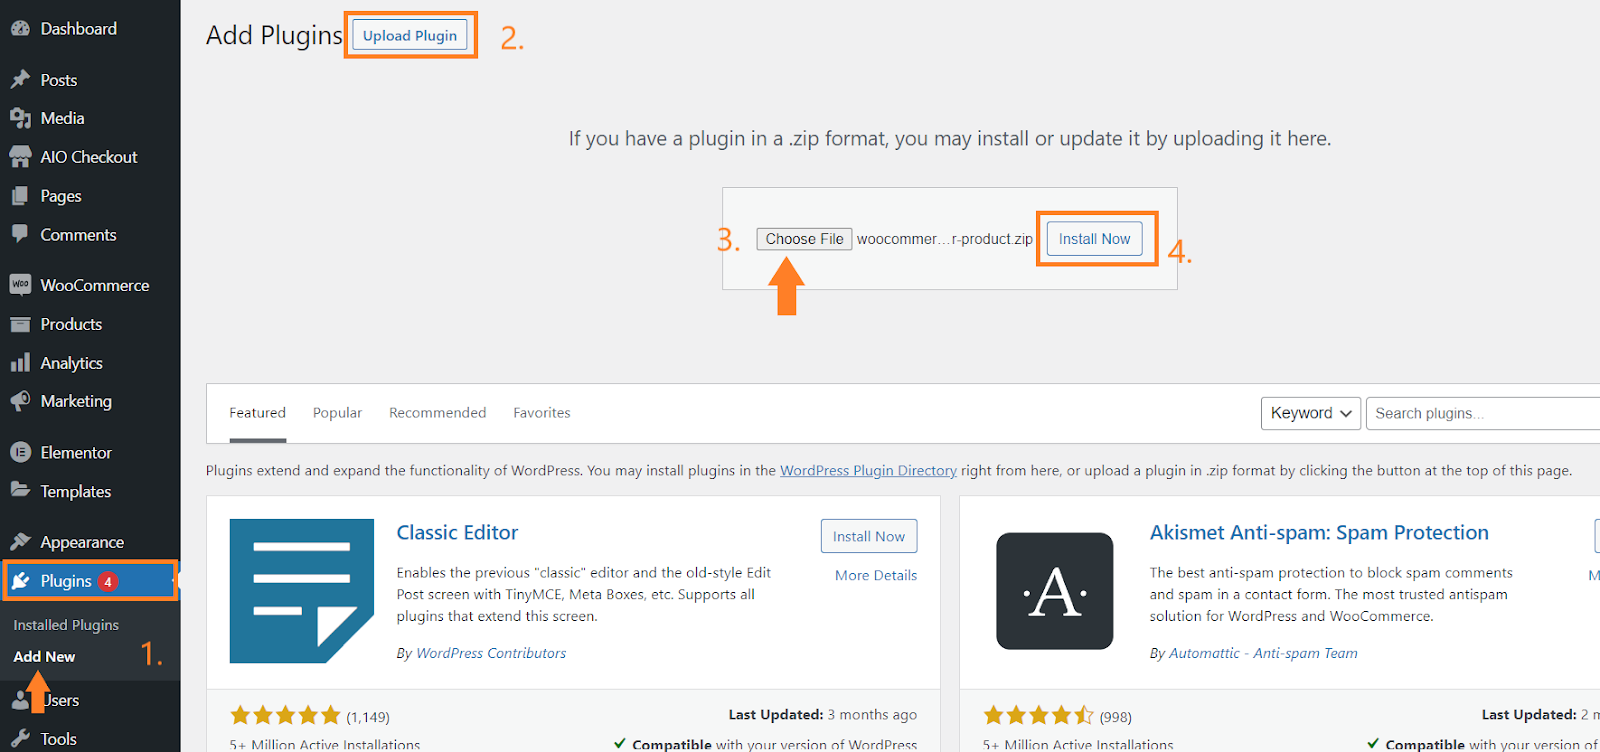
- Once downloaded, you need to navigate to Plugins > Add New from your WordPress dashboard.
- Click the ‘Upload’ button to upload the plugin to your site.
- After that, a pop-up will appear on the screen, click the ‘Choose a file’ button to select the plugin’s zip file from your computer.
- Once you have selected the file, click the ‘Install Now’ button to install the plugin.
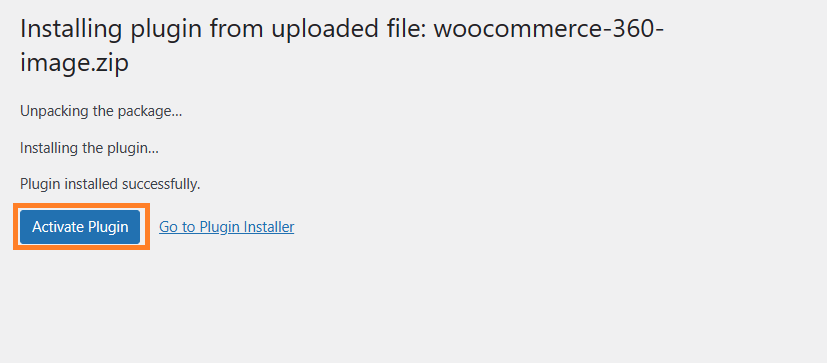
- After the plugin installation, you will be redirected to a new page. Click the ‘Activate’ button to activate the plugin.
2. Add a Product to WooCommerce
Once the plugin is installed and activated successfully, you need to add a product to your store. If you have already added a product for which you want to enable the 360-degree image view, you can skip this step.
I’ll add a new product to one of my demo stores. To do so, navigate to Products > Add New from the WordPress dashboard.

2.1. Add Product Details
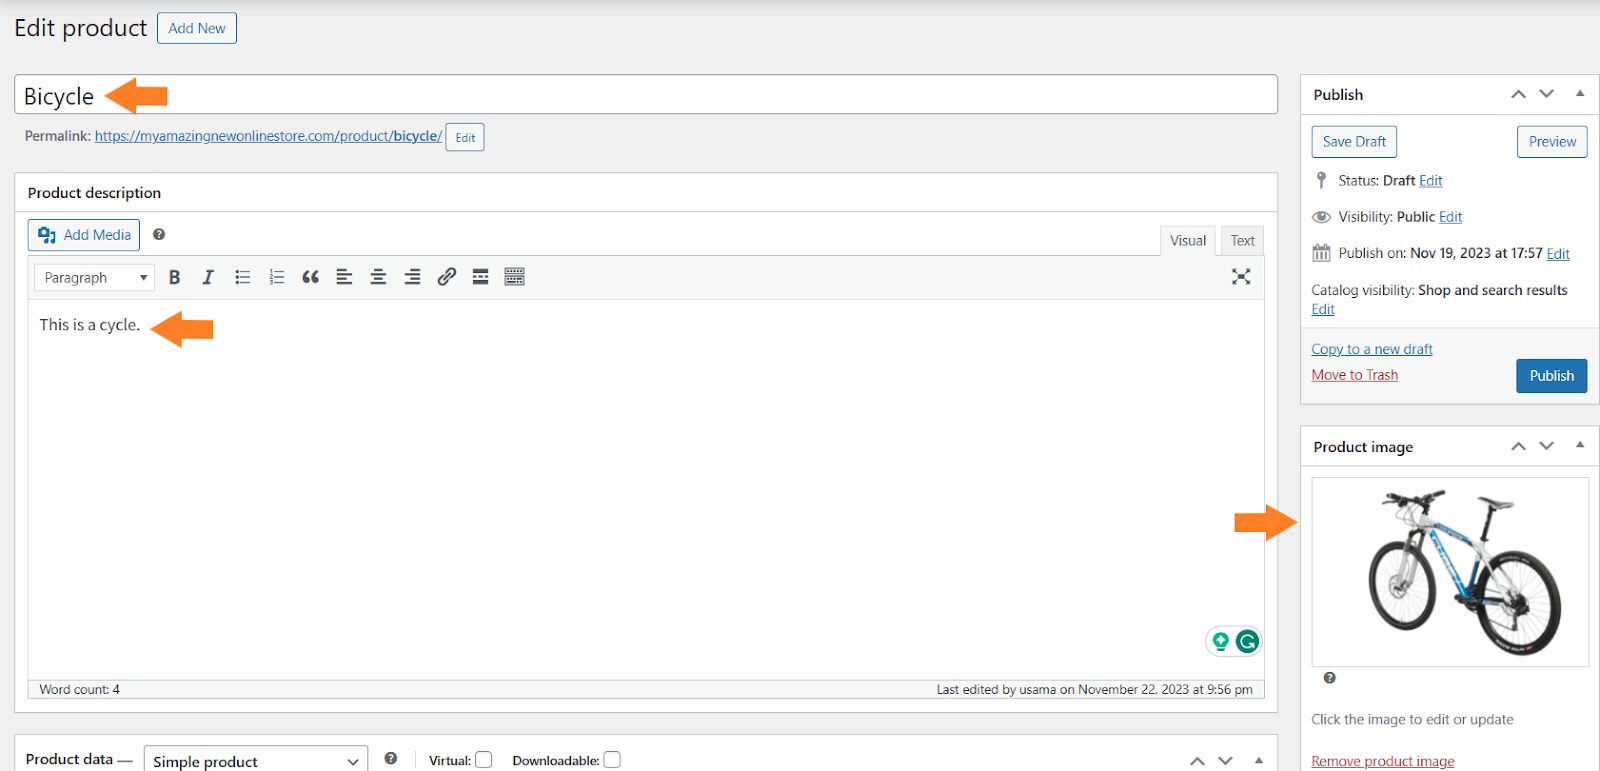
Once you click it, you’ll be redirected to the page from where you can add the product details and publish it.
You can add the product title, image, and price. You can also add a description if you want. There are several other options that you can configure from there.
3. Add a 360-degree Product View
Once you have added the product details, let’s add the 360-degree view to allow customers to view the product from all angles.
You will need the images of your product from all angles. The more images, the smoother will be the 360 view. It will allow customers to view the product more closely.
You will need to add the images to the product gallery and the plugin will combine the images to create a 360-degree animation.
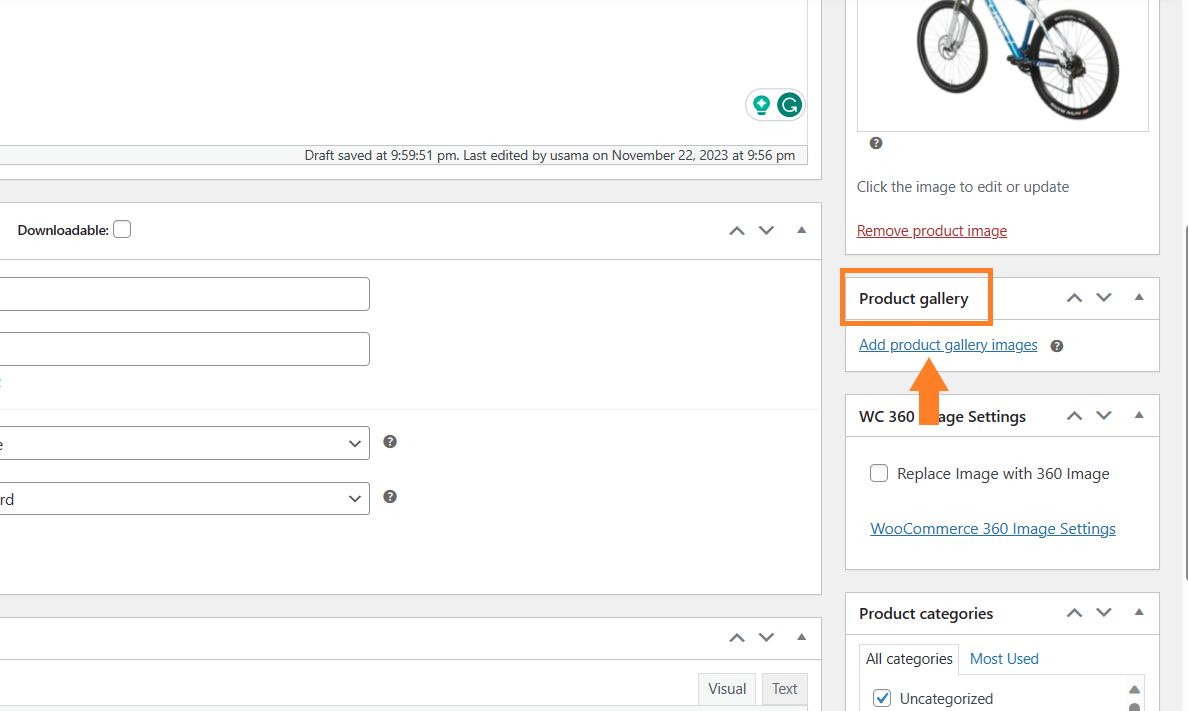
To upload the gallery images, click the ‘Add Product Gallery Images’ button in the ‘Product Gallery’ section on the product edit page.
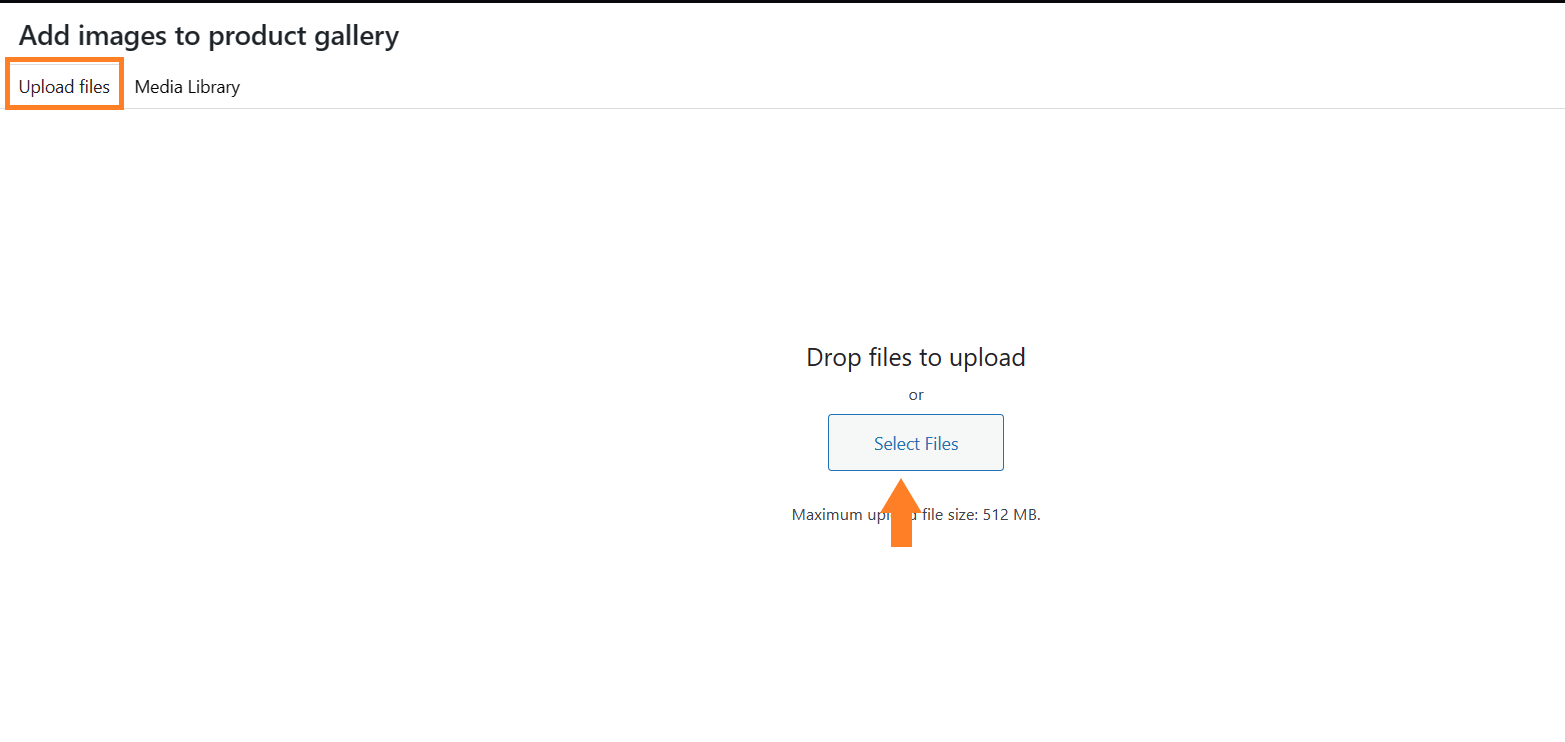
3.1. Upload Images from Your Computer
After that, a popup will appear from which you can select the images from your WordPress media library or upload them from your computer.
I want to upload the images from my computer. Click the ‘Upload Files’ tab at the top and then click the ‘Select File’ button. After that, you can select the images from your computer and upload them.
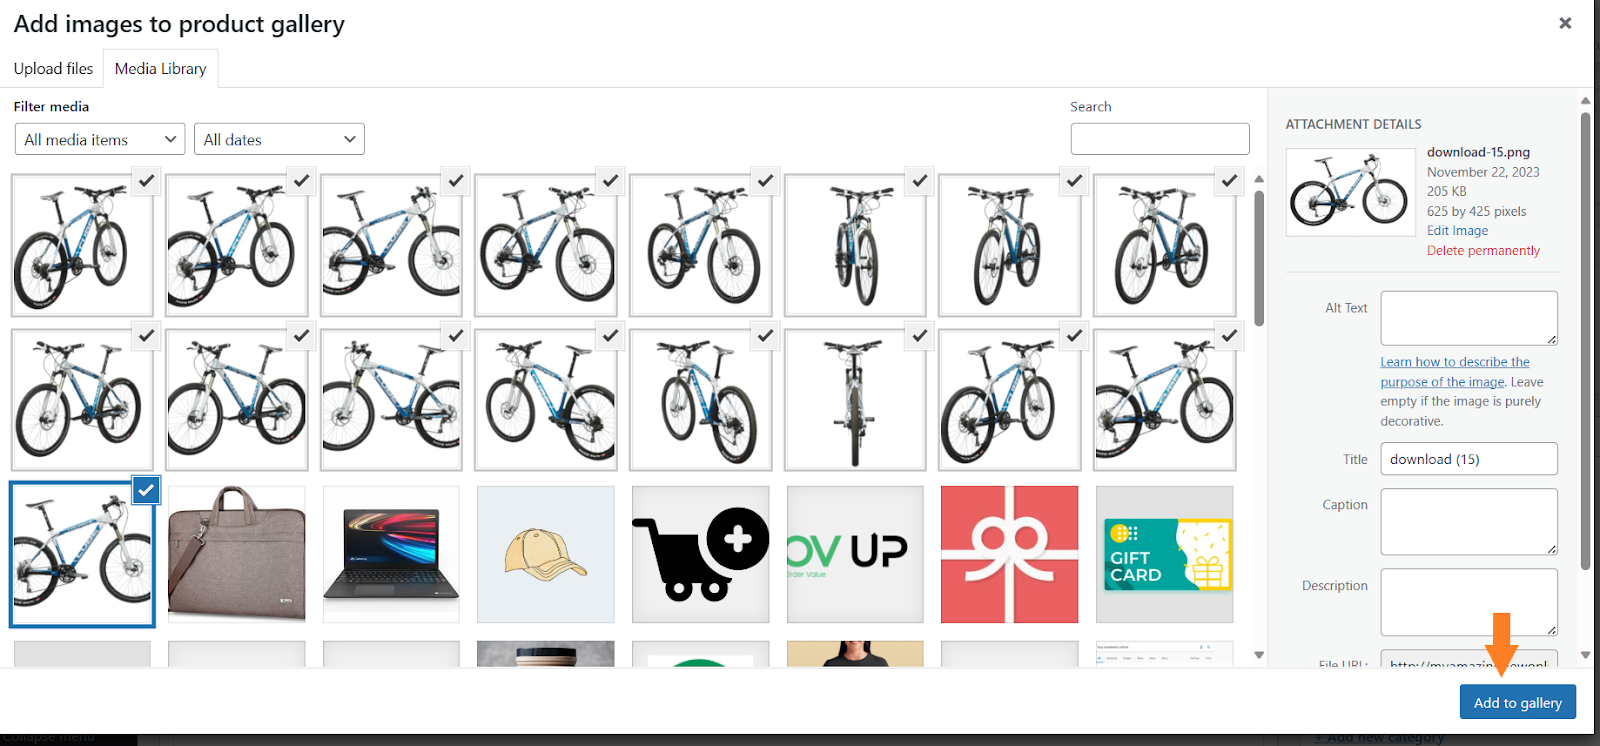
3.2. Add the Gallery
Once you have uploaded the images to your WordPress dashboard, click the ‘Add to Gallery’ button at the bottom right corner of the popup to add them to the gallery.
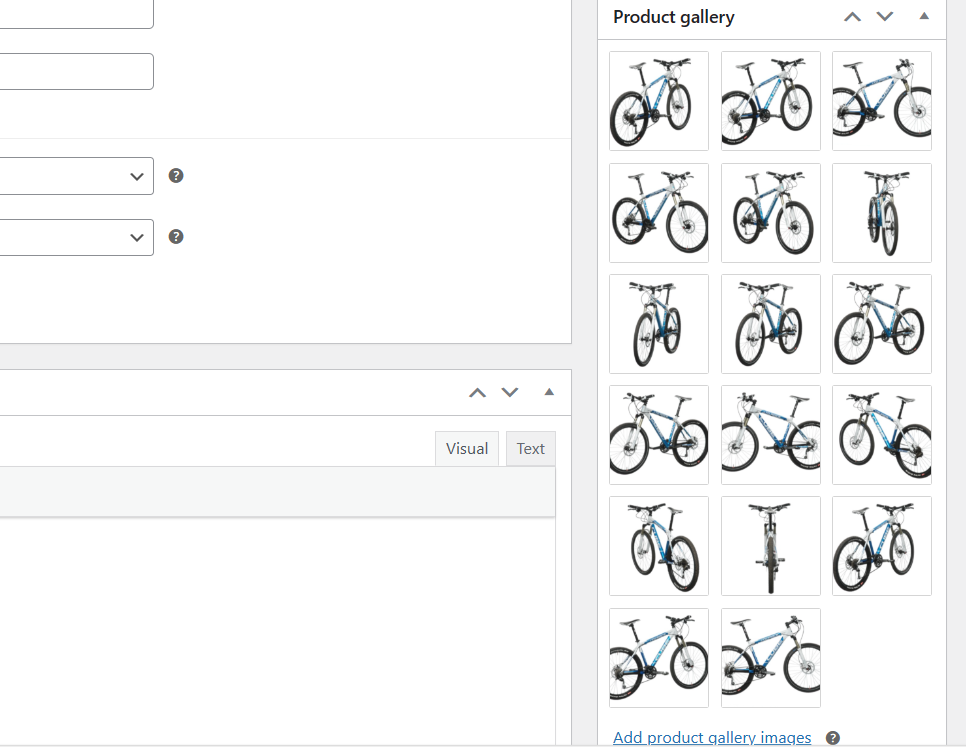
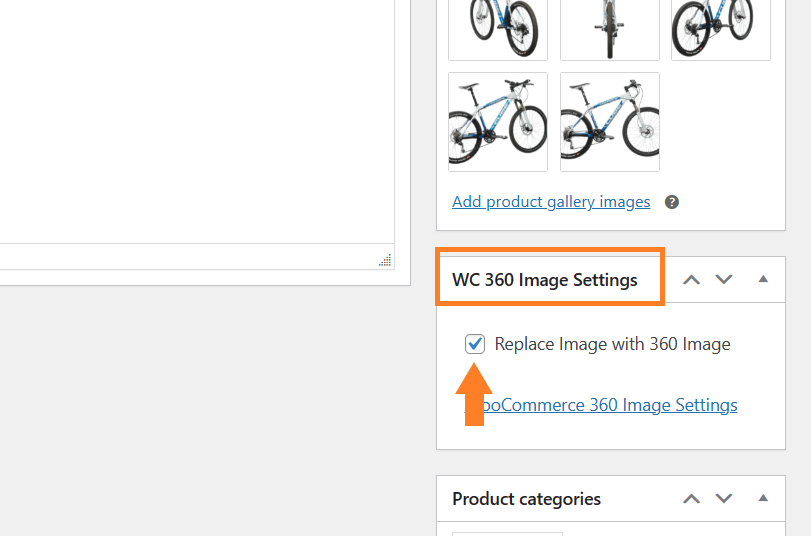
Here’s how the gallery will look after adding the images:
3.4. Enable the 360-degree Product View
After adding the product gallery, we need to enable the 360 product view to replace the images with the animation. To do so, check the ‘Replace Image With 360 Image’ checkbox from the ‘WC 360 Image Settings’ section.
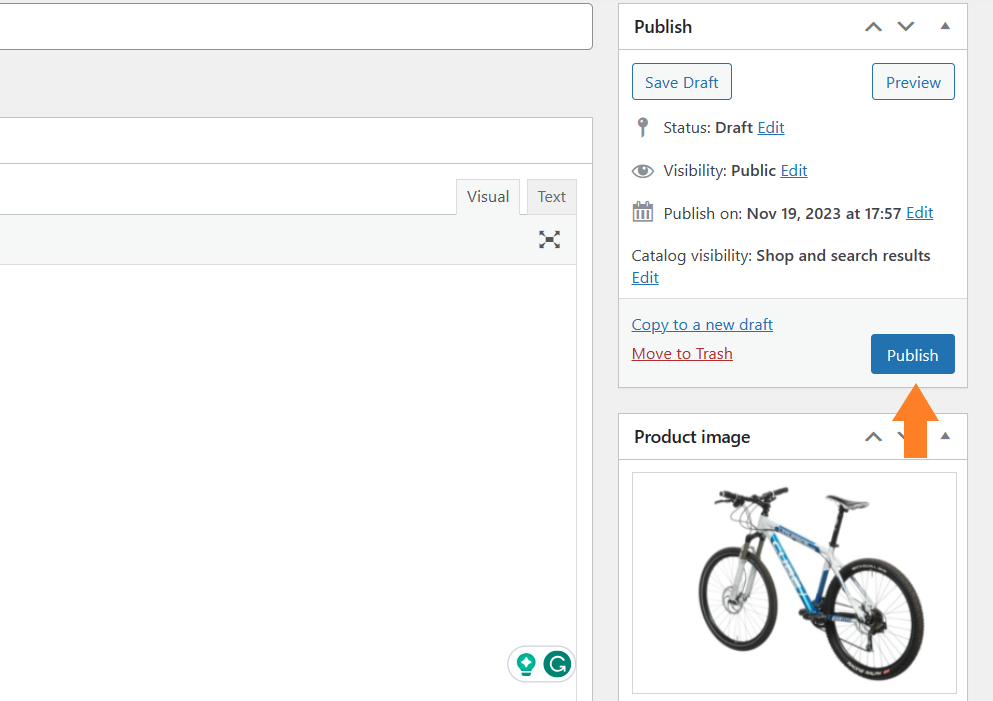
3.5. Publish the Product
After enabling the 360-degree view, you need to scroll to the top and click the blue ‘Publish’ button at the top right corner of your screen to publish the product.
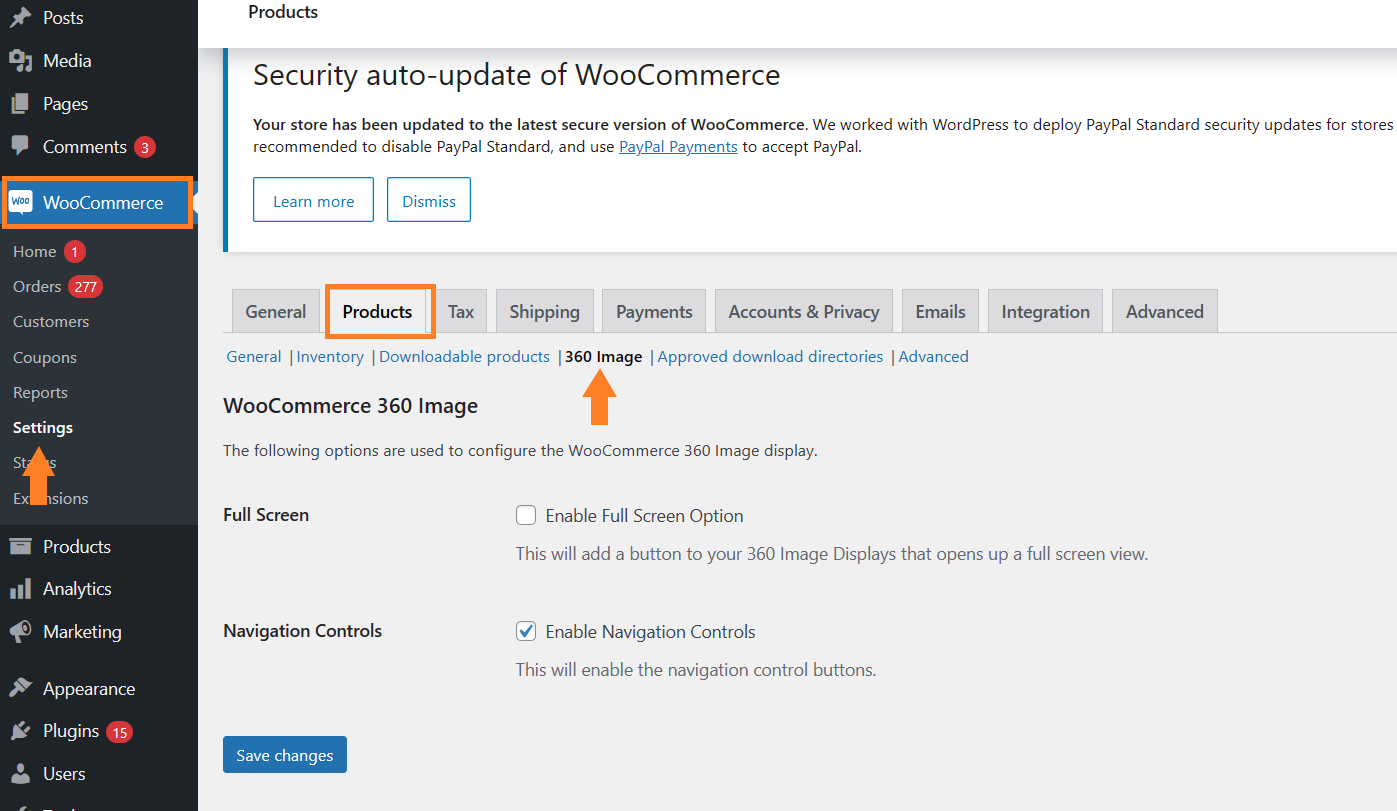
4. Configure the 360-Image Settings (Optional)
It is an optional step and you can even skip this and move to the testing process. But just in case, you need to configure the plugin settings, you can navigate to WooCommerce > Settings > Products > 360 Image from your WordPress dashboard and adjust the settings.
It gives you two options.
- Enable full-screen option: Enabling this option will add a button that will allow your customers to open a full-screen to view the 360 product view.
- Enable Navigation Controls: This option will allow you to enable or disable the navigation controls to control the animation from the front end.
I’ll leave the settings to default.
5. Final Results
Once the product is published, let’s test the final results.
To test it, I visited the product page of the product that I published in the previous step and as you can see in the screenshot below, I could move the image 360-degree and see different angles of the product.
Conclusion
That’s it for today’s article.
I hope it was helpful to you and you were able to add a 360-degree product view to your WooCommerce store. Thank you for reading.


