This article will guide you through the step-by-step process to force sell a WooCommerce product. This feature will allow you to automatically add a product to a customer’s cart when a specific product is added.
I’ll also share some tips to implement this strategy in your store successfully. It can help you increase your revenue and enhance the overall shopping experience.
Before jumping into the steps to add this feature to the store, let’s understand a bit more about it.
On This Page
What is Force Sells For WooCommerce?
The term ‘Force Sells’ means linking product A with product B, so product A will be added automatically when a customer adds product B to the cart.
These are the products that complement the product that the customer is considering. For example, If a customer purchases a laptop, you might want to add a laptop bag or software to their cart automatically. You can also add a discount to the bag to encourage customers to purchase it.
Tip: Be careful while using this strategy and ensure you do not automatically add a high-value product to the customer’s cart. It can affect the customer experience and disturb your store’s popularity or brand value.
With that being said, let’s jump into it.
How to Force Sells For WooCommerce?
I’ll use the AIO Checkout plugin to add the force-sell feature to one of my demo WooCommerce stores. I’ll use the laptop and laptop bag example I mentioned above.
The following are the steps to do so.
1. Install and Activate the AIO Checkout Plugin
First, we need to download the AIO Checkout plugin. It also has a free version, but to follow along with this tutorial, you’ll need to purchase its Pro version.
Once you have downloaded it, navigate to the Plugins > Add New from your WordPress admin dashboard, and click the Upload button to upload the downloaded file to install and activate the plugin.
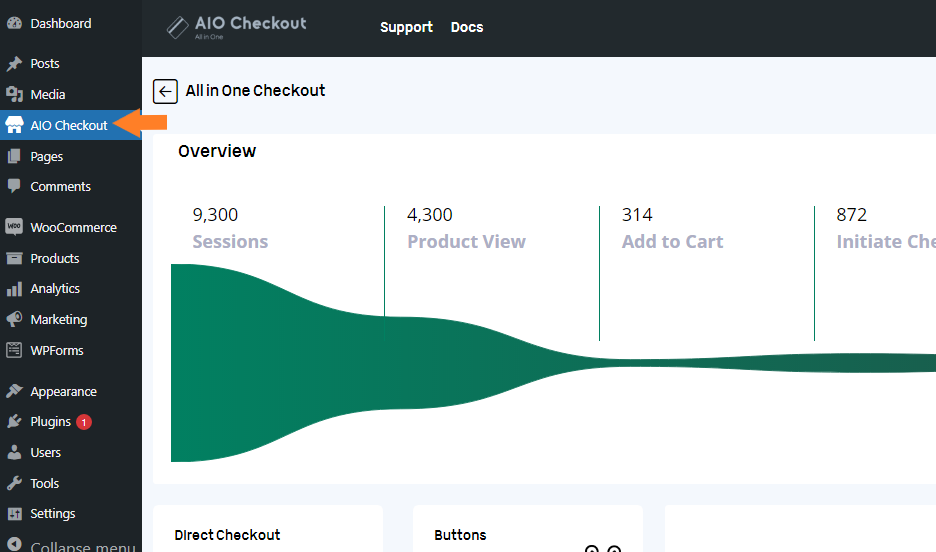
Once you have installed and activated the plugin, navigate to AIO Checkout from your WordPress dashboard.
3. Create a Campaign
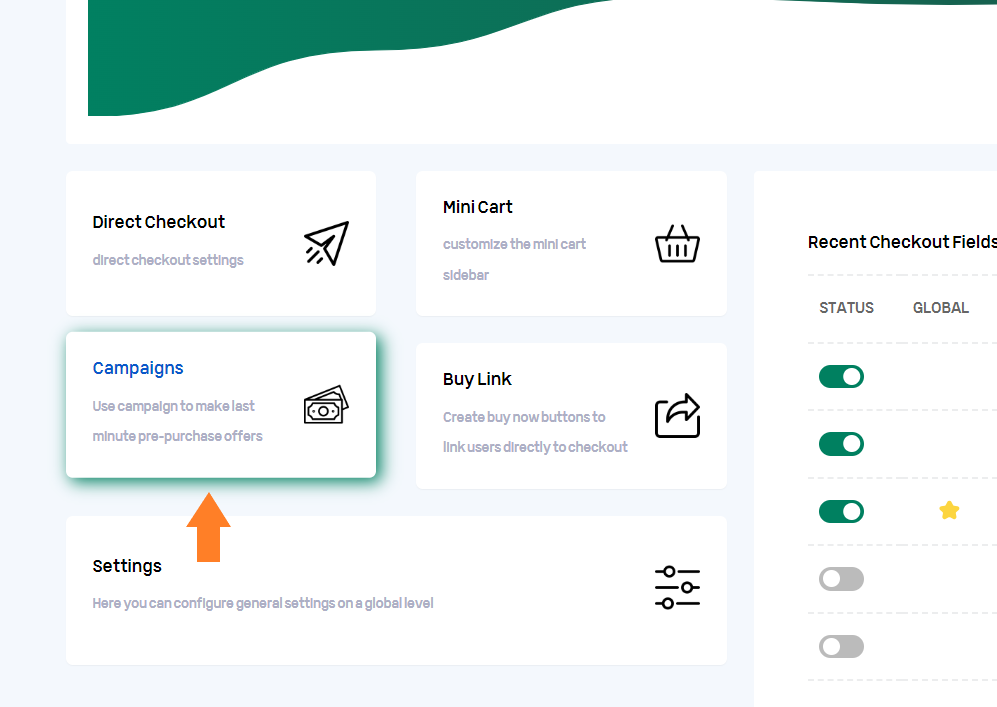
Once on the settings page, we need to create an order bump to automatically add it to the customer’s cart if they purchase a specific product.
To create an order bump, click the ‘Campaign’ section.
3.1. Add Order Bump
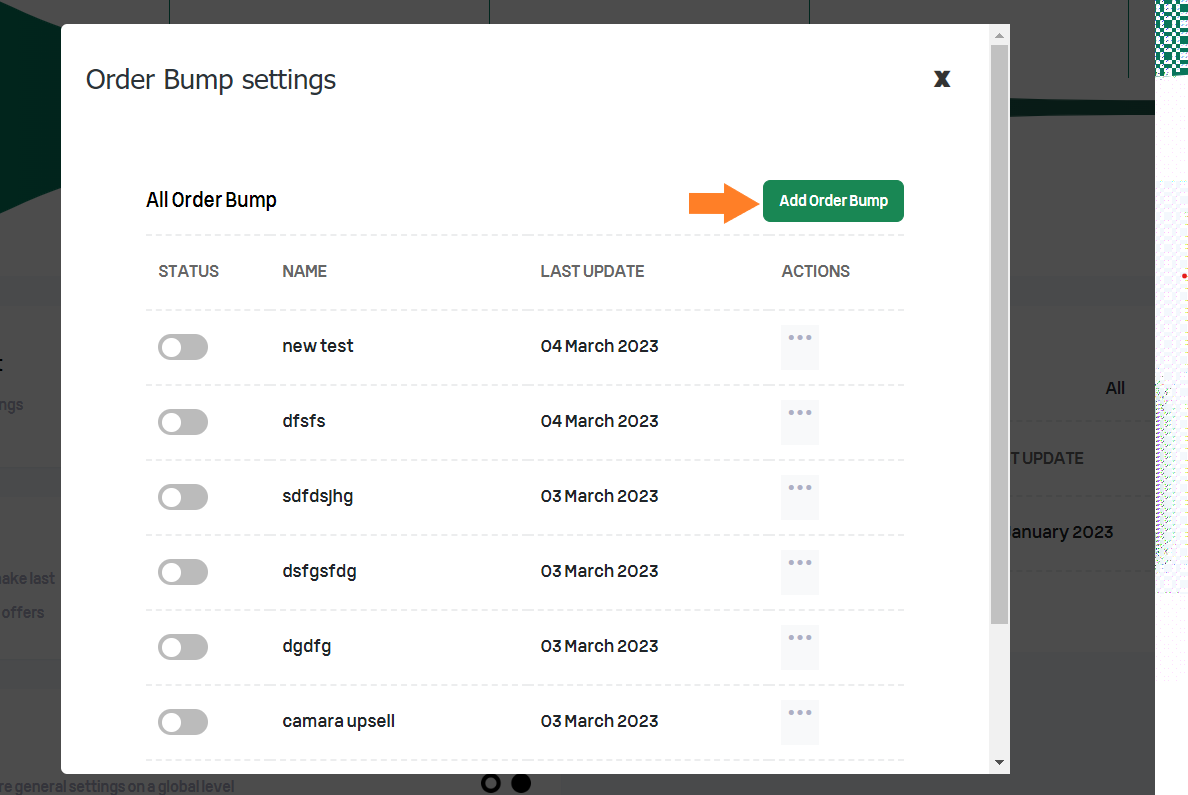
Once you click it, a pop-up will appear from which you can create different order bumps. I have already made a few. But I’ll create a new one to show you the complete process.
Click the ‘Add Order Bump’ button to create an order bump.
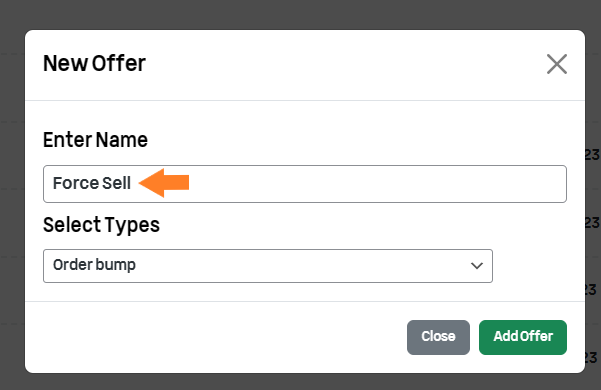
3.2. Add the Name of the Order Bump
Once you click the button, a pop-up will appear. Enter the name of the order bump in the field and click the ‘Add Bump’ button.
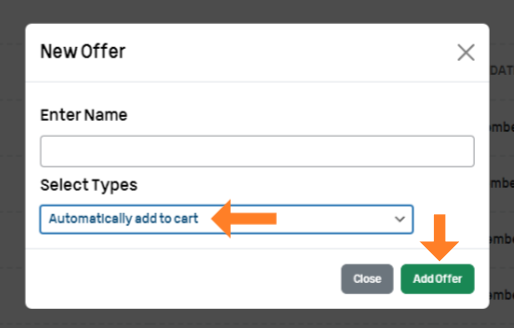
3.3. Select the Type of Offer
Ensure you select ‘Automatically add to cart’ from the ‘Select Types’ dropdown. Once selected, click the ‘Add Offer’ button to create the order bump.
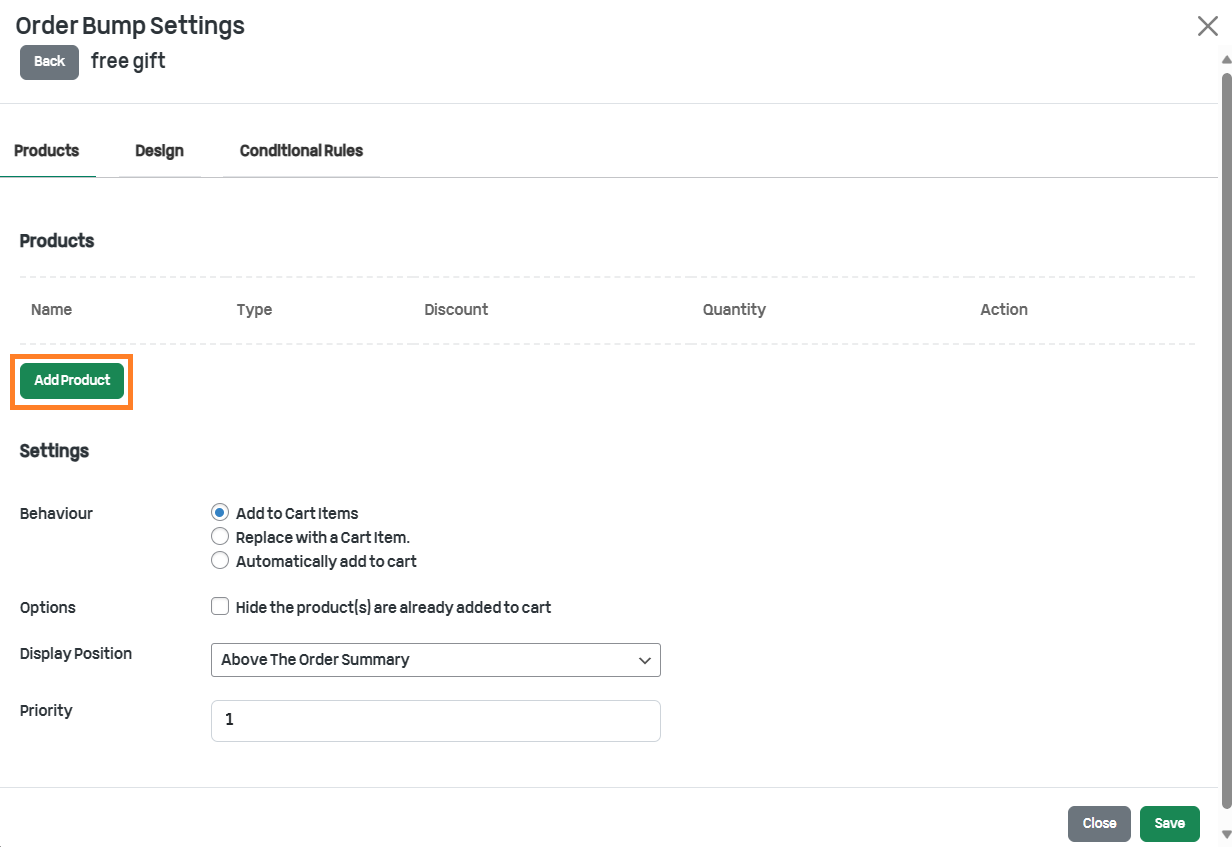
3.4. Add the Product
Next, we need to add the product we want to force sell to customers upon purchasing a certain product. You can also add multiple products, but I recommend adding only one so you won’t lose and disturb the customer experience.
Once you have added the order bump, a new pop-up will appear. Click the ‘Add Product’ button to add the product.
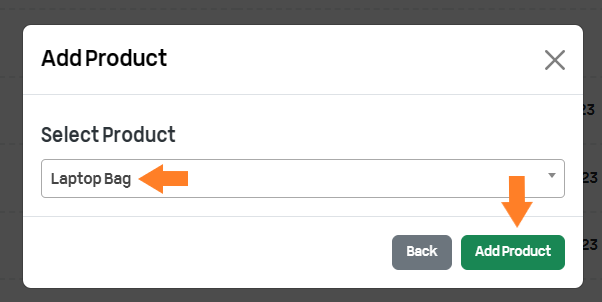
Once you click the button, a pop-up will appear with a dropdown field from which you can select the product. After selecting the product, click the ‘Add Product’ button to add it to the order bump.
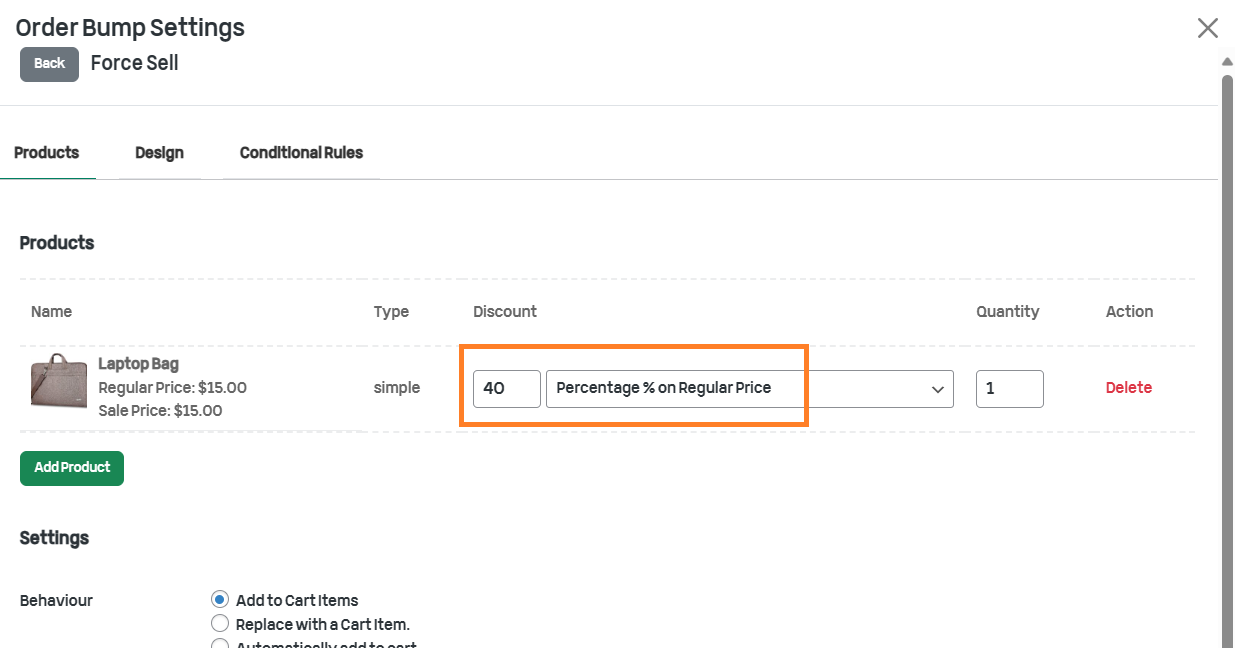
3.5. Add a Discount to the Product
After adding the product to the offer, we can also add a discount to encourage customers to purchase this product.
This plugin allows you to add the following four types of discounts to the order bump.
- Percentage (%) of Sale Price
- Fixed Amount on Sale Price
- Percentage (%) of Regular Price
- Fixed Amount on Regular Price
If you do not want to add a discount to this product, you can leave it empty. But I have added ‘40’ in the value field and selected the ‘Percentage (%) of Regular Price’ from the discount dropdown.
4. Add Condition Rule to Force Sell a WooCommerce Product
Next, you need to add a condition to the order bump to add the product to the customer’s cart automatically. You can do it by going into the ‘Conditional Rules’ tab.
You can select from eight different condition types.
- No Rules
- Cart Total
- Cart Total (Subtotal)
- Cart Category(s)
- Cart Item Count
- Shipping Country
- Billing Country
- Product
You can add different rules based on the ‘AND’ and ‘OR’ conditions. If all the rules within the AND condition are correct, the order bump will be triggered and displayed to customers. In the case of the OR condition, the order bump will be triggered and displayed to the customers even if a single rule is correct.
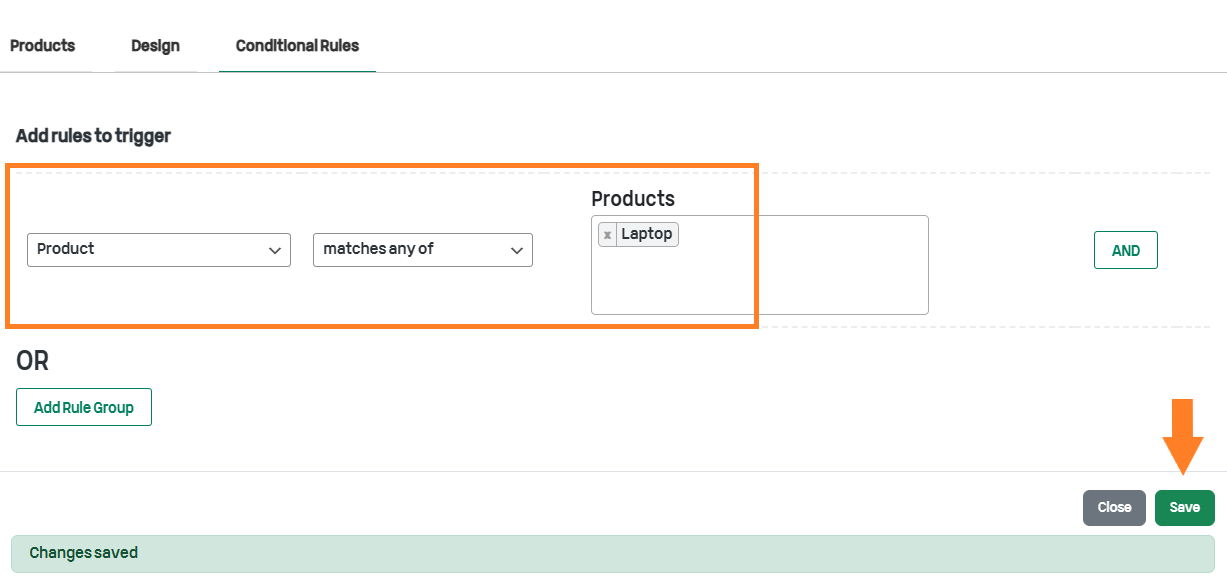
I’ll add only a rule/condition that says if the customer’s cart has a specific product, only then will this product(the one we added in the previous step) be automatically added to the customer’s cart.
You can select any condition but I’ll choose the ‘Product’ condition from the dropdown. This is because I want to add the laptop bag to the customer’s cart only when the customer is purchasing the laptop.
- Once you select any condition, a new dropdown will appear beside it that will have the options based on the condition you selected. Make sure to select the ‘matches any of’ option from the second dropdown.
- The following field will also be adjusted according to the condition you selected. I have chosen the product condition to select the product from the third dropdown. Remember this rule will only be applied if the customer purchases the product you’ll select here. You can also select multiple products.
After adding the condition, don’t forget to click the ‘Save’ button at the bottom of the pop-up to save settings.
5. Final Results
Once you have configured the order bump as per your requirements, let’s test it.
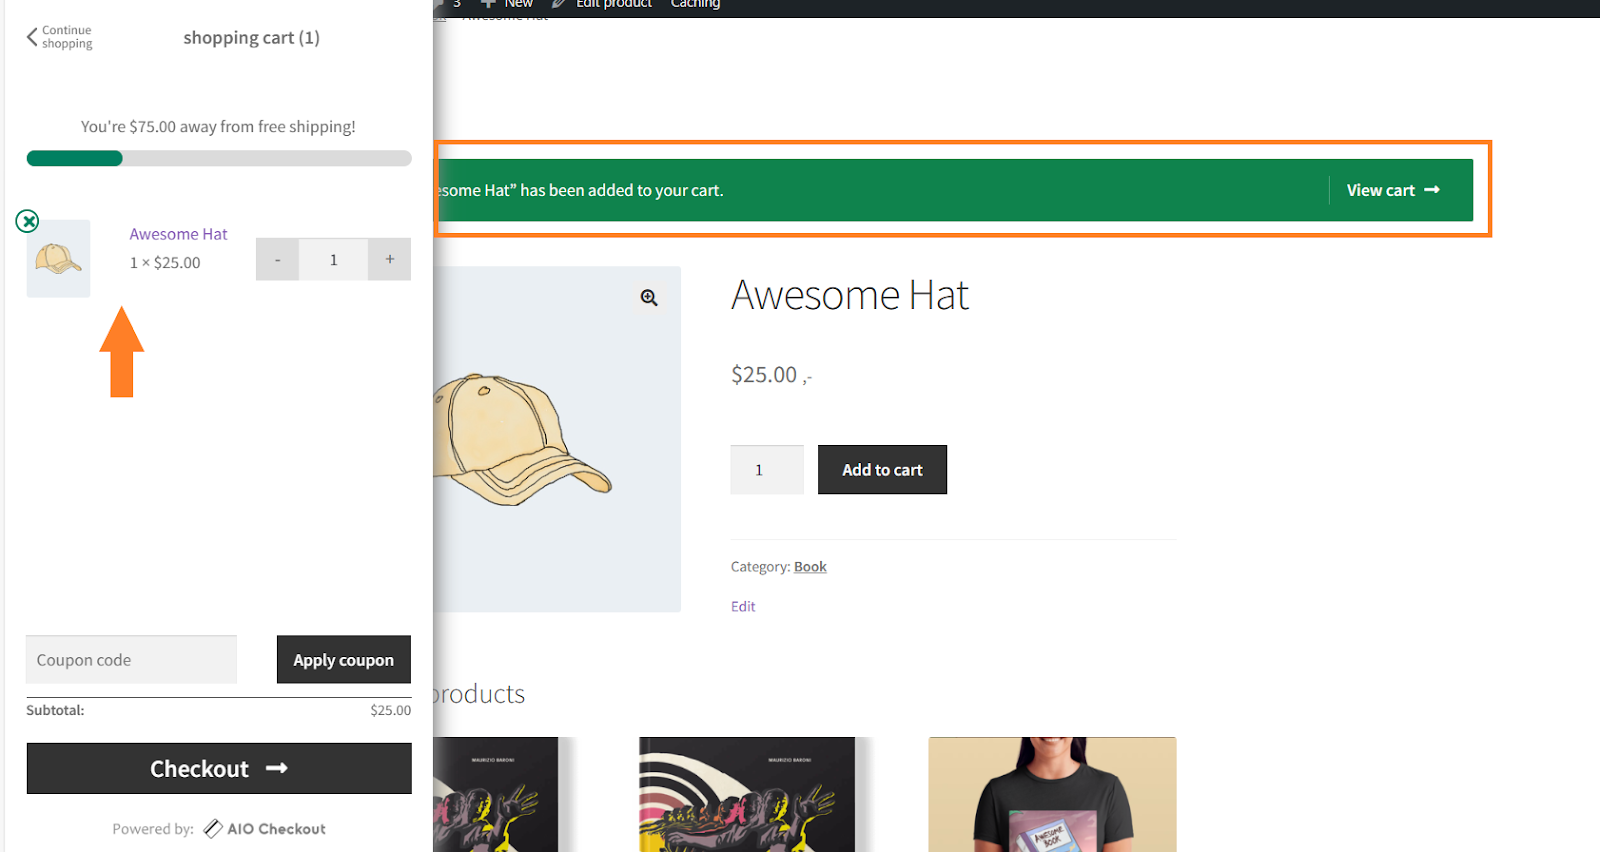
To test it, I first added a random product to my cart, and as you can see in the screenshot below, no additional product was added to my cart.
Now, when I removed this product from my cart and added the product with which I want to offer an additional product at a discounted price. In the screenshot below, another product was automatically added to my cart upon adding it to my cart.
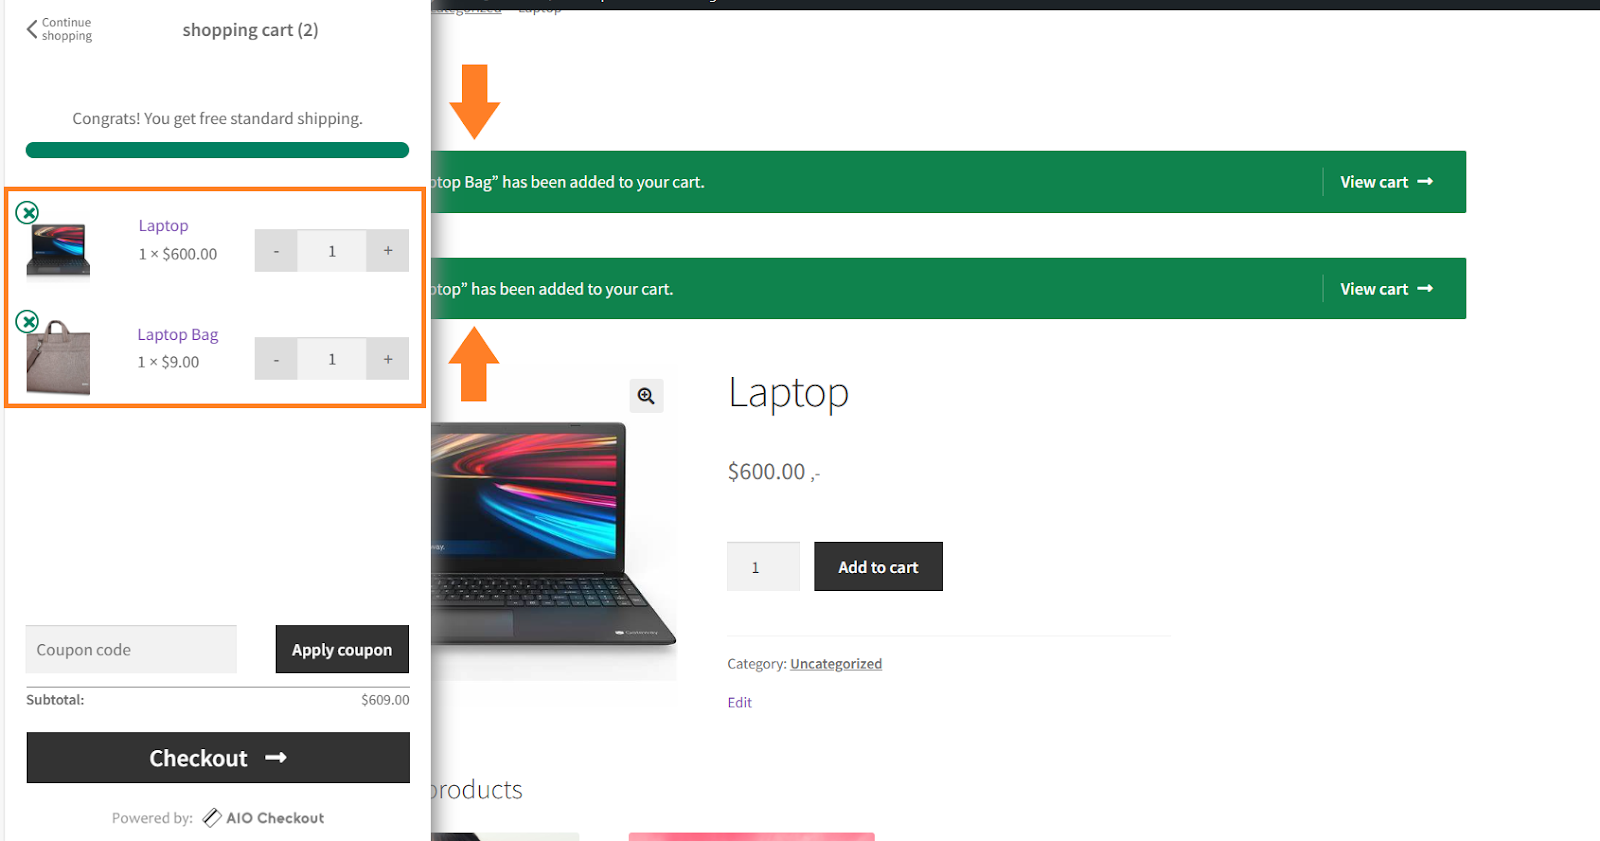
Note: I am using the mini cart that I enabled with the help of this plugin. You can also follow the mini cart tutorial to enable it on your store.
Conclusion
That’s it for today’s tutorial.
I hope it was helpful to you and you were able to force-sell products in WooCommerce to increase your revenue and encourage customers to spend more. It is an excellent cross-selling technique, and you can quickly implement it and more strategies to improve the average order value(AOV) in your store with the help of the AIO Checkout plugin.
If you have any questions, post them in the comments or contact our support department. Ready to get started? Download the AIO Checkout plugin now!


