Google Analytics 4 is a powerful tool that provides valuable insights into customer behavior, allowing you to track user interactions, measure sales performance, and identify growth opportunities.
Integrating WooCommerce with Google Analytics 4 lets you track customer behavior across your online store and better understand your audience’s needs and preferences.
To integrate Google Analytics 4 into your WooCommerce, you’ll need an external plugin since they will retire Universal Analytics as of 1st July 2023. To ensure you are still collecting data, you must switch to GA4 to make informed decisions about the marketing and sales strategies.
I’ll walk you through a step-by-step process to integrate Google Analytics 4 into your WooCommerce store using the AIO Checkout plugin
At the end of this tutorial, I’ll also share some tips to improve the cart and checkout of your WooCommerce store to increase the customer experience rate and reduce cart abandonment.
On This Page
How to WooCommerce And Integrate Google Analytics 4?
To integrate WooCommerce and Google Analytics 4, I’ll use the AIO Checkout plugin. The following are the steps to integrate them.
1. Install and Activate the AIO Checkout Plugin
First, download the AIO Checkout plugin from the Woosuite store.
Once you have downloaded it, navigate to the Plugins » Add New from your WordPress admin dashboard, and click the Upload button to upload the downloaded file to install and activate the plugin.

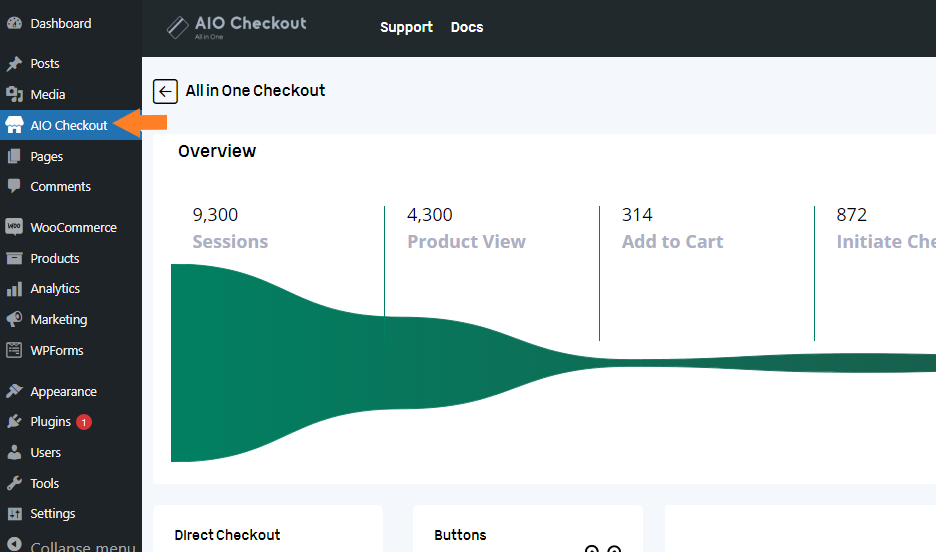
Once you have installed and activated the plugin, navigate to AIO Checkout from your WordPress dashboard.
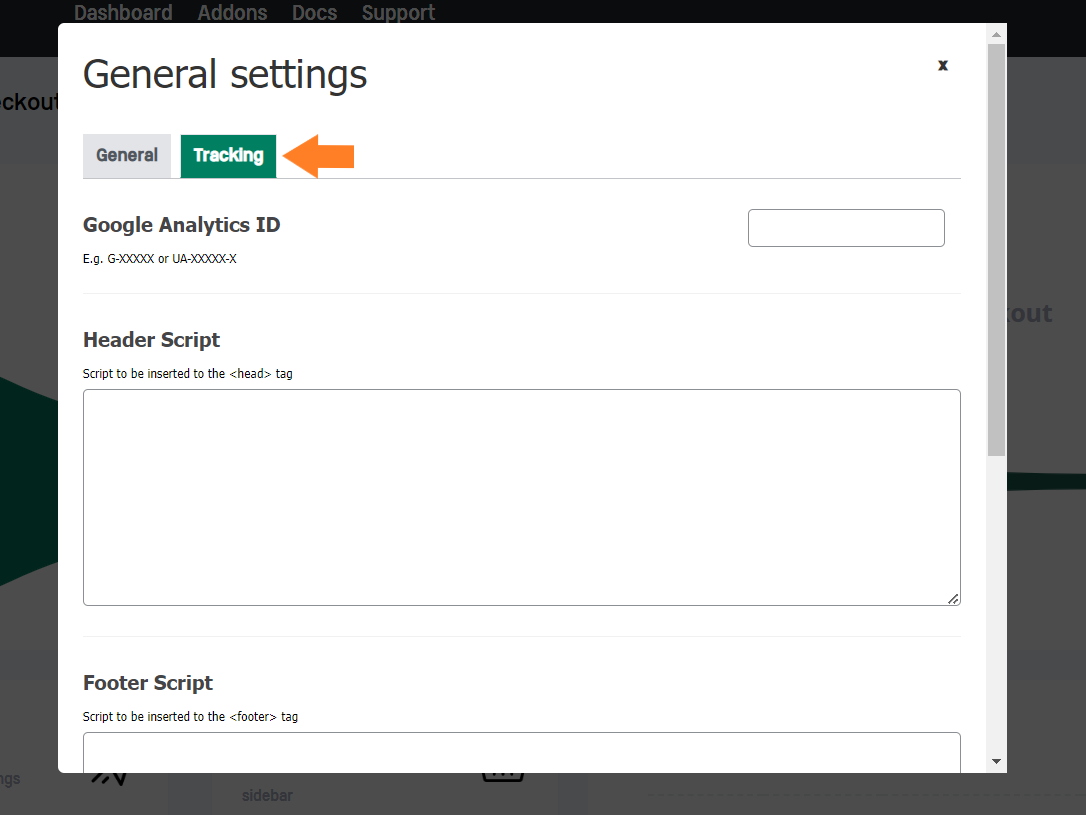
Once you get the measurement ID, return to the AIO Checkout from your WordPress dashboard and click the ‘Settings’ section.

It will open a pop-up. Click the ‘Tracking’ tab to get to the settings to integrate WooCommerce and Google Analytics.
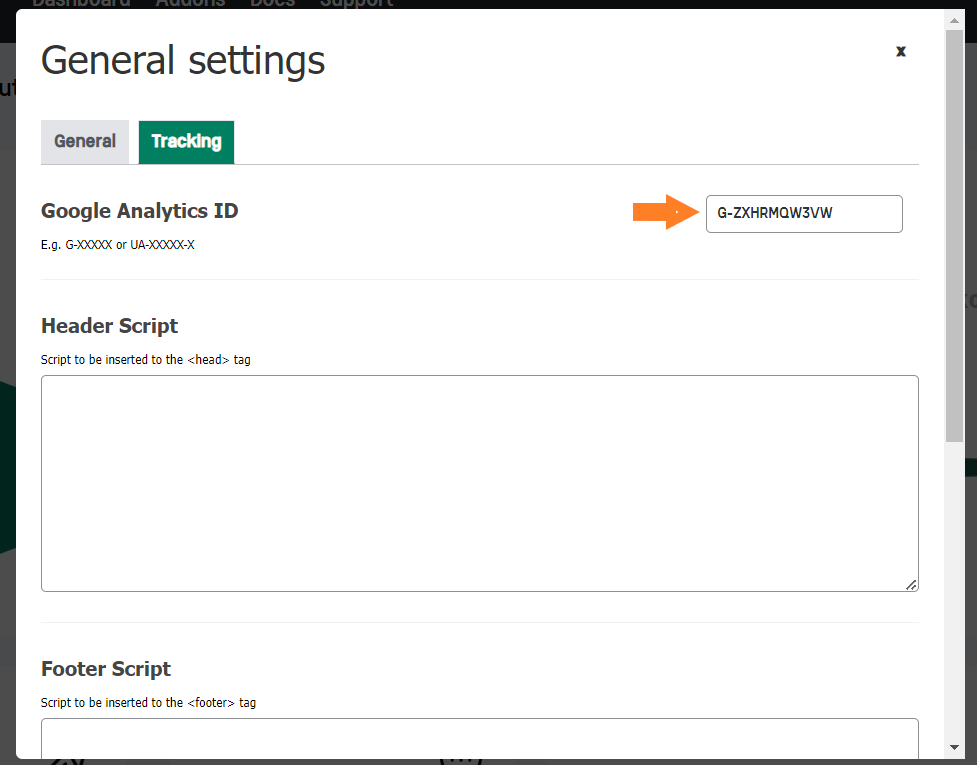
7. Paste the Google Analytics ID
In the tracking settings, paste the Google Analytics measurement ID in the Google Analytics ID field.
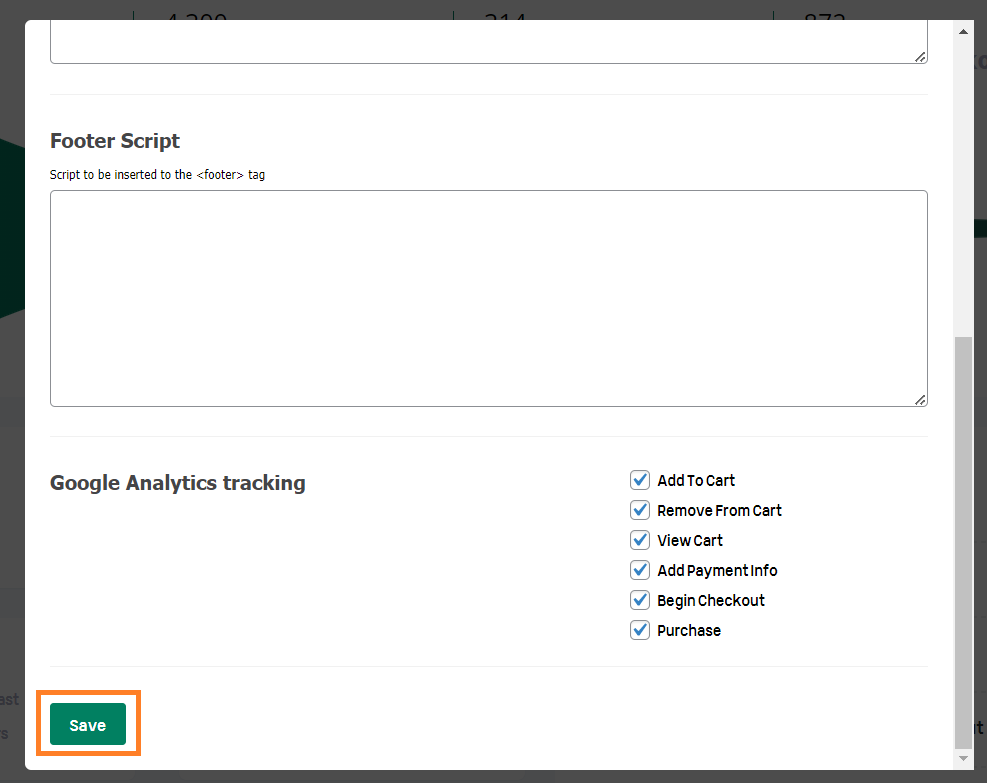
8. Configure the Google Analytics Tracking Events
After that, scroll down and check all the events from the Google Analytics Tracking section. I am checking all of them for this tutorial, but you can check the specific ones if you want.
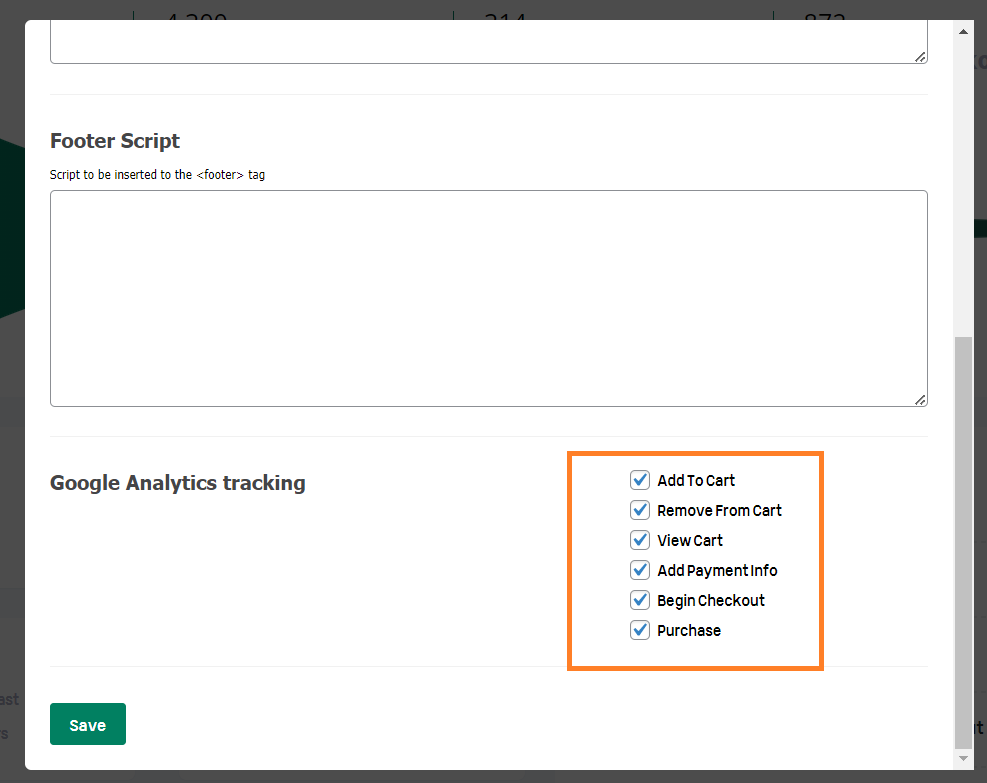
9. Save Settings
Finally, click the green ‘Save’ button in the pop-up to save the settings.
Where to Get your Google Analytics 4 Measurement ID
In a new tab, open Google Analytics. Set up your analytics account. It is straightforward to create. You can use your Google account to create a Google Analytics account.

1. Create a Google Analytics 4 Property
After that, we need to create a Google Analytics 4 property and get the measurement ID. We’ll use the ID in the AIO Checkout settings to track the events on the store.
Follow the following steps to create a property.
1.1. Click the Gear Icon
To create the property, click the black gear icon at the bottom left side of your screen in the Google Analytics 4 settings.

1.2. Create a Property
Once you click it, you’ll be redirected to a page where you can click the ‘Click Property’ button to create a new property.

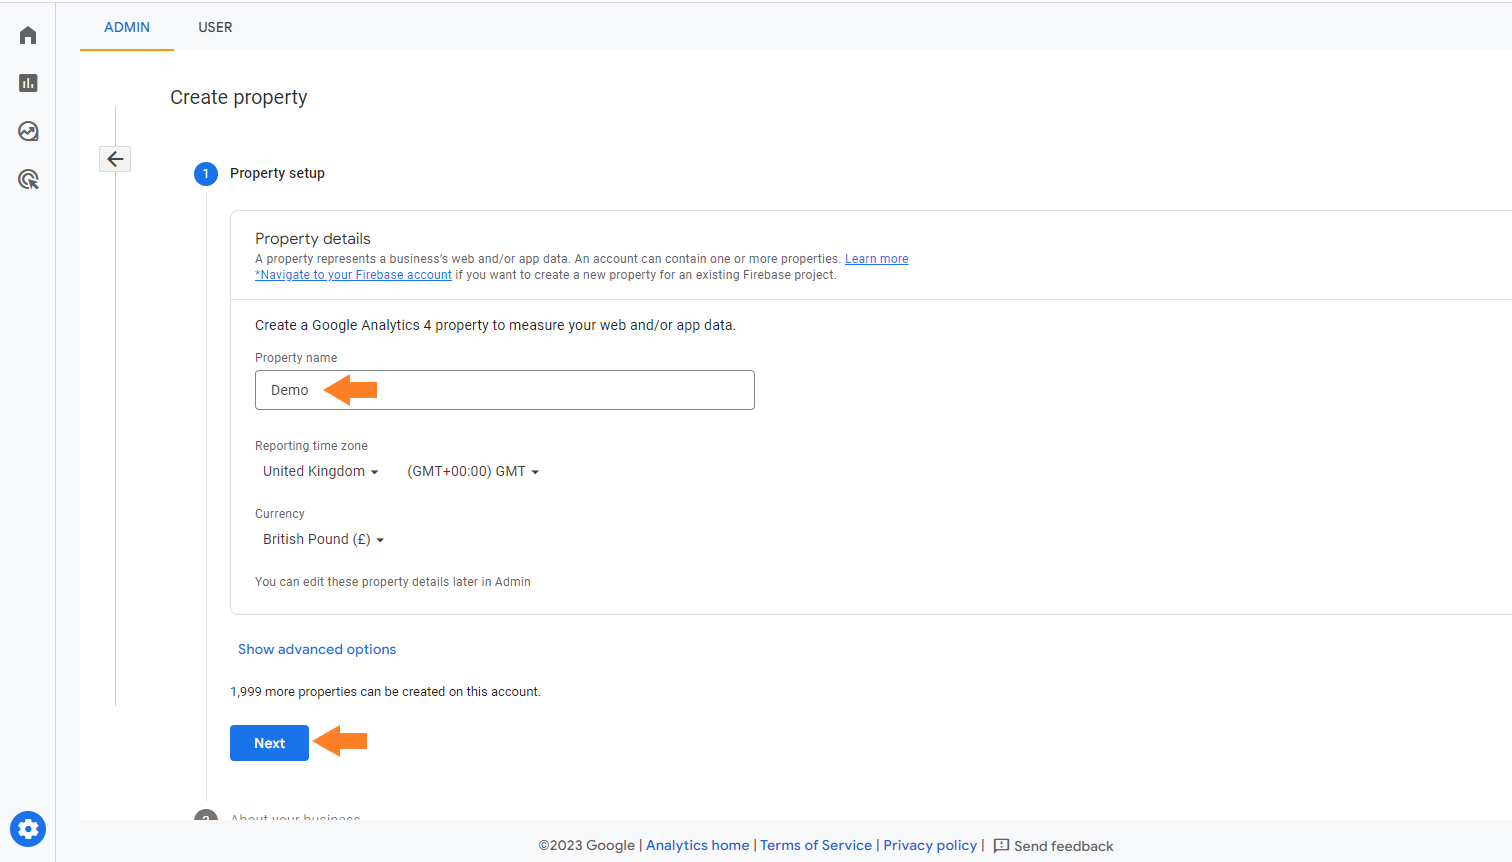
1.3. Configure the Property Settings
Once you click it, you’ll be redirected to the property settings page, where you can specify the property name. After that, click the ‘Next’ button to go to the next step.
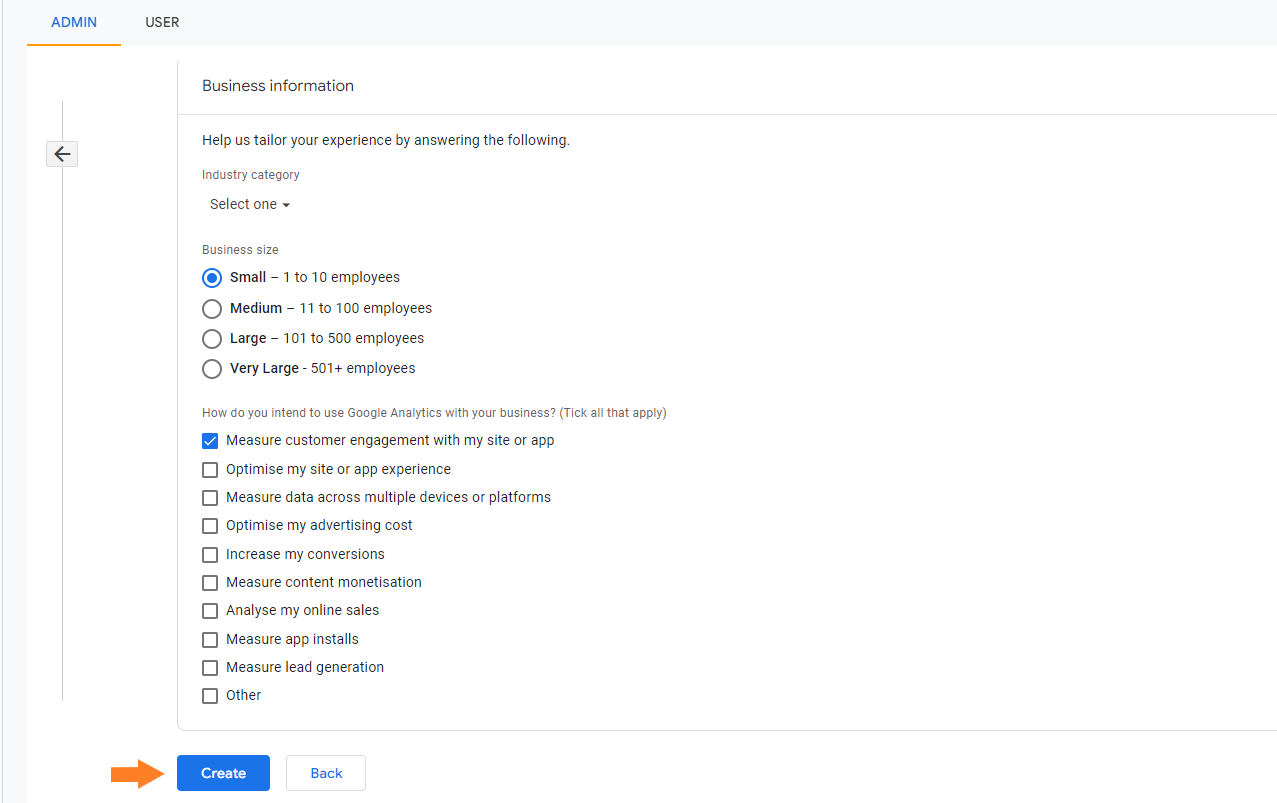
In the next step, you need to provide your business information, like the business size, and select how you want to use Google Analytics. You can select the ones that best explain your business and motive.
After that, click the ‘Create’ button to create a property.
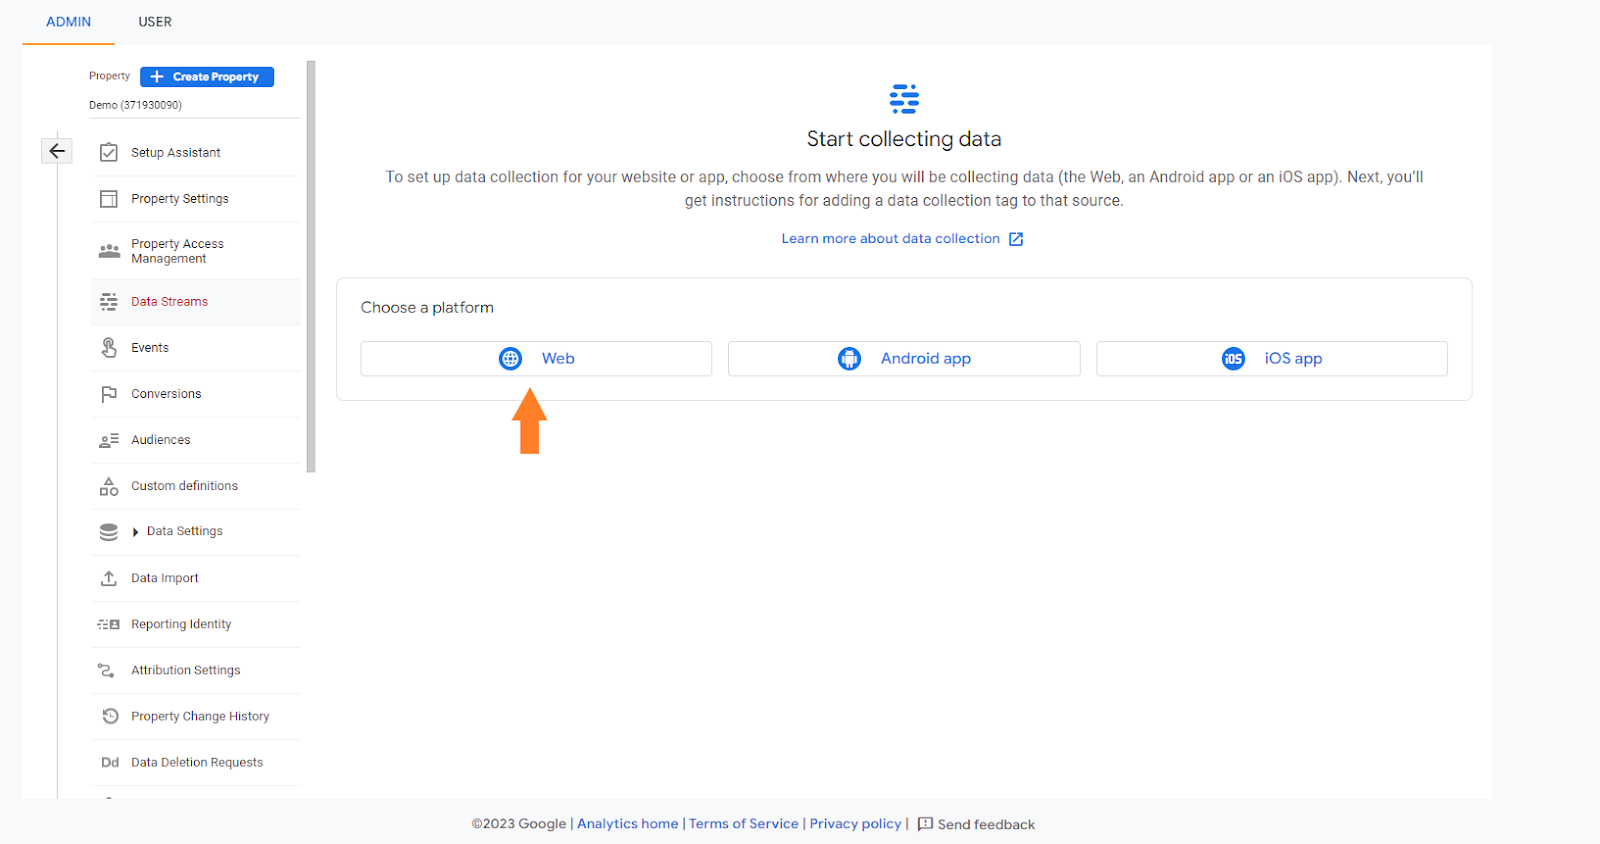
1.4. Choose a Platform to Collect Data
After clicking the button, the property will be created, but you still need to select the platform from which you want to collect data. We want to collect data from the web, so click the ‘Web’ from the ‘Choose a Platform’ section.
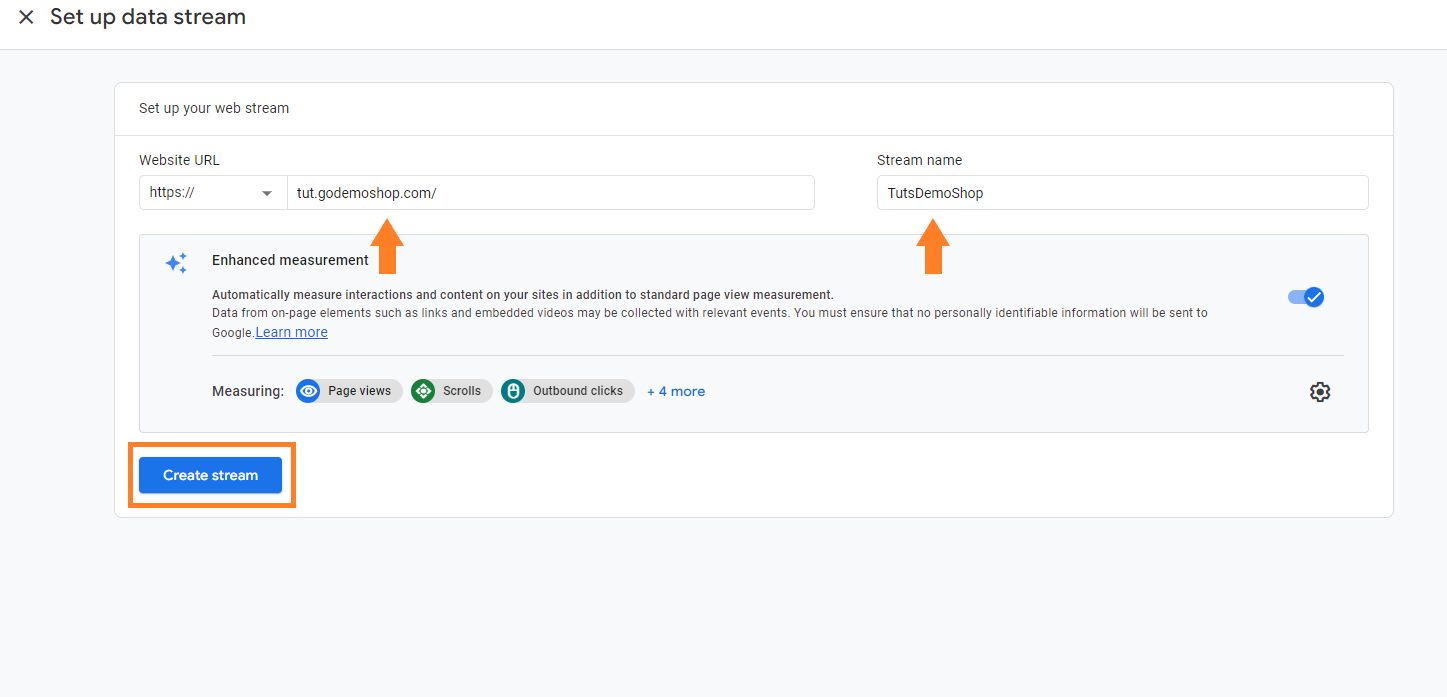
1.5. Enter Your Website Information
After selecting the web, you need to enter your site’s information, like the URL and the data stream name. You can enter the website’s name in the Stream name field.
Finally, click the ‘Create Stream’ button to create the data stream.
2. Get the Measurement ID
Once the data stream is created, you’ll see a new window with the web stream details.
You need to copy the measurement ID by clicking the copy button.

Final Results
Let’s test the results. I visited my store’s shop page and added a product to my cart to test it. After that, I visited the checkout page and placed the order.
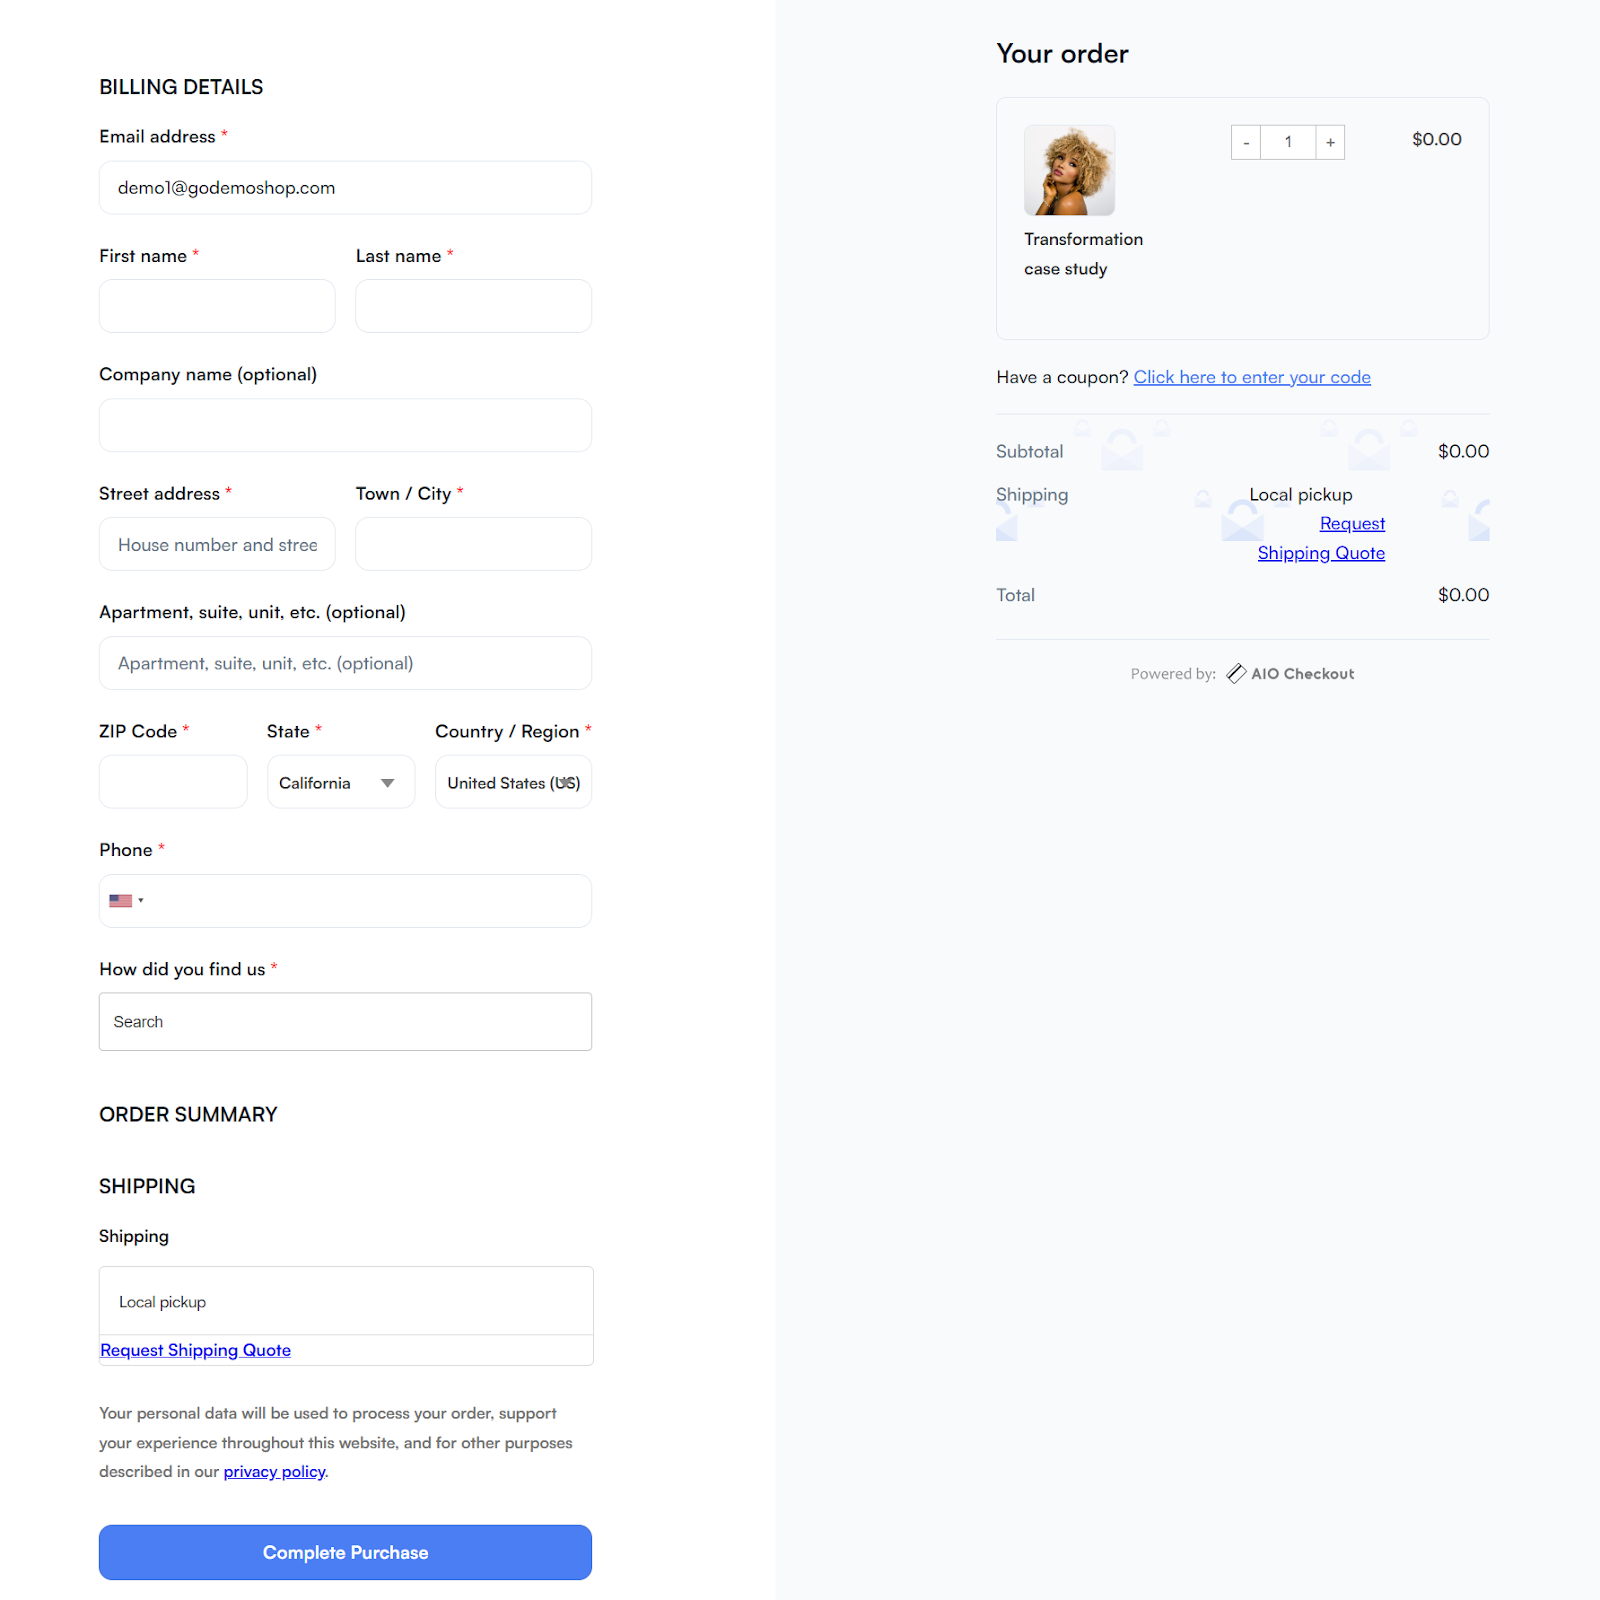
Note: The checkout page is designed using the AIO Checkout plugin. I have a guide to help you with this.
Once the order was placed successfully, I visited my Google Analytics dashboard and navigated to the Reports to see the analytics.
As you can see from the screenshot that the order I placed was tracked and shown in the analytics report. It will also show you the stats of other events like add to cart, pageviews, and more.

Conclusion
That’s it for today’s article. I hope this guide was helpful to you and you were able to integrate WooCommerce with Google Analytics 4(GA4) to get customer insights and optimize your store performance.
The AIO Checkout is the perfect plugin to integrate WooCommerce and Google Analytics 4. Besides this, it will help you improve the cart and checkout pages to reduce cart abandonment and increase the conversion rate.
Ready to integrate your WooCommerce store and Google Analytics 4 to get your customer’s insights? Download the AIO Checkout plugin now!


