The default thank-you page provided by WooCommerce may not always align with your unique brand identity, and you may want to customize it or create a custom WooCommerce thank-you page.
A custom thank-you will help you to increase repeat customers, revenue, and sales. You can completely customize it according to your business needs.
In this article, I’ll walk you through the step-by-step process of creating a custom WooCommerce thank you page for your online store. You’ll be able to customize each element on the page.
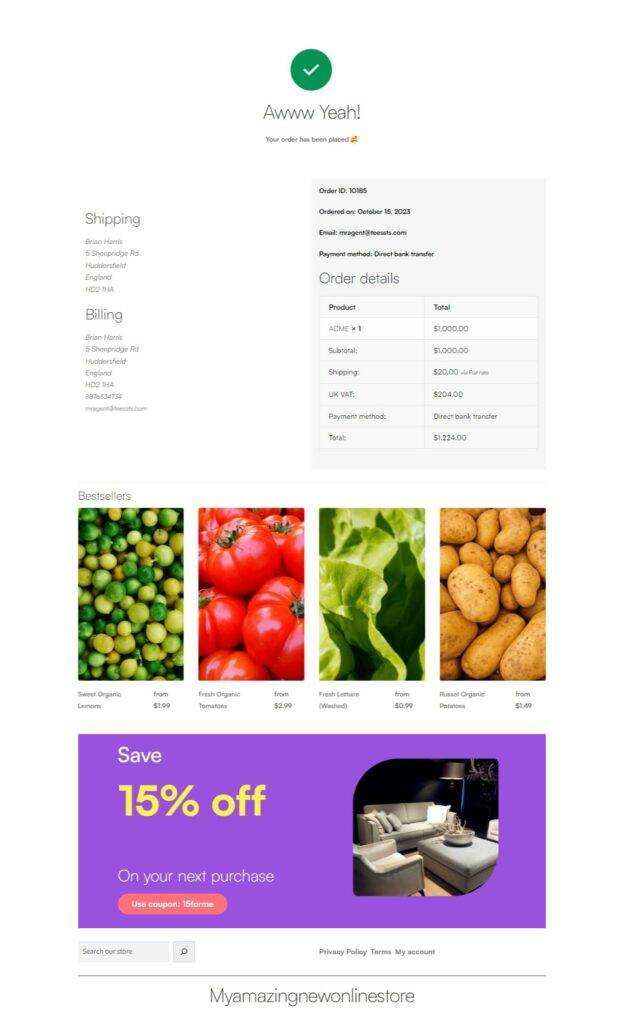
Here’s an overview of the final results.
So without any further ado, let’s jump into the tutorial.
On This Page
- 1 How to Create a Custom WooCommerce Thank You Page?
- 1.1 1. Install and Activate the AIO Checkout Plugin
- 1.2 2. Navigate to the AIO Checkout
- 1.3 3. Create a New Checkout Form
- 1.4 4. Select the Design of the Checkout Form
- 1.5 5. Enable Custom Thank You Page
- 1.6 6. Create a Custom WooCommerce Thank You Page
- 1.7 7. Enable the Checkout
- 1.8 8. Save the Changes
- 1.9 9. Final Results
- 2 Conclusion
How to Create a Custom WooCommerce Thank You Page?
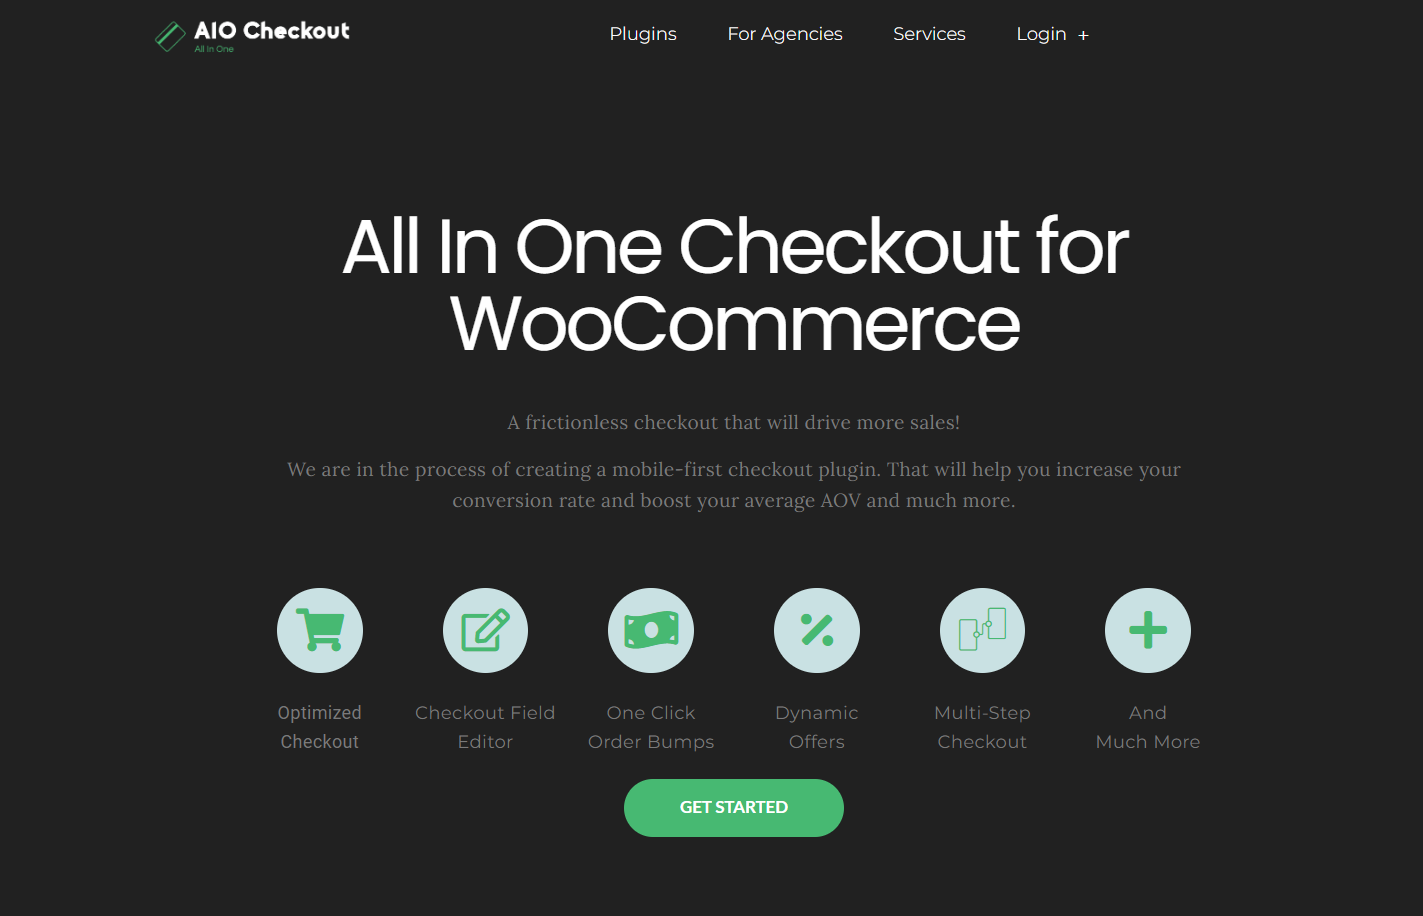
I’ll use the AIO Checkout plugin to create a custom thank you page in WooCommerce. It will allow you to customize the thank you page with page builders like Gutenberg, Elementor, or Divi.
Follow the following process to create a custom WooCommerce thank you page.
1. Install and Activate the AIO Checkout Plugin
First, download the AIO Checkout plugin from the Woosuite store.
Once you have downloaded it, navigate to the Plugins » Add New from your WordPress admin dashboard, and click the Upload button to upload the downloaded file to install and activate the plugin.
You will need the Pro version of AIO Checkout to continue with this tutorial.
Once you have installed and activated the plugin, navigate to AIO Checkout from your WordPress dashboard.

3. Create a New Checkout Form
We need to create a new checkout form to set up the custom thank you page. Click the “Create New Checkout” button to create a new checkout form.
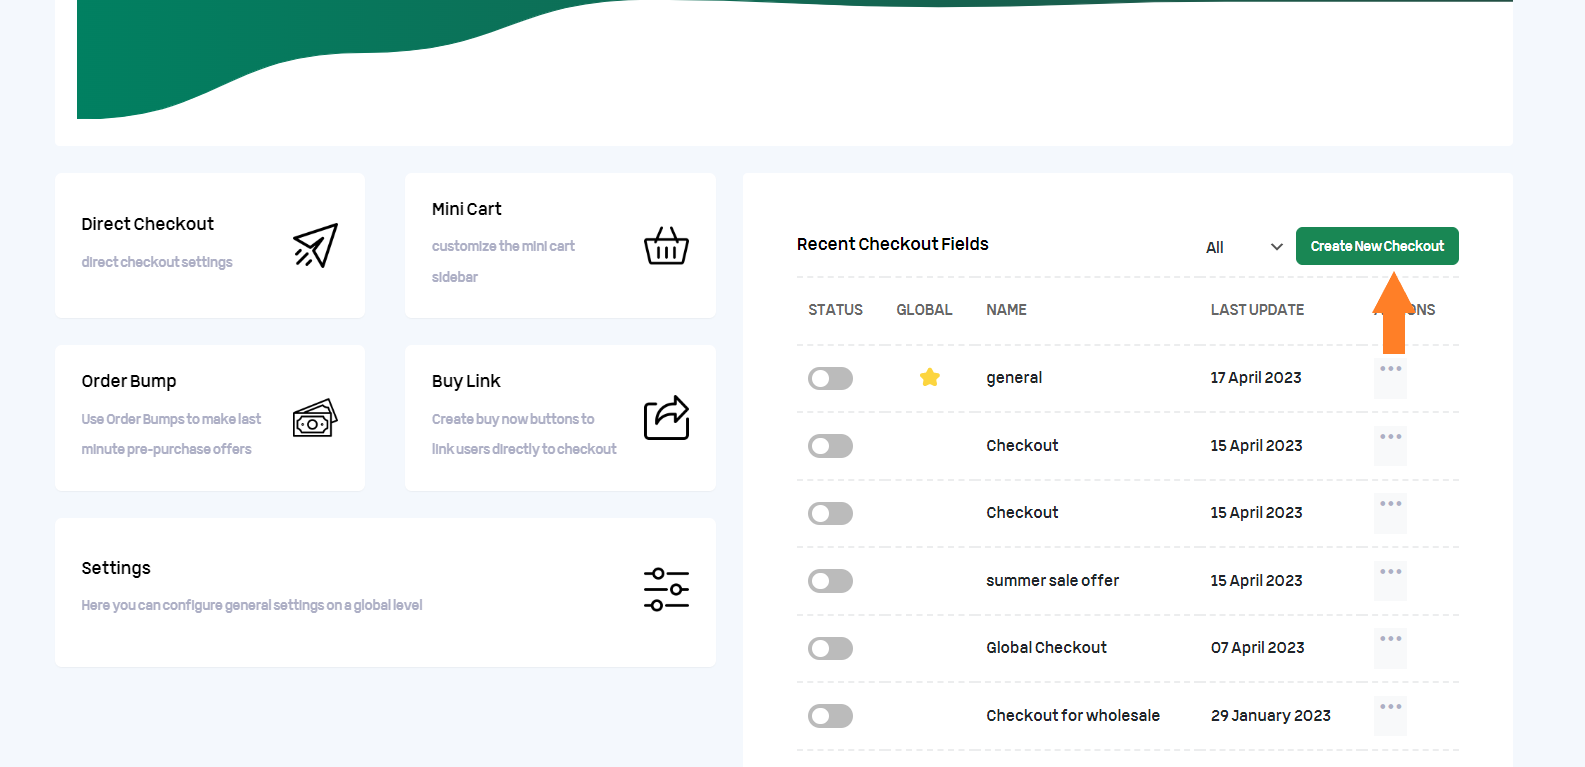
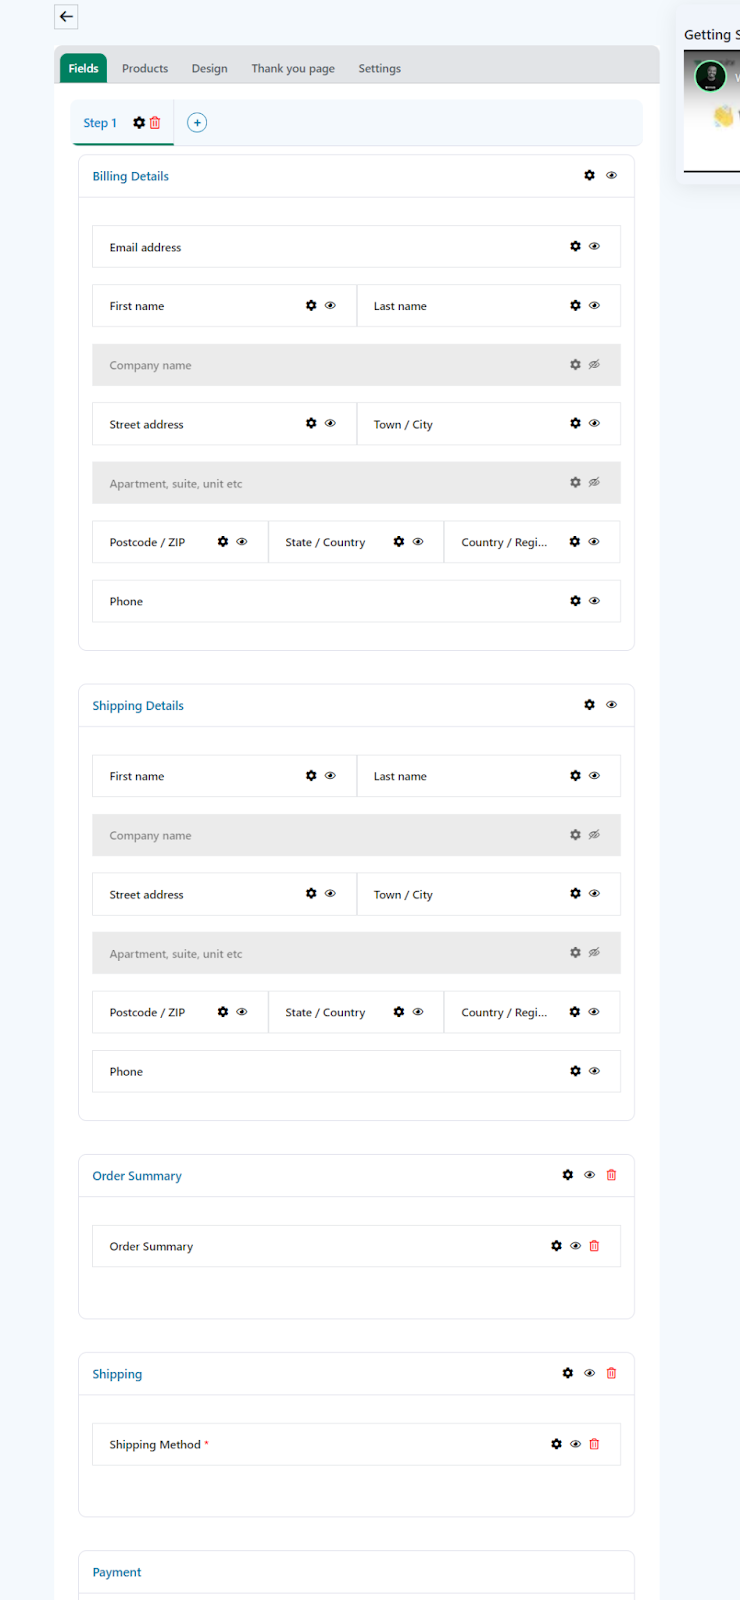
Once you click the button, a new checkout form will create. It’ll be the default WooCommerce checkout form, but you can customize it according to your business needs.
You can also add custom fields like birthday fields, VAT number fields, etc.
4. Select the Design of the Checkout Form
Once you have created the checkout, you need to select the design of the checkout form/page.
Click the “Design” tab to select the form’s design.
I have used the ‘Single-Column’ design and ‘Modern Shop Template’ for this tutorial, but you can choose any available designs and templates. Soon, it will have a few more templates that you can use.
.

5. Enable Custom Thank You Page
Navigate to the ‘Thank You Page’ tab to enable and create a custom page.
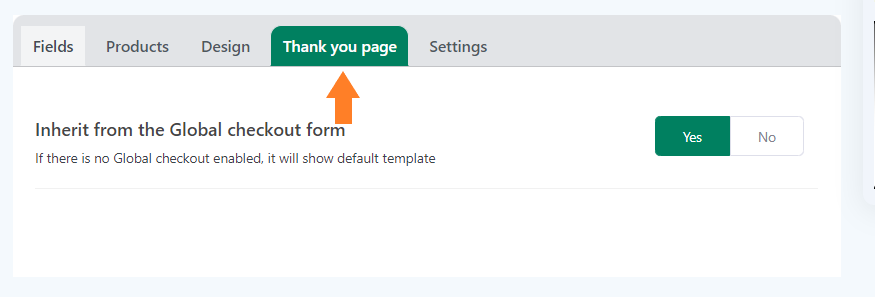
5.1. Disable the Inherit Global Checkout
Select ‘No’ to disable the inherit from the global checkout form to enable the custom thank you page.
If you select yes, the thank you page design will be inherited from the global checkout page.
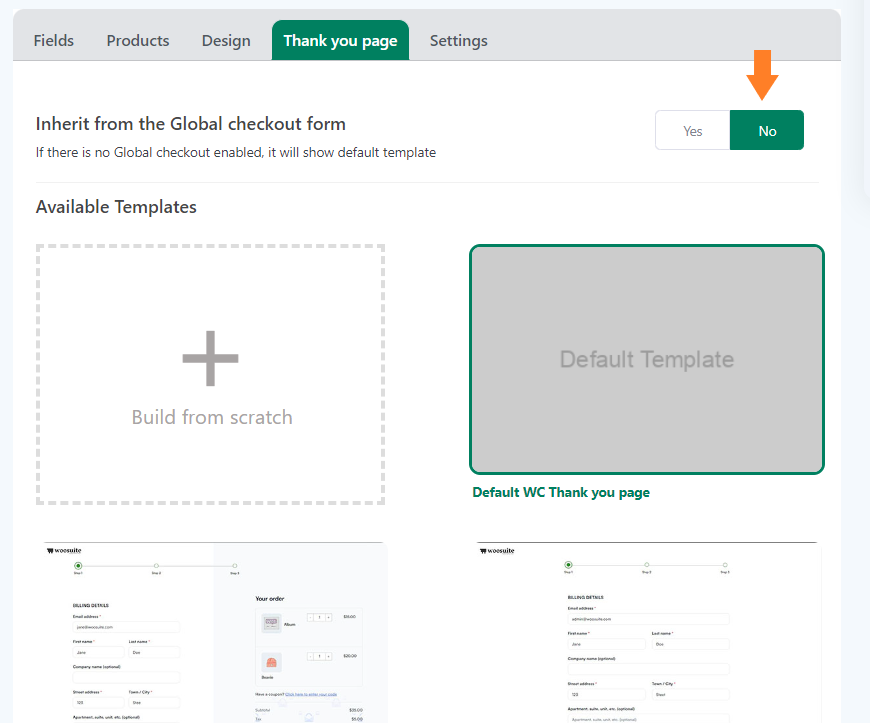
You can use one of the built-in templates for thank you or create a custom one by clicking the ‘Build From Scratch’ box.
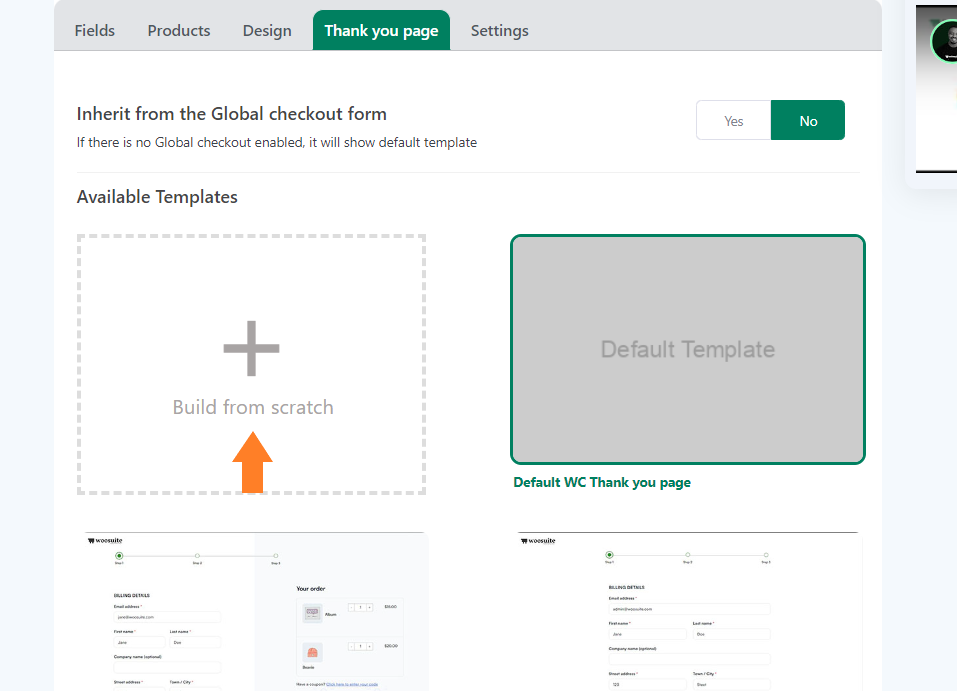
6. Create a Custom WooCommerce Thank You Page
Once you click the ‘Build from scratch’ button, you’ll be redirected to the WordPress edit page, where you can create a new page.
It doesn’t matter which page builder you use; it will work for the popular ones. You can create the thank you page using Elementor or Divi as well.
I’ll use the default WordPress editor to create the thank you page.
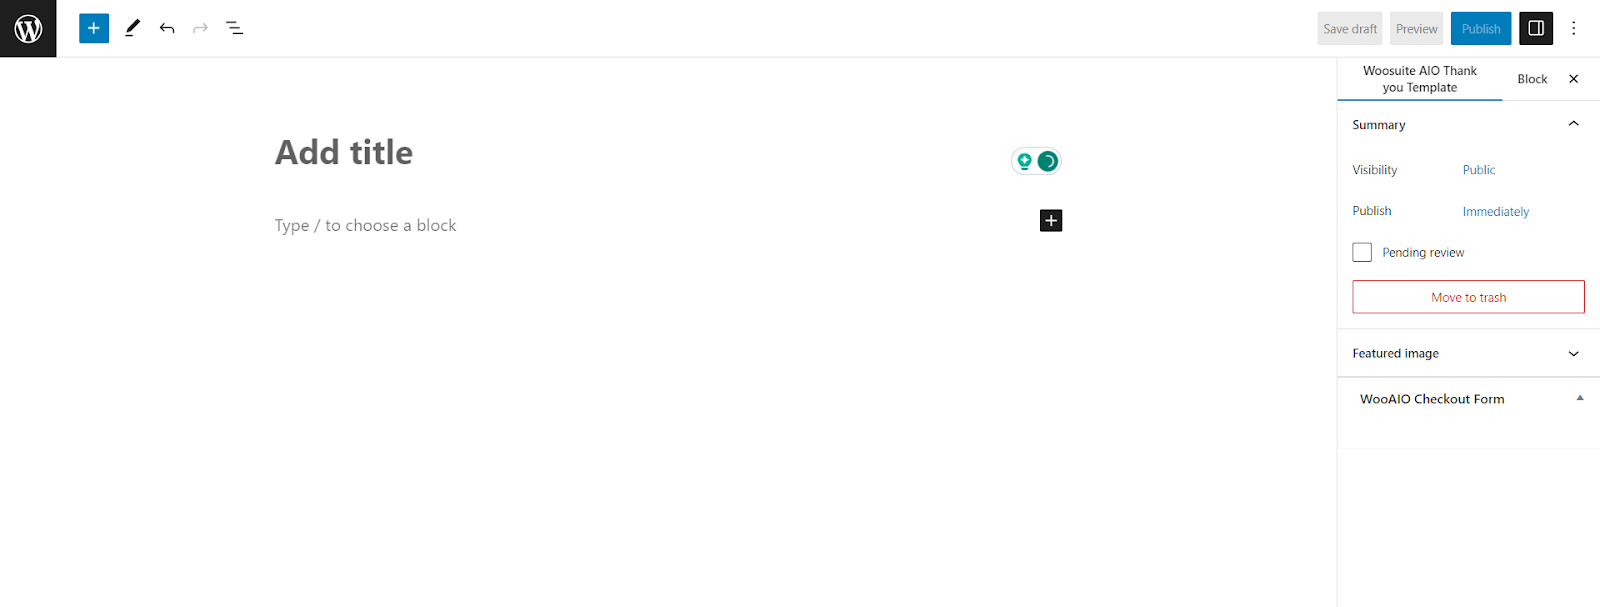
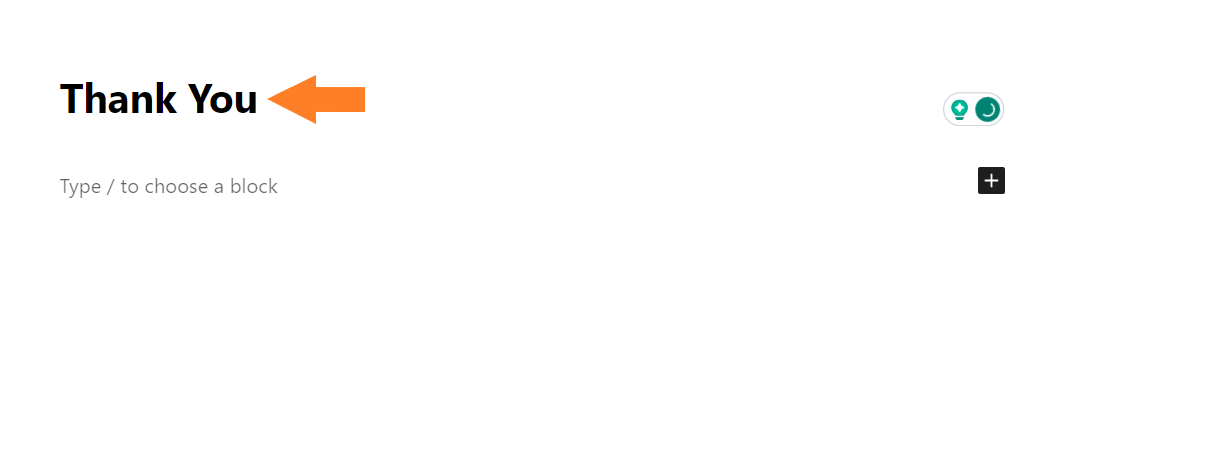
6.1. Add a Page Title
In the ‘Add title’ field, add the page title. It will help you to identify the pages and create the page slug.
6.2. Add Blocks to the Page
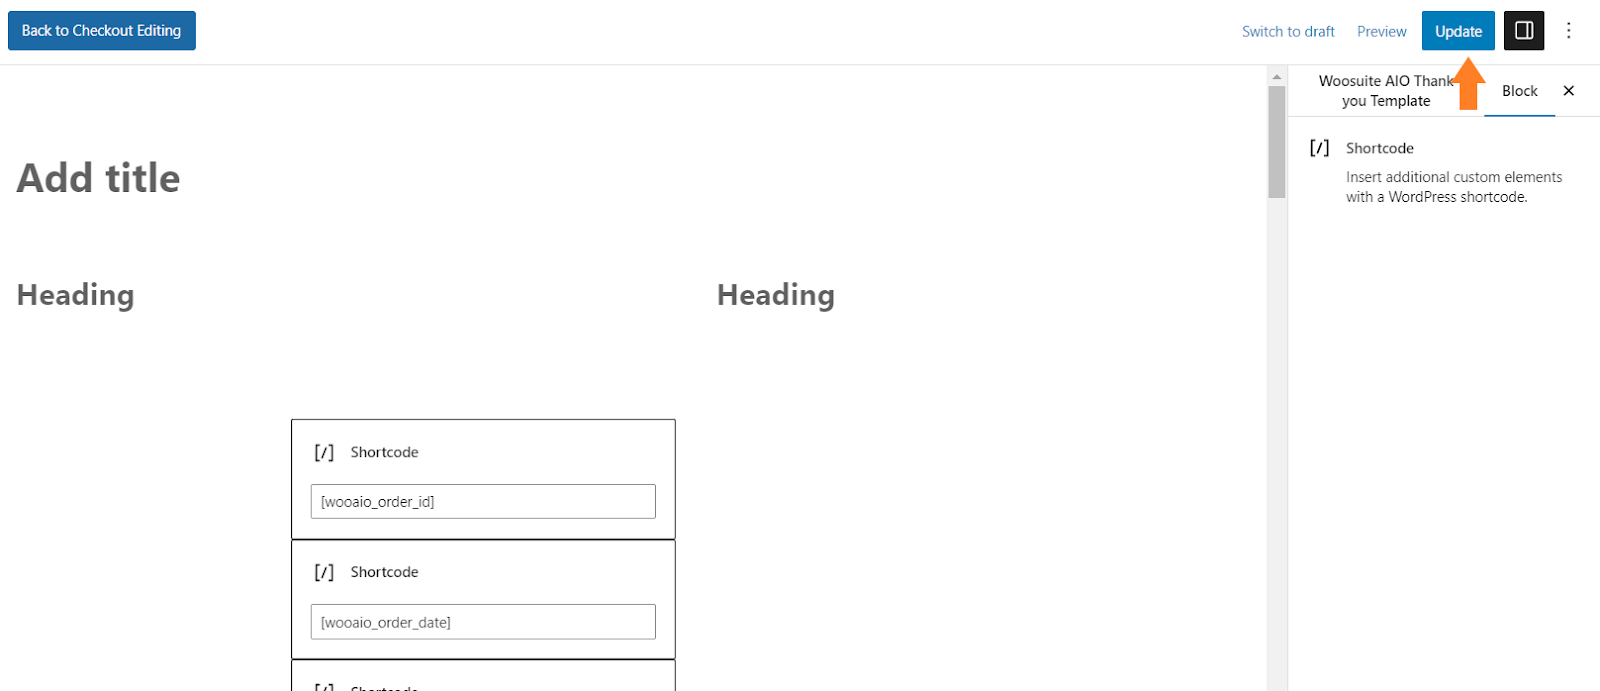
After that, you need to create the thank you page design. I have already created a design using the default WordPress block editor.
I added the columns and shortcodes to add the product and user’s information on the thank you page. Following is the list of shortcodes that you can use to display the purchased product and user information.
[wooaio_order_id]

[wooaio_order_date]

[wooaio_order_user_email]

[wooaio_order_total]

[wooaio_order_payment_method]

[wooaio_order_detail_table]

[wooaio_order_shipping_address]

[wooaio_order_billing_address]
I have also added the discounts and the best sellers section to encourage the customers to continue shopping from the store.

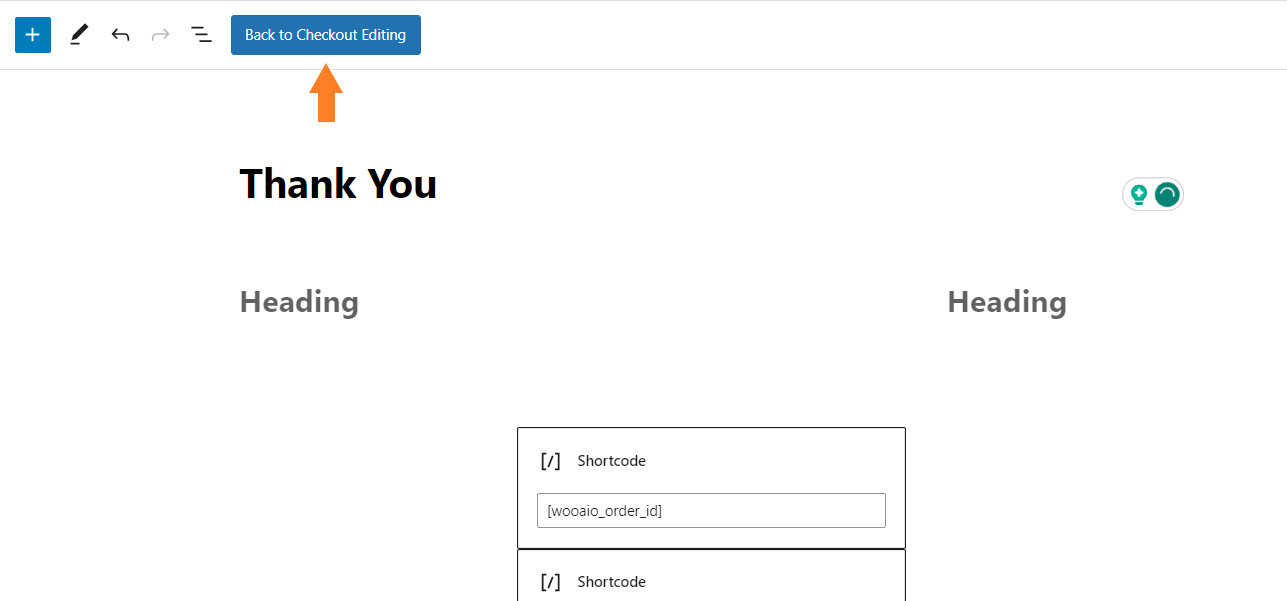
6.3. Publish/Update the Page
Once you have created the design, click the blue ‘Publish/Update’ button to publish the page.
6.4. Go Back to the AIO Checkout
Once the page is updated, click the blue ‘Back to Checkout Editing’ button to return to the checkout editing page.
6.5. Select the Thank You Page Template
Now, click the ‘Thank You’ tab. There you will see the custom template that you just created.
To select the template, click the template.

7. Enable the Checkout
After selecting the checkout design, we need to enable this checkout form. Click the ‘Settings’ tab.
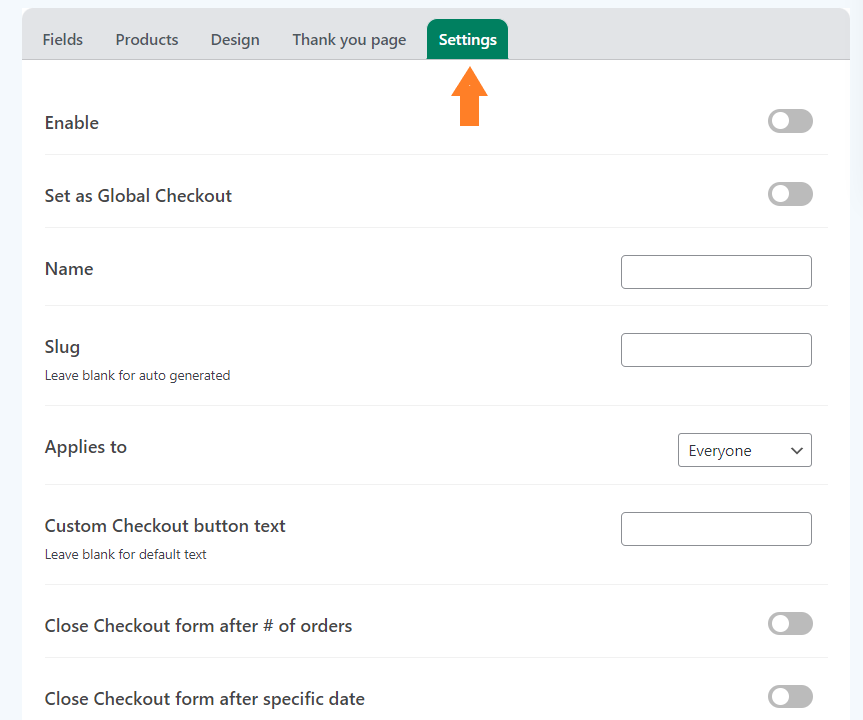
5.1. Enable the Checkout Form
To enable the checkout form, toggle the ‘Enable’ button. Also, ensure you have enabled the ‘Set as Global Checkout’ option to make this form the global checkout.
You can leave it disabled if you want to set this checkout form for specific user roles. I am enabling it as global checkout as I don’t want to set a user restriction.

7.2. Give a Name to the Form
Now, we need to give a name to this form. It will only be displayed to the admin. It is helpful if you have created different checkout layouts for different user roles.
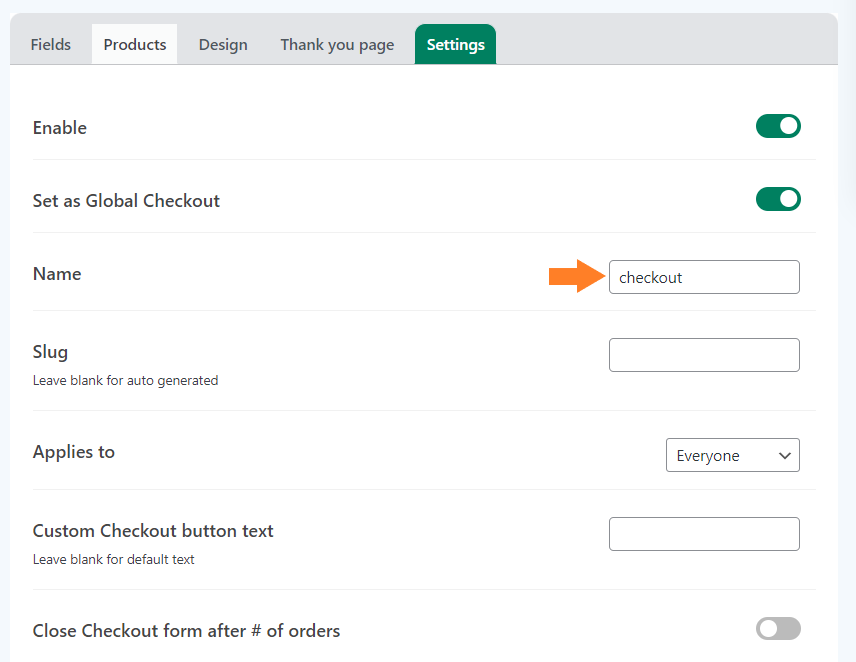
Note: You can also explore the other available settings and set a custom checkout button text. But I’ll move to the next step to keep this tutorial short and to the point.
8. Save the Changes
Now click the green “Save Changes” button at the top right corner of your screen to save the settings.

9. Final Results
To test the final results, I purchased from my demo WooCommerce store, and here’s the thank you page I created in the previous steps.
Conclusion
That’s it for today’s article. I hope this article was helpful to you and you were able to create a custom thank you page in WooCommerce to create a better customer experience.
However, if you want to customize the default WooCommerce thank you page, you can follow the WooCommerce Thank You Page Hooks article to find out about the hooks you can use to customize it.
AIO Checkout gives you a few built-in templates that you can use to create a thank you page. You can also create your custom page using any popular page builder.
Ready to get started? Download the AIO Checkout plugin now!


