A well-designed landing page is essential in e-commerce for turning visitors into customers.
And when it comes to promoting a sale or discounted offer, having an effective sale landing page can be the difference between a successful campaign and a flop.
WooCommerce is the most used eCommerce platform worldwide. Fortunately, it allows you to use third-party plugins like Elementor page builder to help you create stunning sales landing pages. It makes it easy to create different eCommerce pages.
In this article, we’ll show you how to create an effective sale landing page with Elementor, from preparing to build the page to optimize it for maximum results.
Whether you’re a seasoned web designer, business owner, or just starting, you’ll find practical tips and tricks to help you create a successful Elementor sales landing page that converts visitors into customers.
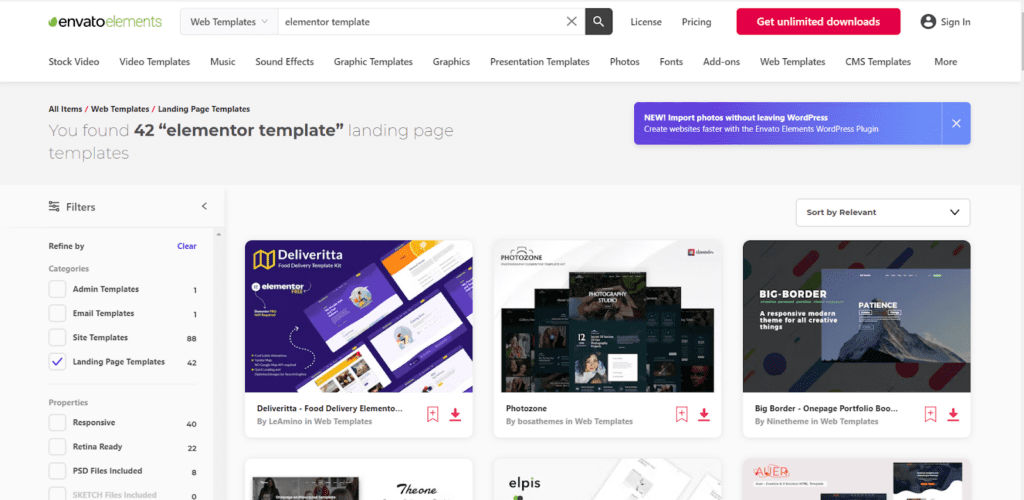
Tip: If you want some Elementor templates, you can download them and use as the landing page. In that case, Envato Elements provides you with several Elementor templates that are designed by professional web designers.
On This Page
What Makes a Great Sales Landing Page?
A great sales landing page captures visitors’ attention and motivates them to act, such as purchasing, signing up for a service, or filling out a form. Here are some key elements that make up a great sales landing page:
- Headline – Your headline should clearly communicate the value proposition of your product or service. It should be attention-grabbing, persuasive, and focused on the benefits of your offering.
- Hero image/Video – The hero image or video on your sales landing page is a vital element that immediately captures visitors’ attention. It should be visually appealing, relevant to your product or service, and help communicate your value proposition.
- Features And Benefits – Listing out the features and benefits of your product or service is an effective way to communicate with visitors on your sales landing page. Features are specific attributes of your product or service, while benefits explain how those features solve a problem or meet a need.
- Call To Action – The call to action (CTA) is a critical element of your sales landing page, as it prompts visitors to take action and convert into customers. Your CTA should be clear, concise, and visually prominent. It will make it easy for visitors to understand what they need to do next.
- Testimonials/Social Proof – Testimonials and social proof provide credibility and help build trust with potential customers by showcasing the positive experiences of previous customers. They are as important as the other factors.
- Risk Reversal Guarantee – Adding a risk reversal guarantee to your sales landing page can be valuable for addressing potential customers’ objections or concerns, ultimately increasing the likelihood of a conversion.
- FAQ – Including an FAQ section on your sales landing page can be a helpful way to address any potential questions or concerns visitors may have about your product or service.
Examples of Elementor Sales Page
Many great examples of sales pages created with Elementor showcase the platform’s flexibility and customization options. Here are a few examples:
1. PRISM Course

PRISM is an online course by PR Couture that teaches students how to launch a successful fashion PR campaign. It discusses things like working with the media, celebrity marketing, making content, and planning events.
It is self-paced and accessible worldwide, making it suitable for aspiring PR professionals, fashion bloggers, and entrepreneurs. The course gives real-world tips and methods that can be used right away.
What We Like:
- The headline is inspiring, builds visitors’ trust, and tells the value. It also explains the benefits of getting the course.
- CTA is very clear.
- The overall page talks about how and in which way the course can help the customers.
- The page gives a complete course overview, showing its value and encouraging customers to purchase it.
- Strong branding.
What We Don’t Like:
- Sign-up element is not clear.
- Some of the content is hard to read in the middle of the page due to color contrast.
2. Video Power
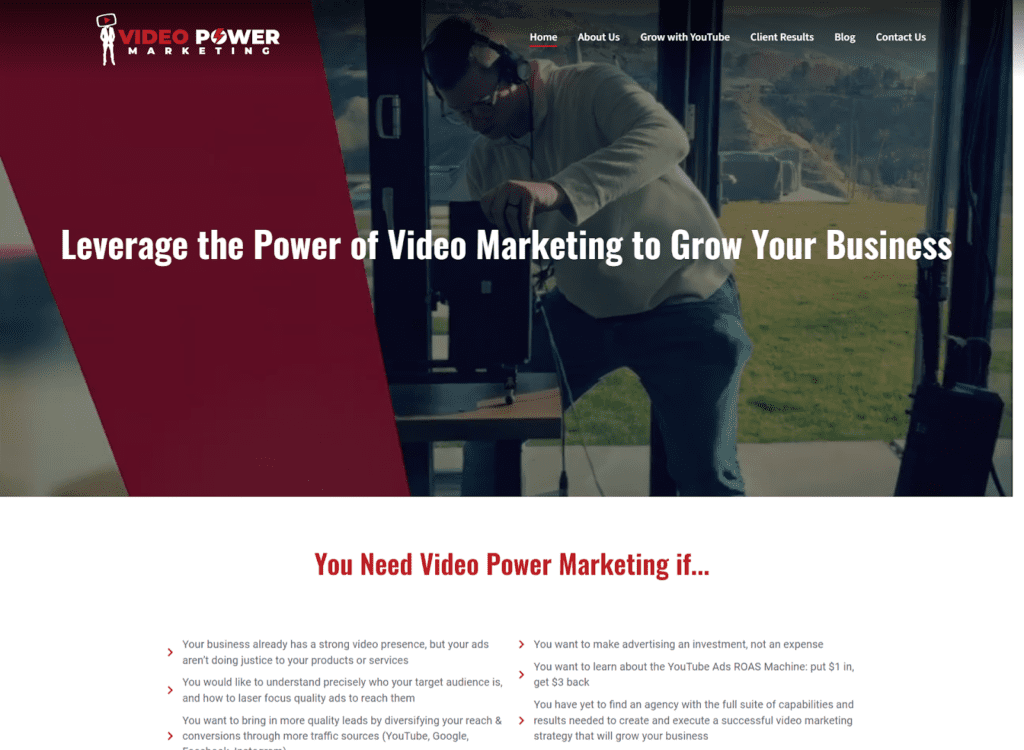
It is a video marketing agency that helps customers to run video ads on Youtube and Google to get them conversions and increase their revenue. Over the past ten years, it has helped several businesses increase their ROAS by 3.3x on average.
What We Like:
- They are using an excellent video in the hero section showing the benefits and features of their services.
- The headline is also clear and shows the value.
- Their services section is very clear and has a proper CTA for each service.
- They show the brands they have worked with to win visitors’ trust and testimonials.
- They are also showing the results they have got for their clients.
What We Don’t Like:
- They are showing the menu on the landing page, which is not recommended as it can distract customers.
- They are not using the FAQ section.
3. Renegade Diet
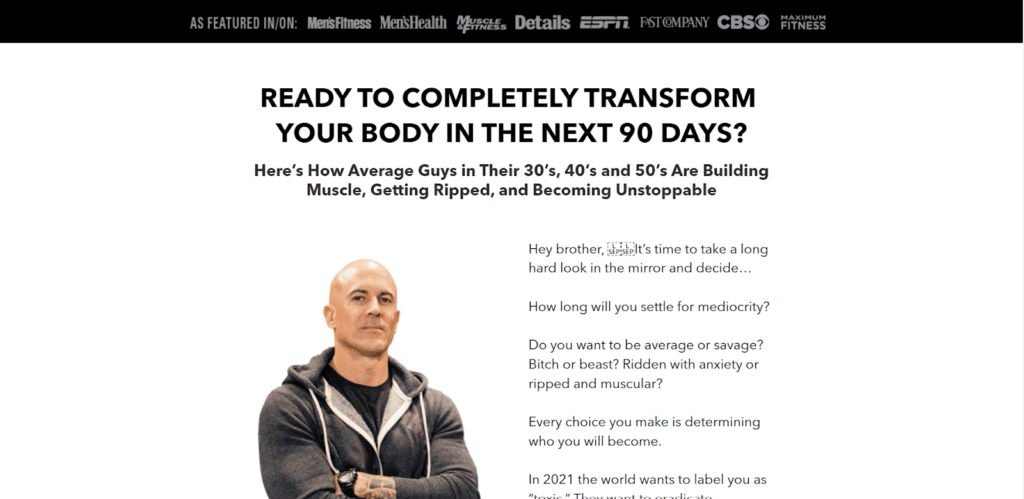
It is a diet program offered by Jay Ferruggia to help customers transform their bodies in the next 90 days. The sales landing page is effectively using tactics that can help bring customers.
What We Like:
- They show the brands they are featured on.
- The content seems encouraging and directly addresses the user’s needs.
- Good use of case studies and testimonials.
- Multiple CTA buttons.
What We Don’t Like:
- CTA looks like part of some graphic banner.
- The visual appearance isn’t that much appealing.
How to Create an Effective Sale Landing Page with Elementor?
I’ll create a landing page to sell bouncy castles and other games for kids. The following steps will help you make a compelling sales landing page with Elementor. I also have a video to help you with it.
Note: Before diving into the tutorial, ensure you have the Elementor installed and activated on your WordPress site. It also has a free version with limited features.
1. Create a New Landing Page
First, you need to create a new page and edit it with Elementor. To do so, follow the following steps.
1.1. Create a New Page
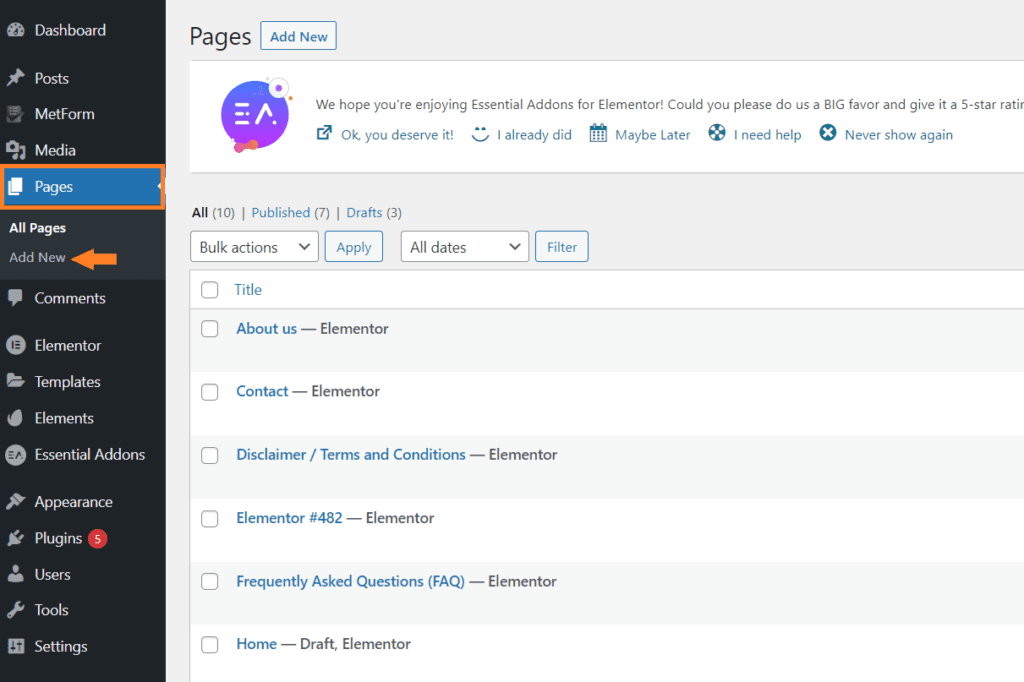
To create a new page, navigate to Pages » Add New from your WordPress admin dashboard.
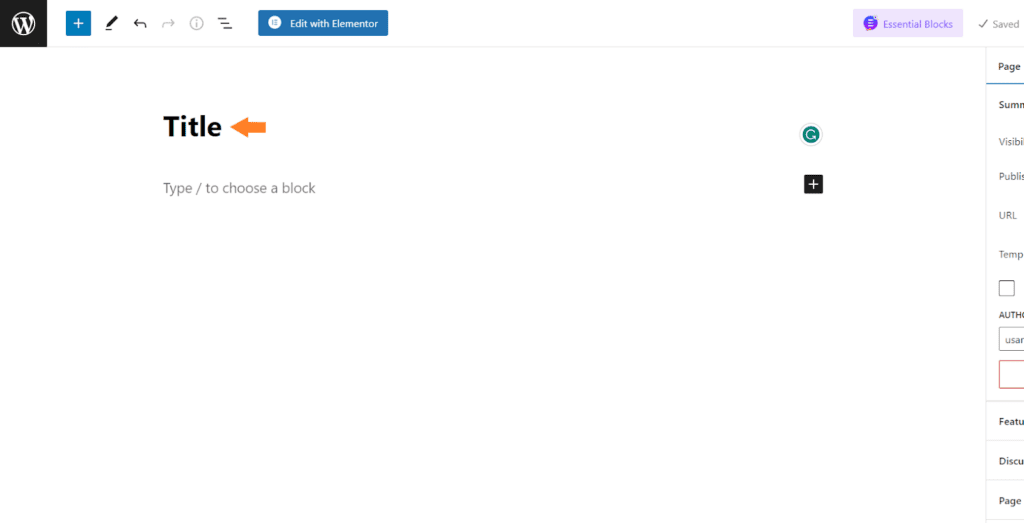
1.2. Add the Page Title
Once you are on the edit page, add the page’s title in the ‘Add Title’ field.
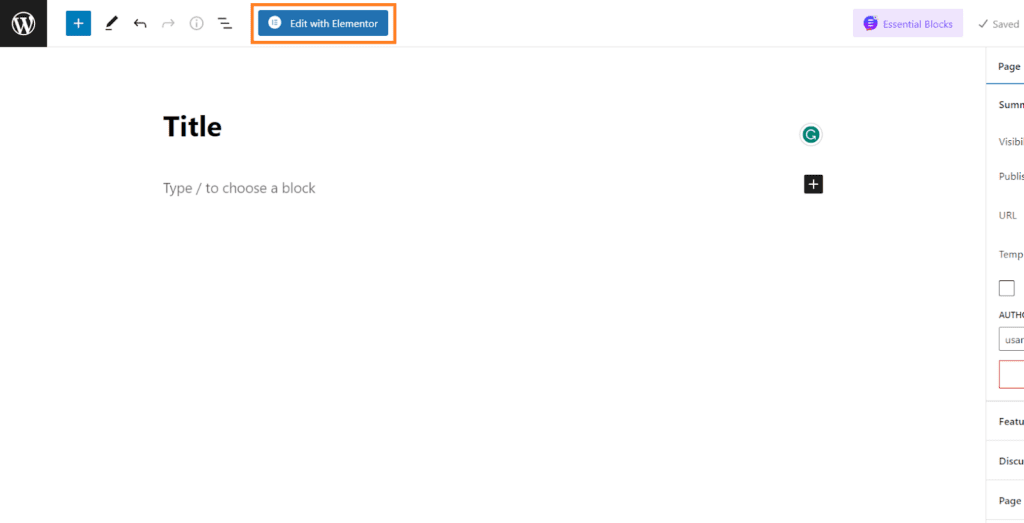
1.3. Edit the Page With Elementor
Click the blue ’Edit with Elementor’ button at the top left side of your screen to edit the page with Elementor page builder.
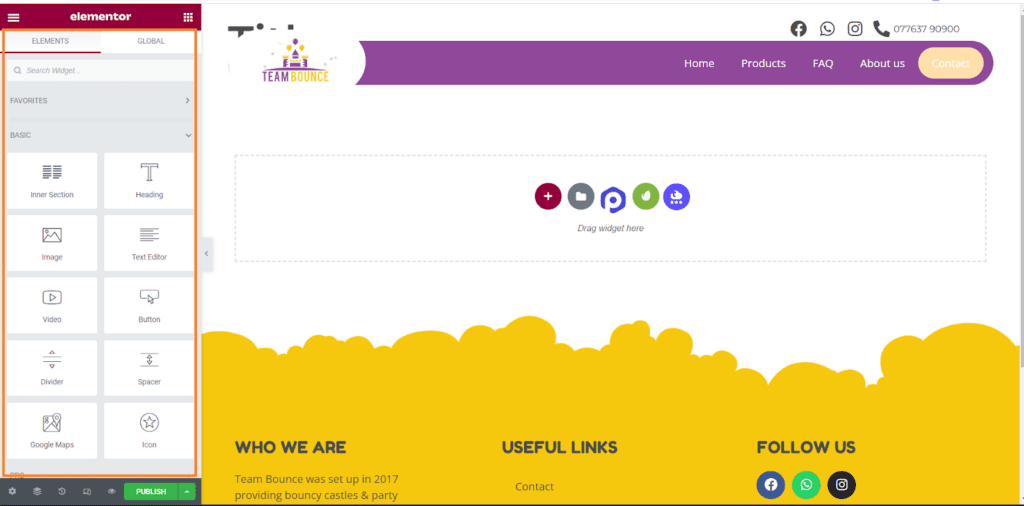
Once you click the button, it will take you to the Elementor page builder, where you can add, edit, and delete sections and widgets. The left panel will have all the widgets you can use to create your site or sales landing page.
2. Add Hero Image
With Elementor, you can easily add a hero image widget to your landing page and customize it to fit your brand and messaging.
When choosing a hero image, ensure it’s high-quality, visually appealing, and relevant to your product or service. It should convey the key features and benefits of your offering and help communicate your value proposition.
In addition, you can add overlay text or buttons to your hero image to make it more engaging and actionable. I have done the same with my landing page.
The first section will have the hero image or the video.
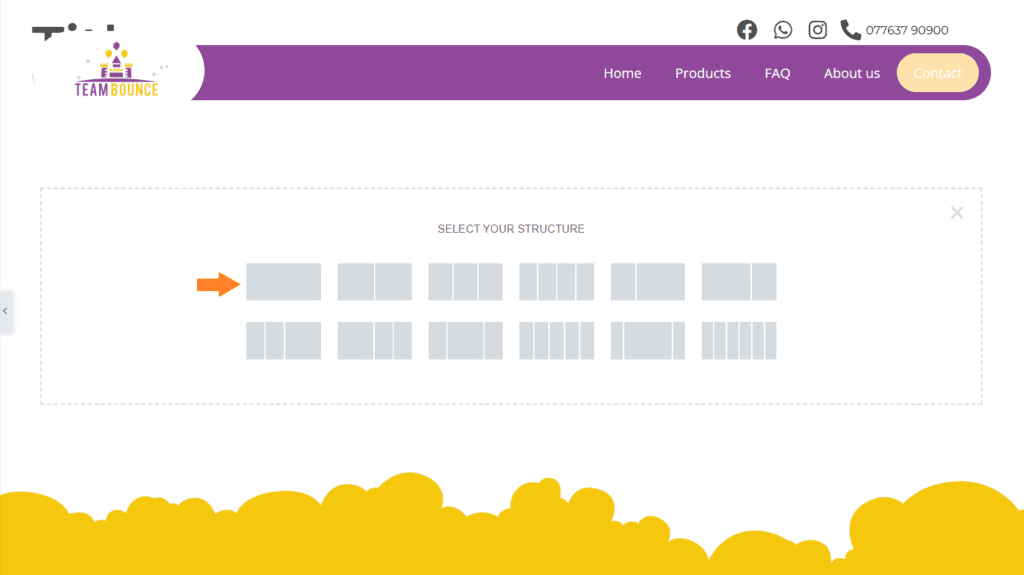
To add a hero image, first, we need to create a new section by clicking the red plus (+) icon in the middle of the page and selecting the type of section.

2.1. Create a Section
Once you click it, you’ll see a few different section types (each with a different number of rows and columns). You can select the section type you want.
You can also create them manually, but Elementor helps you by creating a few different sections so you can get started quickly. It is totally up to you if you want to use them.
If not, click the section with a single row and column.
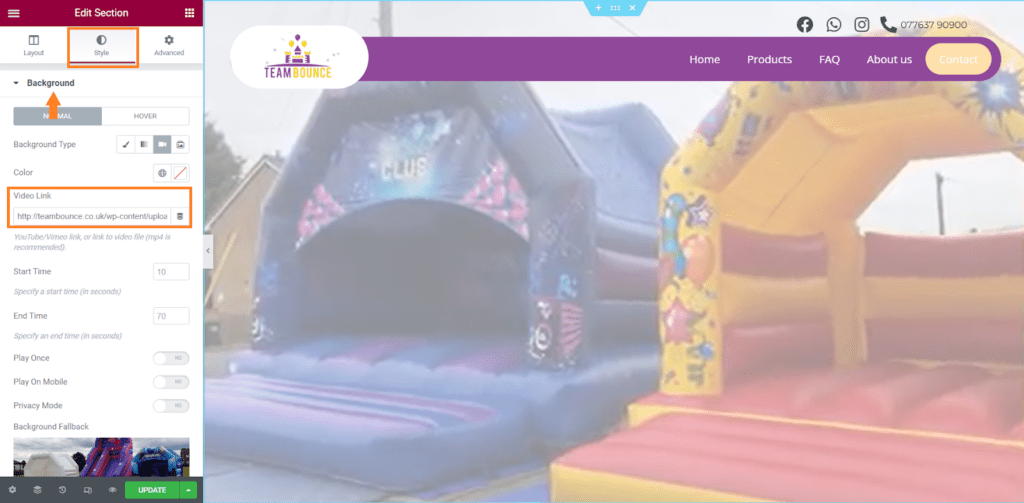
2.2. Add Hero/Background Image or Video
After adding the section, I edited it and added the background video. You can also use the image if you want.
3. Create a Heading
Creating a heading for your sales landing page is essential in capturing visitors’ attention and encouraging them to continue reading. The heading should be concise and clear and communicate your product’s or service’s key benefits.
You can also experiment with different heading variations to see what works best regarding engagement and conversions.
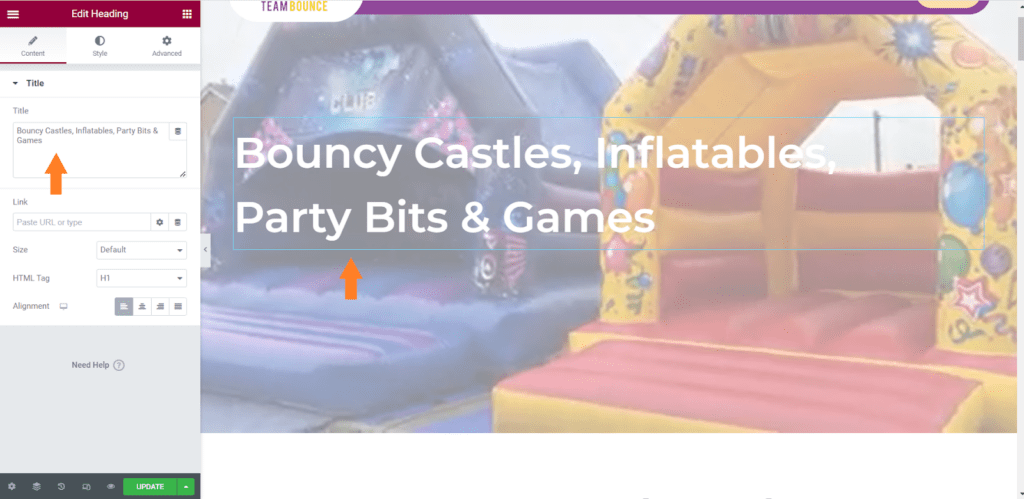
We need to create a heading that is attractive to the customers and tells the benefits of the product’s features, which in my case, are bouncy castles and games.
To create a heading, first, we need to add the heading widget to the section. You can drag the Heading widget from the Elementor widget panel and drop it in the hero section.
Now you can change the heading in the widget panel to anything you want.
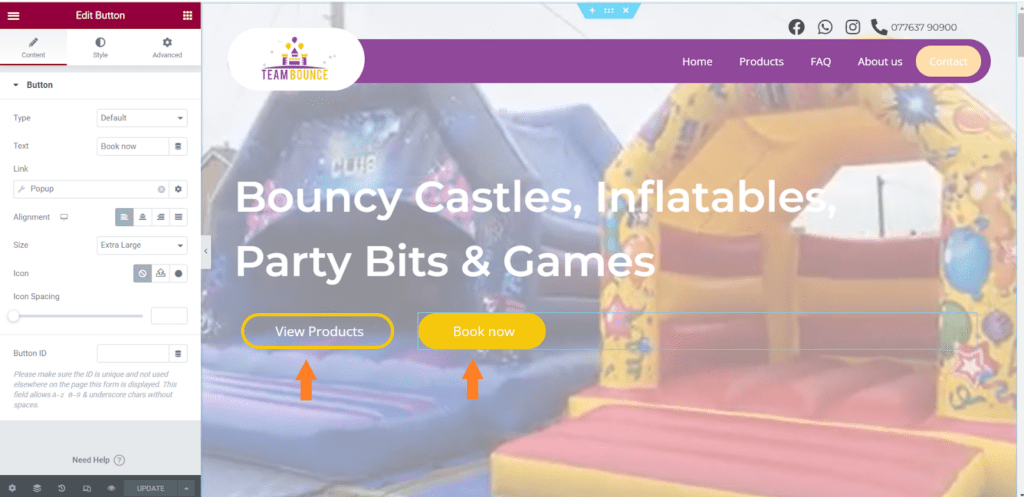
I have also added a CTA(call to action) button to encourage the customers and grab their attention instantly as they land on the page.
Note: You need to ensure that the background image you use blends with the test and the overall look of your landing page. Besides the technical stuff, you also need to focus on the visual appearance of your sales landing page.
4. Add a Sales Message
Including a sales message on your sales landing page is essential to encourage potential consumers to make a purchase or take action. Your sales message should be concise, straightforward, and centered on the advantages of your product or service.
When writing your sales message, it is essential to consider your intended audience and directly address their pain points or requirements.
Instead of the sales message, I added a CTA and used a video in the hero section to let customers know about the products and then instantly showed them the CTA to encourage them to make a booking.
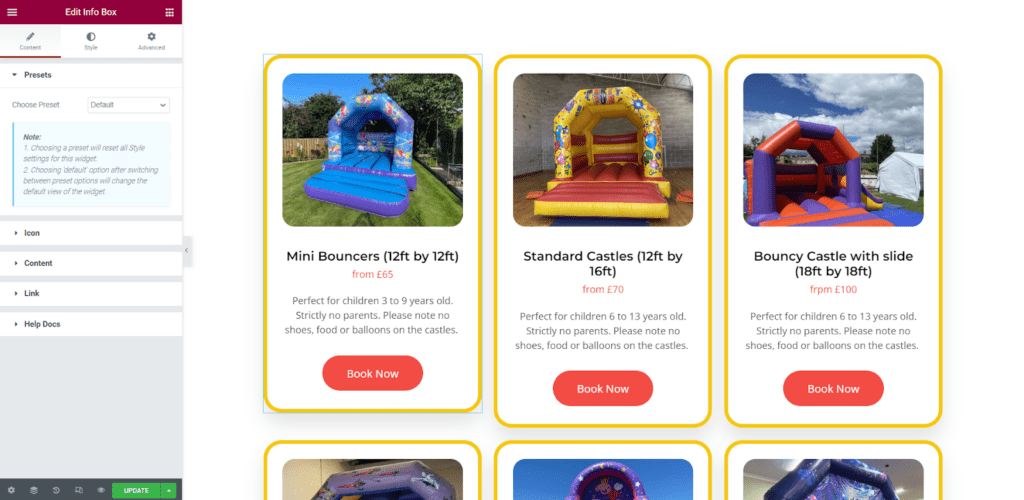
I also added the products section to show the customers our products. There can be multiple things that can work for you, but to find the best solution, you need to test a few different tactics.
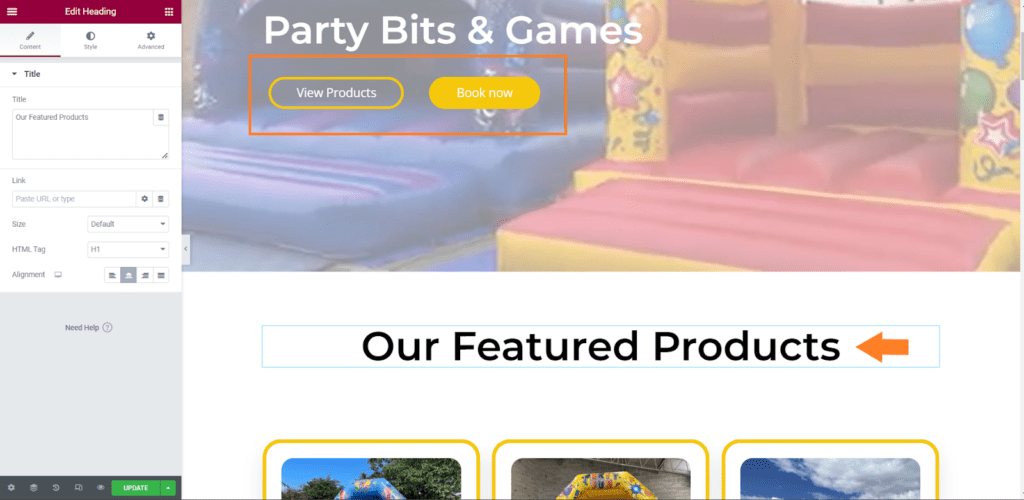
I want customers to book the castles, so in the featured product section, I have shown the castles and added a CTA for each castle so visitors can quickly and easily decide and book it.
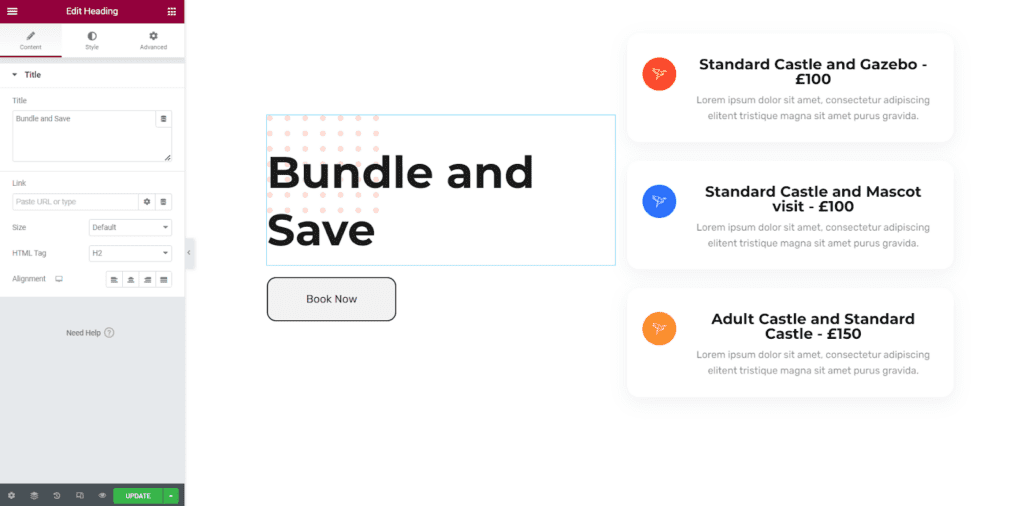
5. Add a Call to Action
This section shows the different types of packages customers can book and get discounts. You may be selling different products or services, so you need to find out what your target audience will love.
Generally, the discounts significantly affect attracting visitors and turning them into customers. It will encourage them more as the customers love discounts.
6. Testimonials/Social Proof
Testimonials and social proof are powerful elements that can boost the credibility and trustworthiness of your sales landing page. By featuring positive feedback and endorsements from satisfied customers, you can help persuade potential buyers to take action and make a purchase.
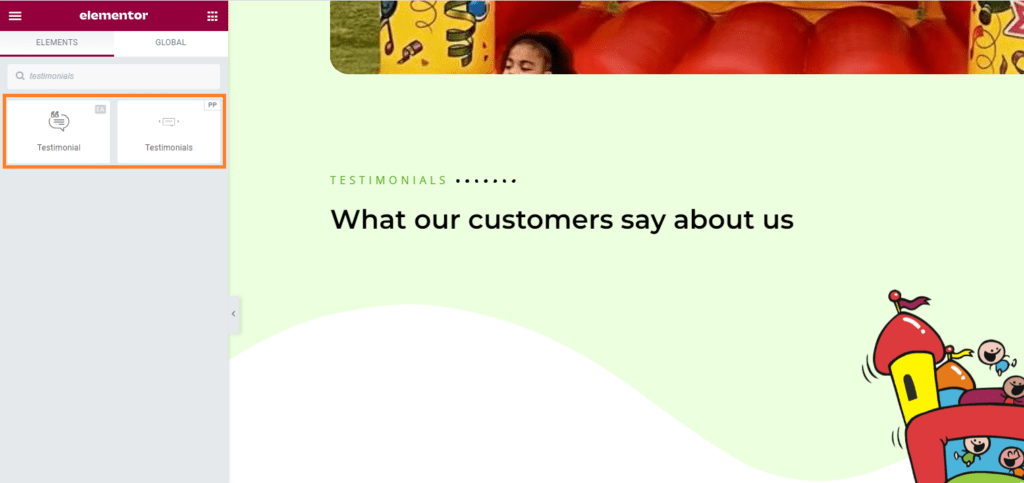
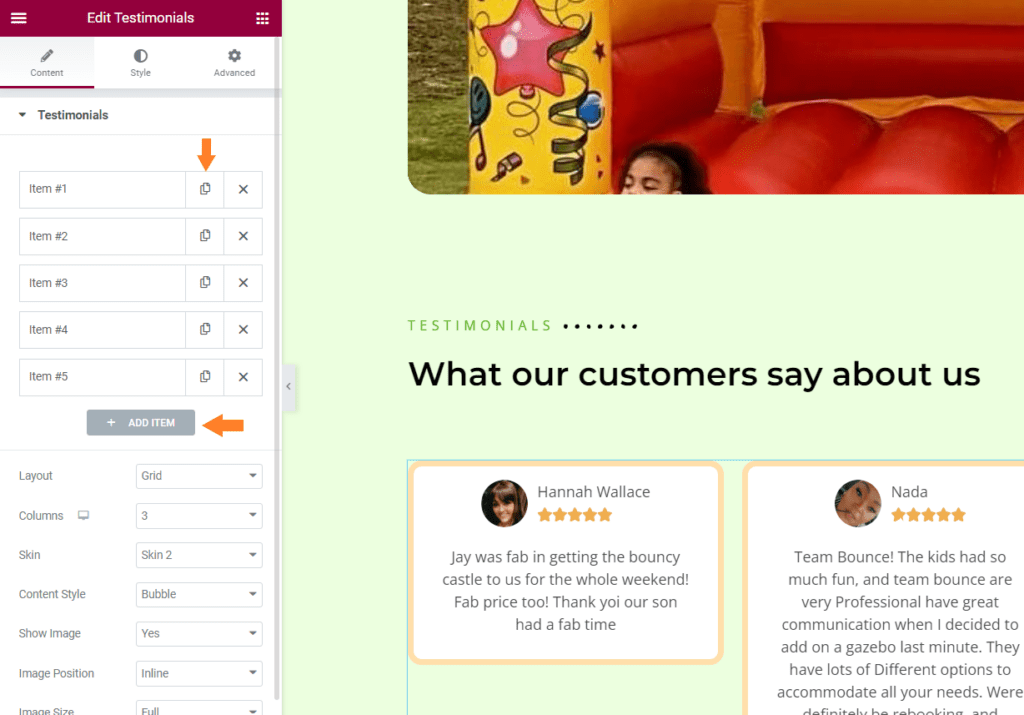
Elementor makes it easy to add testimonials and social proof to your sales landing page with its Testimonial widget. You can customize the widget’s design and layout to fit your page’s style and add quotes or customer feedback highlighting your product’s or service’s key benefits.
Note: I have also installed an Elementor addon, so I see two different testimonials widgets.
In addition to testimonials, you can showcase social proof by including logos of well-known brands or media outlets featuring your product or service. This helps establish credibility and persuade potential buyers to trust and take action.
By including testimonials and social proof on your sales landing page with Elementor, you can leverage the power of word-of-mouth marketing to increase conversions and drive more sales.
I created a new section for this tutorial by following the instructions mentioned in the first step, dragging the Testimonials widget from the Elementor widget panel, and dropping it in the section.
I have edited it to match my color scheme and the overall look of my landing page. You can play with the available customization options to customize the testimonials according to your choice.
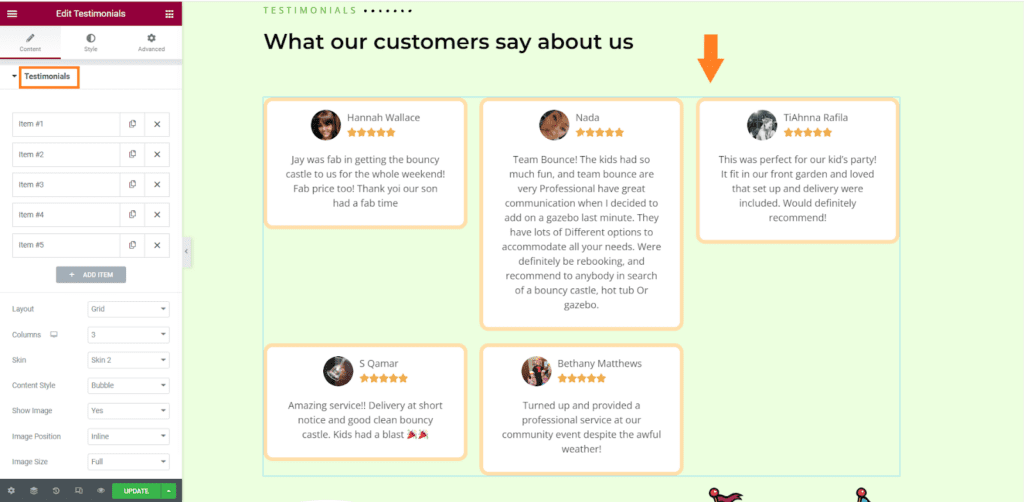
You can duplicate the existing testimonials and edit them, or you can create a new one as well just by clicking the ‘Add Item’ button.
7. FAQ
Finally, you need to add a FAQ section to your landing page to answer common user queries or share any information describing how to use the product, what you will get, and similar questions.
These FAQs will help users get the answers to some of the queries they may have in their mind and encourages them to make a purchase.
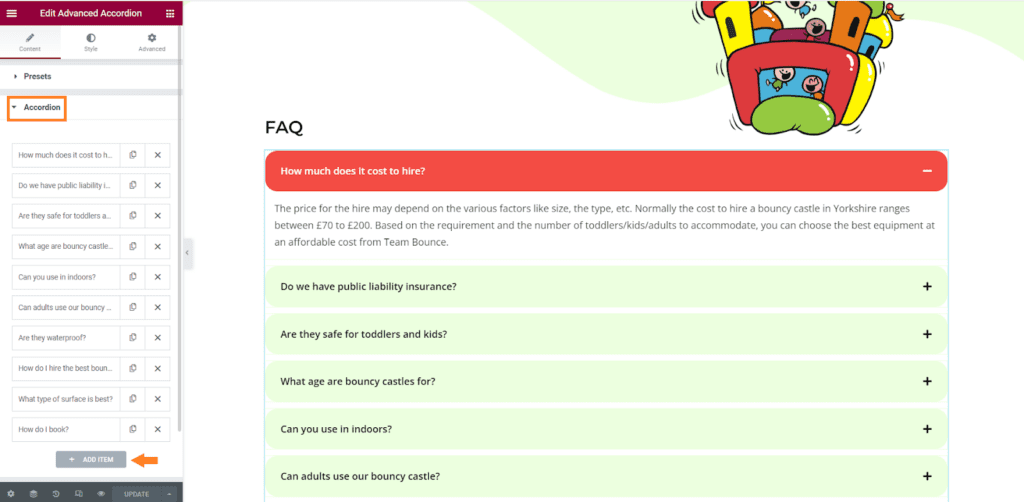
Elementor gives you the Accordions widget that you can use to create an FAQ section on your landing page. You can also use the Text widget to write complete answers, but it depends on your choice.
There can be multiple ways to achieve the final results, which is totally up to you. I am using the Accordions widget and editing it to create different FAQs.
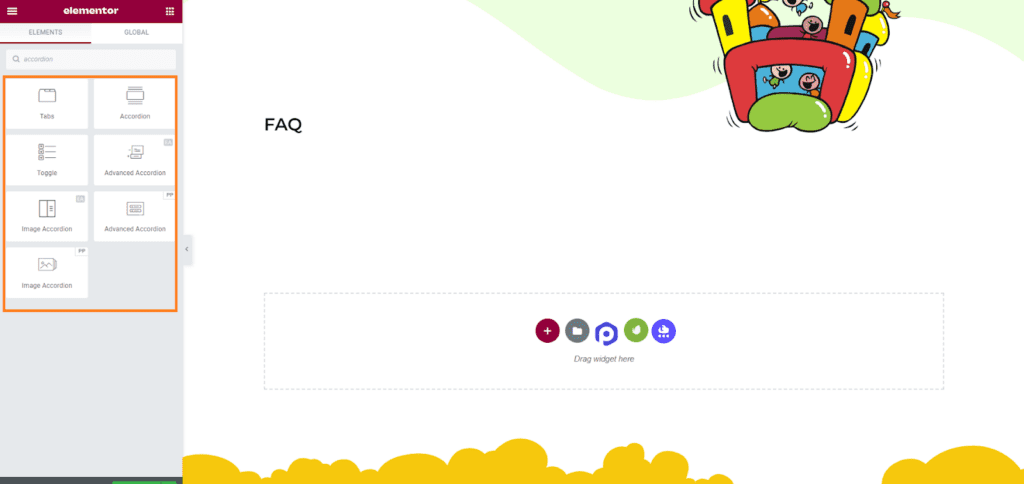
Drag and drop the Accordion widget to the section and edit them. I have created a few FAQs.
Once everything is done, don’t forget to publish the page by clicking the green ‘Publish’ button at the bottom left corner of your screen in the Elementor widget panel.
Final Results
Now, let’s see what our landing page looks like.

Bonus: Create Additional Offers and Upsell
There is always something you can do to increase the likelihood of customers purchasing from your store. You can offer several discounts, create additional offers, and upsell or cross-sell them to increase the AOV(average order value).
I have compiled a few guides to help you create additional offers and upsell them to customers.
- How to Create a Tripwire Funnel (With Examples 2023)
- How to Create WooCommerce Bundled Discounts(Step-by-Step)
- How to Give a First Order Discount in WooCommerce (Step-By-Step)
- How to Set a Buy 2 Get 1 Free Offer in WooCommerce?
- How to Create a WooCommerce Extra Charges To Payment Gateway Rule?
- How to Create WooCommerce Tiered Pricing
- How to Apply a Storewide Discount in WooCommerce?
- How to create a WooCommerce Flash sale?
- How To Create WooCommerce Category Discounts
- How to Create WooCommerce Cart Discounts (Step by Step)
- How to Create a Frequently Bought Together Products Section Like Amazon in WooCommerce?
- How to Create a WooCommerce Mix and Match Product
Frequently Asked Questions (FAQ)
Where to Get a Free Elementor Landing Page Template?
If you’re looking for a free Elementor landing page template, there are several places where you can find them. Elementor offers its own library of free landing page templates that you can access through the Elementor editor.
Several third-party websites and resources provide free Elementor landing page templates, such as Templately, ThemeIsle, and Astra.
What’s the Difference Between Elementor Landing Page vs. Homepage?
Elementor landing pages are created for a specific goal, such as generating leads, while homepages provide an overview of a website’s content.
Landing pages have a clear call-to-action and minimal distractions, while homepages often include navigation menus and additional information. Both can be created with Elementor, but their layout and content differ based on their goals.
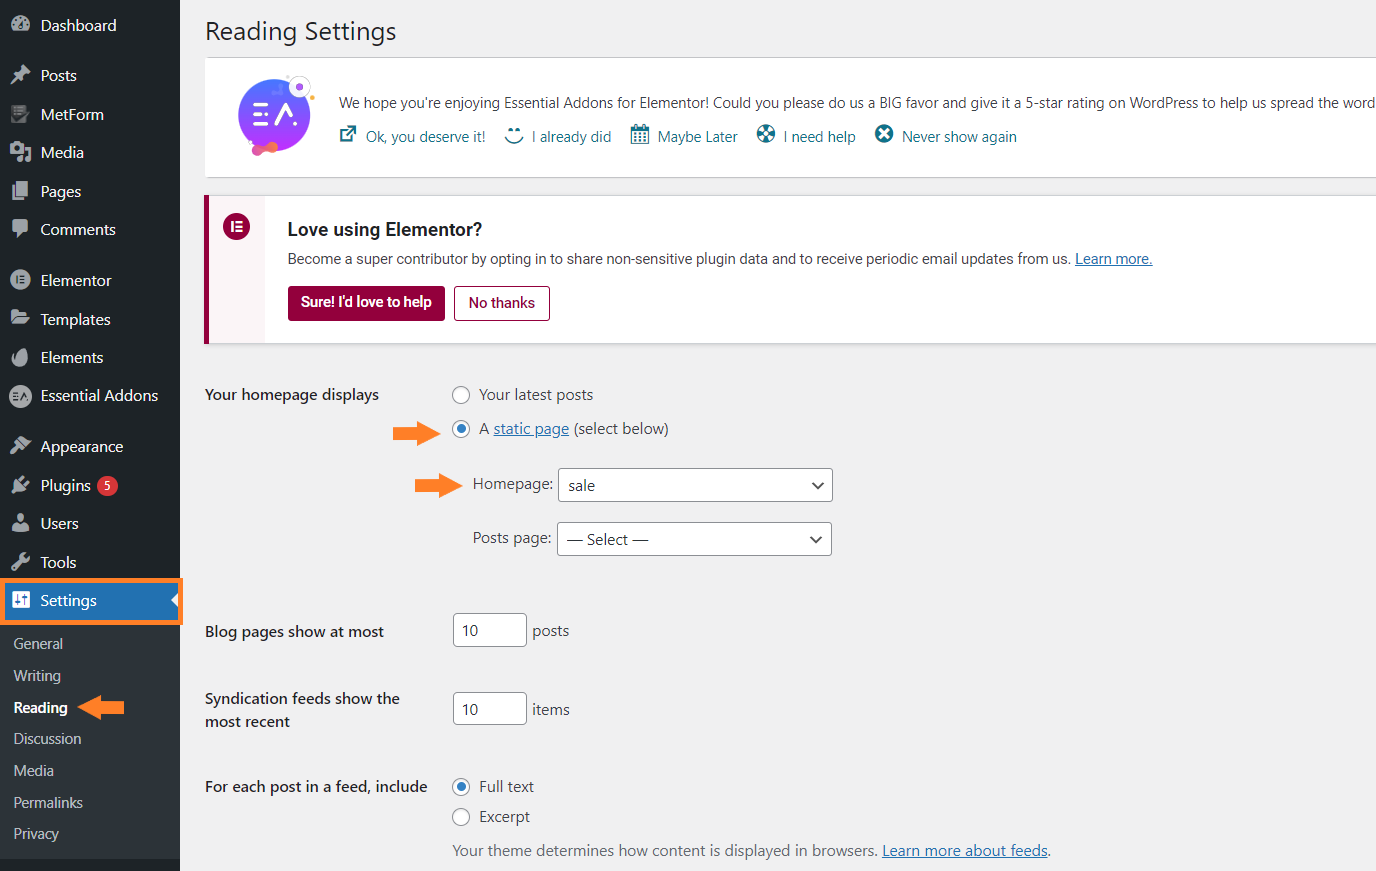
How to Set Elementor Landing Page as Homepage?
First, create your landing page using Elementor and save it as a template. Then, go to your WordPress dashboard and navigate to Settings » Reading. Under the “Your homepage displays” section, select “A static page” and choose your newly created landing page from the dropdown menu.
Save your changes, and your Elementor landing page will now be set as your homepage.
Conclusion
In conclusion, Elementor is a powerful tool for creating effective sales landing pages. With its intuitive drag-and-drop interface and a vast library of pre-designed templates and widgets, anyone can create a professional-looking and high-converting landing page in just a few hours.
When designing your Elementor sales landing page, remember to focus on the key elements that make a great sales page, such as:
- A clear value proposition.
- Attention-grabbing hero image or video.
- Persuasive copy.
- Social proof or testimonials.
By using these elements strategically, you can increase the chances of converting visitors into customers and achieving your business goals.
Whether you’re promoting a new product, building your email list, or launching a new service, an Elementor sales landing page can be a powerful asset for your business.
With the tips and best practices outlined in this article, you’ll create a sales landing page that drives results and boosts your bottom line.
And with the help of other plugins like Dynamic Pricing & Discount Rules, AIO Checkout, and WooCommerce Product Bundles, you can even take your store and the landing page to the next level and convert more visitors.


