In WooCommerce, you can easily enable the guest checkout but it may give a bad experience to your customers. It is because they will see all the information on a single page, which may cause you to lose potential customers.
Your guest checkout should be simple and easy to follow. Enabling guest checkout will do the job but you will need to make a few extra things to give a user-friendly experience.
In today’s article, I’ll walk you through the step-by-step process to create a WooCommerce guest checkout and optimize the checkout process to improve the customer’s shopping experience.
So without any further ado, let’s jump into the tutorial.
On This Page
- 1 How to Enable the WooCommerce Guest Checkout?
- 2 How to register WooCommerce guest users on checkout automatically?
- 2.1 1. Install and Activate the AIO Checkout Plugin
- 2.2 2. Navigate to the AIO Checkout
- 2.3 3. Create a New Checkout Form
- 2.4 4. Optimize the Checkout Form
- 2.5 5. Select the Design of the Checkout Form
- 2.6 6. Select the Thank You Page Design
- 2.7 7. Enable the Checkout
- 2.8 8. Save Changes
- 2.9 9. Final Results
- 3 Conclusion
How to Enable the WooCommerce Guest Checkout?
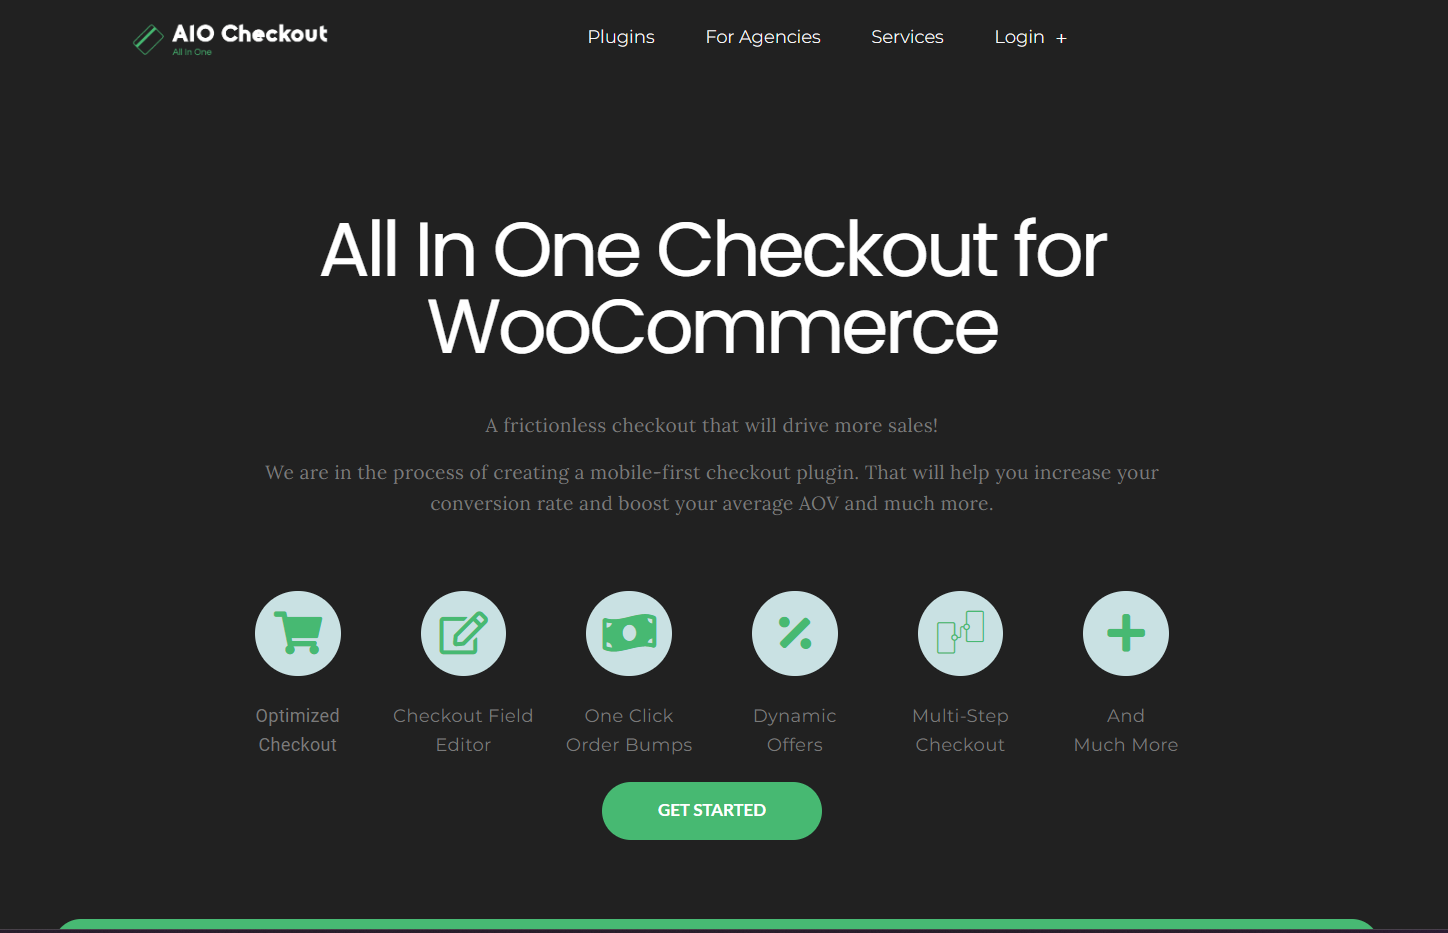
You can enable the guest checkout from the WooCommerce settings but to improve the checkout process and help you get more conversions, I’ll use the AIO Checkout plugin.
It will allow you to customize the checkout process and divide it into different steps so users won’t get confused by seeing many fields all at once.
Follow the following steps to enable the guest checkout in WooCommerce and improve it.
Navigate to WooCommerce > Settings > Accounts & Privacy from your WordPress admin dashboard.

2. Enable the WooCommerce Guest Checkout
To enable the guest checkout, check the ‘Allow customers to place orders without an account’ checkbox.
You can also enable the ‘Allow customers to log into an existing account during checkout’ option. It will allow existing customers to log into their accounts during checkout and make a purchase.
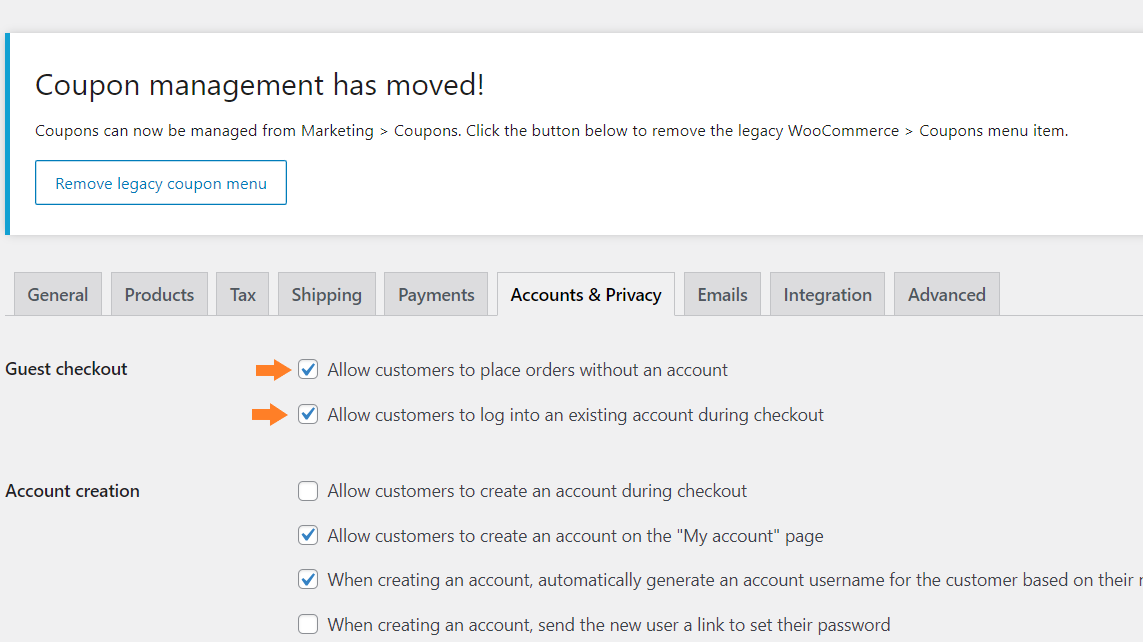
3. Configure the Account Creation Options
Next, you need to ensure that you allow customers to create an account during checkout. To do so, check the ‘Allow customers to create an account during checkout’ option.
If you want, you can also enable the ‘When creating an account, send the new user a link to set their password’ option. By doing so, they’ll receive an email to set their password.

How to register WooCommerce guest users on checkout automatically?
Enabling guest checkout is great but what if you could just take the hassle out of registering and automatically create an account for your customers? The steps below will help you do just that so that in the event the customer forgets to complete their purchase you can follow up with them.
1. Install and Activate the AIO Checkout Plugin
After enabling the guest checkout in WooCommerce, we need to install and activate the AIO Checkout plugin to improve the customer’s shopping experience.
Download the AIO Checkout plugin from the AovUp store. It also has a free version, but to follow along with this tutorial, you’ll need to purchase its Pro version.
Once you have downloaded it, navigate to the Plugins » Add New from your WordPress admin dashboard, and click the Upload button to upload the downloaded file to install and activate the plugin.
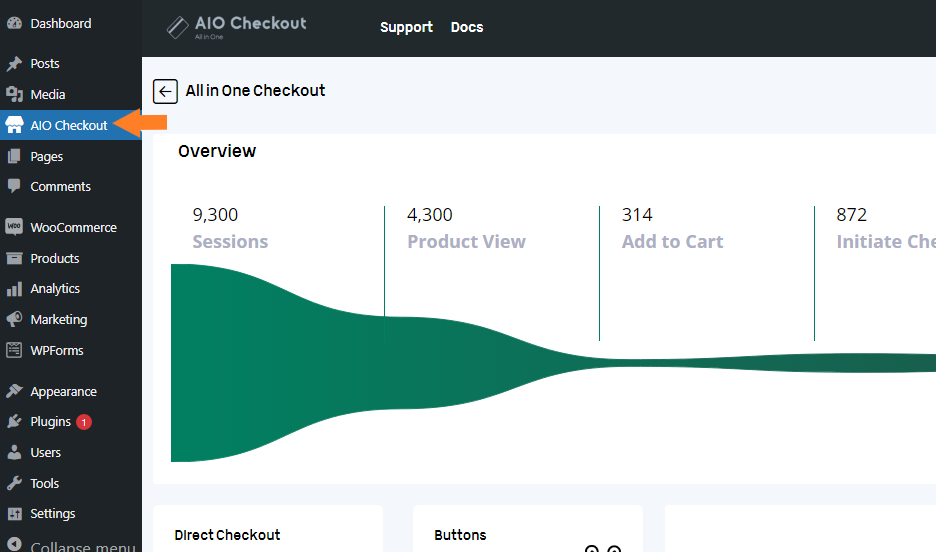
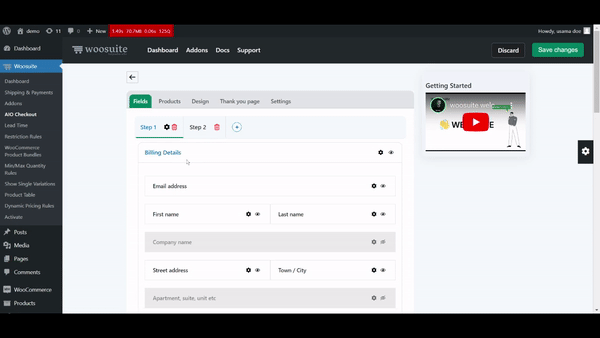
Once you have installed and activated the plugin, navigate to AIO Checkout from your WordPress dashboard.
3. Create a New Checkout Form
I have already created a few checkout forms, but I’ll make a new one for this tutorial to show you the complete process.
Click the “Create New Checkout” button to create a new checkout form.
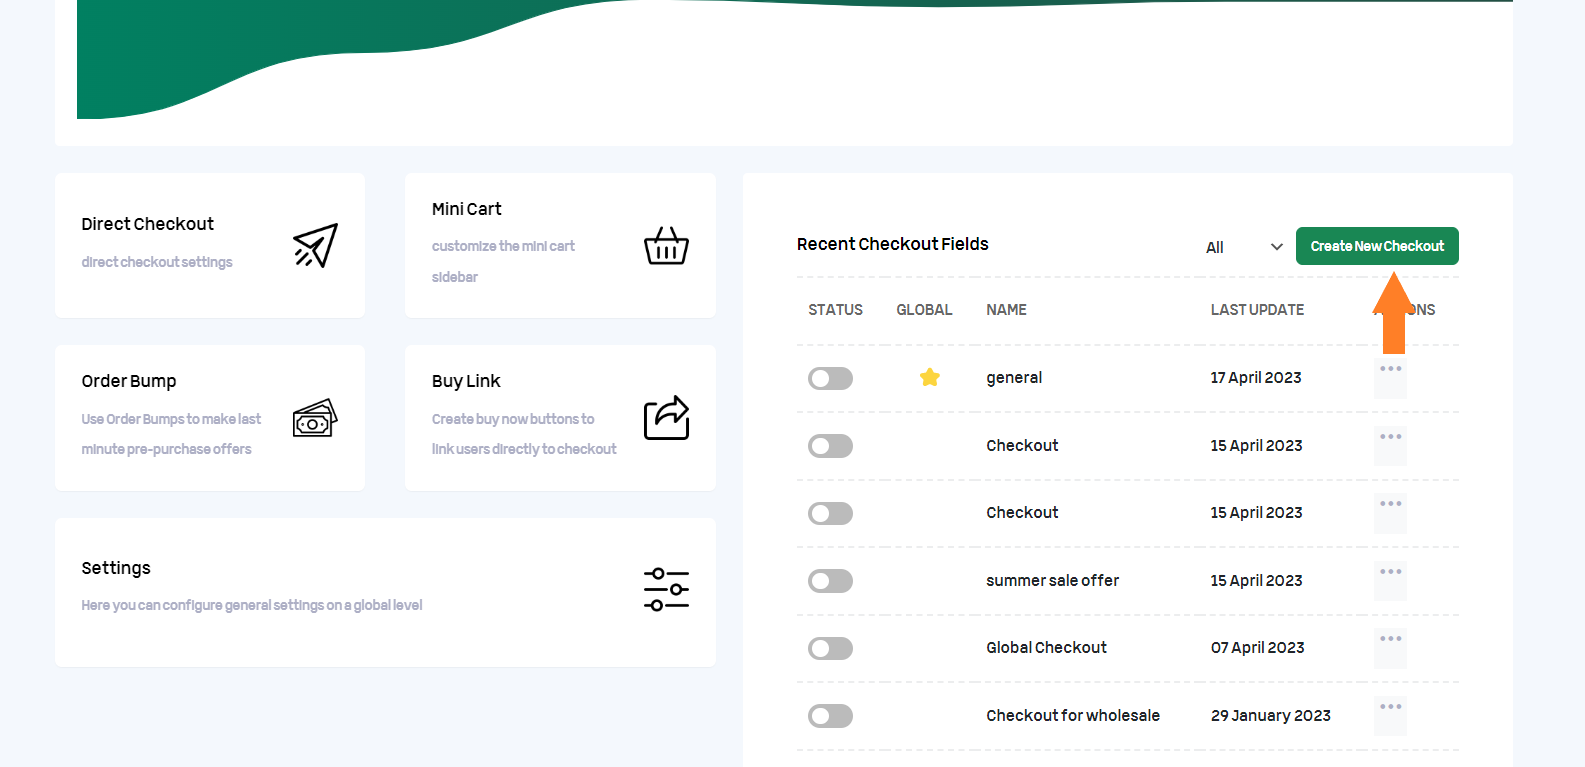
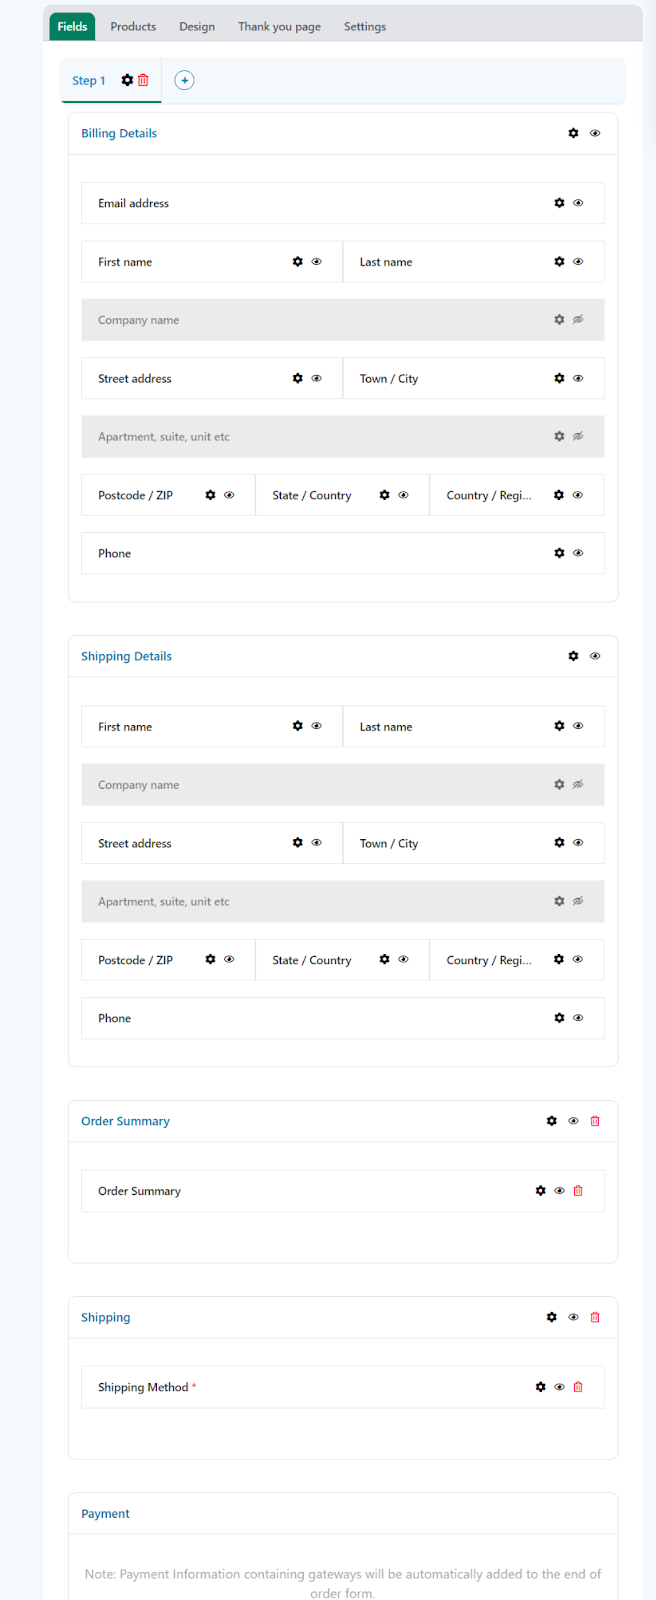
Once you click the button, a new checkout form will create. It’ll be the default WooCommerce checkout field, but you can customize it according to your business needs to improve the customer experience.
You can also add custom fields like birthday fields, VAT number fields, etc.
4. Optimize the Checkout Form
To optimize the guest checkout experience, I’ll divide the checkout process into two steps. You can also create a multi-step checkout depending on your needs and business requirements.
In the first step, users will add their email to create a new account or log in to their existing account.
While in the second step, I’ll add the necessary billing, shipping, details, order summary, and payment methods.
Let’s start optimizing the checkout form.
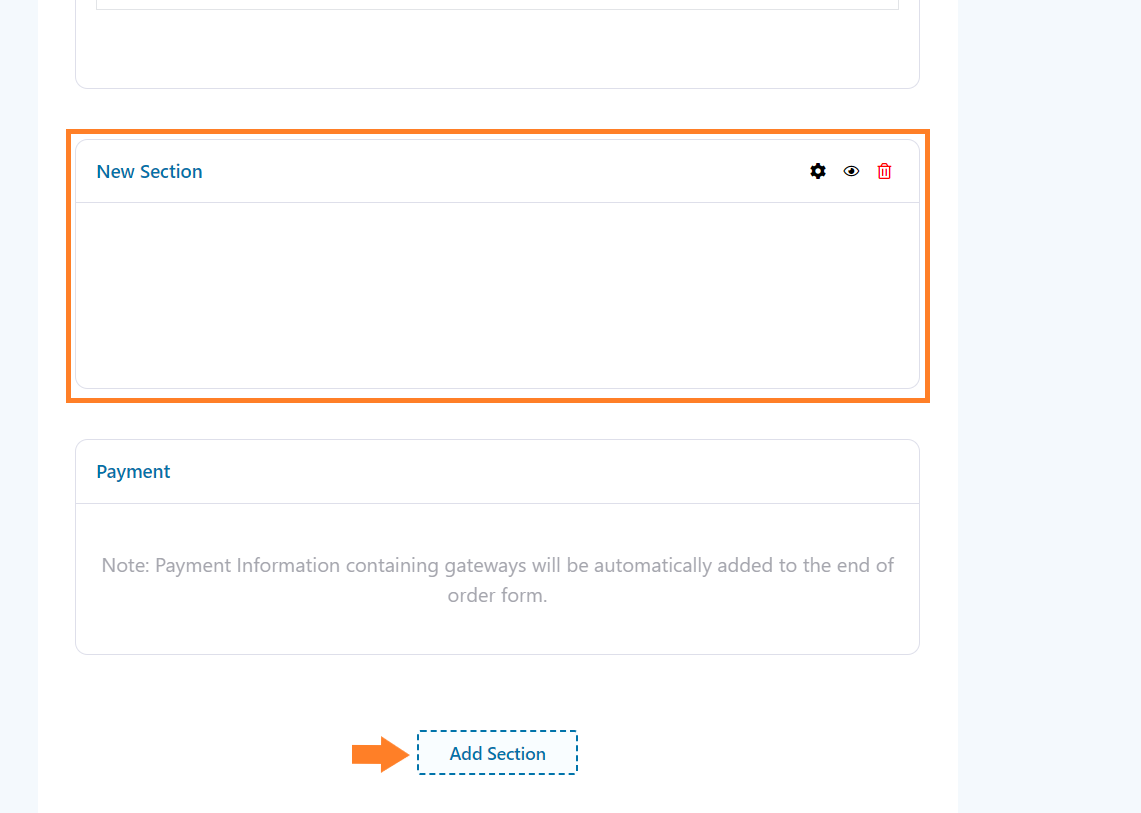
4.1. Create a New Section
First, you need to create a new section in the checkout process. To do so, scroll to the bottom of the page and click the ‘Add Section’ button.
In this section, we’ll add an email field to collect the user’s email and create a new account.
We’ll also create a checkbox so users can agree to our terms & conditions. It will allow us to use their email address for marketing campaigns and send them product recommendations which will help you in the long run.
4.2. Drag and Drop the Email Field
Next, you need to drag the email field from the Billing Details section and drop it inside the new section.

4.3. Create a New Step
Next, you need to create a new step in the checkout process. To do so, click the green plus icon.

4.4. Move Sections to the New Step
Once you have added a new step, you need to move all the sections from Step 1 to Step 2 except the new section you added in the previous step.
To do so, you can simply drag the section and drop it in Step 2.
4.5. Change the Section’s Label
To change the sections’ label, click the black gear icon. A window will slide in from the left side of your screen and you can change the section’s label as you want.

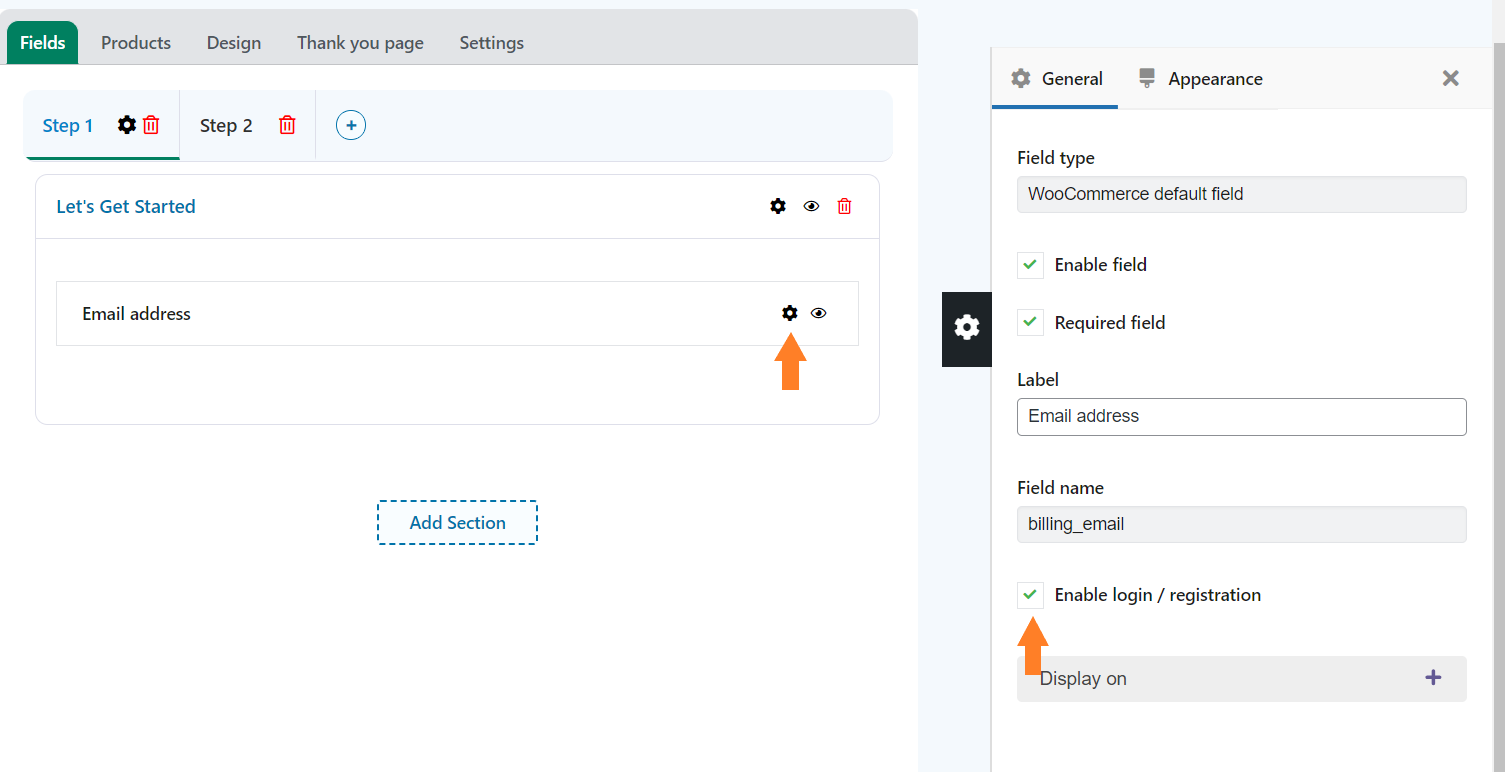
4.6. Configure the Email Field
Click the black gear icon on the email address field to open its settings and check the ‘Enable login/registration’ checkbox to allow customers to log in to their existing account or register for a new one.
Enabling this option will automatically create a new account if a user is not already registered on your store.
4.7. Add a Terms & Conditions Checkbox
As we’ll create an account for new users automatically, we need to add a Terms & Conditions checkbox to avoid any legal issues.
Click the floating black gear icon on the left side of your screen and drag the checkbox field from the left window and drop it below the email field.
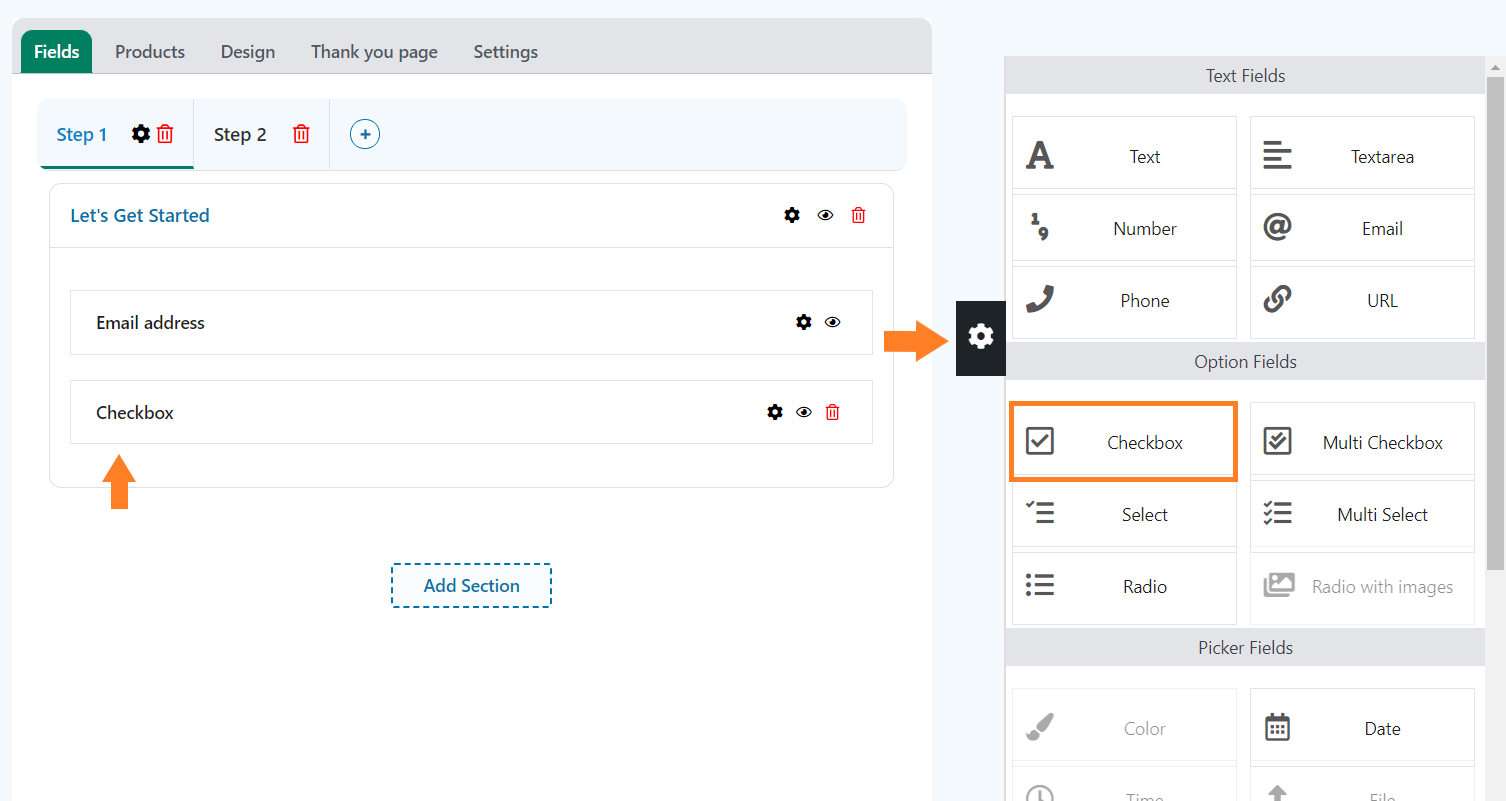
4.8. Configure the Terms & Conditions Checkbox
Once you have added the checkbox, we need to configure it to change its label and make it a required field.
To do so, click the black gear icon on the checkbox field and configure it.

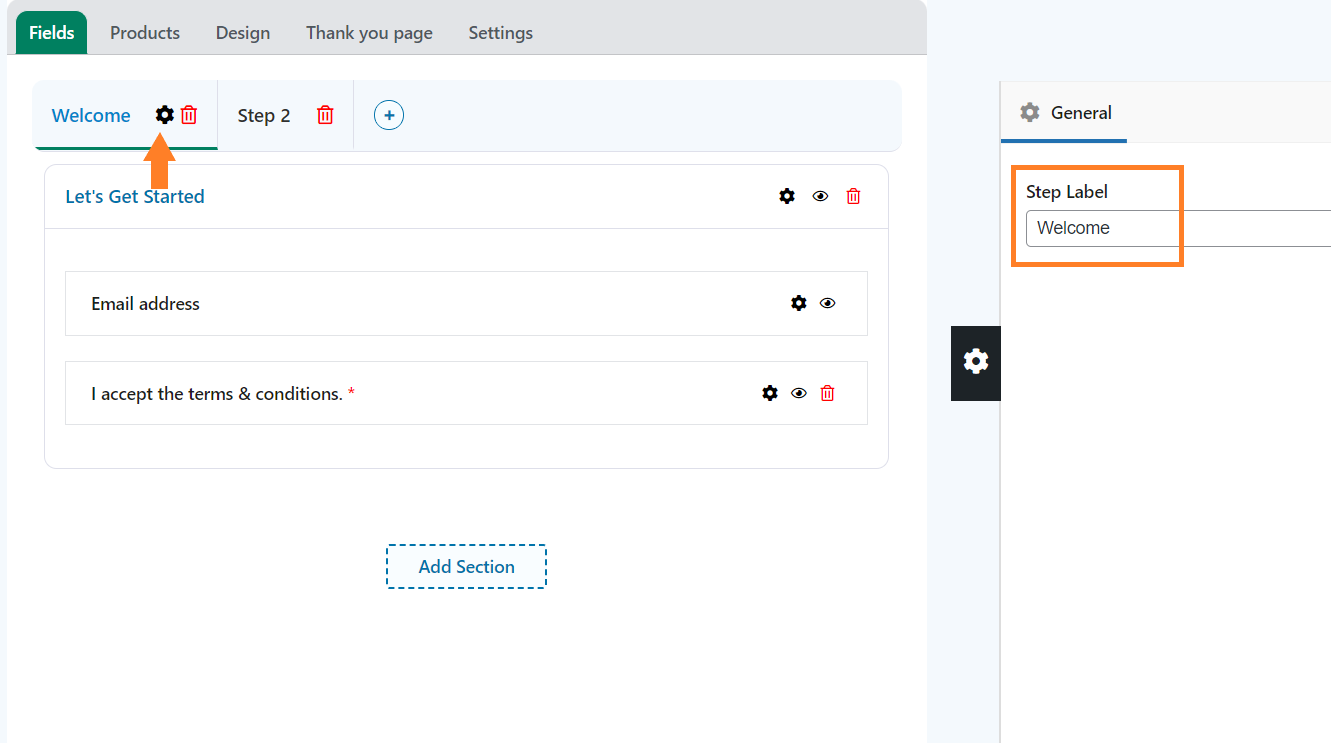
4.9. Change the Step Label
After making the desired changes, click the gear icon on Step 1 and change the label to whatever you want.
4.10. Customize Step 2
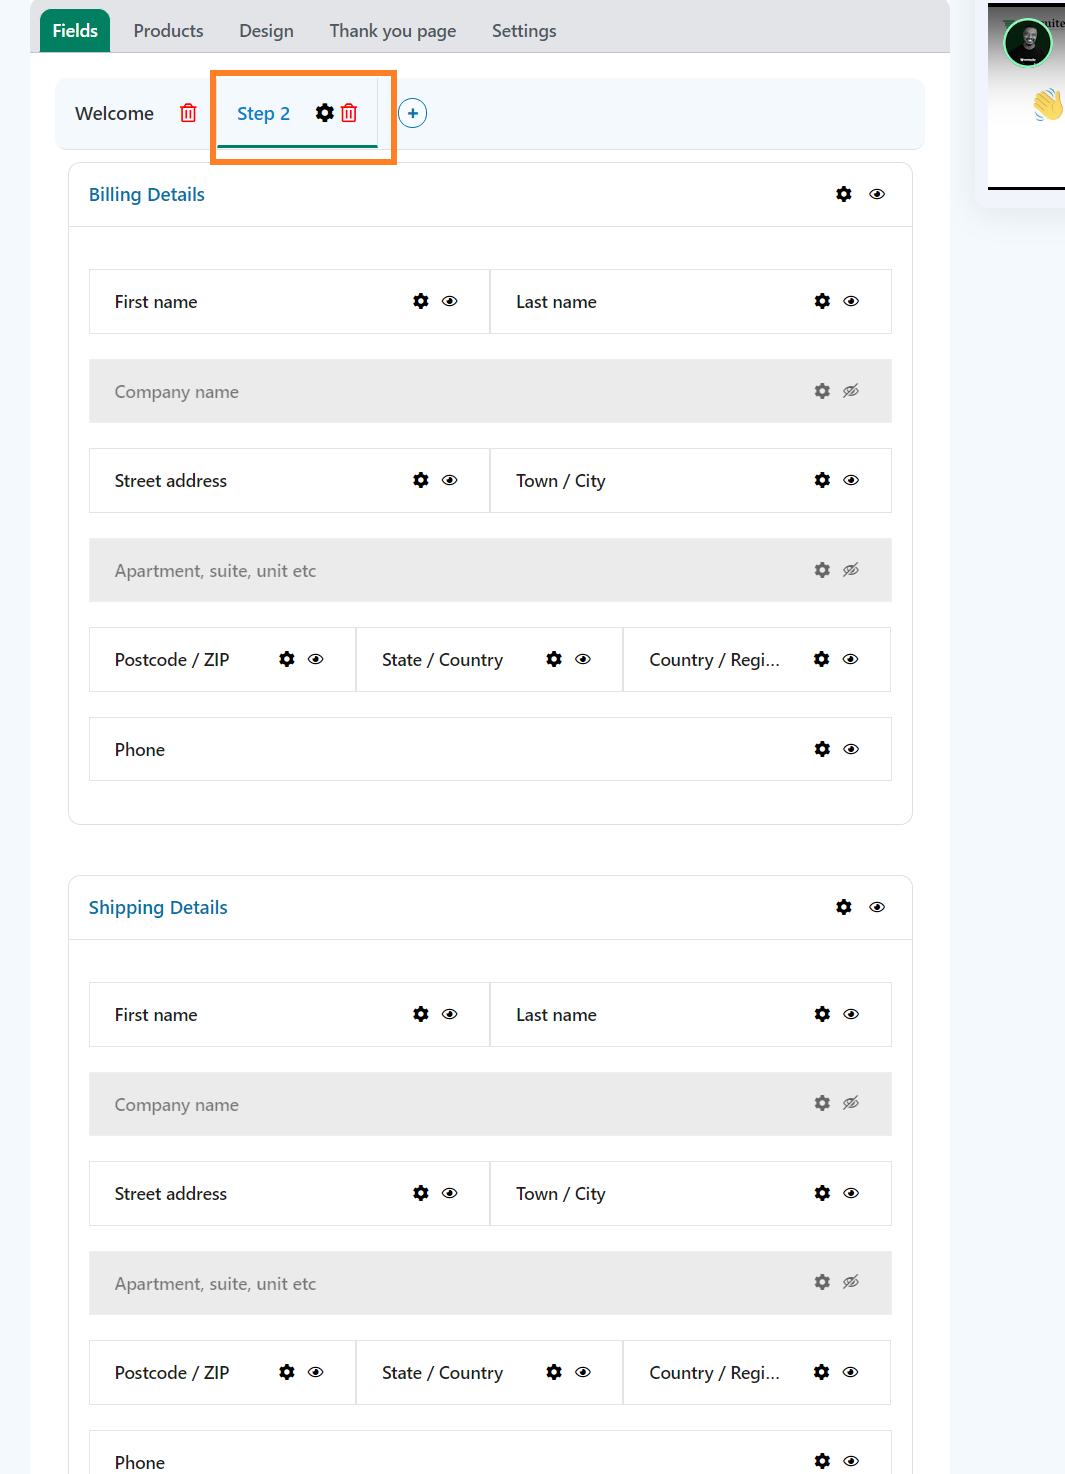
After customizing Step 1 according to your needs, next, we need to customize Step 2 to allow customers to fill up the billing and shipping details to complete the checkout process.
Click Step 2 and change the order of the sections as you want. I have already changed the order of sections as per my needs.
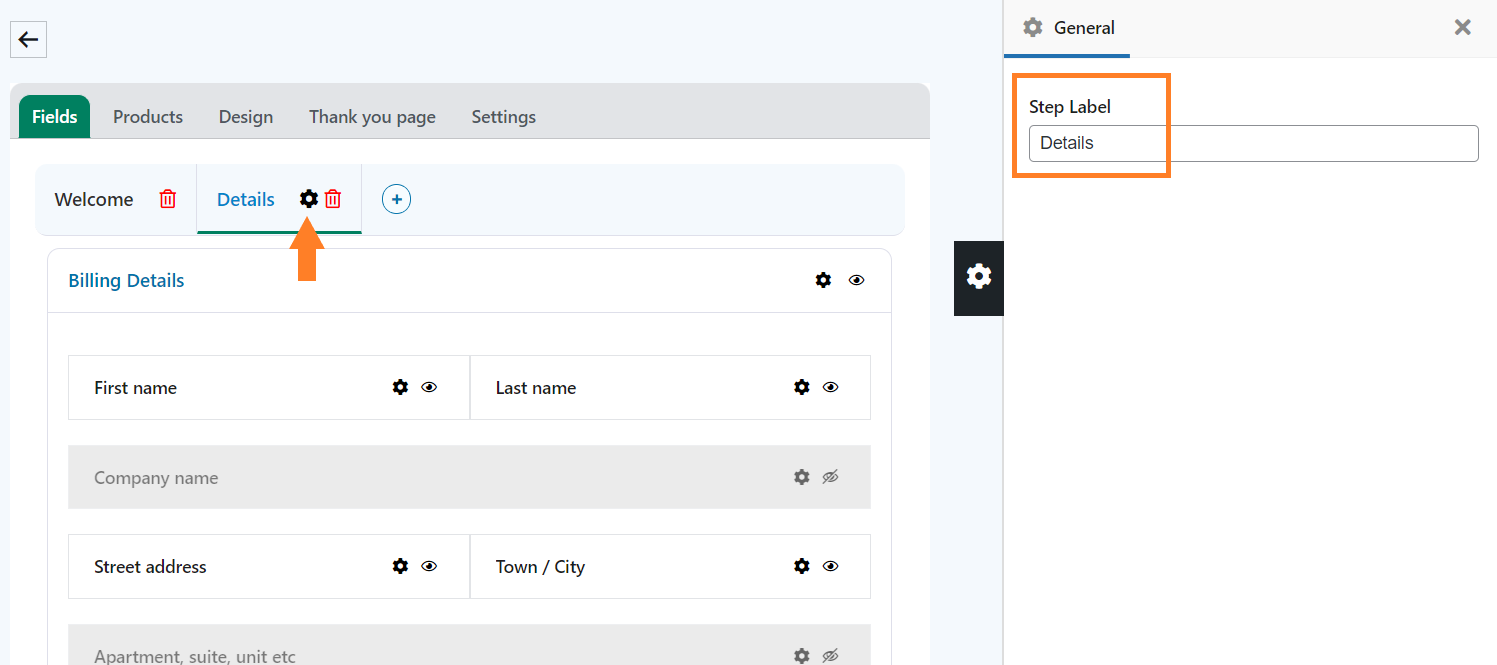
4.11. Change the Step 2 Label
Click the gear icon on Step 2 and change the label in the left window.
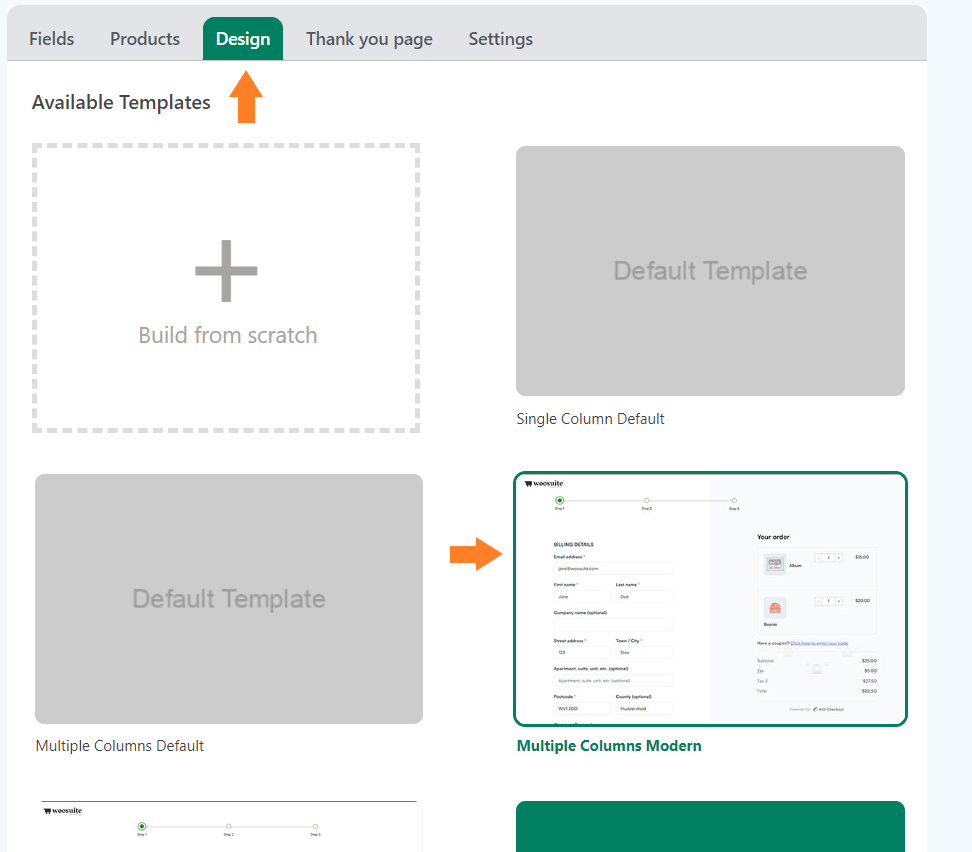
5. Select the Design of the Checkout Form
Once you have optimized the checkout form, you need to select the design of the checkout form/page.
Click the ‘Design’ tab at the top.
There are multiple templates available, you can choose any template you want. I have selected the ‘Multiple Columns Modern’ template.
You can also create a template from scratch.
6. Select the Thank You Page Design
Next, click the ‘Thank You Page’ tab at the top, and select the template for the thank you page. If you want, you can also create a custom thank you page.
If you want to inherit the thank you page design from the global checkout, you can leave everything to default. But if you want to customize the thank you page or create one from scratch, ensure to select ‘No’ for the ‘Inherit from the Global checkout form’ option.

7. Enable the Checkout
After selecting the thank you page design, we need to enable this checkout form. Click the ‘Settings’ tab.
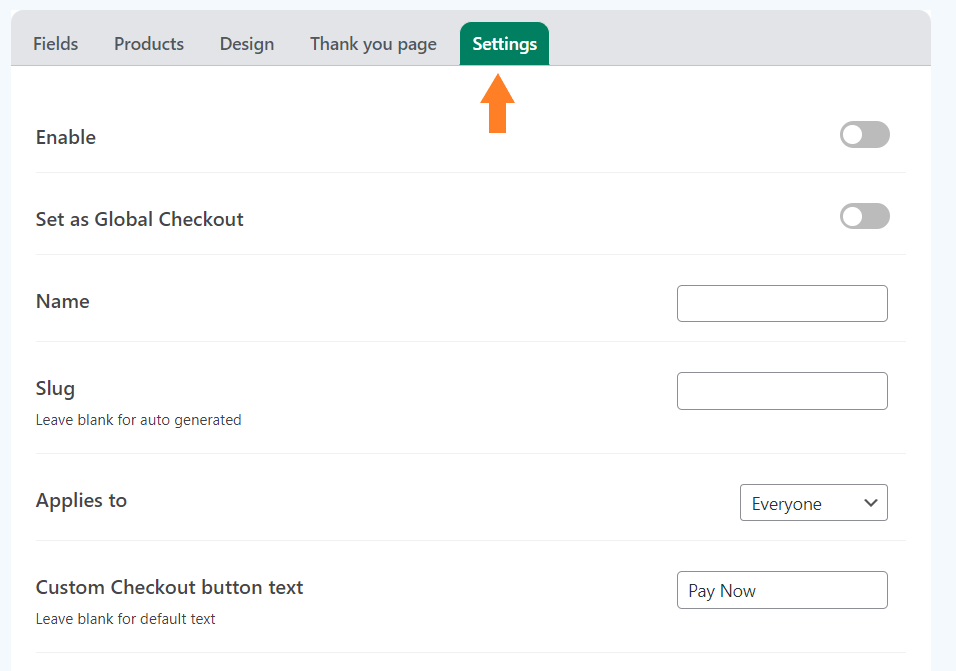
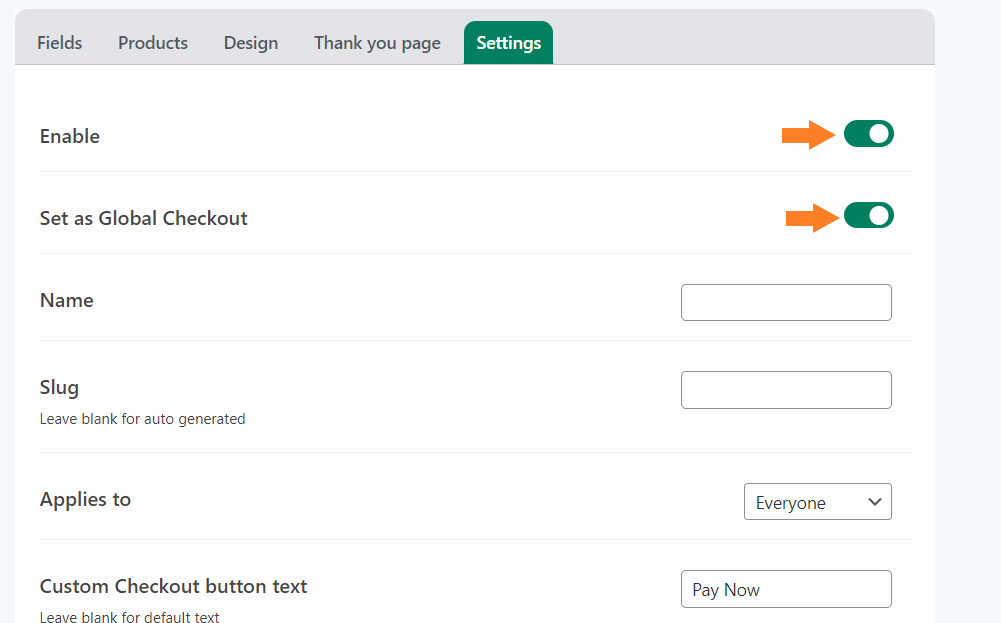
7.1. Enable the Checkout Form
To enable the checkout form, toggle the ‘Enable’ button. Also, ensure you have enabled the ‘Set as Global Checkout’ option to make this form the global checkout.
You can leave it disabled if you want to set this checkout form for specific user roles. I am enabling it as global checkout as I don’t want to set a user restriction.
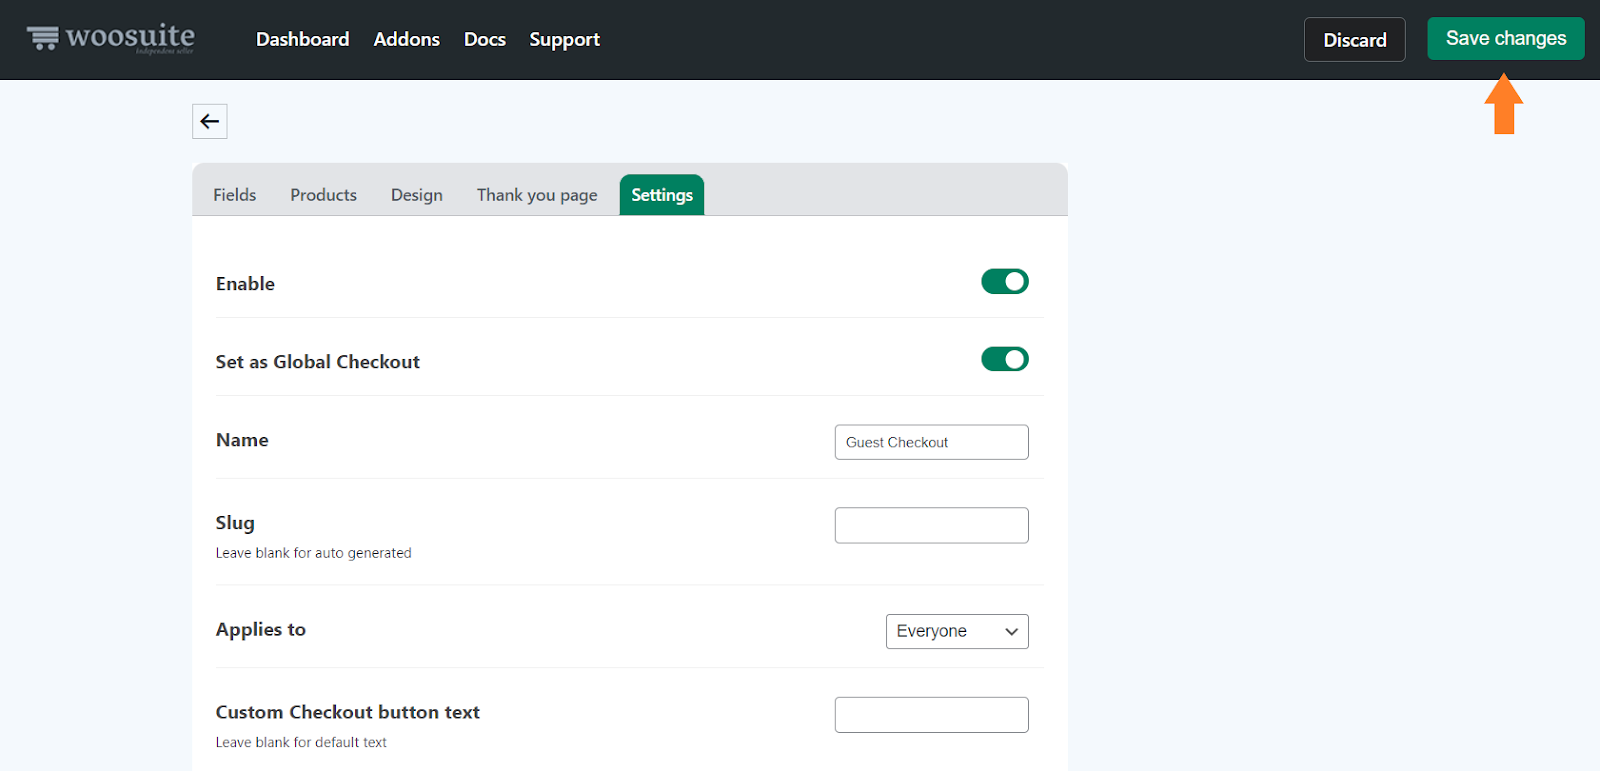
7.2. Give a Name to the Form
Now, we need to give a name to this form. It will only be displayed to the admin. It is helpful if you have created different checkout layouts for different user roles.

Note: You can also explore the other available settings and set a custom checkout button text. But I’ll move to the next step to keep this tutorial short and to the point.
8. Save Changes
Once you have created the guest checkout form and enabled it, click the green ‘Save Changes’ button at the top right corner of your screen to save the settings.
9. Final Results
Once the settings are saved, let’s test them.
To test it, I visited my store as a guest and added a product to my cart. Now, when I visited the checkout page, it was divided into two steps.
In the first step, there’s an email field and a checkbox that will create my new account or log me into my existing account. This field will check if the email is already registered on the store, the user will need to add their password to login to the account and continue to the checkout.
If the email isn’t registered on the store, a new account will be created and the user will receive an email to create the password.

Conclusion
That’s it for today’s article.
I hope it was helpful to you and you were able to enable and create a guest checkout for your WooCommerce store and get more conversions.
It is very easy to create any type of checkout using the AIO Checkout as it provides you with a drag-and-drop builder to do so. Moreover, it also provides you with different fields to add to your checkout and collect more information.
The following is a short recap of the above process.
- Enable the guest checkout.
- Configure account settings.
- Install the AIO Checkout.
- Create a guest checkout form.
- Save settings.
If you have any questions, you can post them in the comments or contact our support department for quick help.
Download the AIO Checkout now to increase your conversion rates!


