Want to set up sales in advance on your WooCommerce store?
Let’s walk through the steps to easily schedule sale prices. We will use the Dynamic Pricing & Discount Rules plugin to create a product price schedule.
For instance, you could set a 20% discount on electronics during Black Friday or offer discounted prices on holiday-themed items for Christmas. These schedules are commonly utilized by e-commerce sites to drive traffic and boost sales during popular shopping periods such as holidays, festivals, or other special events.
On This Page
Why Sales Price Schedule?
It is beneficial if you also want to schedule the discount offers for the products on your sites. With the Sales Price Schedule, the discounts on the products are available for a limited time only. So, the customers may not want to miss the opportunity to purchase the products at a discounted price, It ultimately boosts sales and helps to grow you more quickly.
How to Enable Sales Price Schedule
Setting up a Sales Price Schedule is very easy with the Dynamic Pricing & Discount Rules plugin. You can follow these seven easy steps to enable a sales price schedule for your products.
Step 1: Install and Activate the Woosuite core plugin
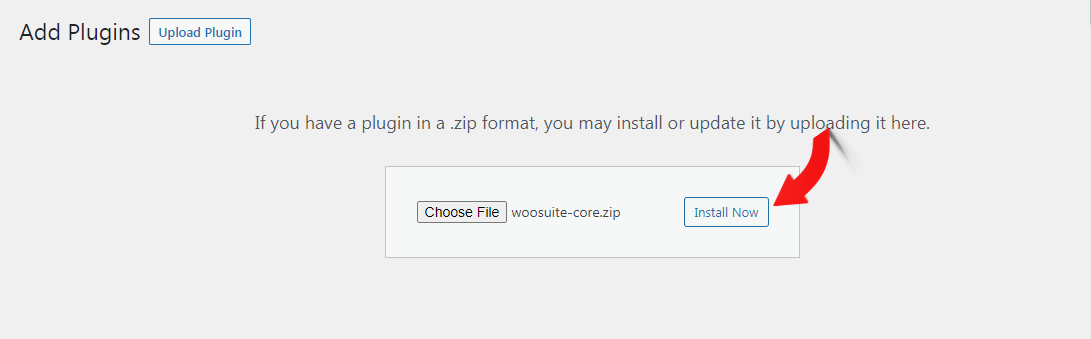
The very first thing you need to do is install and activate the Woosuite Core plugin. You have to download the plugin on your device and upload it to the site.
Go to Plugins>>Add New>>Upload Plugin. Then choose a file you downloaded and click Install Now.
When the plugin is installed, you need to activate it.
Step 2: Install Dynamic Pricing and Discount Rules
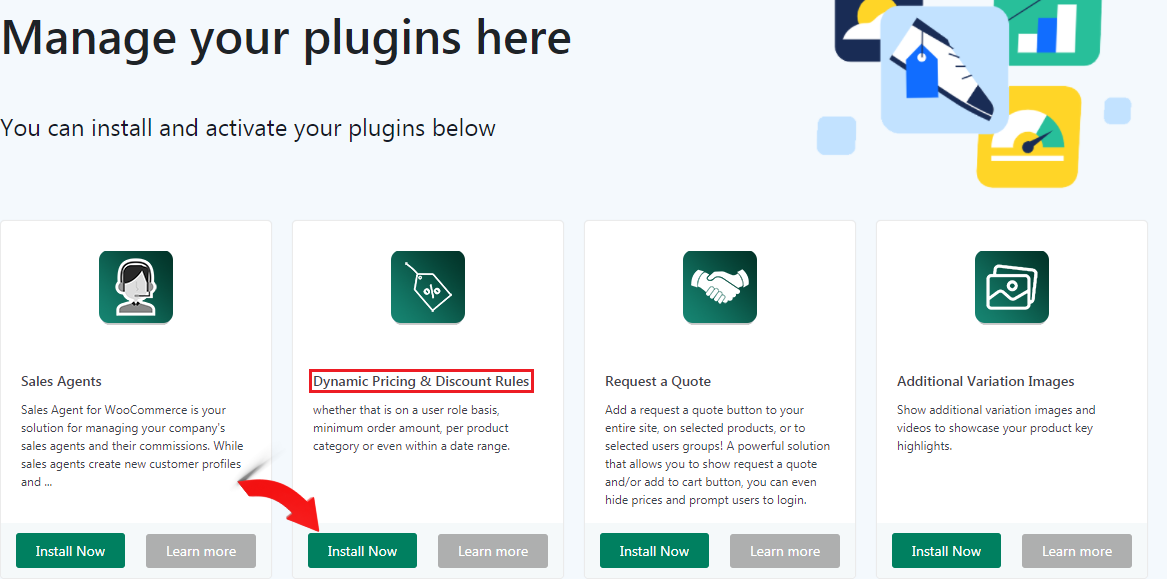
Since we will be using the Dynamic Pricing & Discount Rules plugin, you must install and activate it.
Go to Woosuite Dashboard and click Install Plugin. You will find the Dynamic Pricing & Discount Rules plugin there. Click Install Now to install it.
Now, you need to activate the plugin.

Step 3: Edit Product and Pricing
This is the step to add new products and enable a sales price schedule in it. If your product is already published, you can skip the step.
Go to All Products>>Product. Then click Edit on the product for setting the price schedule for it.

Step 4: Add Pricing Group
Then, go to Pricing Discount Rules, where you can schedule the price of the products.
Click Add Pricing Group.

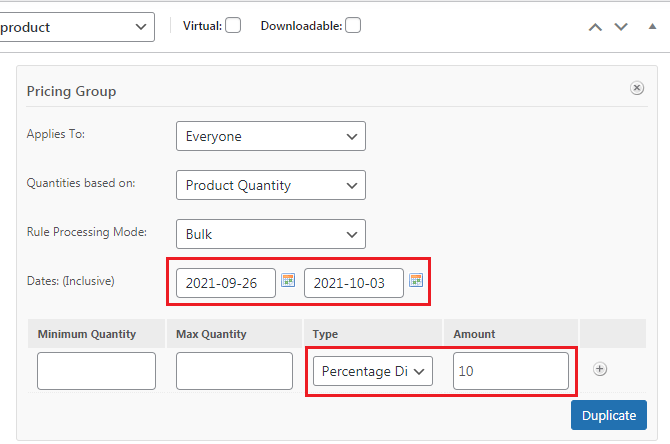
Step 5: Add Sales Start Date and End Date
This is where you can schedule the sales price by specifying the start and end date.
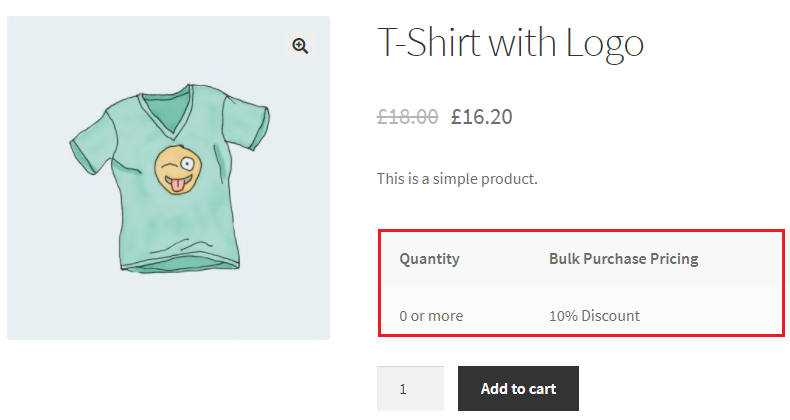
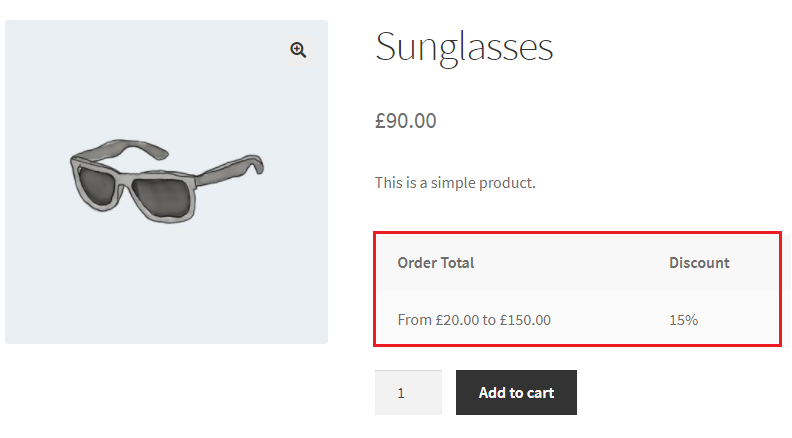
Step 7: Publish and view the Product
After completing all these above steps, publish the products and view them. You will see the following details in your product.
How to enable sales price schedule in all products
The above process might be very long if you create a sales price schedule for all products. In that case, you can follow the following steps.
- Go to Woosuite>>Pricing and click Add Pricing Group.
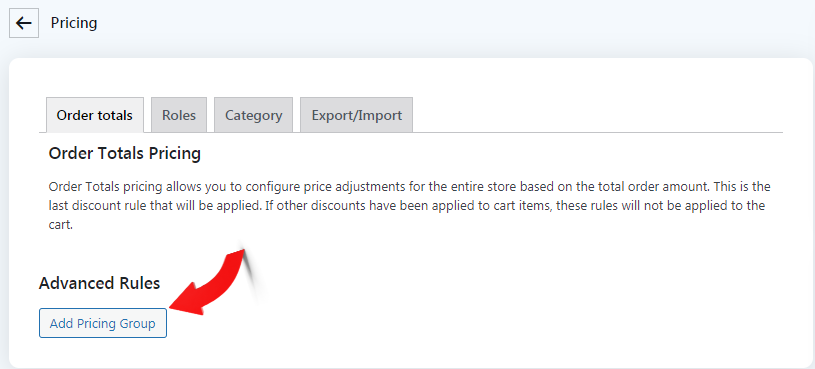
- Set the start and end date of discount offers. You can also set minimum order and maximum order if that is required.

All the products will have a discount offer for the specified time.

Conclusion
In this article, we have explained the steps to create a sales price schedule for WooCommerce sites. We hope you will be able to schedule the offers for a limited time. If you have any questions, feel free to ask us in the comment section.


