The default WooCommerce product page is quite helpful for selling any type of product. But it doesn’t allow customers to add a note for each product.
Although WooCommerce allows them to add order notes on the checkout page, your customers might want to add them on a per product basis.
You may sell products made to order, and users want them completely customized. In that case, they’ll need to write all the instructions and notes while checking out, and it can be frustrating for them if they can’t add notes for each product.
In today’s article, I’ll focus on adding a custom note field on the product page with the help of custom code. It will allow customers to add order notes for each product in WooCommerce.
So without any further ado, let’s jump into the tutorial.
On This Page
Add a Note Field For Each WooCommerce Product:
Method 1: Add Note Field Using AovUp Product Add-Ons & Extra Options
The first method to add a note field to products is by using the AovUp Product Add-Ons & Extra Options plugin. It’ll allow you to add any field to your products in just a few simple steps.
Note: Make sure to download and install the AovUp Product Add-Ons & Extra Options plugin to follow along with this tutorial.
The following is the step-by-step process to add a note field to WooCommerce products.
Adding a note field allows your customers to leave specific notes for a product, it may also include some shipping or packaging instructions.
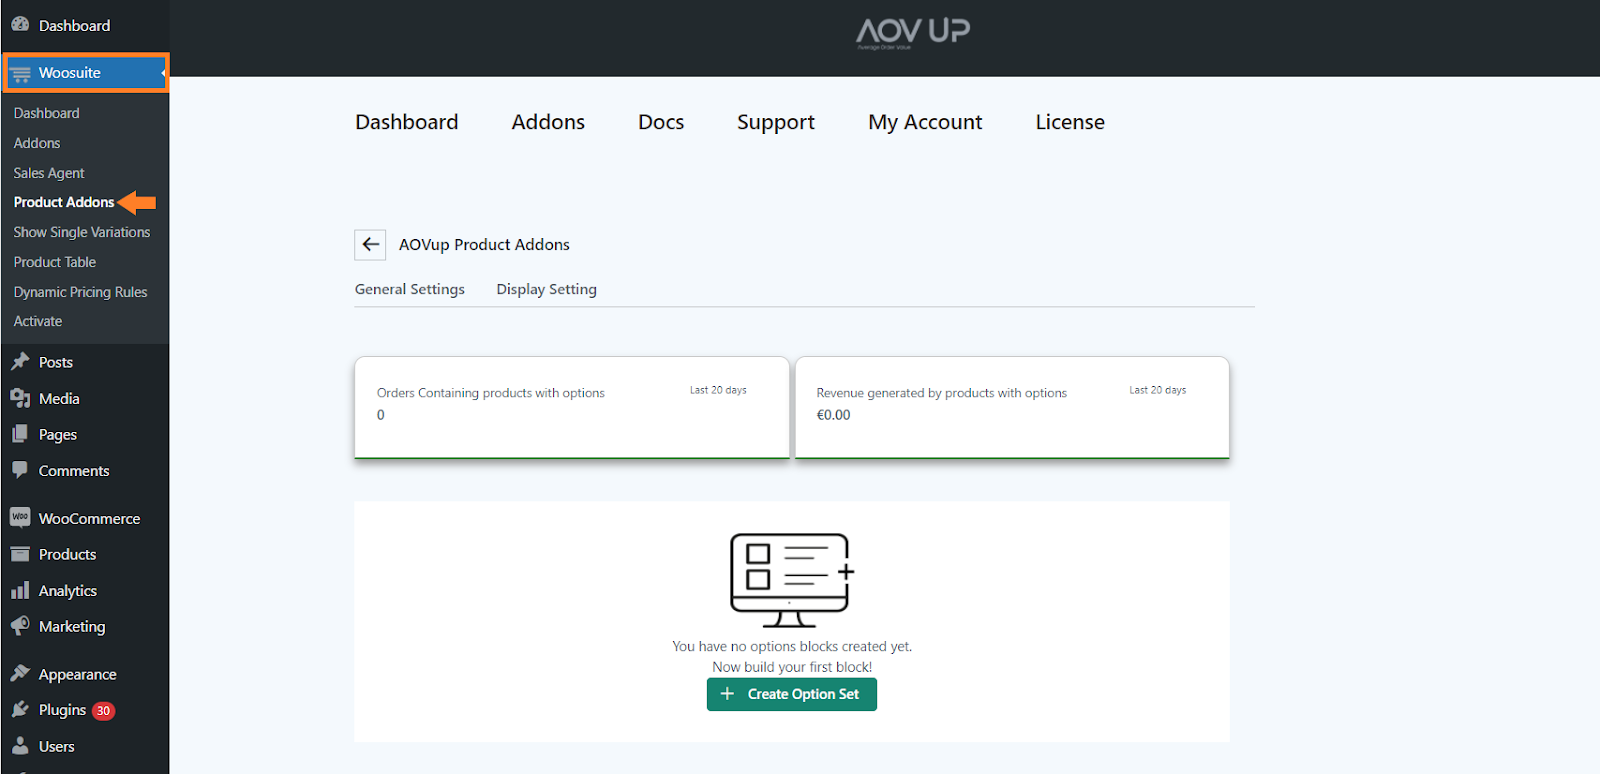
To add a note field to all your products, navigate to AovUp > Product add-ons from your WordPress dashboard.
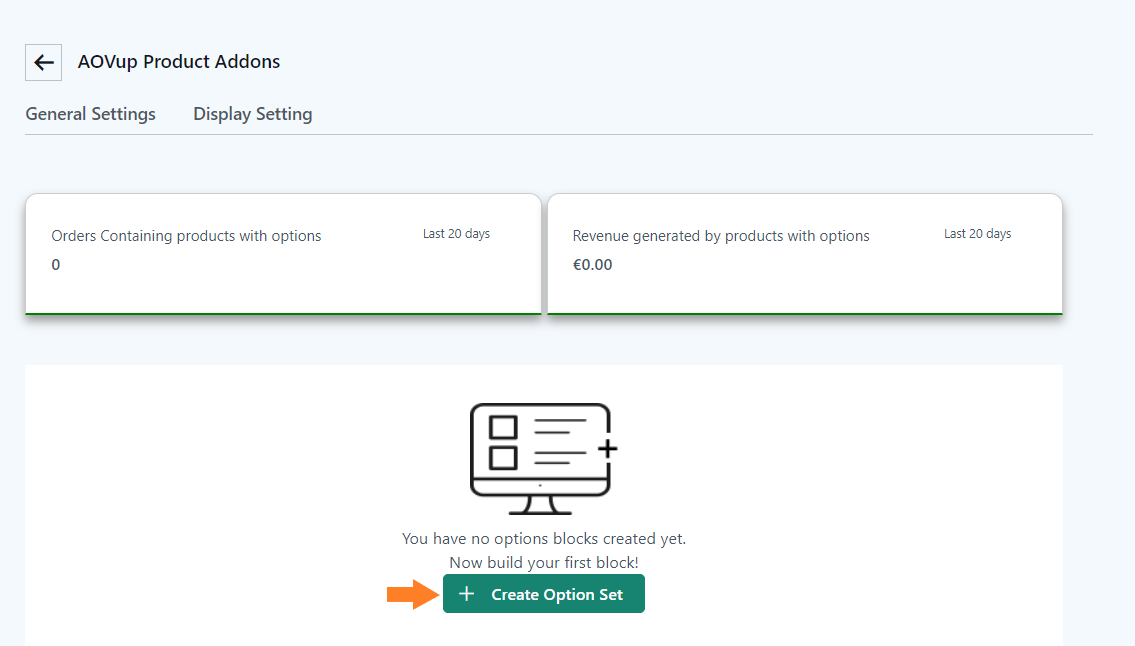
2. Create an Option Set
Next, we need to add an option set to products containing multiple fields. Click the ‘Create Option Set’ button in the middle of the page to add an option set.
2.1. Add the Option Set Name
After clicking it, you will see a new interface with different settings. In the ‘Option set name’ field, add the name. It could be anything you want, but you may want to keep it as descriptive as possible.
It’ll help you if you are working with different option sets.

2.2. Select the Product
The next thing you need to do is select the products on which you want to display this option set. You have three different options:
- Add an option to all products.
- Add an option to specific products or categories.
- Add an option to a specific product type.
You can select any of them depending on your goals. However, I want to display a note field for all the products.
I’ll select the ‘Add an option to all products’ option by clicking its image. You can also exclude some products you don’t want to show a note field.

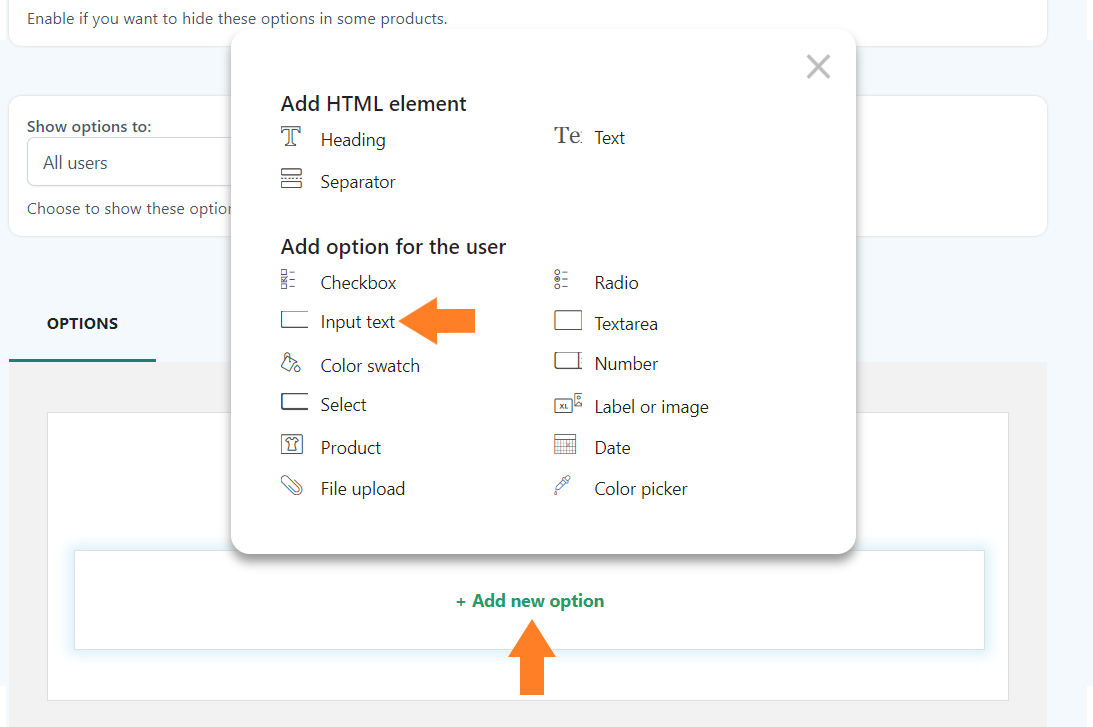
3. Add a Note Field
Now that we have added an option set to all the products, we need to add a note field to it. Users will be able to leave order notes for each product.
This plugin gives you a variety of options to fulfill your requirements. The following is the list of fields or options you can add using this plugin.
- Heading
- Text
- Separator
- Checkbox
- Radio buttons
- Input text
- Textarea
- Color Swatch
- Number
- Select
- Label or image
- Product
- Date
- File Upload
- Color picker
To add a note field to this set, click the ‘Add New Option’ button at the bottom of the page, and select the field you want to add. I’ll add a Textarea field to allow customers to leave notes or instructions for each product they purchase.
You can add any field to allow customers to personalize their products.
3.1. Add the Field Title
Once you select the field, a new popup will slide in from the right side of your screen. From that popup, you can configure the styling and other options of the field.
These will be the same for most of the fields.
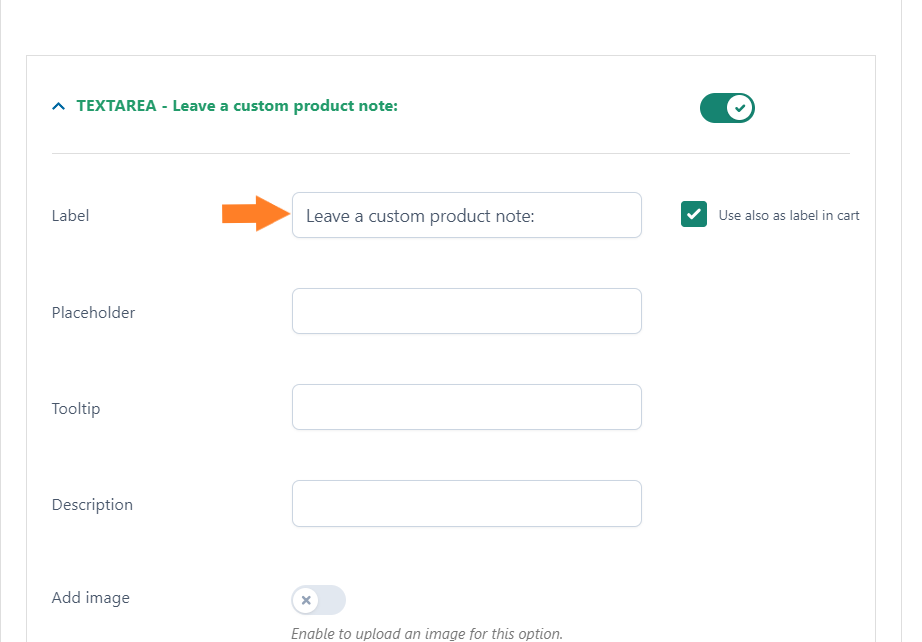
First, add the option title in the ‘Title’ field. It’ll be displayed on the front end. If you want, you can also add the description. It will be displayed before the option.
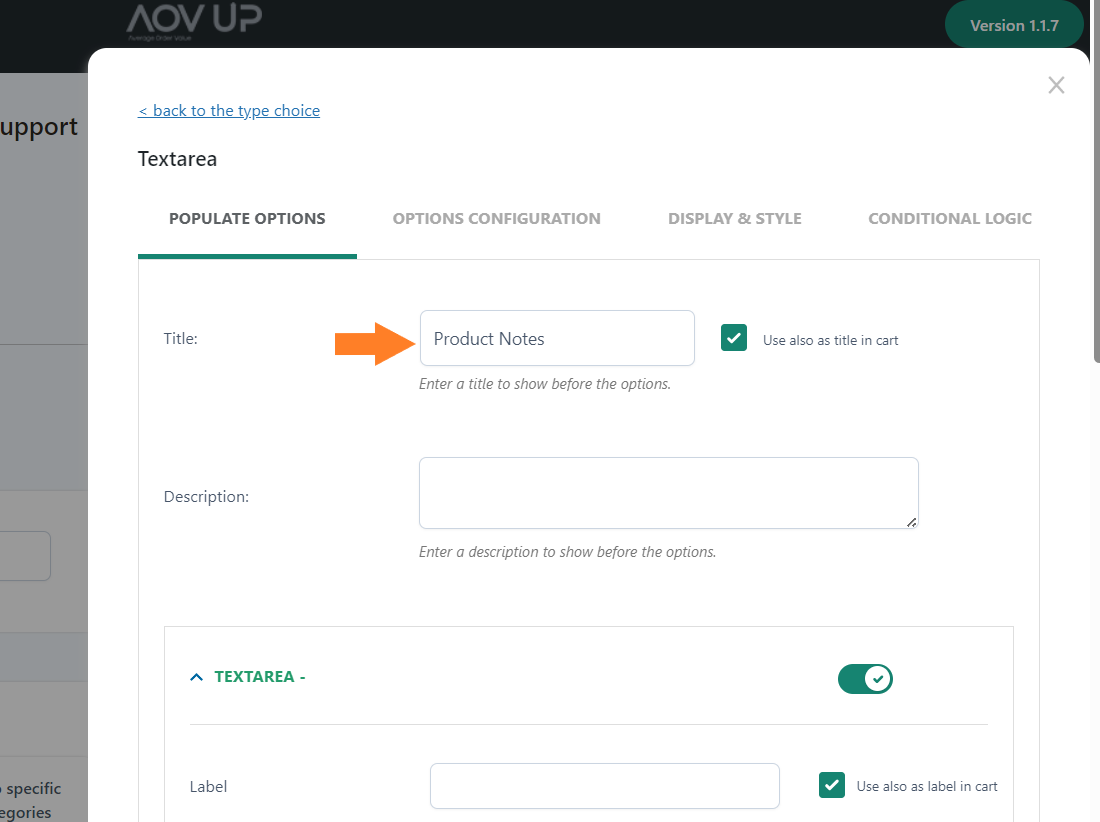
3.2. Add the Field Label
After the title, add the input field label in the ‘Label’ field. You can also add a tooltip and description.
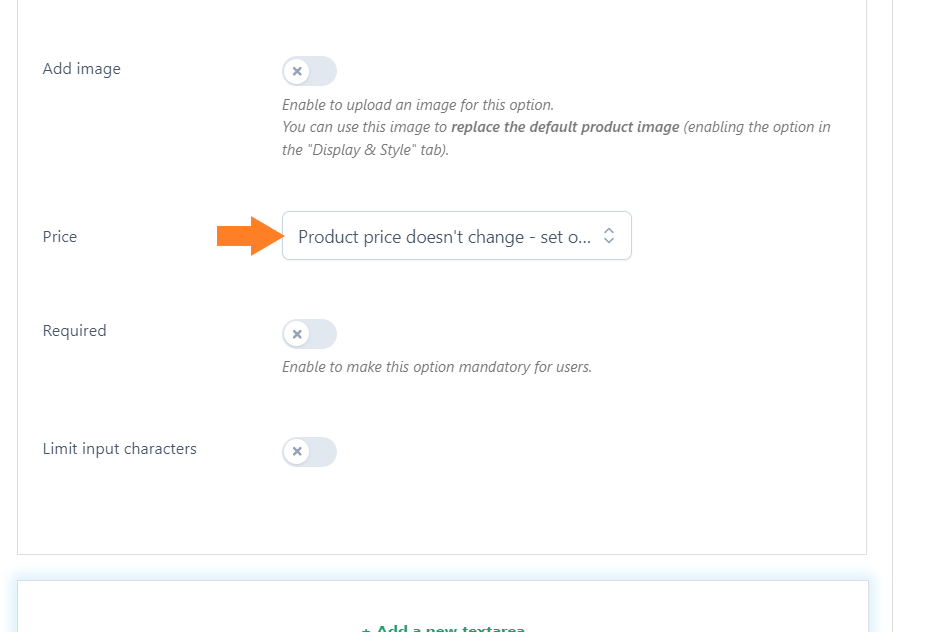
3.3. Set the Custom Field Price (Optional)
You can also charge a fee to allow customers to leave notes or instructions for each product. To set the price for the addon or option, you will get three options:
- Product price doesn’t change – set option as free
- Product price increase – set option price
- Product price decrease – set discount
You can select the one that best matches your requirements, but I have set it for free. You will also find a few other options above it, and you are free to play with them as per your needs.
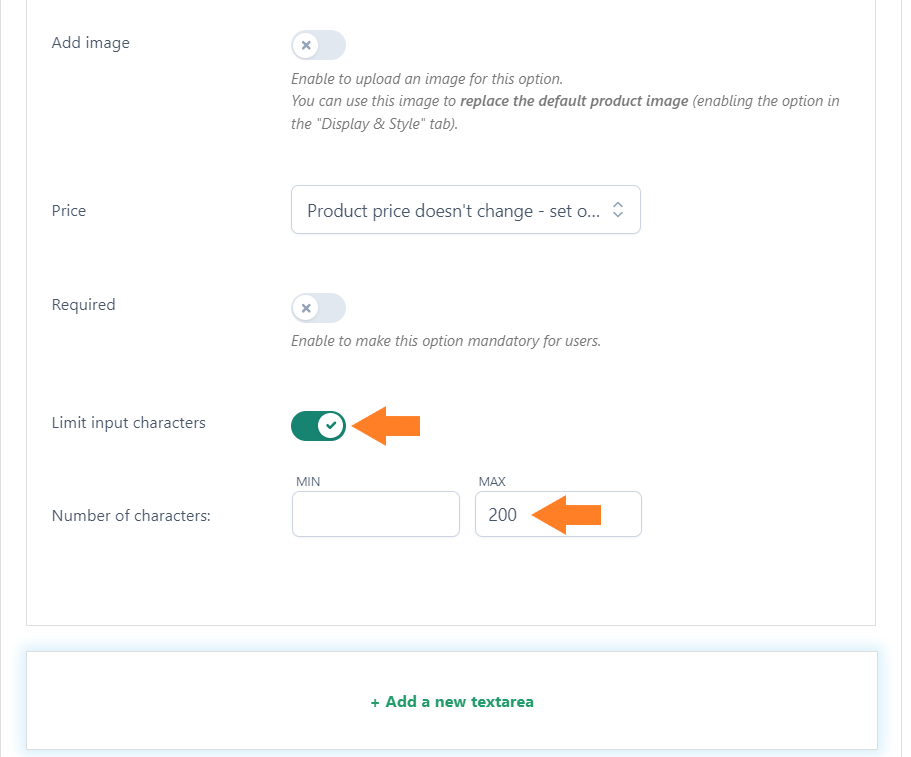
3.4. Limit the Input Characters
Next, you may also want to limit the input characters and make it a required option. I don’t want to make it a required option, so I’ll leave this option off.
And to limit the characters, toggle the ‘Limit input characters’ button. After that, you need to add the minimum and maximum character numbers allowed.
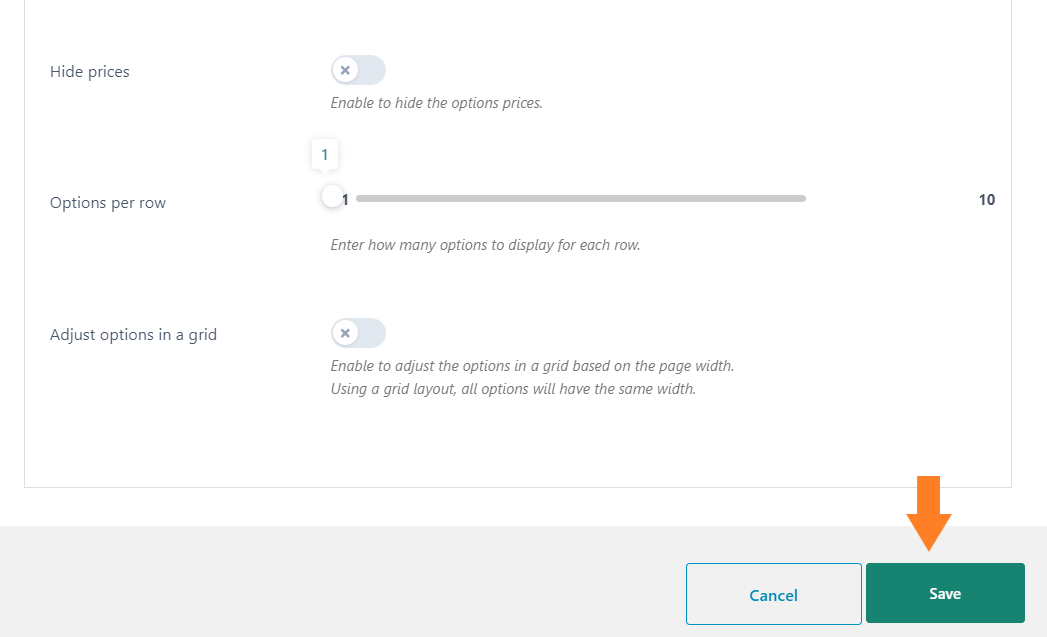
4. Configure the Option Display & Style
You can also customize the display & style of the field. Click the ‘Display & Style’ tab within the popup. You’ll get several different styling options.
I’ll not go into the details, you can explore them yourself.

After making the required adjustments, don’t forget to click the ‘Save’ button within the popup to save the settings.
5. Final Results
Let’s see the final results.
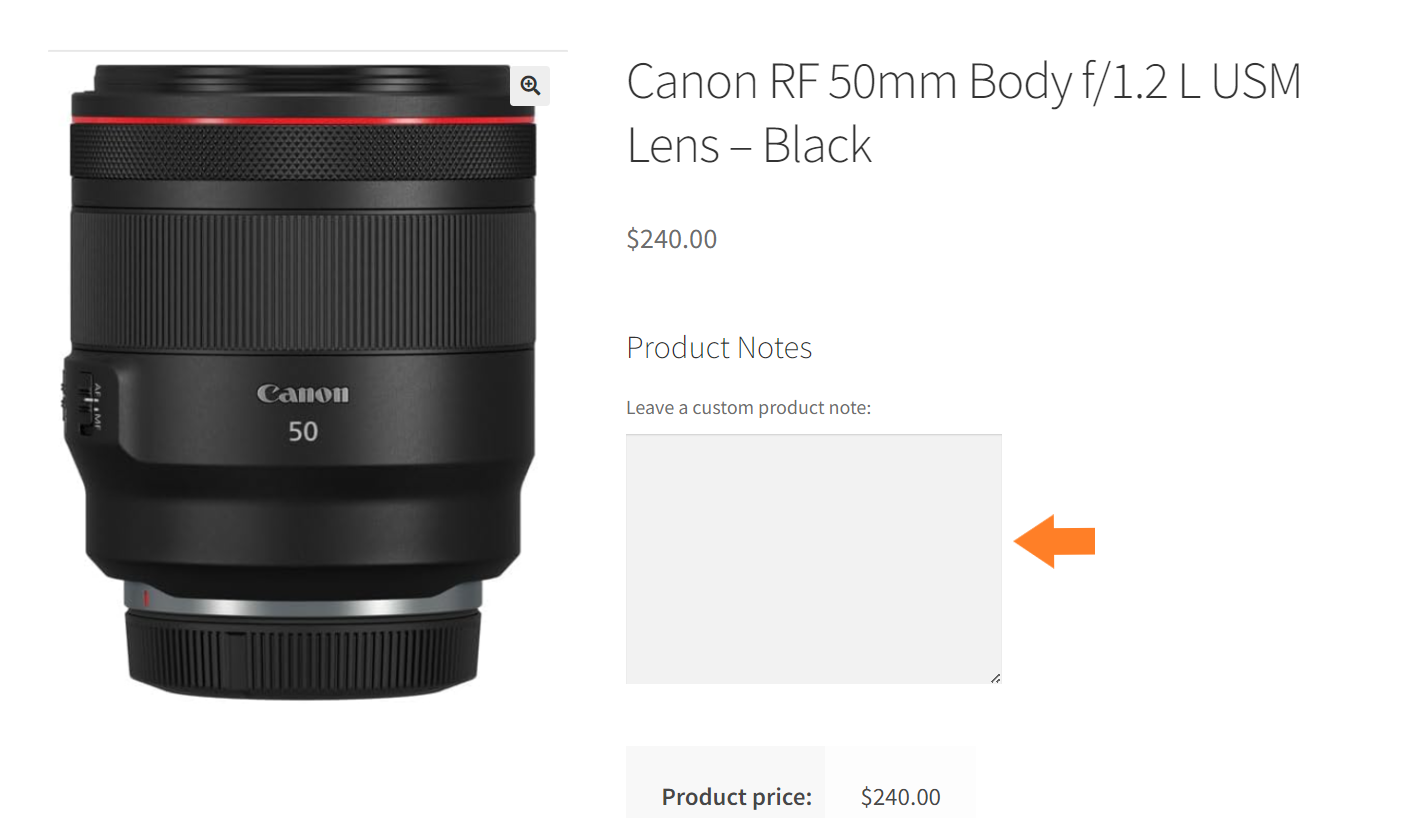
I visited one of my product pages, and as you can see in the screenshot below, a note field has been added to the product. Your customers can now leave order notes for each product they want to purchase.
Note: They won’t be able to add characters more than the character limit you set at the backend.
Method 2: Using code
The following code will help you add a note field for each WooCommerce product, and users will be able to add notes for each product.
1. Code to Copy
This code will display a custom field on each product page, and users can enter notes for each product. The value will also be saved and displayed on the cart and checkout page.
This code will also display the custom text that users will add on the order details page and in the email sent to the customers.
It will also validate that if the users have left the field empty, they won’t be able to add it to the cart.
Note: Please do not change anything until you know what you are doing. The following code is tested with the Storefront theme and the latest WooCommerce and WordPress versions.
Please let me know if there’s any problem or if the code isn’t working. I’ll be happy to revise it for you.
// Display custom field on single product page
    function d_extra_product_field(){
        $value = isset( $_POST['extra_product_field'] ) ? sanitize_text_field( $_POST['extra_product_field'] ) : '';
        printf( '<div><label>%s</label><br><textarea name="extra_product_field" value="%s"></textarea></div>', __( 'Enter your custom text' ), esc_attr( $value ) );
    }
    add_action( 'woocommerce_after_add_to_cart_button', 'd_extra_product_field', 9 );

    // validate when add to cart
    function d_extra_field_validation($passed, $product_id, $qty){

        if( isset( $_POST['extra_product_field'] ) && sanitize_text_field( $_POST['extra_product_field'] ) == '' ){
            $product = wc_get_product( $product_id );
            wc_add_notice( sprintf( __( '%s cannot be added to the cart until you enter some text.' ), $product->get_title() ), 'error' );
            return false;
        }

        return $passed;

    }
    add_filter( 'woocommerce_add_to_cart_validation', 'd_extra_field_validation', 10, 3 );

     // add custom field data in to cart
    function d_add_cart_item_data( $cart_item, $product_id ){

        if( isset( $_POST['extra_product_field'] ) ) {
            $cart_item['extra_product_field'] = sanitize_text_field( $_POST['extra_product_field'] );
        }

        return $cart_item;

    }
    add_filter( 'woocommerce_add_cart_item_data', 'd_add_cart_item_data', 10, 2 );

    // load data from session
    function d_get_cart_data_f_session( $cart_item, $values ) {

        if ( isset( $values['extra_product_field'] ) ){
            $cart_item['extra_product_field'] = $values['extra_product_field'];
        }

        return $cart_item;

    }
    add_filter( 'woocommerce_get_cart_item_from_session', 'd_get_cart_data_f_session', 20, 2 );


    //add meta to order
    function d_add_order_meta( $item_id, $values ) {

        if ( ! empty( $values['extra_product_field'] ) ) {
            woocommerce_add_order_item_meta( $item_id, 'extra_product_field', $values['extra_product_field'] );
        }
    }
    add_action( 'woocommerce_add_order_item_meta', 'd_add_order_meta', 10, 2 );

    // display data in cart
    function d_get_itemdata( $other_data, $cart_item ) {

        if ( isset( $cart_item['extra_product_field'] ) ){

            $other_data[] = array(
                'name' => __( 'Your extra field text' ),
                'value' => sanitize_text_field( $cart_item['extra_product_field'] )
            );

        }

        return $other_data;

    }
    add_filter( 'woocommerce_get_item_data', 'd_get_itemdata', 10, 2 );


    // display custom field data in order view
    function d_dis_metadata_order( $cart_item, $order_item ){

        if( isset( $order_item['extra_product_field'] ) ){
            $cart_item_meta['extra_product_field'] = $order_item['extra_product_field'];
        }

        return $cart_item;

    }
    add_filter( 'woocommerce_order_item_product', 'd_dis_metadata_order', 10, 2 );


    // add field data in email
    function d_order_email_data( $fields ) {
        $fields['extra_product_field'] = __( 'Your extra field text' );
        return $fields;
    }
    add_filter('woocommerce_email_order_meta_fields', 'd_order_email_data');

    // again order
    function d_order_again_meta_data( $cart_item, $order_item, $order ){

        if( isset( $order_item['extra_product_field'] ) ){
            $cart_item_meta['extra_product_field'] = $order_item['extra_product_field'];
        }

        return $cart_item;

    }
    add_filter( 'woocommerce_order_again_cart_item_data', 'd_order_again_meta_data', 10, 3 );
2. Add Code To WooCommerce
After copying the code, you need to add it to your WordPress and WooCommerce store. To help you add it to your WooCommerce store, I have already created a detailed guide.
Please follow the How to Add a Code Snippet to WordPress guide to do so.
3. Final Results
Once you have added the code to your site, let’s test it.
To test it, visit any of the product pages on your store, and you’ll notice that a custom note field has been added, and customers can add notes while ordering the product.

Once you add the note and visit your cart or checkout page, you’ll notice that the text is also showing there.

Similarly, it will also be displayed on the order details page so you, as the store owner, can see the notes and fulfill the user’s requirements regarding the product.

Ending Thoughts
It is an excellent idea to allow customers to add a note for each product. This will help improve their user experience because they will not have to add all the notes on the checkout page if they order multiple items.
It will also help you organize and efficiently fulfill the customer’s requirements.


