Do you want to allow your customers to filter WooCommerce products by custom attributes?
If yes, then you have landed at the right place!
Online shopping is all about ease, and if your WooCommerce store isn’t providing shopping ease to your customers, you probably miss many things.
WooCommerce is an excellent platform to start your online store and improve the customer’s experience.
In today’s article, I’ll share the two methods that can help your users to filter WooCommerce products by custom attributes. I’ll also share the step-by-step process of creating these filters.
Here’s a quick sneak peek of the final results that we will achieve today.

Before jumping into the tutorial, let’s first understand a bit about attributes.
On This Page
What is an Attribute?
Attributes are product characteristics that you can create from the WordPress dashboard. These are used to create product variations.
These allow you to differentiate between different products easily. These also allow the users to filter the products based on an attribute to speed up the buying process.
The type of attributes most widely used are:
- Product Color
- Size
- Weight
- Material
- Ratings
- Brand
- or a custom filter based on your product.
Now that you know what product attribute is, let’s discuss a few benefits of allowing customers to filter WooCommerce products by custom attribute.
Benefits of Allowing Customers to Filter Products By Custom Attribute
Your WooCommerce store’s product filter is the ideal area to speed up and improve the shopping experience for your customers.
When browsing your store, a customer may search for a specific “kind” product. Your filters’ actions in this scenario will either help or delay their search.
Following are a few benefits of allowing customers to filter products by custom attribute.
- Increase the discoverability of all products so that it is simpler for customers to see any product.
- Boost the conversion rate.
- More customers will remain loyal to a store that is easy to use.
Now without further ado, let’s jump into the actual tutorial.
How to Filter WooCommerce Products by Custom Attribute?
Following are the two methods to allow the customers to filter WooCommerce products by custom attributes.
Method 1: Using Show Variations on Shop Page Plugin
This method will use the Show Variations on Shop Page plugin to allow the customers to filter WooCommerce products by custom attributes.
Note: I assume you already have created the attributes in your store. If you haven’t yet, please create attributes first to follow along with the tutorial. You can navigate to the Products » Attributes to create attributes in your store.
1. Install and Activate the Show Variations on Shop Page Plugin
Note: You can skip this step if you have already installed and activated the Show Variations on Shop Page plugin.
To install the Show Variations on Shop Page plugin, you will need to install the Woosuite Core plugin and activate it with the help of a license key. We have created a Quick Start Guide for you to figure out how to install and activate the Show Variations on Shop Page plugin.
2. Setup the Custom Attribute Filter Widget
Once you have installed and activated the plugin, we need to add filter widgets to the sidebar widget to display the filters. This sidebar will display on the shop, category, tag page, etc.
To set up the filter widgets, follow the following steps.
2.1. Navigate to Widgets
To add widgets to your store, navigate to Appearance » Widgets from your WordPress dashboard.
`

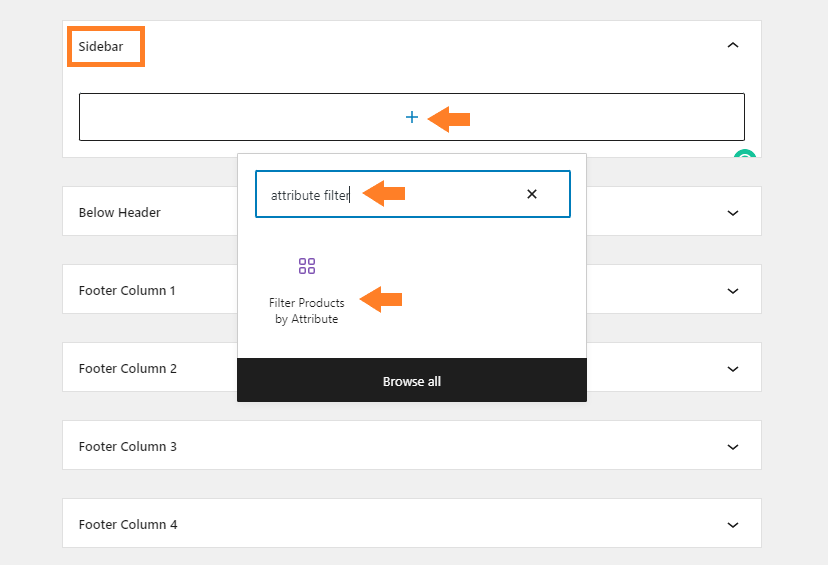
2.2. Add Attribute Filters to the Sidebar
To add attribute filters to the sidebar, click the plus icon and search for the ‘attribute filter’ in the search bar.
After that, click the filter to add it to the sidebar. Also, make sure that you are in the ‘Sidebar’ widget.
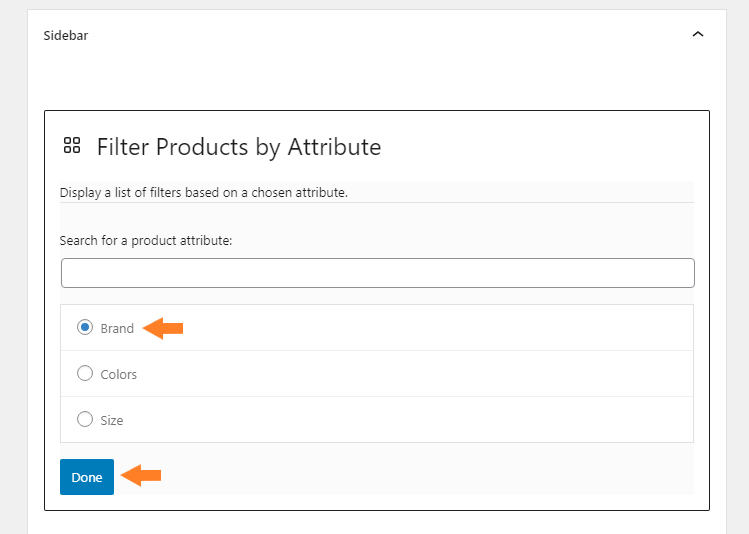
2.3. Select the Attribute
Next, we need to select the attribute. I have created three attributes, brands, color, and size, so I’ll be selecting one of them.
To select an attribute, click the attribute, which in my case is ‘Brand’, and then click ‘Done.’
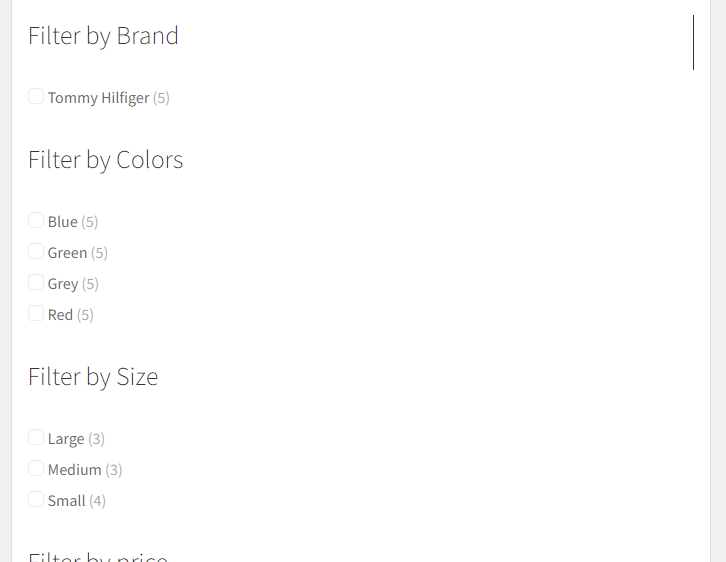
Following the same step, I have added a few more attribute filters.
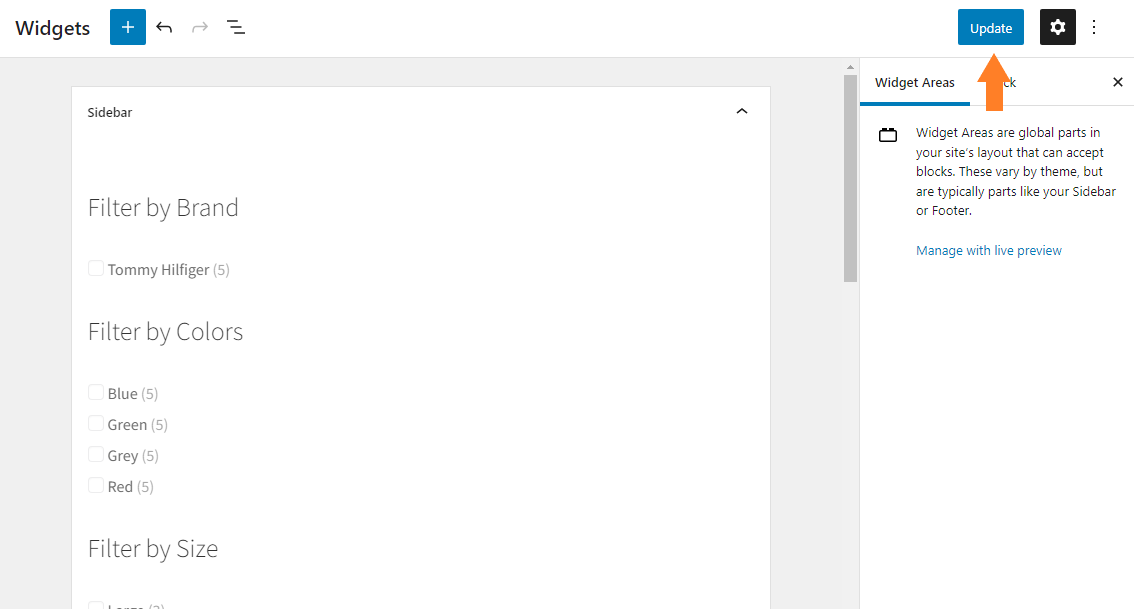
2.4. Update the Widgets
Once you have added the desired filters to the sidebar widget, click the ‘Update’ button at the top right corner of your screen to save the filters.
3. Change Attribute Visibility
Now we need to change the visibility of each product attribute to enable the filter products by attributes. The plugin we installed in the first step will help you with this.
Navigate to the Products » All Products, hover your mouse to any product on your store and click the ‘Edit’ button to edit the product.
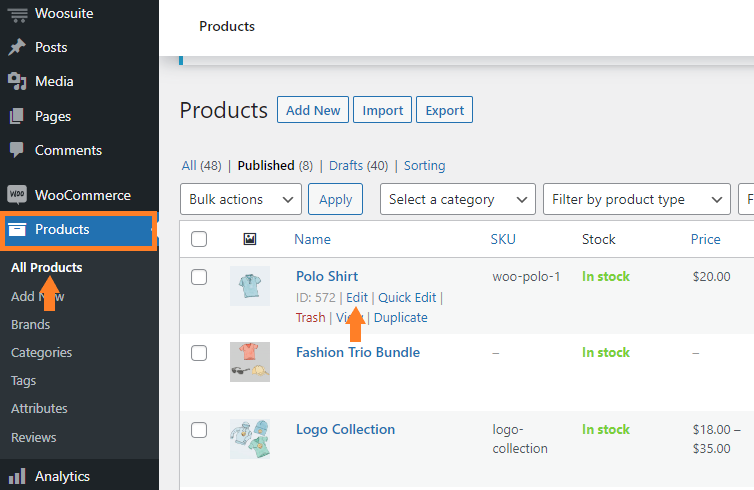
3.1. Scroll to the Product Data Section
Once you click the edit button, you’ll redirect to the product edit page. Scroll to the ‘Product Data’ section and click the ‘Variations’ tab from the left sidebar.
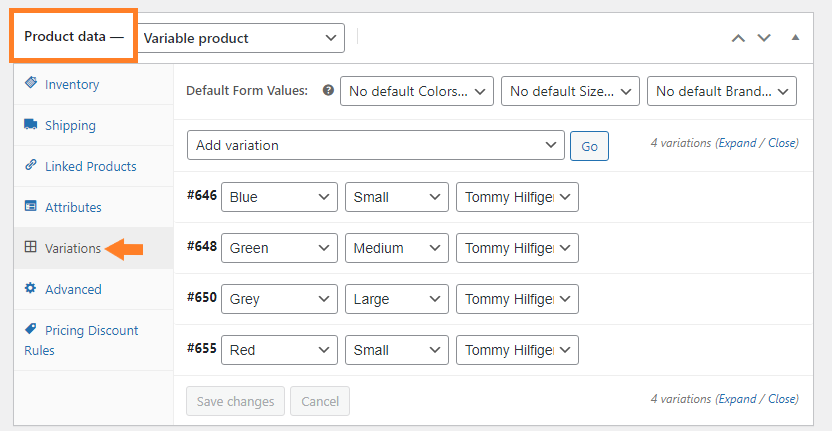
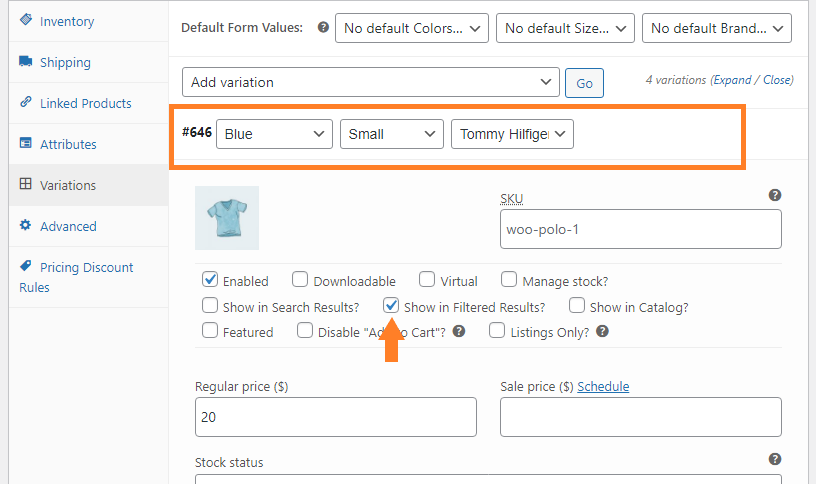
3.2. Enable the ‘Show in Filtered Results’ for Each Variation
Next, we need to enable the ‘Show in Filtered Results’ so that the product variation can be displayed in the filtered search results. You can also play with the other options pushed by the Show Variations on Shop Page plugin.
To enable it, click the variation and check the ‘Show in Filtered Results’ checkbox.
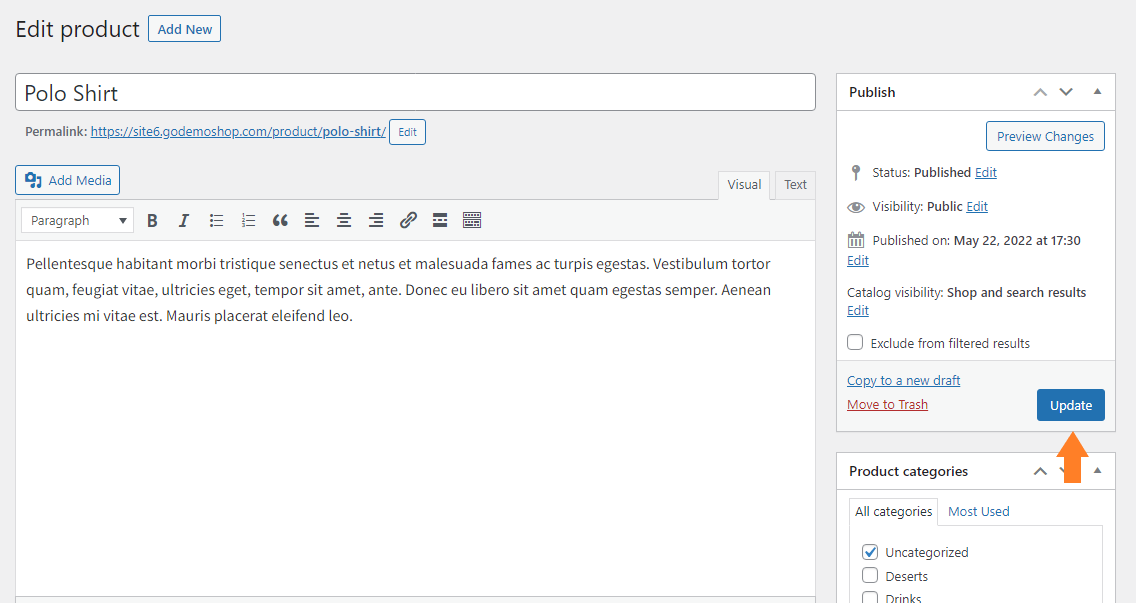
4. Update the Product
Once you have enabled the options, scroll above and click the ‘Update’ button at the top right corner of your screen to save the product settings.
5. Final Results
It’s time to test the filters.
To test it, visit the shop page of your store and check any of the filters you added to the sidebar widget. You’ll notice that the products matching the filter will only appear on the shop page.
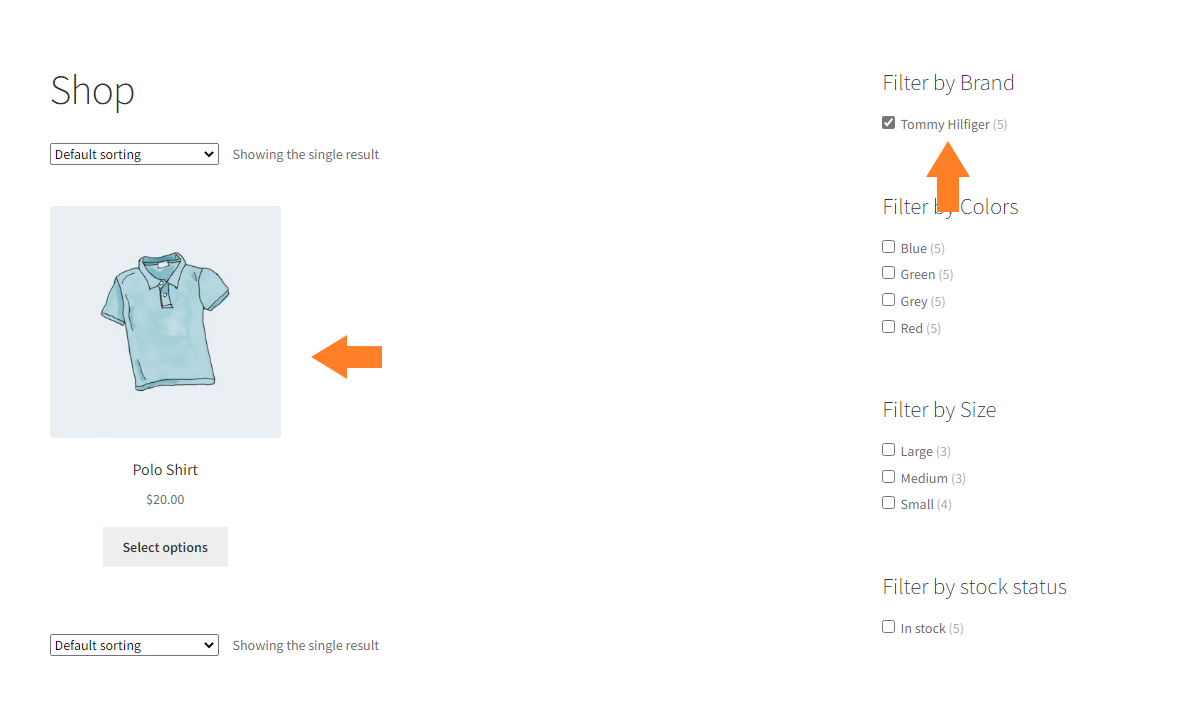
It will allow the customers to explore the products and purchase one of their choices quickly.
Method 2: Using the WooCommerce Product Table Plugin
This method uses the WooCommerce Product Table plugin to filter the products by attributes and change the shop page layout to the table layout to improve the customer’s experience even more.
Follow the following steps to allow the users to filter products by custom attributes using the WooCommerce Product Table plugin.
1. Install and Activate the WooCommerce Product Table Plugin
Note: You can skip this step if you have already installed and activated the WooCommerce Product Table plugin.
To install the WooCommerce Product Table plugin, you will need to install the Woosuite Core plugin and activate it with the help of a license key. We have created a Quick Start Guide for you to figure out how to install and activate the WooCommerce Product Table plugin.
2. Create a New Product Table
Once you have installed and activated the plugin, we need to create a product table. This will display all the products in a table, allowing the users to view and add multiple products to the cart from a single page.
So to create a table, follow the following steps:
1. Add a New Table
Navigate to Woosuite » Product Table from your WordPress dashboard and click the Add New Table button.
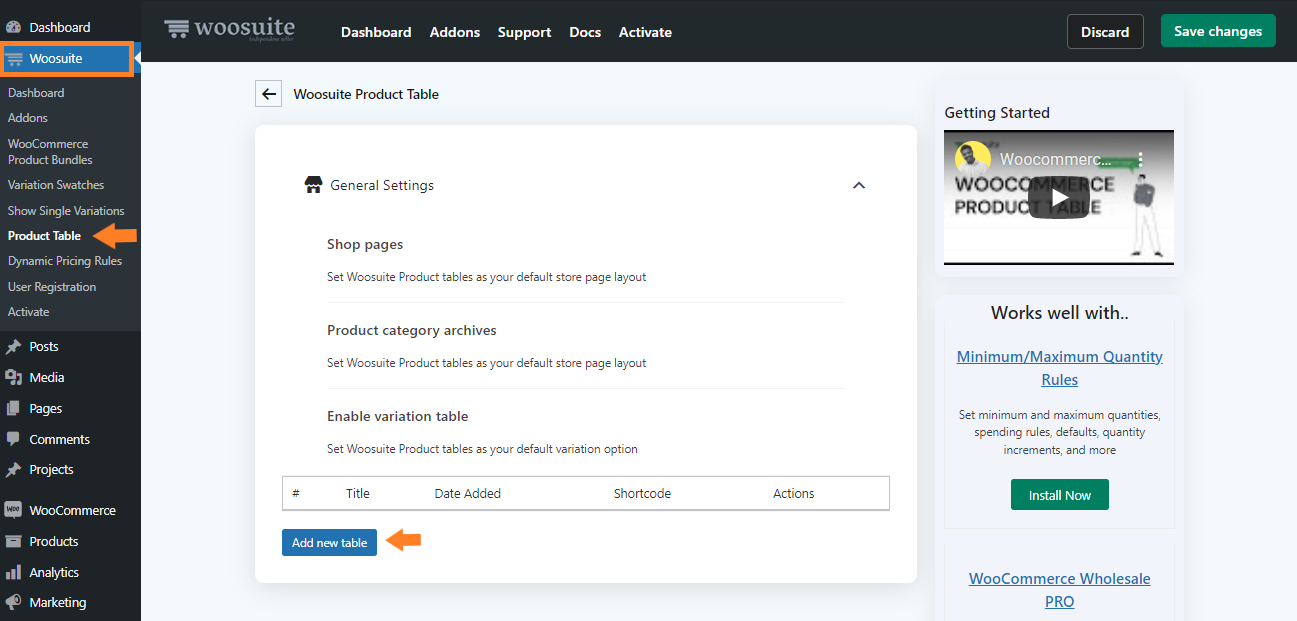
Once you click on it, you’ll see a screen from where you can create and control the table settings.

2. Order Form Display
Now give an internal name to the table. This name will only be used for admin purposes. It is handy to identify the tables if you have built several product tables.

3. Order Form Information
Now expand the Order Form Information section by clicking the (▾)
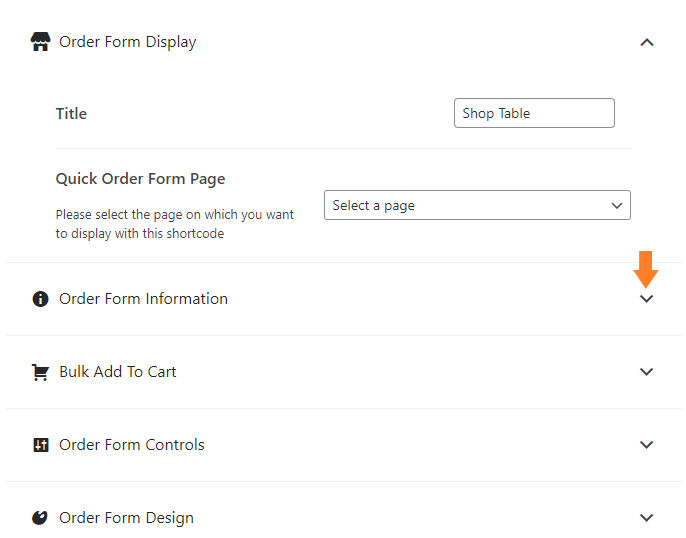
Now, specify the columns you want to add to the table. To add a column, drag it from the Available columns section and drop it in the Selected Columns section.

3. Create Custom Attribute Filters
Once you have added the columns to the table, now to create custom attribute filters, expand the Order Form Controls section by clicking the (▾)
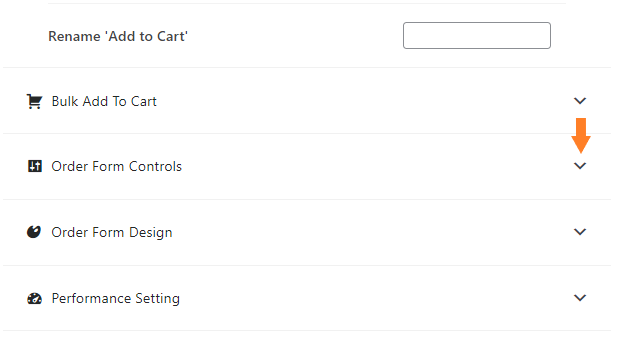
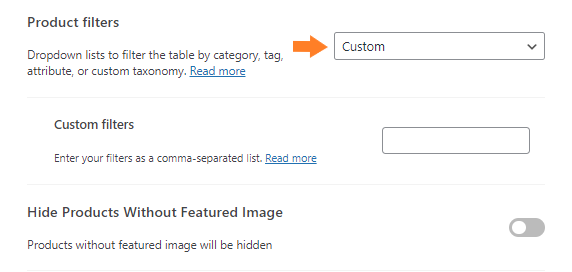
Here you’ll see the ‘Product Filters’ dropdown. In the dropdown, you’ll get three options:
- Disabled
- Show based on columns in the table
- custom

1. Select the Custom Filters
From the ‘Product Filters’ dropdown, select ‘Custom’ to create custom attribute filters.
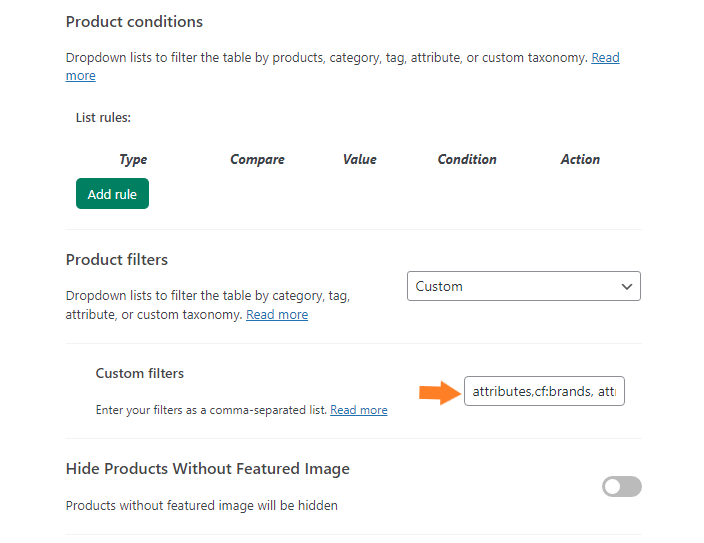
2. Create Custom Attribute Filters
Once you select the custom filters from the dropdown, you’ll see the ‘Custom Filters’ tab below.
To create custom attribute filters, you must type ‘attributes,cf:[attribute-name]’ in the ‘Custom Filter’ field. If you are creating multiple custom filters, you need to separate each filter with a comma.
In my case, I want to create three filters color, size, and brand, so I have typed ‘attributes,cf:brands, attributes,cf:colors, attributes,cf:size’
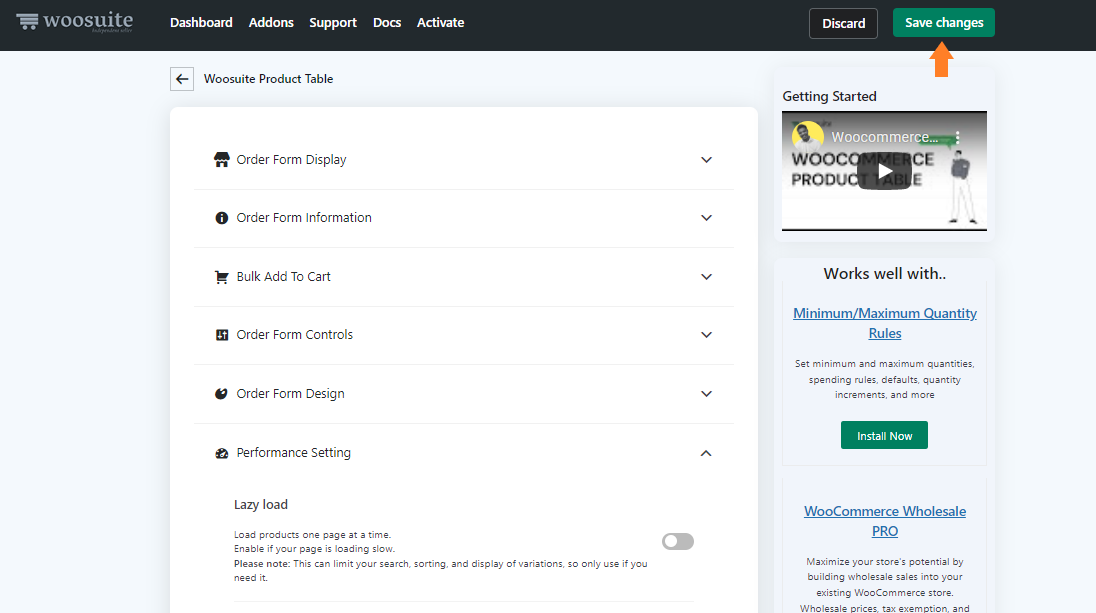
3. Save the Changes
Once you have created the table and the filter, click the ‘Save Changes’ button at the top right corner of your screen to save the changes.
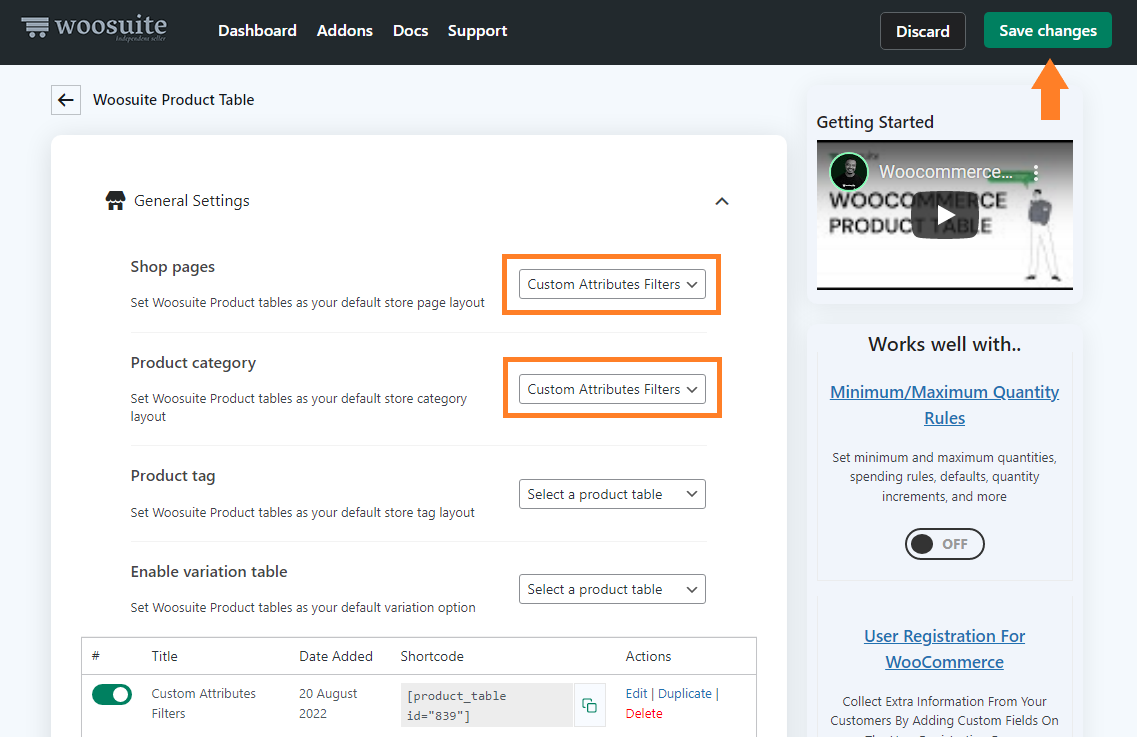
4. Set Woosuite Product Table As Default Shop/Category Page Layout
To set the Woosuite product table as the default shop page layout, go back to the ‘General Settings’ of the plugin by clicking the back arrow at the top.

Now select the table you just created from the ‘Shop Pages’ and ‘Product Category’ dropdown and click the ‘Save Changes’ button at the top right corner of your screen to save the changes.
5. Final Results
Now. Let’s test the filters and the table.
To test it, visit the shop or any category pages on your store. You’ll see that the products are displayed in a table format, and there are attribute filter dropdowns that users can use to filter the products by custom attributes.

Wrapping Up
That’s it for today’s article.
Now you know how to allow customers to filter WooCommerce products by custom attributes.
You can use any of the methods mentioned above. Both the methods will allow your customers to filter WooCommerce products by custom attributes, improving their buying experience.
Now it’s up to you to play with the settings of both the plugins and create different filters.
I hope this article helped you learn the methods to allow the customers to filter products by custom attributes. Still, if you got any questions, please leave them in the comments. I would love to answer all of your questions.
Alternatively, you can contact our customer support for further assistance. They are quick in replying and assisting. They typically respond within a day or less.
Also, let me know in the comments which method you are using to filter products by custom attributes.
Download the Show Variations on Shop Page and WooCommerce Product Table plugin to improve your customers’ buying experience!


