Do you want to improve the variable product attributes in WooCommerce?
Then, you have landed at the right place!
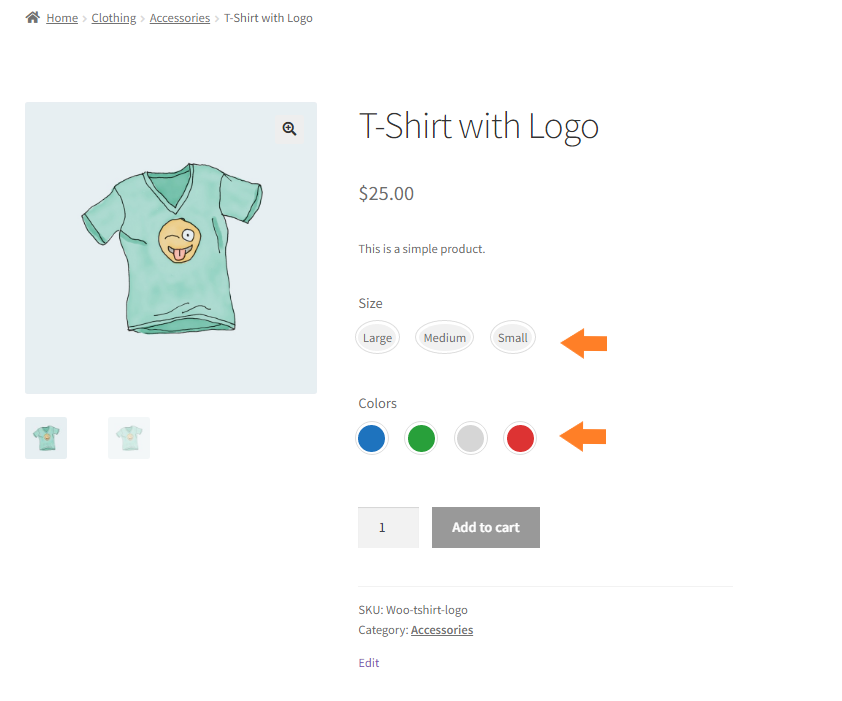
By default, variable product attributes in WooCommerce are shown as a simple dropdown on individual product pages and words with checkboxes when filtering.
It doesn’t offer a better experience to users. You need a good and reliable solution to improve the look and allow users to understand better.
So In today’s article, I’ll walk you through the step-by-step process to improve the product attributes in WooCommerce with the help of the WooCommerce Variation Swatches plugin.
Here’s a quick sneak peek of the final results.
On This Page
- 1 How to Improve Variable Product Attributes in WooCommerce?
- 1.1 1. Install and Activate the WooCommerce Variation Swatches Plugin
- 1.2 2. Navigate to the Attributes
- 1.3 3. Add Product Attributes
- 1.4 4. Configure the Attribute Terms
- 1.5
- 1.6 5. Navigate to Variation Swatches Settings
- 1.7 6. Enable Color Swatches
- 1.8 7. Select the Attributes
- 1.9 8. Save Changes
- 1.10 9. Final Results
- 2 Wrapping Up
How to Improve Variable Product Attributes in WooCommerce?
Follow the following steps to improve the variable product attributes in WooCommerce.
1. Install and Activate the WooCommerce Variation Swatches Plugin
Note: You can skip this step if you have already installed and activated the WooCommerce Variation Swatches plugin.
To install the WooCommerce Variation Swatches plugin, you will need to install the Woosuite Core plugin and activate it with the help of a license key. We have created a Quick Start Guide for you to figure out how to install and activate the WooCommerce Variation Swatches plugin.
Once the plugin is activated, add the product attributes to your WooCommerce store.
To add the attributes, navigate to the Products » Attributes from your WordPress admin dashboard.

3. Add Product Attributes
Now, to add the attribute, follow the following steps.
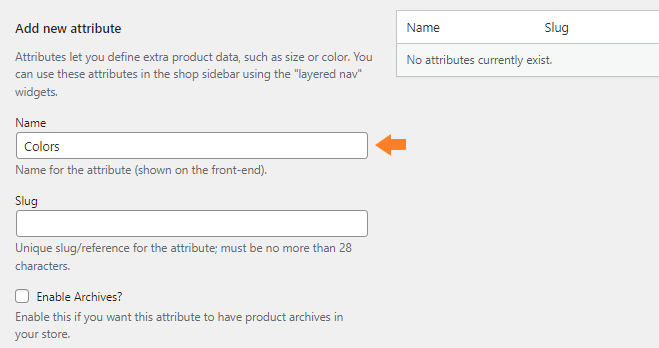
1. Give a Name to the Product Attribute
In the “Name” field, enter the name of the product attribute you want to add to your store.
I have named it “Colors” as I want to create color variations. Leave the “Slug” field empty, as it’ll generate automatically based on the attribute name.
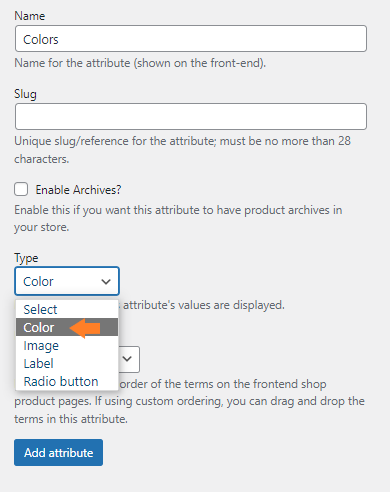
2. Select the Attribute Type
Now select the type of the attribute. You can choose from 4 different types of attributes.
- Color
- Image
- Label
- Radio Button
I am creating a color attribute, so I have selected the type as Color.
3. Click on the Add Attribute Button
Click on the “Add Attribute” button to add the product attribute.

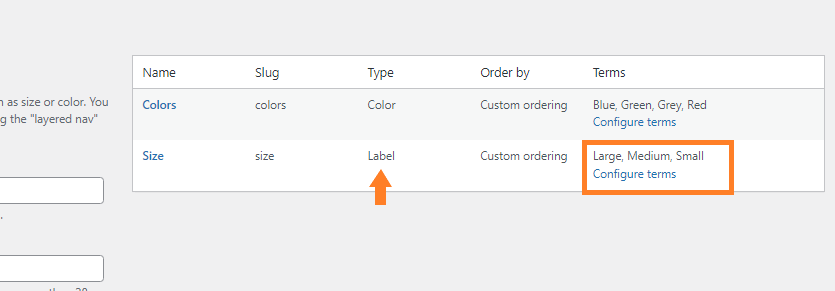
By following these steps, I have also created the Size attribute. For the Size attribute, I have selected the attribute type as Label.
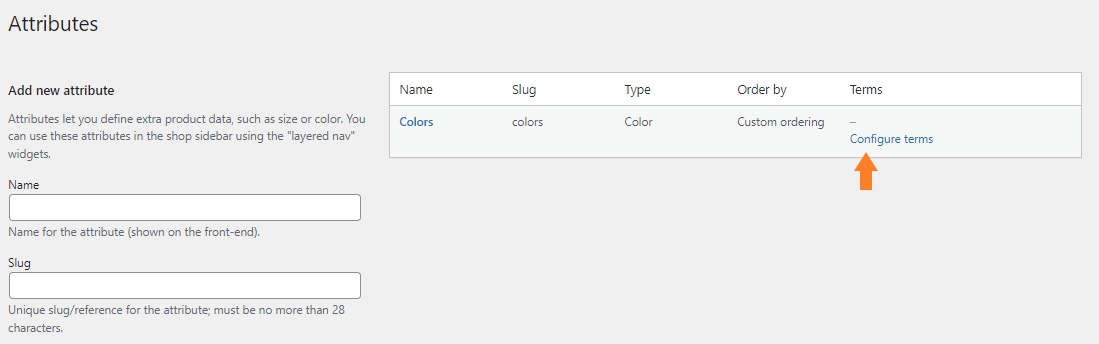
4. Configure the Attribute Terms
Once you have added the attribute, we need to configure the terms. To configure the terms, click on the “Configure Terms” on the product attribute that you just added.
Once you click on the Configure Terms, you’ll redirect to the following page, from where you can add colors to the attribute.
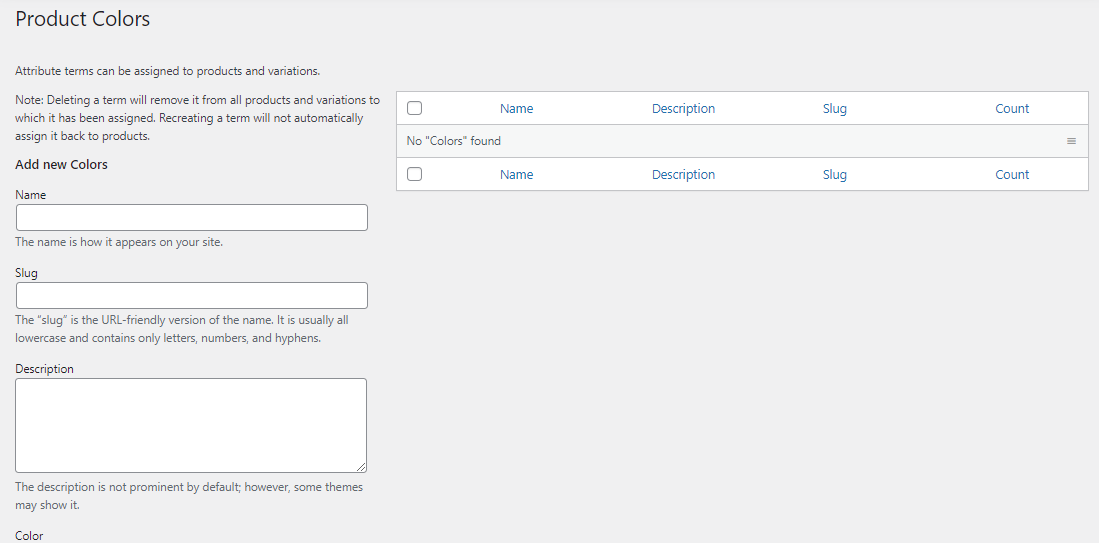
To add the colors, follow the following steps.
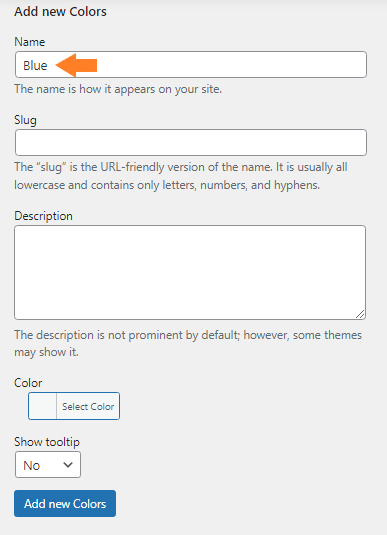
1. Add Color Name
Now in the “Name” field, add the name of the color. You can leave the “Slug” field empty, as it’ll generate automatically when the color is published.
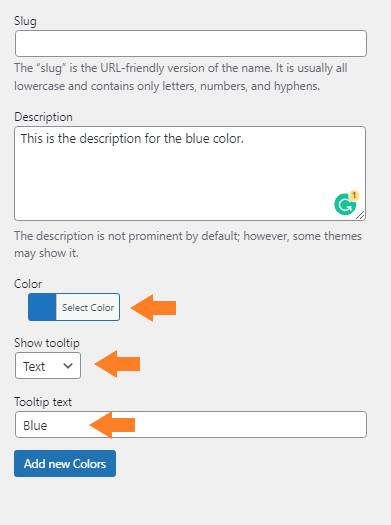
2. Add the Description
Now in the Description field, you can add the description for each item.

3. Select the Color Value
Now, from the Color, select the color value. As I am adding the blue color, I have chosen the hex code of the blue color.
You can also enable the tooltip from the Show tooltip dropdown.
4. Click on the Add New Colors Button
Now click on the Add New Colors button to add the color item to the colors product attribute.

I have added some colors to the attributes by following the same steps.

Also, I have created a Size attribute and added the items to it. The type of the Size attribute is Label.
From the WordPress Admin Dashboard, navigate to Woosuite » Variation Swatches.

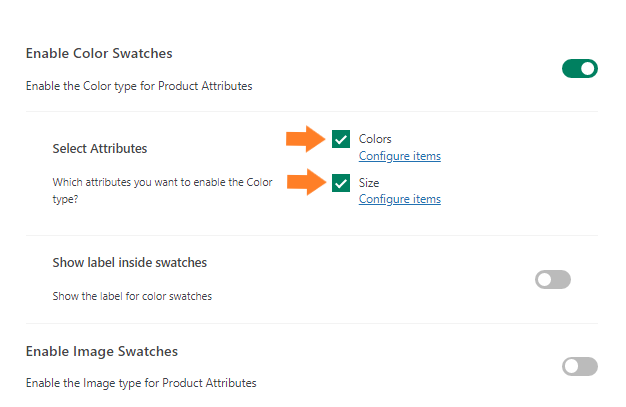
6. Enable Color Swatches
Now, enable the Variation Swatches by toggling the button. It will improve the variable product attributes by displaying them as swatches.

Since Pro v1.1.5, a new Enable Attribute Name option is available in the General Settings. When enabled, the selected variation name is displayed next to the attribute label on the product page. For example, after selecting the “Blue” color swatch, the label will show “Color: Blue” instead of just “Color”. This helps customers immediately see which option they have selected without looking at the swatch itself.
7. Select the Attributes
Now, select the attributes you want to improve. You can choose the attribute by checking the box. As we want to improve all the product attributes, I’ll select all the attributes I created in the previous steps.
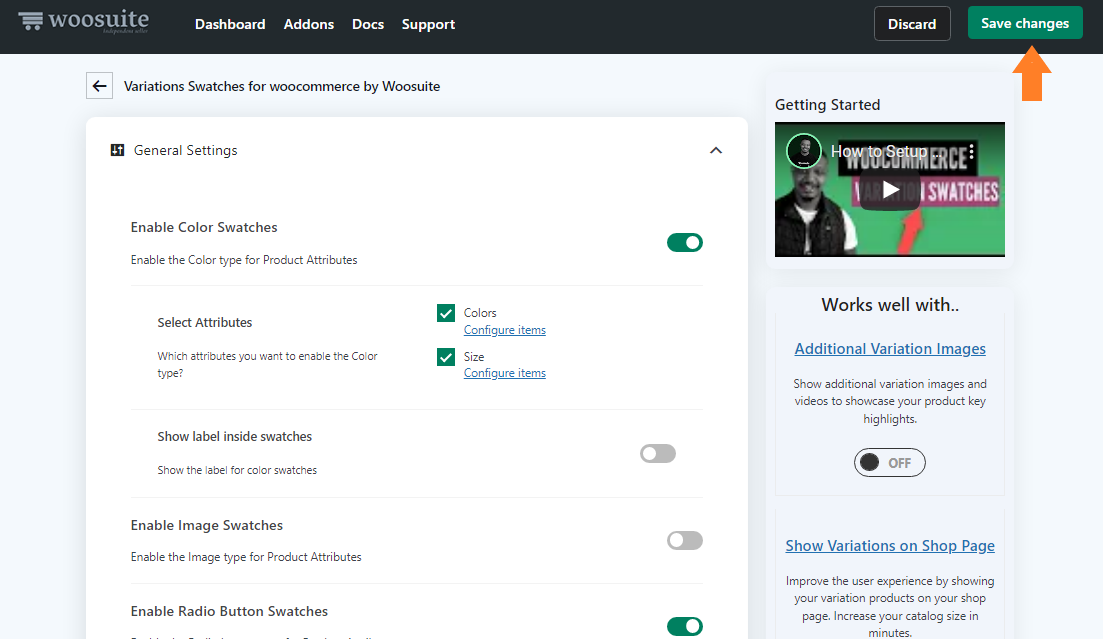
8. Save Changes
Now click on the green Save Changes button at the top right corner of your screen to save the changes.
9. Final Results
Now, if you visit any of the variable product pages, you’ll see that the attributes display as swatches instead of the WooCommerce default variation dropdown. It improves the user experience by enhancing the process of variable selection.
Wrapping Up
Now you know how to improve the variable product attributes in WooCommerce with the help of the WooCommerce Variation Swatches plugin.
You can play with the other settings of the plugin and change the size and shape of the swatches too. This plugin also allows you to create dual-color swatches, and you can also show the attribute description on the product page.
I hope this article was helpful to you in learning to improve variable product attributes in WooCommerce. If you have any questions, you can post them below in the comment section. I’d love to answer all your questions.
Alternatively, you can contact our customer support department for further assistance. They typically reply within an hour or less.
Ready to get started? Download the WooCommerce Variation Swatches and improve the user’s experience on your store!


