Are you looking for a way to allow the customers to sort the products by the brands?
Well, stop looking further, you have landed in the right place!
WooCommerce doesn’t allow you to sort the products by the brand names. It also doesn’t give you the “Brand” field where you can add the brand name.
You probably need to use a piece of code to create a custom field and sort products by brand names. It can be challenging if you have no experience with custom coding.
So In today’s article, I’ll walk you through the step-by-step process to sort the WooCommerce products by the brand name. I’ll also show you how to add different brands to your store and select the brand name from the WooCommerce product edit page.
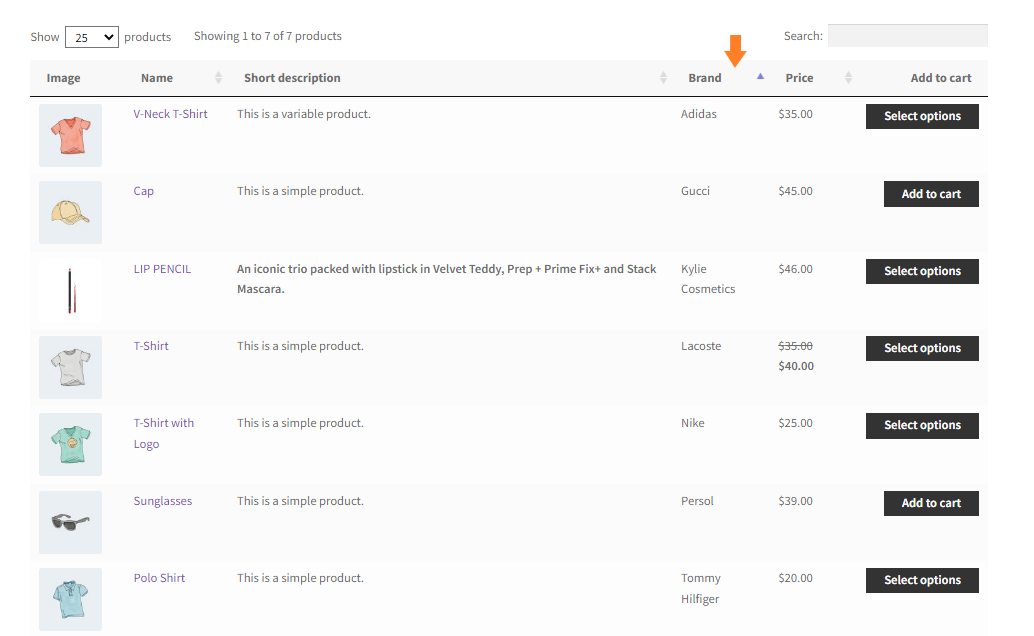
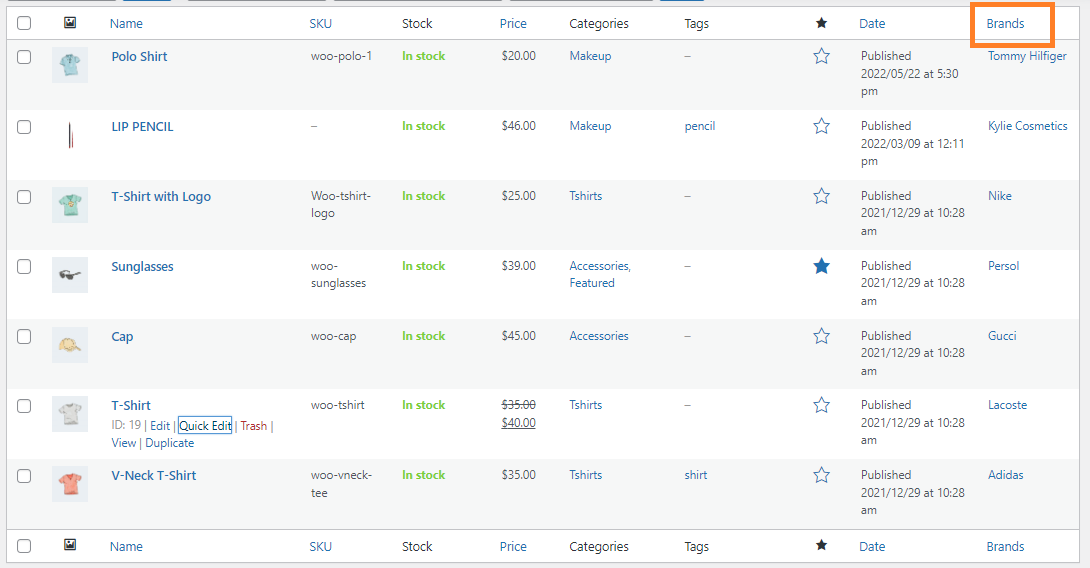
Here’s a quick sneak peek of the final results.
So without further ado, let’s get started.
On This Page
- 1 How to Sort the Products by Brand in WooCommerce?
- 1.1 1. Install and Activate the Perfect Brands for WooCommerce Plugin
- 1.2
- 1.3 2. Add the Brands in WooCommerce
- 1.4 3. Assign the Brands to the Products
- 1.5 4. Install and Activate the WooCommerce Product Table Plugin
- 1.6 5. Create a New Table
- 1.7 6. Sort the Order of Products by Brand
- 1.8 7. Change the Sort Direction
- 1.9 8. Save the Changes
- 1.10 9. Set WooSuite Product Table as the Default Shop Page Layout
- 1.11 10. Final Results
- 2 Conclusion
How to Sort the Products by Brand in WooCommerce?
Here I’ll show you the step-by-step process to sort order products by brand in Woocommerce. I’ll be using the WooCommerce Product Table plugin to sort orders.
This plugin lets you list products in a user-friendly table/list layout with multiple columns of information.
1. Install and Activate the Perfect Brands for WooCommerce Plugin
First, we need to add the brands to the products. We need to use the Perfect Brands for WooCommerce plugin to add the brand names. This plugin will add a new section to the product edit page from where you can select the brands that you have added to your store.
To install and activate the plugin, follow the following steps.
1.1. Navigate to the Add New Plugin
To install the plugin, navigate to the Plugins » Add New from your WordPress admin dashboard.

1.2. Search for the Plugin
Now, enter the “perfect brands” in the search bar, and the plugin will appear on your screen.
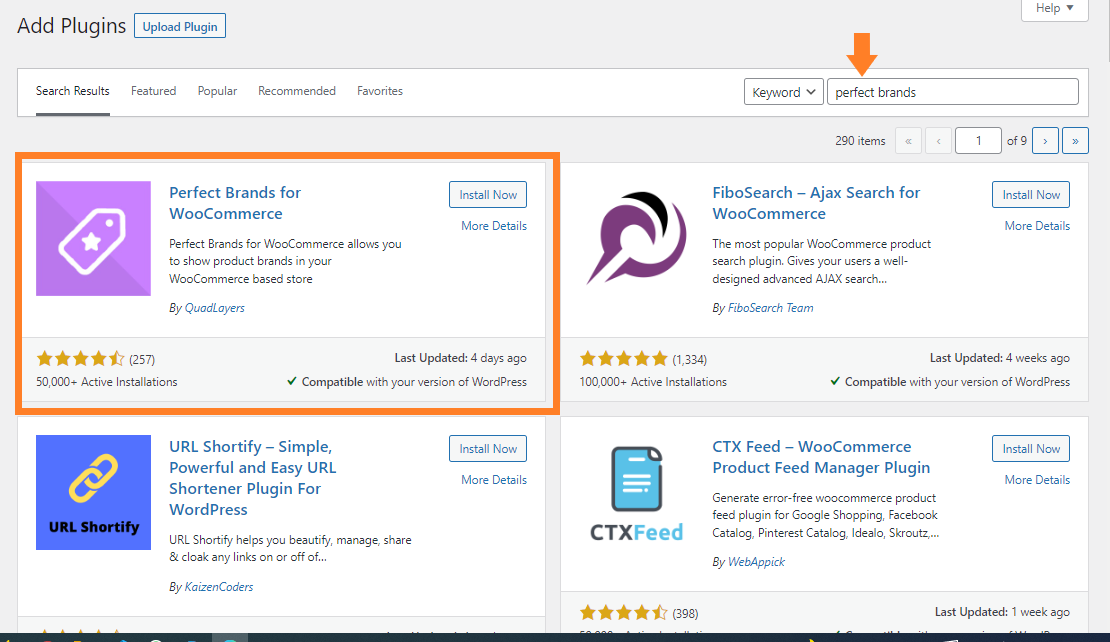
1.3. Install the Plugin
Once you have found the plugin, now click on the “Install Now” button to install the plugin.

1.4. Activate the plugin
Once the plugin is installed, now you’ll see the “Activate” button instead of “Install Now”. So, to activate the plugin, click on the “Activate” button.
After that, wait for a few seconds until the plugin is activated. Once the plugin is activated you’ll be redirected to the plugins section where you can see all the plugins installed on your site.

2. Add the Brands in WooCommerce
Now we need to add the brands to our WooCommerce store. These brands will appear in the product brand section on the product edit page and you can select the brand for each product.
So follow the following steps.
2.1. Navigate to the Brands
To add the brands in the store, navigate to the Products » Brands from your WordPress admin dashboard. From here you can add the brands to your store.
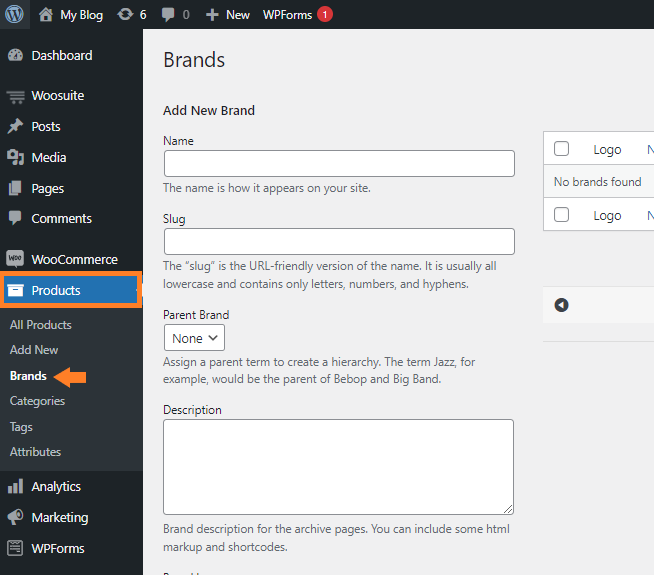
2.2. Add the Brand Name
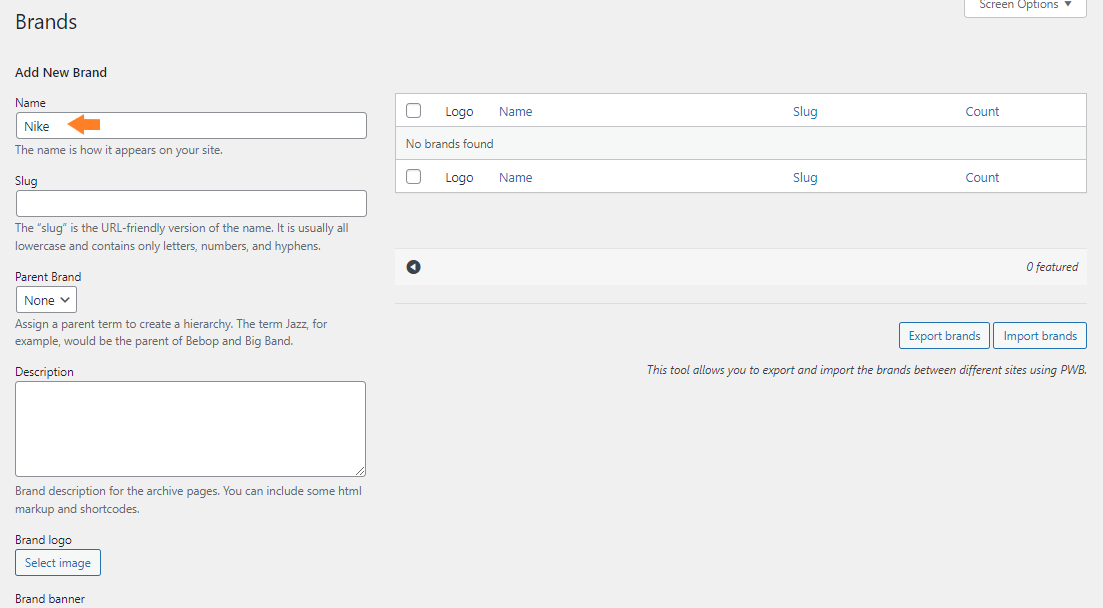
Now in the “Name” field, enter the brand’s name. I have added the “Nike”
2.3. Add Brand Logo
Now in the brand logo field, enter the logo of the brand. As I have added the Nike brand, I’ll be adding the logo of Nike.
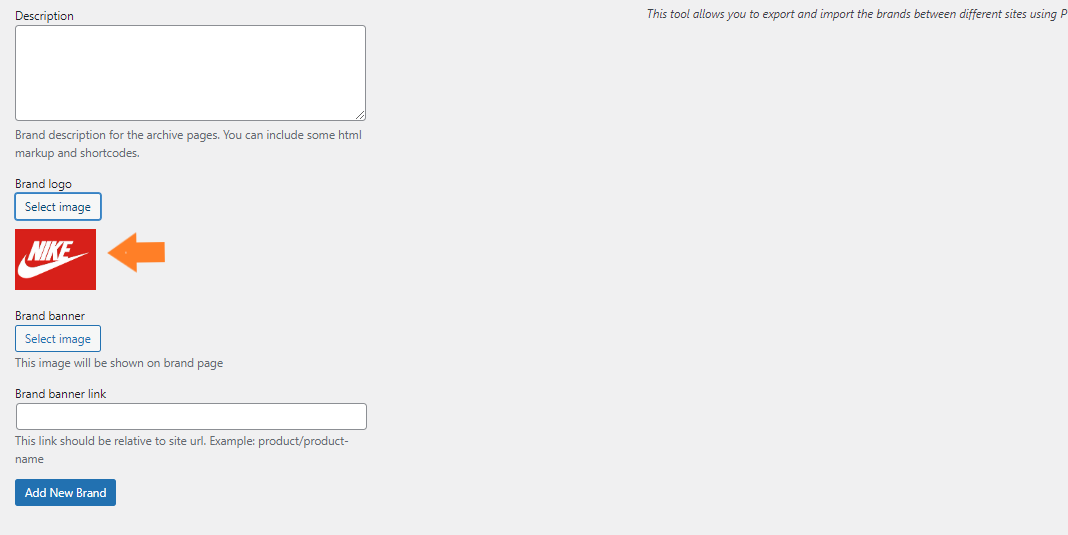
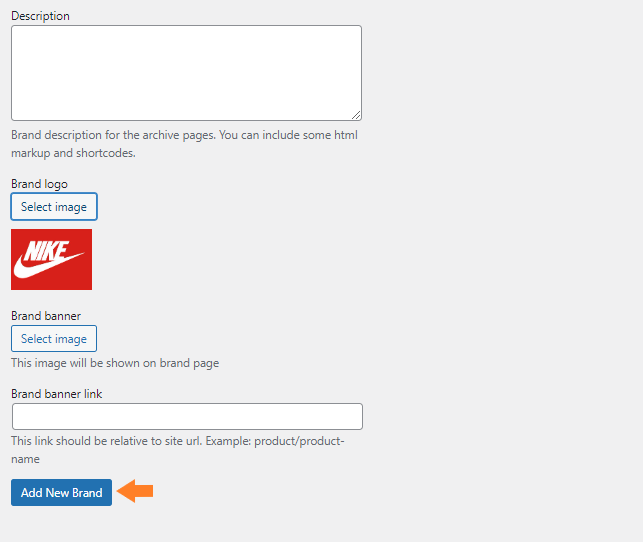
2.4. Click on the Add New Brand
Now click on the “Add New Brand” button to add the brand to the store.
Once you’ll click on the button, the brand will be added to your store. I have added some more brands using the same steps.

3. Assign the Brands to the Products
Now that we have added the brands to our WooCommerce store, it’s time to assign the added brands to the products.
Note: I am assuming that you already have some products in your store. If you do not have any products, first you need to add the products to follow along with the tutorial.
So follow the following steps.
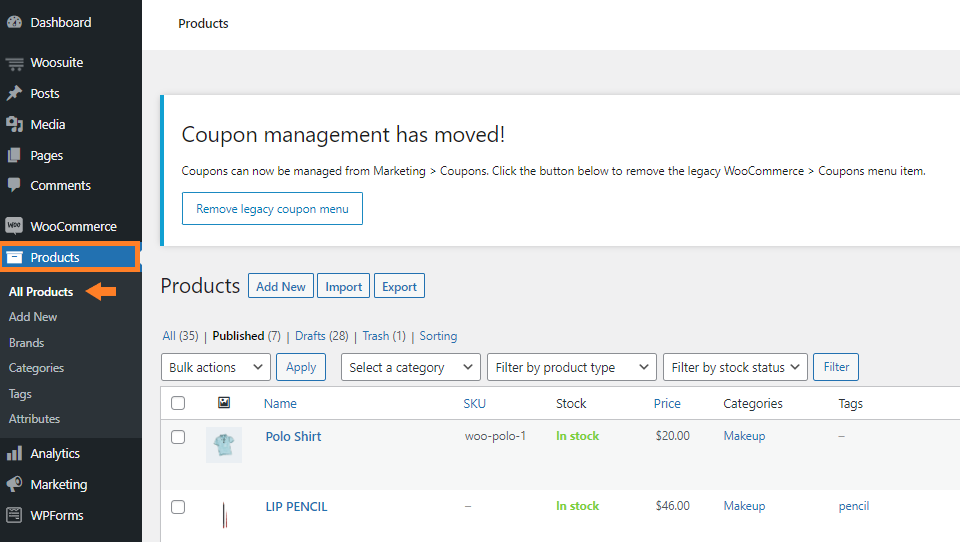
3.1. Navigate to the Products
Now navigate to the Products » All Products from your WordPress admin dashboard.
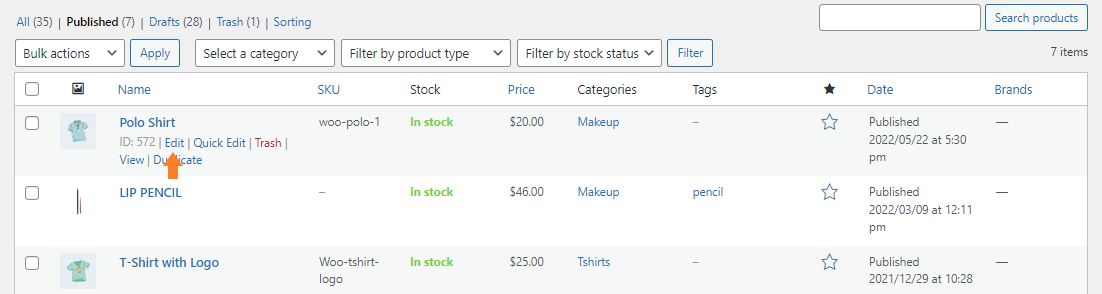
3.2. Edit the Product
Now we need to edit the product to assign the brand to it. To edit the product, hover over your mouse on the product name and click on the “Edit” button.
3.3. Select the Brand Name
Once you are on the product edit page, you’ll see a new “Brands” section on the right side of your screen. This section will list all the brand names that we have added in the previous step.
To select the brand, click on the checkbox.

3.4. Update the Product
Now scroll up, and click on the “Update” button to save the settings.

I have assigned the brands to all the products in my store by using the same steps.
4. Install and Activate the WooCommerce Product Table Plugin
Note: You can skip this step if you have already installed and activated the WooCommerce Product Table plugin.
To install the WooCommerce Product Table plugin, you will need to install the Woosuite Core plugin and activate it with the help of a license key. We have created a Quick Start Guide for you to figure out how to install and activate the WooCommerce Product Table plugin.
5. Create a New Table
Once you have installed and activated the plugin, Now to sort the order of products by the brand in WooCommerce, you need to create a product table that will display all of your products in a table and improve the layout.
Follow the given steps to create a standard table.
Note: This tutorial is only focused on sorting the order of products by brand in WooCommerce so I won’t show you how to create an advanced table layout but you can follow the create a table layout tutorial to learn this.
5.1. Add New Table
To create a table, navigate to Woosuite » Product Table from your WordPress dashboard and click on the Add New Table button.

Once you click it, you’ll see a screen from where you can create and control the different table settings.
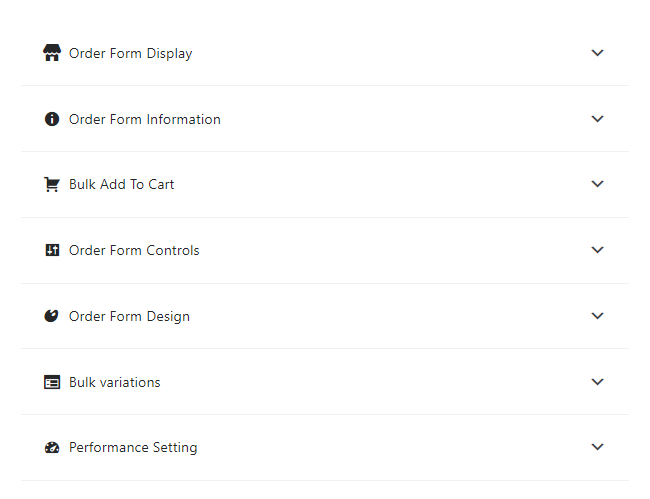
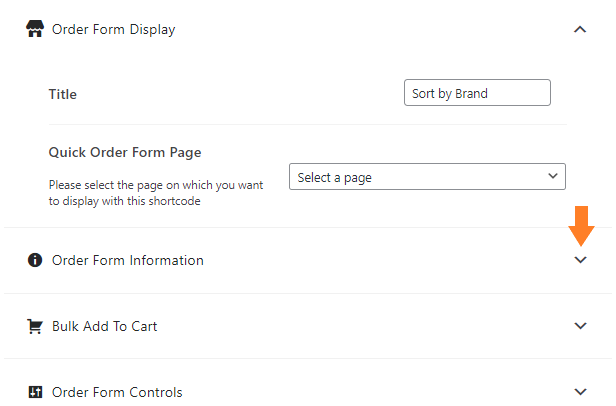
5.2. Order Form Display
Now in the “Order Form Display” tab, give an internal name to the table. This will help you identify and manage the tables if you are working simultaneously with multiple tables.

5.3. Order Form Information
Now expand the Order Form Information by clicking on the (▾)
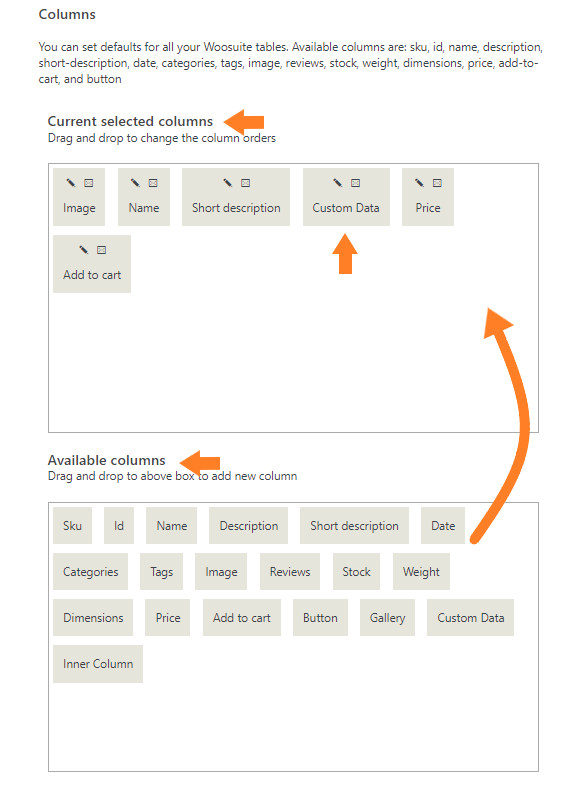
Now, specify the columns you want to add to the table. To add a column, just drag the column from the Available columns section and drop it in the selected columns sections.
Make sure to add the “Custom Data” column to your table as we’ll be using this column as the “Brands” column and users can sort the products by the brand names.
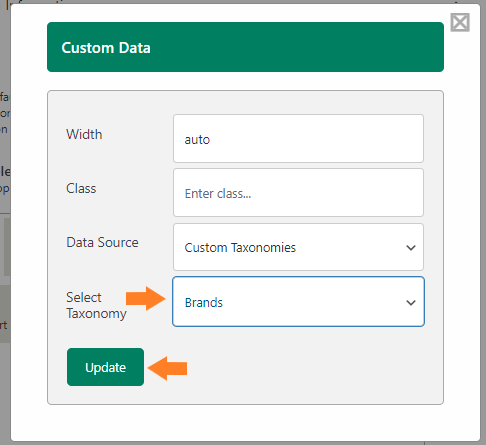
5.4. Set the Custom Data Column
To set the custom column, click on the pencil icon on the column name.

Once you click on the pencil icon, a pop-up will appear. Now, from the Data Source dropdown, select Custom Taxonomies.

Now, select Brands from the Select Taxonomy field and click on the Update button.
6. Sort the Order of Products by Brand
Now expand the Order Form Controls by clicking on the (▾)

Now from the “Sort Products By” dropdown, You can select how you want to sort the products in the table. This will let you set the initial sort order that’ll be applied to the product table layout by default.

You can choose from the following options using the dropdown:
- As listed in the Products screen (menu order)
- SKU
- Name
- ID
- Price
- Number of sales
- Average reviews
- Date added
- Date last modified
- Other
The ‘Other’ option lets you sort products by any column in the table. Keep in mind that this only works if the lazy load is disabled.
As we have created the “Brand” field as the custom column, so add cf:custom_field_name, i.e; cf:brands.
Make sure you add the correct field name otherwise, the products won’t be sorted by brands automatically.
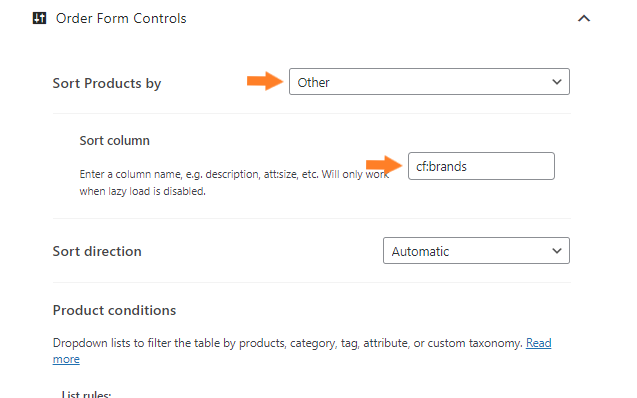
7. Change the Sort Direction
Once that’s done, use the Sort direction dropdown to select the sort direction. You can choose:
- Automatic
- Ascending (A to Z, 1 to 99)
- Descending (Z to A, 99 to 1)
I have selected “Automatic” from the dropdown.

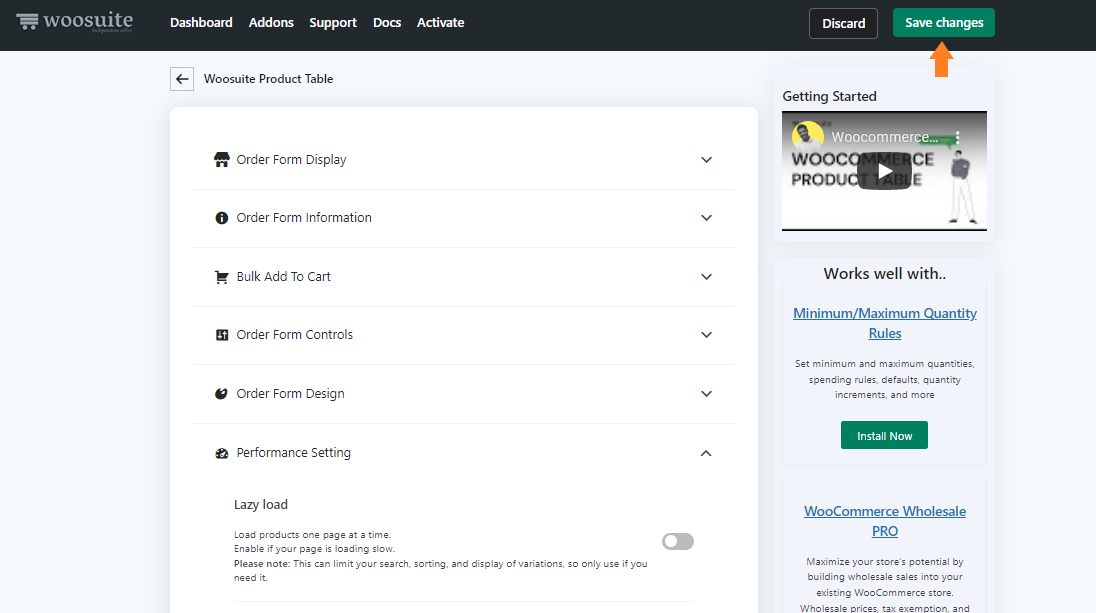
8. Save the Changes
Now click on the green Save Changes button at the top right corner of your screen to save the changes.
9. Set WooSuite Product Table as the Default Shop Page Layout
To set the Woosuite product table as the default shop page layout, go back to the plugin’s General Settings by clicking on the back arrow at the top.

Now select the table you just created, from the Shop Pages dropdown and click on the Save Changes button at the top right corner to save the changes.

10. Final Results
Now if you visit the shop page of your store, you’ll see all the products are being displayed in a table layout and are sorted by the brand automatically. Users can also change the sort order by clicking on the brand field.

Conclusion
That’s it, now you know how to sort the products by brand in WooCommerce without using any custom code.
The WooCommerce plugin comes with some basic product sorting options.
But with the help of the WooCommerce Product Table plugin, You can set the initial sort order and let customers sort the products in a variety of ways. You’ll also be able to customize the sorting options on a global or per-category basis.
If you have any queries, you can ask them in the comments or contact our customer support. Our dedicated customer support team typically replies within 48 hours.
Ready to sort products on your WooCommerce store, increase product visibility, and boost sales? Get the WooCommerce Product Table plugin today!


