Do you want to customize the WooCommerce product image size and find out the best product image size?
If yes, then you don’t need to look further. I got you covered here!
WooCommerce product images can be the game changer and help you display your product’s best attributes.
I have put together this guide to help you get through every aspect of WooCommerce product image size. I’ll explain the correct and easy ways to customize the product image size, and at the end, I’ll walk you through the tips & tricks to optimize them.
So without further ado, let’s jump into the guide.
On This Page
Best WooCommerce Product Image Size
The theme you use for your store has a lot to do with what WooCommerce product image size you should use.
If you’re selling something simple, like a plain t-shirt or pants, use a minimum product image size of 800–1000px wide. But if your product is very detailed oriented or has a lot of small parts, uploading a larger image will let potential customers zoom in and see those parts more clearly.
In that case, you might want to use an image that is 1800px wide.
Note: You should never upload a picture that is too large because it will slow down your site and hurt sales.
How to Customize the WooCommerce Product Image Size?
Following are the methods to customize and change the WooCommerce product image size to meet your needs.
1. Using Theme Customizer
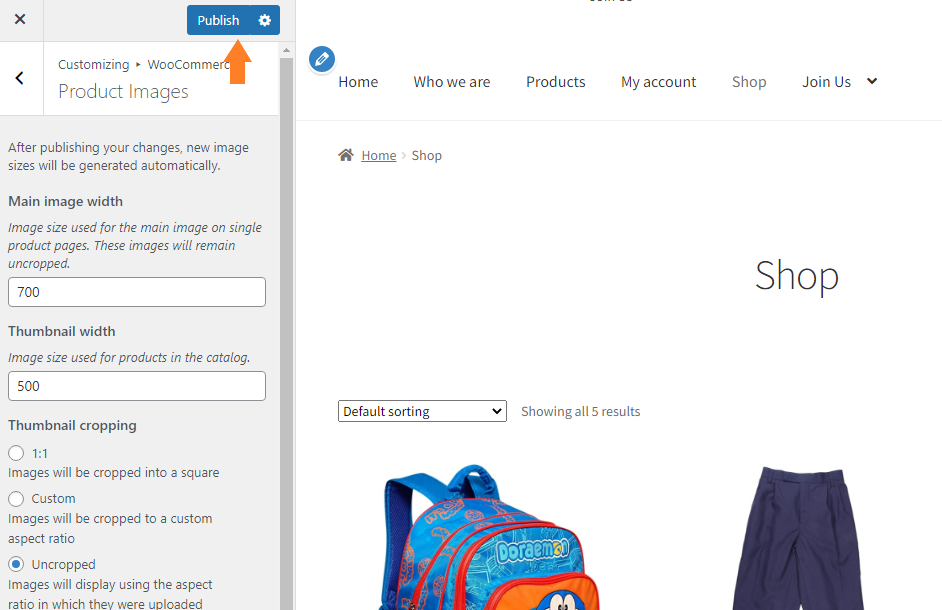
The first method is by using the theme customizer. To change the product image size, navigate to the Appearance » Customize from your WordPress admin dashboard.
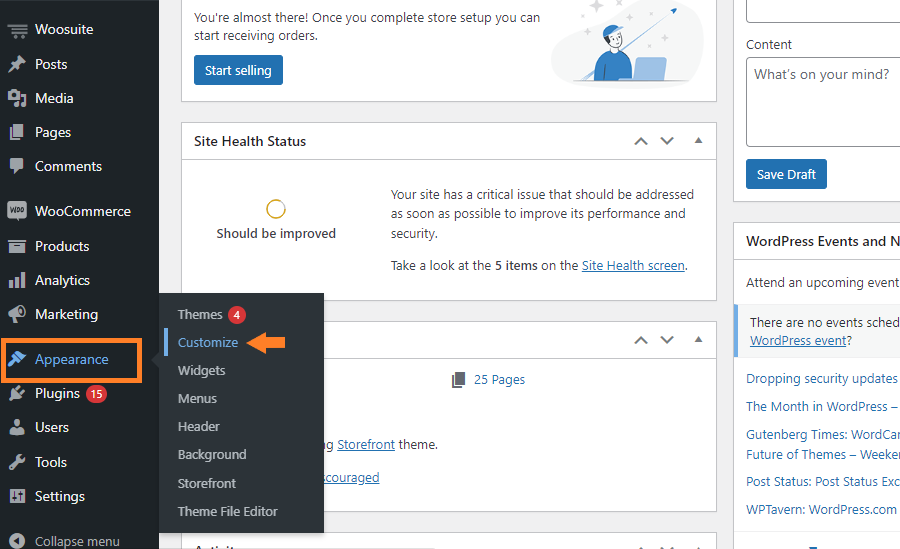
Once you click the ‘Customize,’ you’ll be redirected to the theme’s customizer. From there, navigate to WooCommerce » Product Images to change the product thumbnail image size.
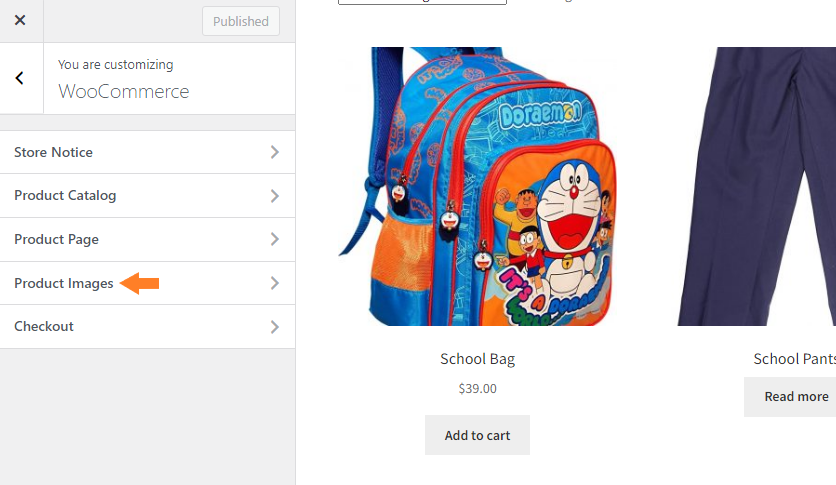
1.2. Change the WooCommerce Product Image Size
Here you’ll see‘Main Image Width’ and ‘Thumbnail Width’ to customize your product image size.
You can also see the live preview for all devices in the right window.
Please remember that the height will be set automatically according to your specified width.
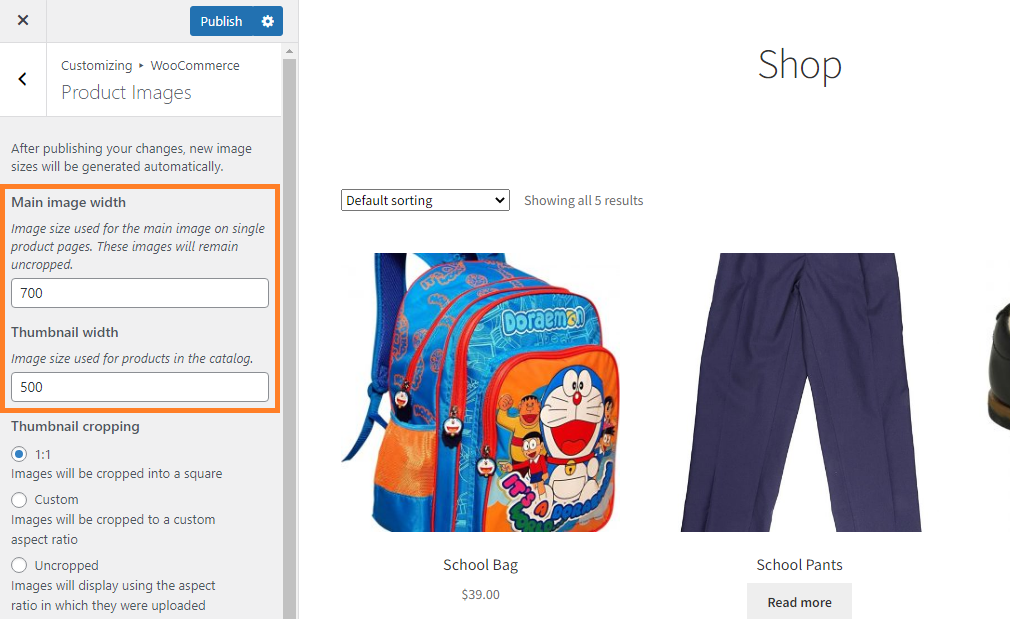
1.3. Set Thumbnail Cropping
You can set the crop ratios from the same window for the shop page product thumbnails. You’ll see three options here:
- 1:1: When this option is selected, the images will be cropped in a square.
- Custom: Select this if you want to crop the thumbnail images to a custom ratio like 3:4, 5:4, 4:3, 3:2, etc.
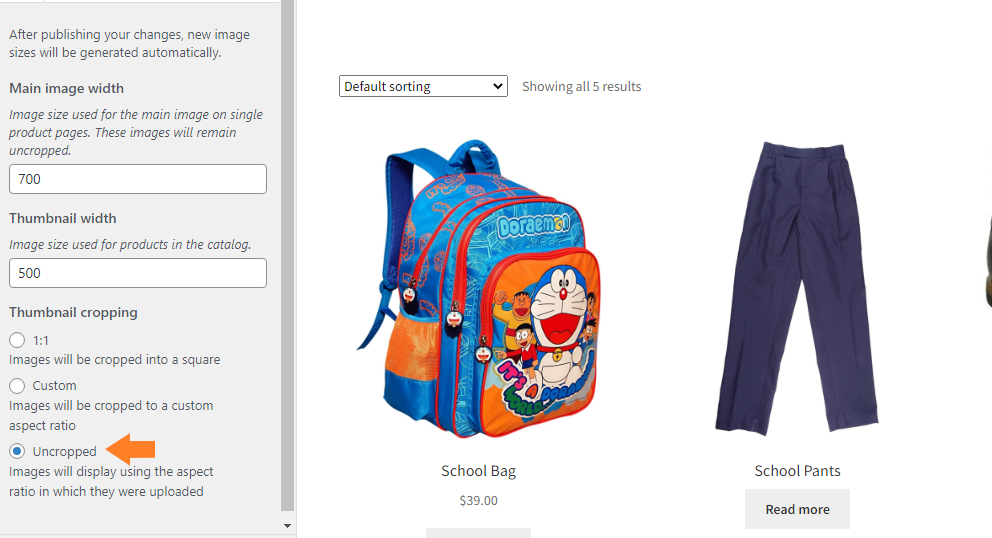
- Uncropped: Select this option if you do not want to resize the images. WooCommerce will render the images in their original aspect ratio.
I am going with the ‘Uncropped’ option for this tutorial.
1.4. Click the Publish Button
Once you have adjusted the settings as you want, click the blue ‘Publish’ button at the top of your screen to save the settings.
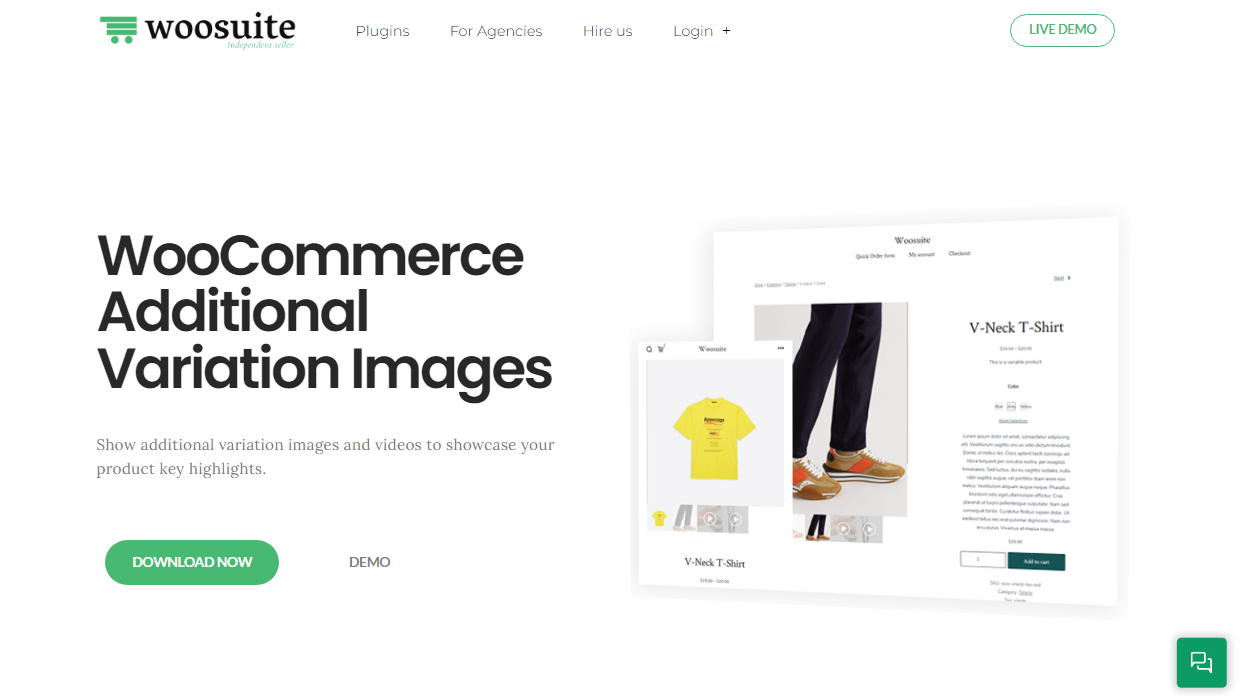
2. Using WooCommerce Additional Variation Images Plugin
The second method to customize the WooCommerce product image size is using the WooCommerce Additional Variation Images plugin. This plugin can also help you add images for each variation, edit the product image gallery, add videos to the gallery, and much more.
To change the product image size using the plugin, follow the following steps.
2.1. Install and Activate the WooCommerce Additional Variation Images Plugin
Note: You can skip this step if you have already installed and activated the WooCommerce Additional Variation Images plugin.
To install the WooCommerce Additional Variation Images plugin, you will need to install the Woosuite Core plugin and activate it with the help of a license key. We have created a Quick Start Guide for you to figure out how to install and activate the WooCommerce Additional Variation Images plugin.
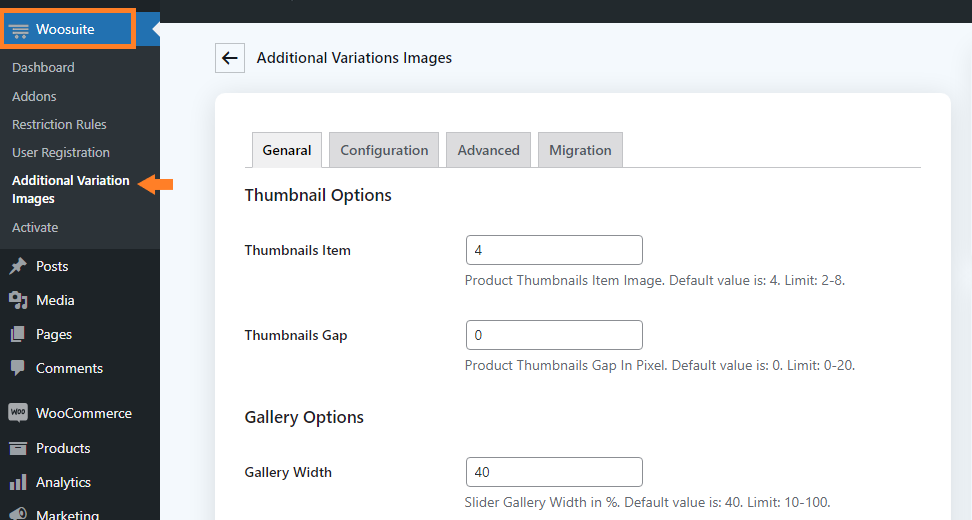
Once you have installed and activated the plugin, navigate to the Woosuite » Additional Variation Images from your WordPress admin dashboard.
You can edit the gallery width for different devices, edit the shop page thumbnail column, control the image slider, and much more.
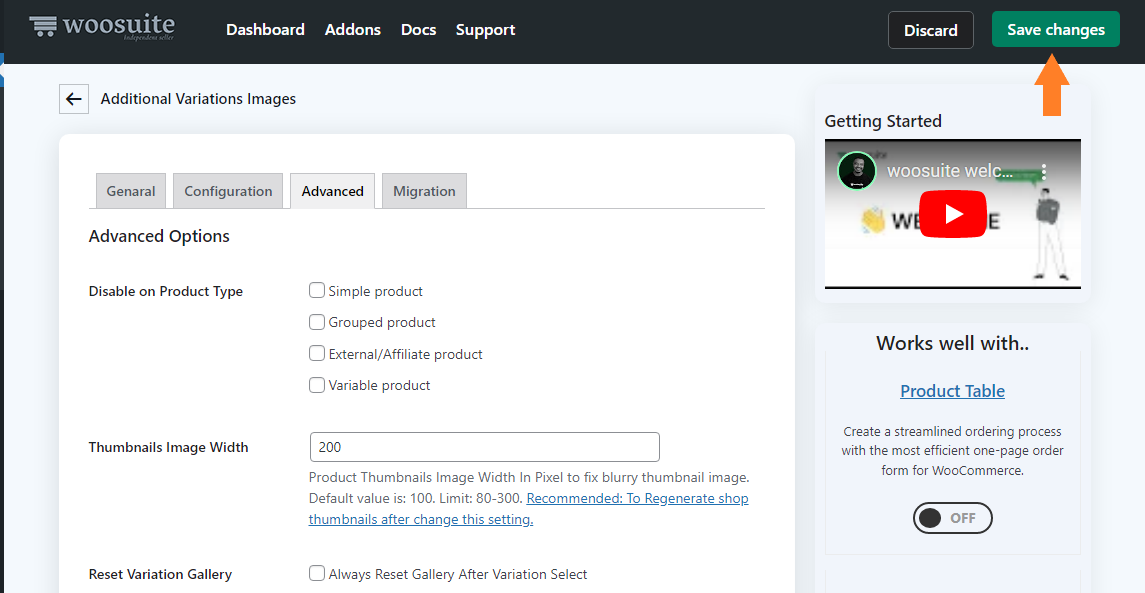
2.3. Click the Advanced Tab
Once you are in the plugin’s general settings, click the ‘Advanced’ tab from the top menu.

2.4. Set the Image Width
Now in the ‘Thumbnails Image Width,’ enter the width of the product image. This is the width for the product thumbnails on the shop page.

2.5. Save Changes
After that, click the green ‘Save Changes’ button at the top right corner of your screen to save the settings.
How to Optimize Images if They Slow Down Your Website?
Sometimes the images you upload to your WooCommerce store slow down your website. There can be several reasons, like a slow server, images not optimized well, and more.
You can do a few things to optimize the images if they slow down your website.
1. Lower the Image Size
You need to make sure that you upload images of the correct dimensions and size. As I mentioned above, the standard image dimensions are 800 – 1000px wide, but you also need to ensure that the images’ size does not exceed 200KB.
You can reduce the image size using TinyPNG. It is an online image compression tool.
But if you have uploaded the images to your WooCommerce store, then you need to use an image compressor plugin like Smush or ShortPixel to reduce the size of the images.
These plugins eliminate unnecessary picture data, resize photos to the appropriate size, and compress them before saving them back to the media library.
2. Use an Efficient Image Format like WEBP
Image formats matter a lot when it comes to improving the site speed. Typical formats are JPEG and PNG.
But if you want to improve the site speed, ensure that you serve your images in WEBP format. WEBP format is a modern image format optimized for browsers so that the images don’t slow down your site and users can see the images quickly.
Besides, these WEBP versions are also smaller in size.
The pro versions of Smush and ShortPixel plugins will allow you to serve the images in WEBP format. They also allow you to serve the images in some other browser-optimized formats like AVIF.
3. Use CDN
CDNs are designed to distribute static material like images. When you use one, the visitor’s browser requests the picture file from it rather than from your server.
These are specifically designed to handle millions of file requests effectively. You can quickly deliver images to your visitors using their powerful network while unloading your servers.
You can utilize the following good CDN services:
- Google Cloud CDN
- Cloudflare
- Amazon Cloud Front
- Key CDN
- Max CDN
Wrapping Up
I hope this guide helped you clear all your queries about the WooCommerce product image size. Now it’s up to you to choose any of the methods mentioned above to customize the WooCommerce product image size.
I recommend using the WooCommerce Additional Variation Images plugin to customize the WooCommerce product image size. This plugin will help you more than that. For example, you can add additional variation images to the product, create an autoplay product image slider, and more.
Download the WooCommerce Additional Variation Images plugin to optimize the WooCommerce product image gallery!


