I’ll show you how to create a wine club using WooCommerce in today’s article. Also, we’ll be using the WooCommerce Product Table and the Dynamic Pricing & Discount Rules plugins to extend the functionality of the store.
So, without further ado, let’s get started!
On This Page
Creating a Wine Club Using WooCommerce
Here, I’ll show you how to create a members-only wine club, add a new product, create a membership level, and create members-only products and discounts. We’ll go through each one of these step-by-step. I’ll keep it very simple and to the point.
So, I’ll be creating a wine club membership and then offer discounts to members only. Other users won’t be able to see the discounts or the exclusive products for members.
So follow the following steps.
1. Create a WooCommerce Store
Note: You can skip this step if you already have the WooCommerce store.
To create a WooCommerce store, you need to have a domain and a good WooCommerce hosting to host your store’s files.
I am assuming that you already have the domain and hosting, if you don’t have it yet then first you need to purchase it to follow along the process.
After that, we need to install the “WooCommerce” plugin.
1.1. Install and Activate the WooCommerce Plugin
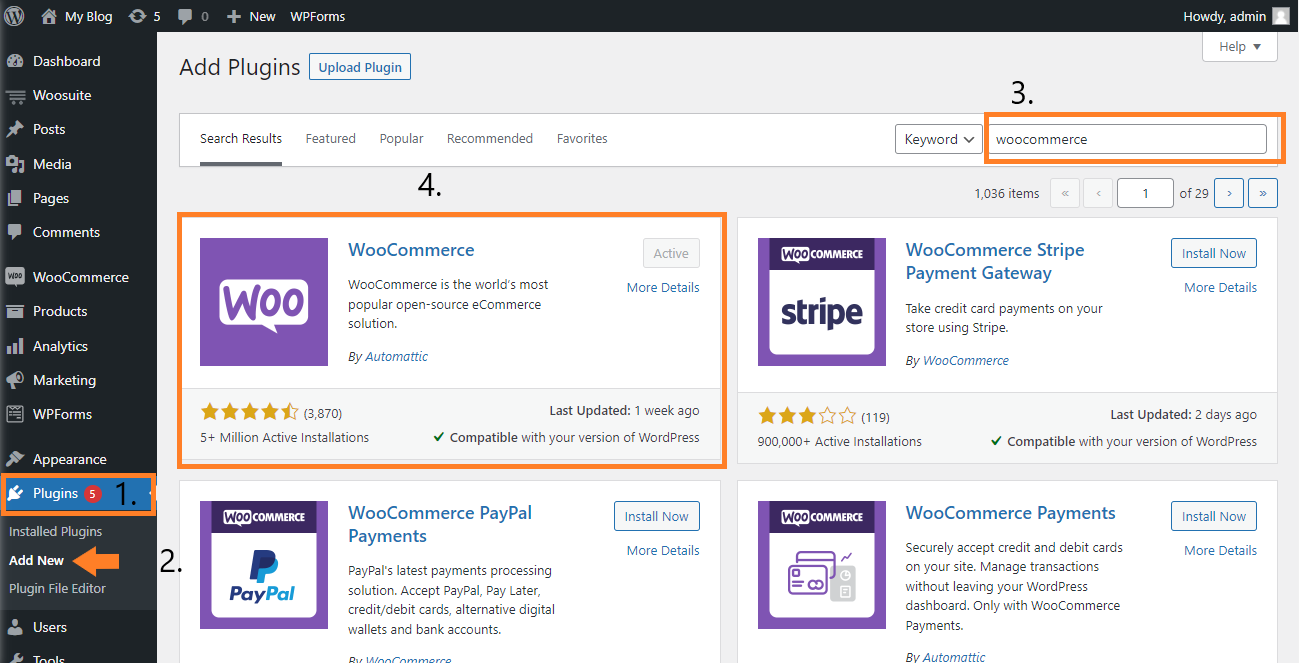
To install the WooCommerce plugin, navigate to Plugins » Add New from your WordPress admin dashboard and search for the “woocommerce” in the search bar.
You will need to click on the Install Now button on the plugin, to install the plugin and then click on the Activate button to activate it.
I have already installed and activated the plugin so It is displaying the Active button.
1.2. Fill in the Store Information
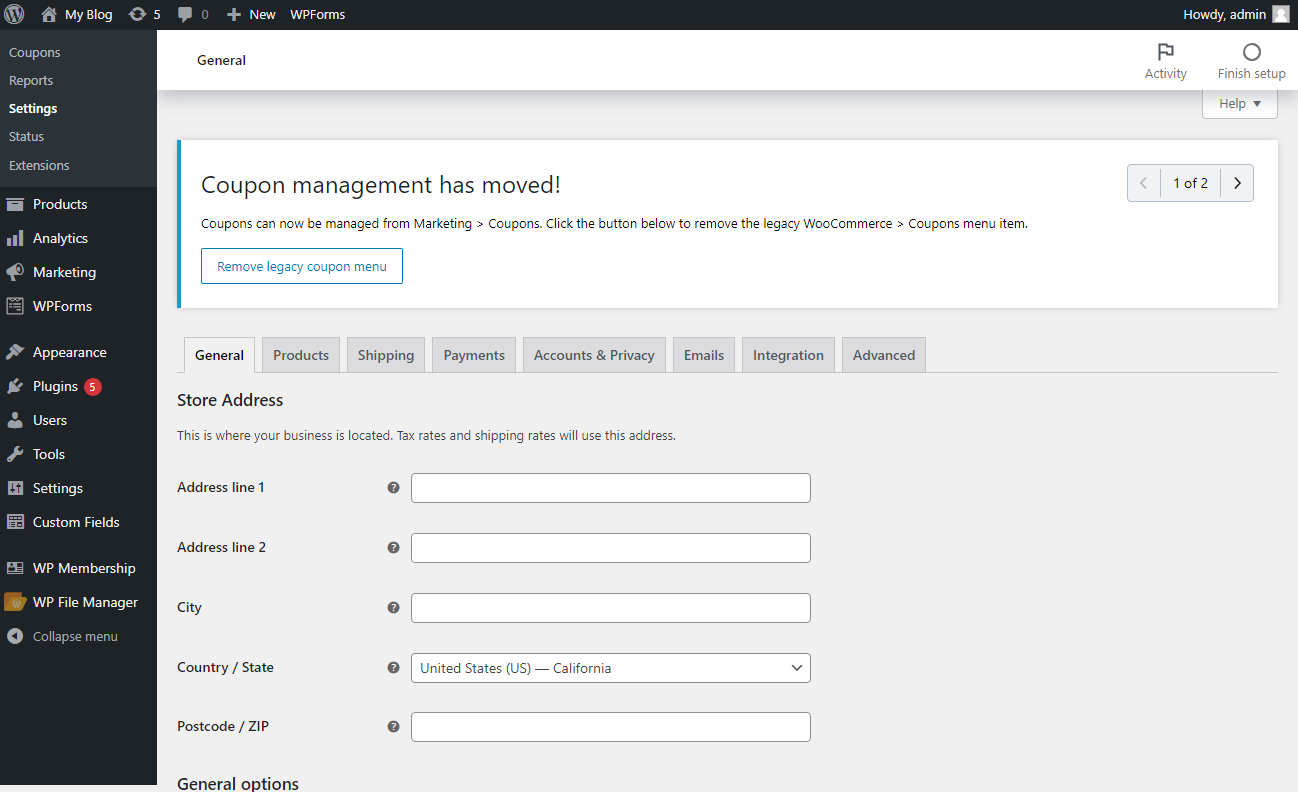
Once the plugin is installed and activated, now you’ll be redirected to the Installed Plugins page, from here click on the “Settings” button below the WooCommerce plugin name.

By clicking it, you’ll be redirected to the settings of WooCommerce. Here you can fill in the store details, shipping options details, and make other settings.
2. Add Wine Products to the Store
Our next step is to add some wine products to our store. So follow the following steps to add a new wine product.
2.1. From WordPress Admin Dashboard
To add a new wine product, from the WordPress Admin Dashboard, navigate to Products » Add New.
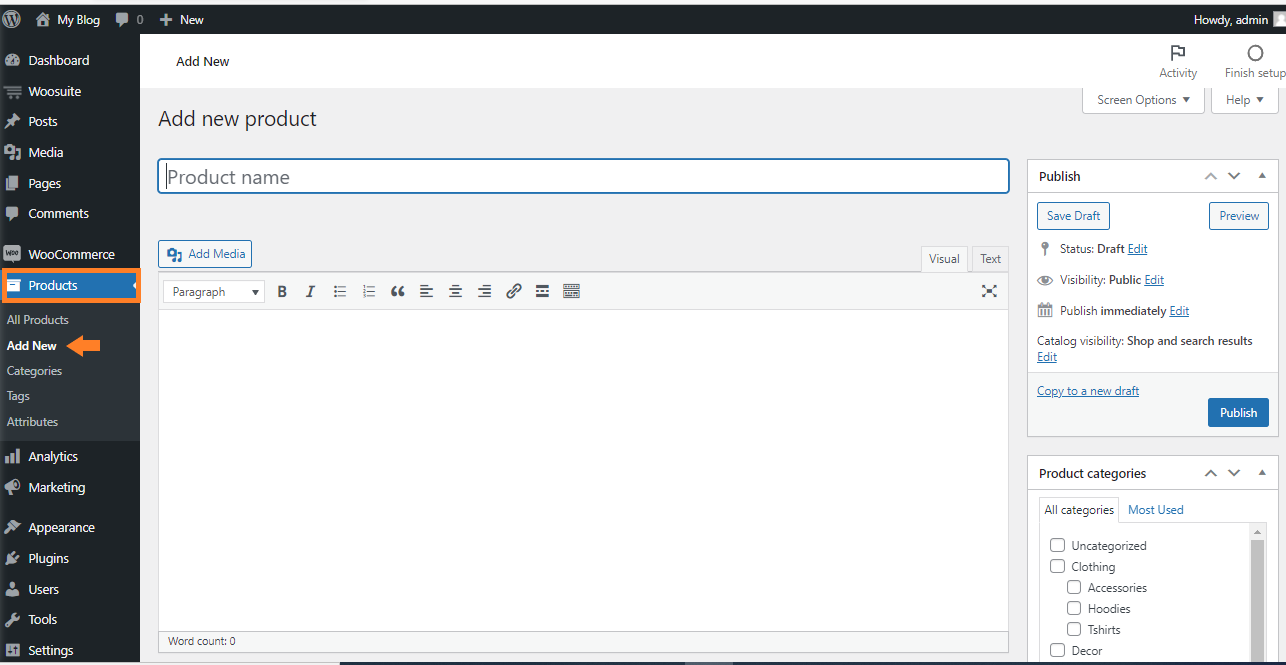
2.2. Give a Name to the Product
Now we need to give a name to the product so In the Product Name field, enter the name of the product.

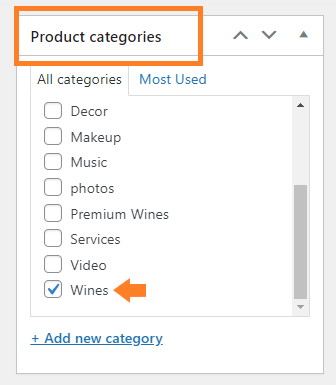
2.3. Set the Product Category
Now we need to assign a category to the wine products. I have created a “Wine” category for this product.
Also, I have created a product category named “Premium Wines”. This category will have the products that only the members can see.
To create a new category click on the “Add New Category” button in the Product Categories section.
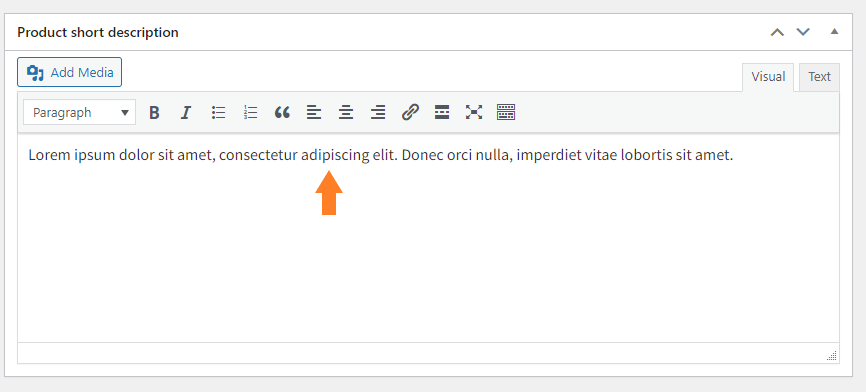
2.4. Add Short Description
Now scroll down to the Product Short Description section and add a short description of the product.
2.5. Add Product Image
Now scroll down a bit until you see the Product Images section. In the section, upload the image of the wine product.

2.6. Add the Product Price
Now scroll down to the Product Data section and add the price of the product.

2.7. Publish the Product
Now, click on the Publish button to publish the product.

Note: I have added 2 products to the Wines category and one product to the Premium Wines category.
3. Create a Membership Level
Now we need to create a membership level. I’ll be showing you to create one membership level. You can create different membership levels by following the same steps.
So to create a membership level, you need to install the “Simple WordPress Membership” plugin.
3.1. Install and Activate the Simple WordPress Membership Plugin
Navigate to Plugins » Add New from your WordPress admin dashboard and search for the “simple membership” in the search bar.
You will need to click on the Install Now button on the plugin, to install the plugin and then click on the Activate button to activate it.
I have already installed and activated the plugin so It is displaying the Active button.

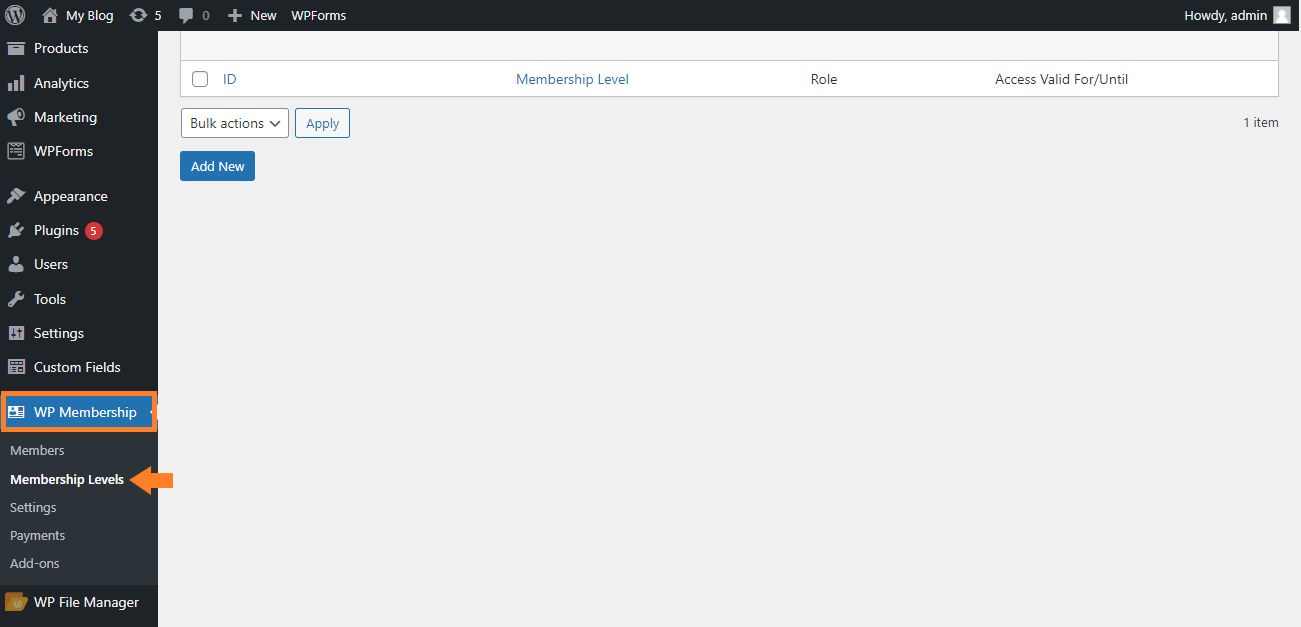
3.2. Navigate to WP Membership
Once the plugin is installed and activated, now navigate to the WP Membership » Membership Levels from the WordPress admin dashboard.
3.3. Add a New Membership Level
Now we need to add a new membership level, so to add it, click on the Add New button.

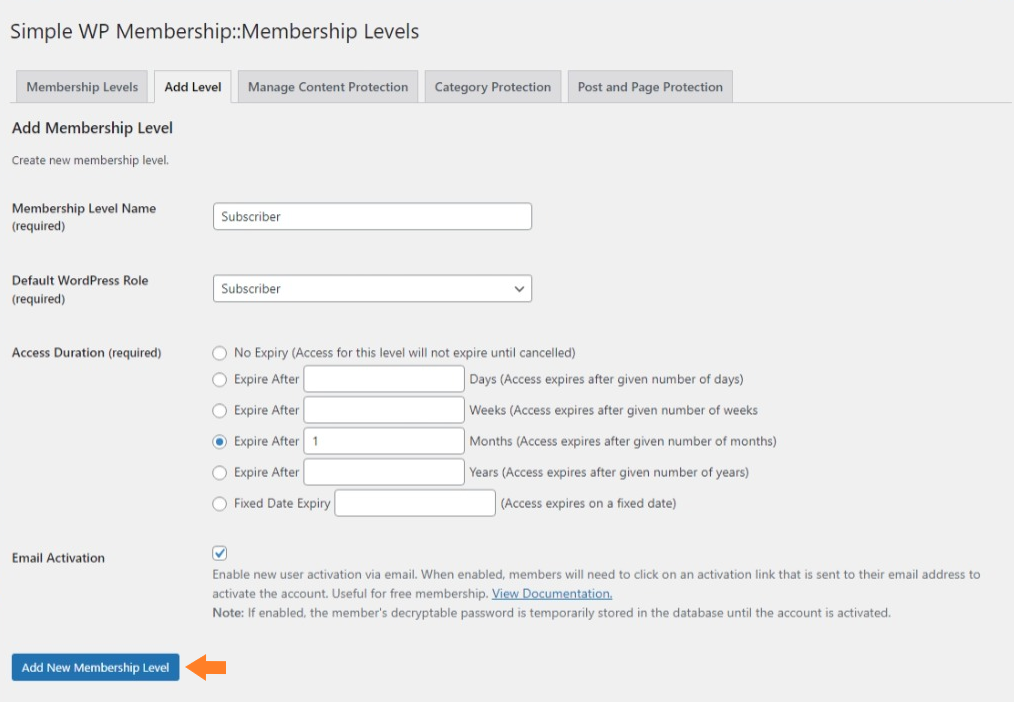
Once you click it, you’ll be taken to the page from where you can create and customize the membership level.
You need to fill in the membership details. I have used the “Subscribers” role for creating the membership level which means that the members will be added as the subscribers to our store.
Once everything is done, it’ll look something like this:

Once everything is filled up, click on the Add New Membership Level button at the bottom of the screen to add this membership level.
Congrats, we have created our first membership level. You can create different membership levels depending on your choice.
I’ll continue the tutorial with this membership level.
4. Create Members Only Products
Now we need to create members only products. We’ll set the restrictions on some of the published products so that they’ll only be visible to the members of the store.
First, you’ll need to install and activate the WooCommerce Restriction Rules Plugin.
So, to create members only products, follow the following steps.
4.1. Navigate to the Restriction Rules
Once the plugin is installed and activated, navigate to the Woosuite » Restriction Rules from the WordPress admin dashboard.

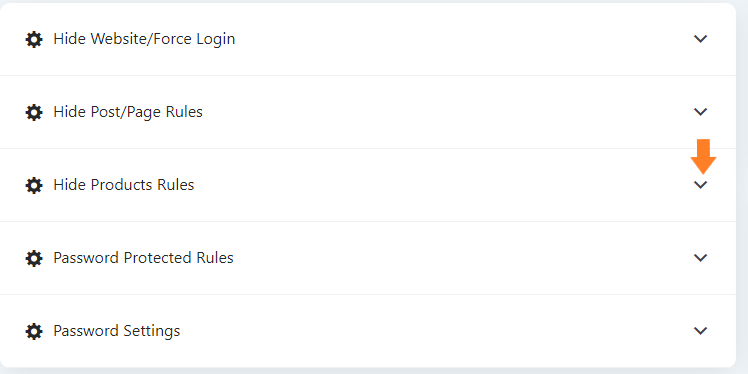
4.2. Hide Product Rules
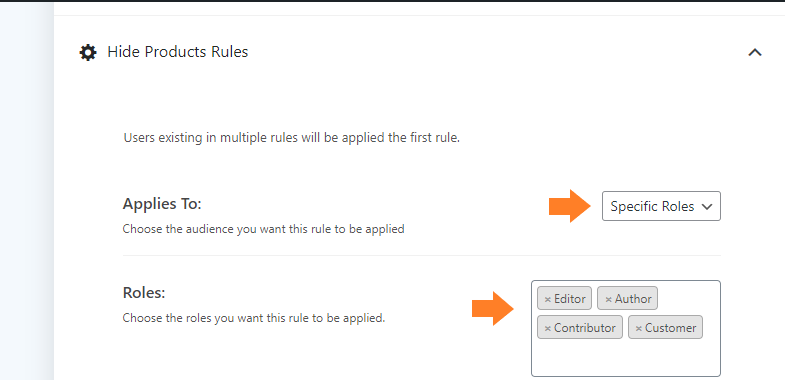
Now we need to add the restrictions to some of the products so that they’ll only be visible to the members.
To do so, expand the Hide Product Rules section by clicking on the (▾)
From the “Applies To” dropdown select the users. You’ll get four options:
- Everyone
- Guests
- Specific Roles
- Specific Users
I have selected the “Specific Roles”. Once you select it, you’ll see the “Roles” field from where you can select the user roles.
As we want to hide some products from all the users except the Members of our site. So we need to select all the user roles except the “Subscriber” role, because we used this role for creating our membership level.
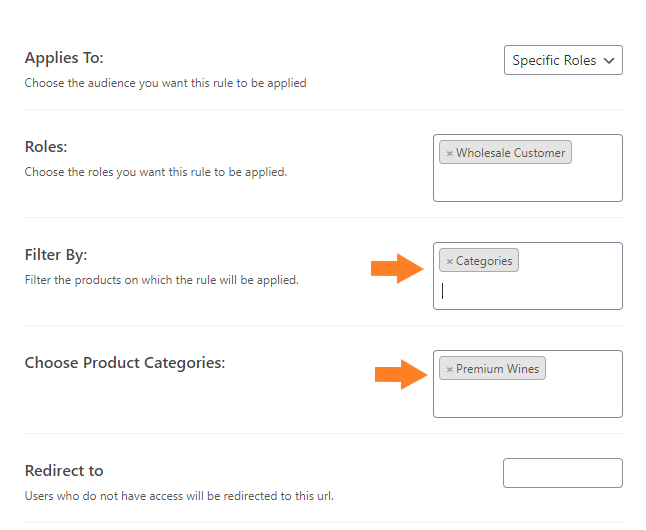
4.3. Select Filter By Category
Now from the “Filter By” field, select the category you want to hide from all the users except the members. Once you select it, you’ll see a new field from where you can select the product category.
For this tutorial, I have selected the Premium Wines category which means that the products in this category will only be visible to the members of the store.
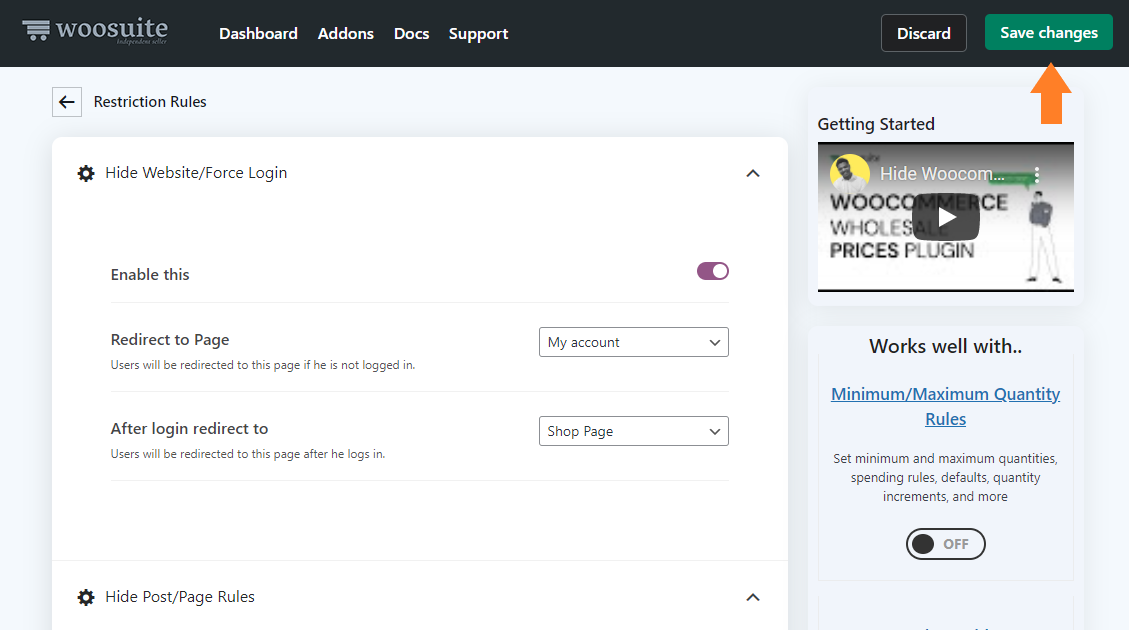
4.4. Save the Changes
Now click on the save changes button at the top right corner to save all the settings.
5. Create Members Only Discounts
Once you have installed and activated the Dynamic Pricing Discount Rules, now we need to create the discount rules for the members only.
So follow the following steps to create discount rules.
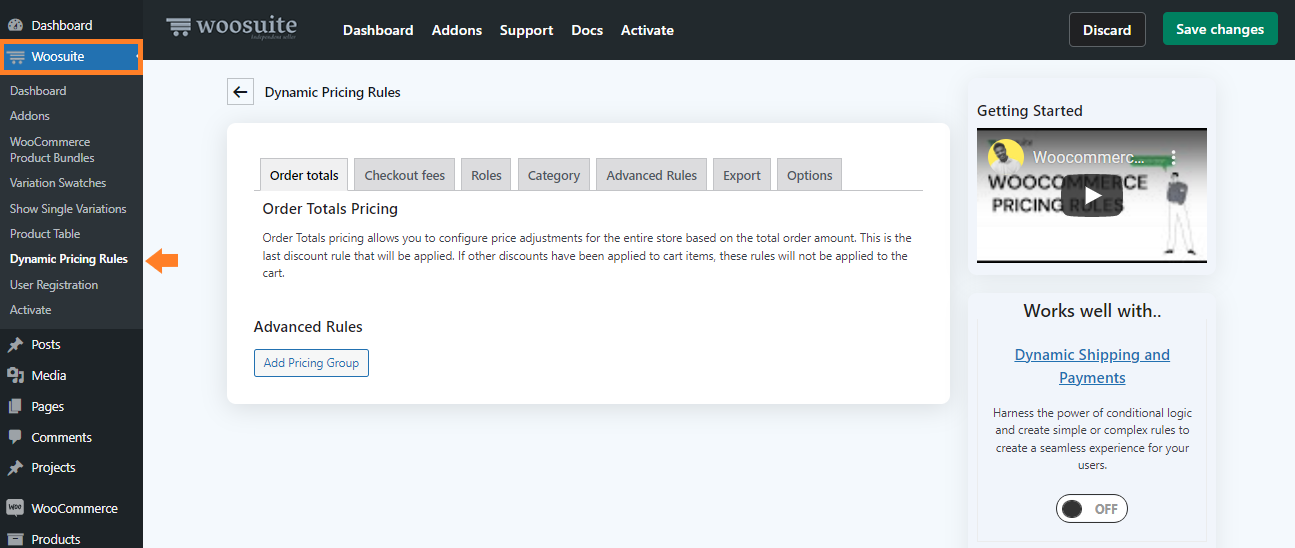
5.1. Navigate to the Dynamic Pricing Rules
Now navigate to Woosuite » Dynamic Pricing Rules from your WordPress dashboard.
5.2. Navigate to the Roles Tab
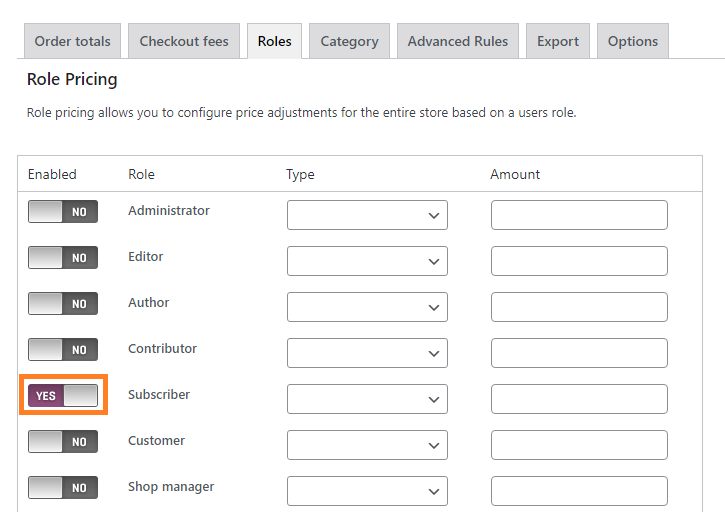
Now, navigate to the Roles tab. From here you can create discounts for members only.
As we have used the “Subscribers” role for creating the membership level which means that the members will be added as the subscribers to our store.
So I have enabled the discounts for this role only by toggling the button.
5.3. Create the Discounts
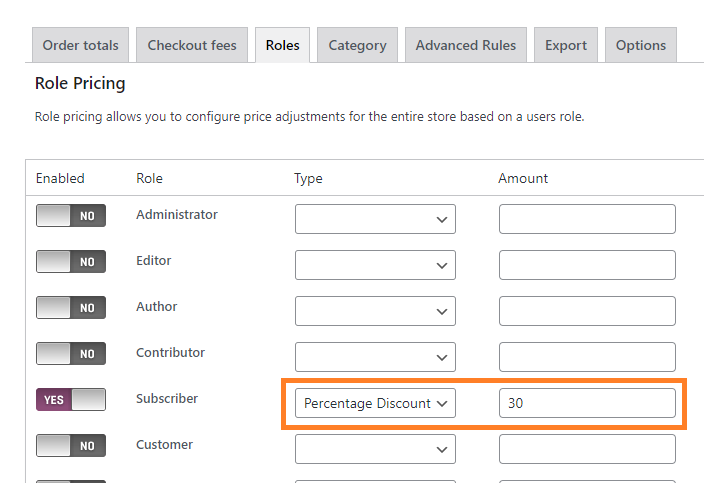
Now we need to set the discounts for the members only.
To set the discounts, you need to select the Type of discount you want to offer to the members of your store. Here you can set the discounts as:
- Price Discounts
- Percentage Discounts
I have selected the Percentage Discounts and in the “Amount” field, enter the amount of percentage discount you want to offer. I have added 30.
5.4. Save the Changes
Once everything is done, you need to save the changes. To do so, click on the Save Changes button at the top right corner.

So now, the members will get a 30% discount on all the products in the store.
Final Results
Now that we have set up the store, membership levels, products, and discounts, it’s time to test it.
To test it, when I visited my site as a guest, I could only see the products in the “Wine” category and there are no discounts applied yet.

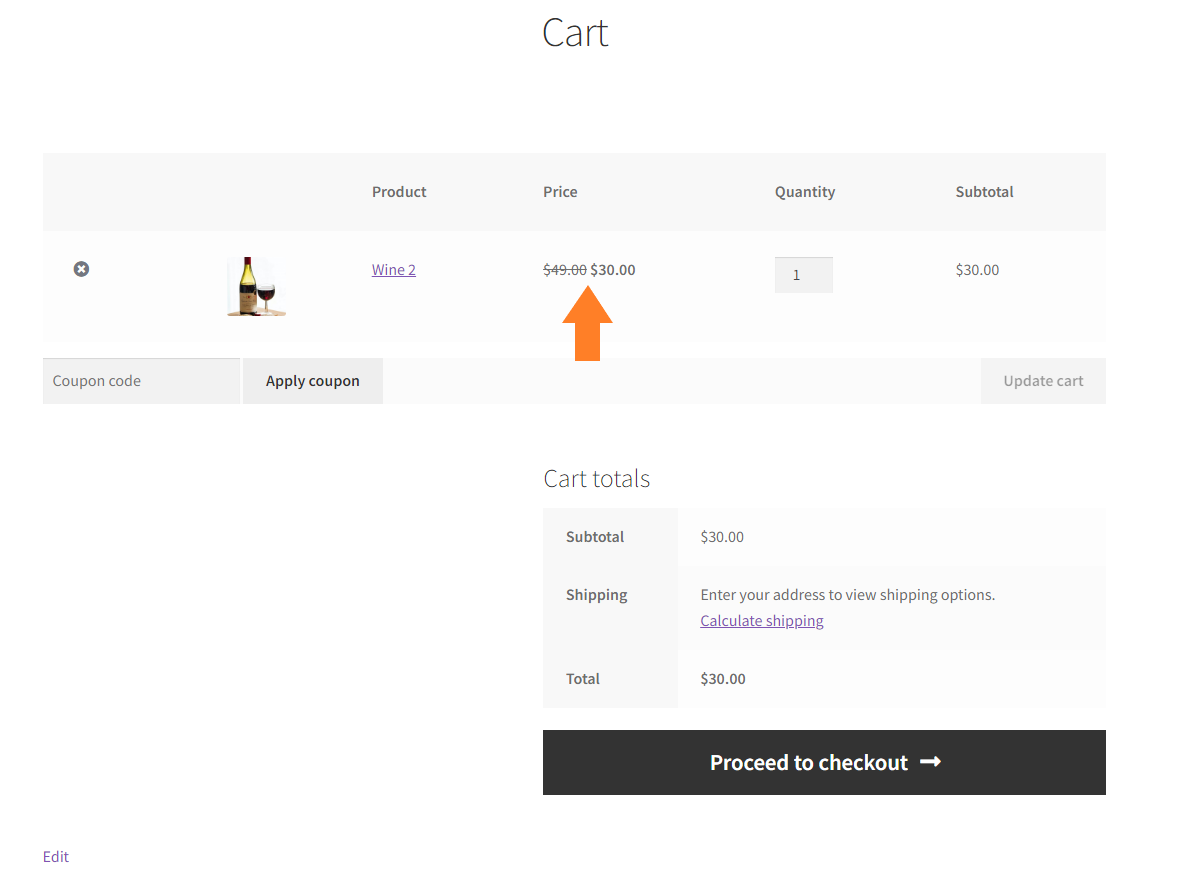
But, when I became a member of a site and visited the shop page, I was able to see the other products too.

And now when I added one of the products to my cart and visited the cart page, I was getting a discount of 30% which means that our store is working perfectly fine.
Conclusion
Congrats, you just created an excellent and advanced wine club by yourself,
It’s very simple to set up a members-only wine club in WooCommerce. All you need are the plugins that we used.
Now you know how to create a wine club using WooCommerce, WooCommerce Restriction Rules, and the Dynamic Pricing Rules plugin. You can play further with the settings of the plugins to create a more advanced members-only wine club.
Also if you have any queries, you can ask them in the comments or contact our customer support. Our dedicated customer support team typically replies within 48 hours.
Ready to get started? Download the WooCommerce Restriction Rules and the Dynamic Pricing & Discount Rules plugin today!


