Do you want to create a private WooCommerce school shop?
If yes, then you have landed at the right place!
In today’s tutorial, I’ll show you how to create a private WooCommerce school shop so that you can quickly sell school uniforms and other equipment. To keep your store private to parents and staff members, I’ll be using the WooCommerce Restriction Rules plugin.
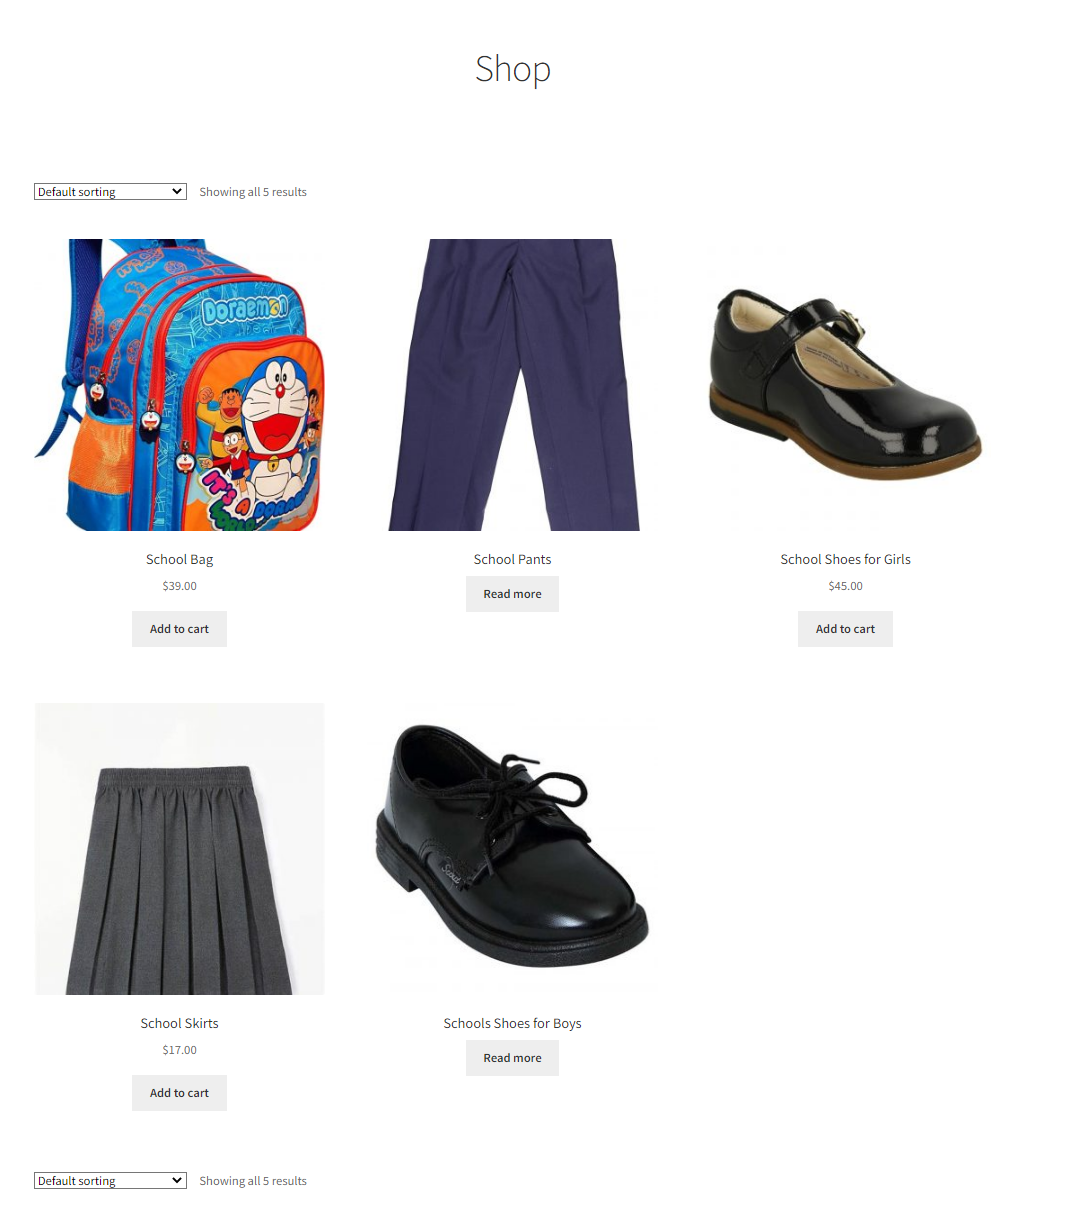
Here’s a quick sneak peek of the final results.
On This Page
- 1 What is meant by a Private WooCommerce School Shop?
- 2 How to Create a Private WooCommerce School Shop?
- 2.1 1. Create a WooCommerce Product Category
- 2.2 2. Add WooCommerce Products
- 2.3 3. Create a New User Role
- 2.4 4. Install and Activate the WooCommerce Restriction Rules Plugin
- 2.5 5. Navigate to Restriction Rules
- 2.6 6. Create a Private WooCommerce School Shop
- 2.7 7. Navigate to the Hide Product Rules Tab
- 2.8 8. Add Category Restriction Rules
- 2.9 9. Save Changes
- 3 Final Results
- 4 Wrapping Up
What is meant by a Private WooCommerce School Shop?
Private WooCommerce School shop means selling school uniforms, kits, stationery, and other school items to the members of your store.
Most people get confused that it means selling single school or college items. It is not limited to selling items of one school or college. You can also create different categories for different schools and colleges and sell them easily.
The items of one school won’t be visible to the buyers of the other school items. You can also limit it to specific members and create a private WooCommerce school shop that will not be visible to the public.
How to Create a Private WooCommerce School Shop?
You can create password-protected categories and send the passwords to the parents of specific schools and colleges. OR you can hide the categories from particular buyers and show them to others.
There are many choices, but it depends on your goals and business size and which type of WooCommerce school shop you want to create.
For this tutorial, I’ll simply force the visitors to log in to the store, and then I’ll create two different categories for two schools, hide one category from the other school’s audience, and vice versa. This way, the school audience can shop easily without being disturbed by the many unrelated products.
I’ll use the WooCommerce Restriction Rules plugin to create a private WooCommerce shop. So without further ado, let’s jump into the tutorial.
1. Create a WooCommerce Product Category
First, you need to create WooCommerce product categories. If you are selling items for different schools, ensure that you make a separate category for each item.
For example, If you sell to two schools, you must make two different product categories with the school name.
To create product categories, navigate to the Products » Categories from the WordPress admin dashboard.

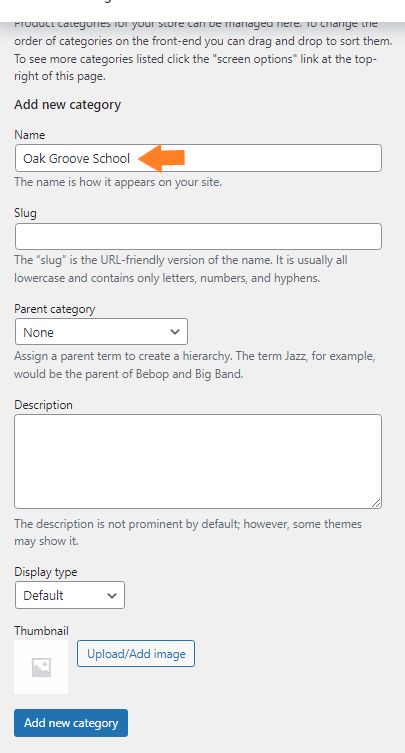
1.1. Give a Name to the Product Category
In the “Name” field, enter the name of the category you want to add to your store. If you are selling items for different schools, it is good to name the category after the school name for a better customer shopping experience.
You can leave the ‘Slug’ field empty because it will be created automatically once you publish the category.
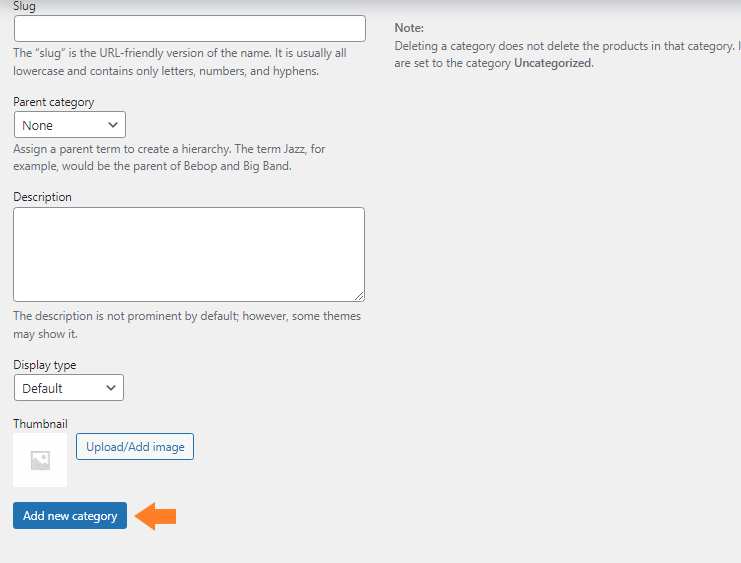
1.2. Click on the Add Category Button
Click the “Add New Category” button to add the category.
I have created two different categories for this tutorial. You can add as many categories as you want. These will help keep your store organized and make the hide category rules.

2. Add WooCommerce Products
To add products to your store, follow the following steps.
2.1. From WordPress Admin Dashboard
To add a new product, navigate to WordPress Admin Dashboard, and click the Products » Add New.

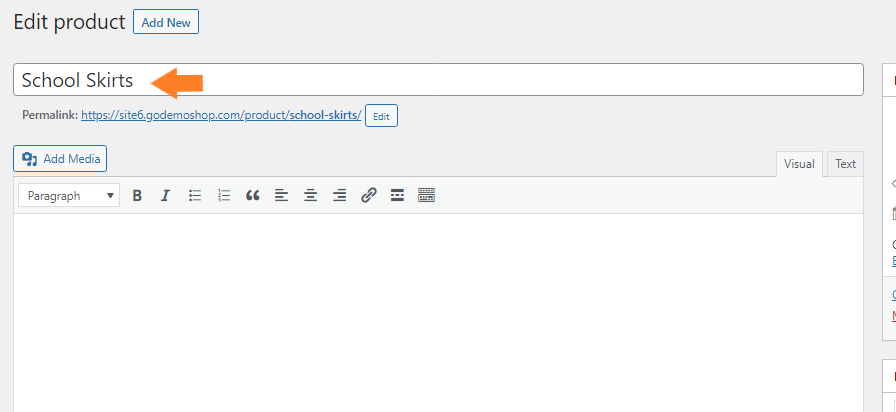
2.2. Enter Product Name
In the Product Name field, enter the name of the product.
2.3. Select Product Type
Scroll to the ‘Product Data’ section and select the product data type. You can choose the product type as
- Simple Product
- Grouped Product
- External/Affiliate Product
- Variable Product
To keep this tutorial short and easy, I have selected “Simple Product” from the dropdown.

2.4. Enter the Price of the Product
Now, in the Regular Price field, enter the product’s price.

2.5. Select the Product Category
Now from the “Product Categories” section, select the product category.
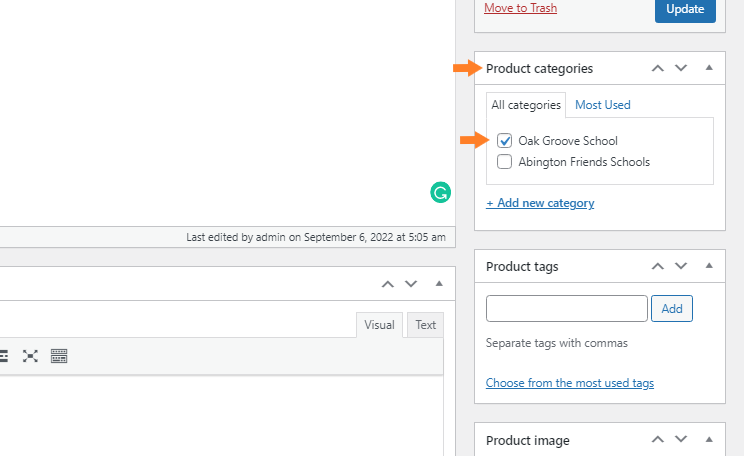
2.6. Add Product Image
Now, add the product’s image in the “Product Image” section by clicking the “Set Product Image” button.

2.7. Publish Product
Now finally, click the ‘Publish’ button to publish the product.

Following the same steps, I have added a few more products to my store. But change the category if you add products for a different school.

3. Create a New User Role
To create a new user role, I’ll be using the WooCommerce User Registration plugin. To install it, you can follow our Quick Start Guide.
Once you have installed and activated the plugin, we need to add custom user roles. For example, you are selling items for two schools, so you need to add two custom user roles like ‘School A Members’ and ‘School B Members.’
We’ll be using these roles in later steps. To add a custom user role, follow the following steps.
Note: To follow along with the tutorial, make sure that you have checked the ‘Anyone can register’ settings by navigating to the Settings » General.

Also, suppose you aren’t using a custom registration page. In that case, you need to make sure that you have checked the ‘Allow customers to create an account on the “My Account” page’ by navigating to the ‘WooCommerce » Settings » Accounts & Privacy.’

3.1. Navigate to the User Registration
Navigate to the Woosuite » User Registration from your WordPress admin dashboard.

3.2. Enable the User Role Selection at Registration
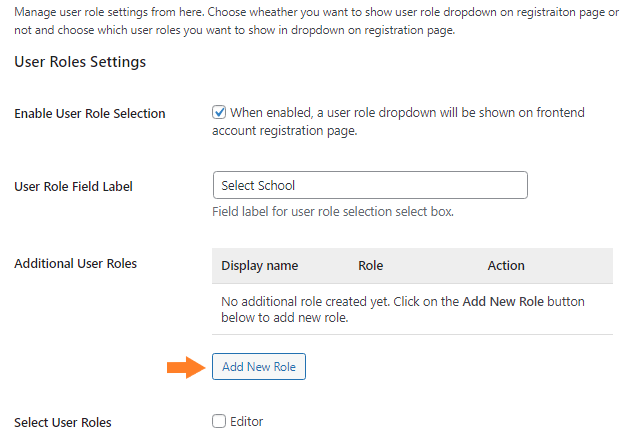
After that, click the ‘User Role’ tab. Once you click it, you’ll see a few options that will help you add custom user roles and allow the customers to select the role while registering on your site.
Check the ‘Enable User Role Selection’ checkbox to allow the parents, schools, and students to select the custom user role according to their school.
After that, add the label for the user role selection dropdown in the ‘User Role Field Label.’

3.3. Create a New User Role
Now we need to create a new user role with the school name. Click the ‘Add New Role’ button to create a new user role.
Once you click it, a pop-up will appear with different fields.
In the ‘Role’ field, ensure that you enter the school name, and in the ‘Display Name’ field, enter the school’s name. It will be used as a custom user role. You can anime it as you want.
After that, select the user role you want to make a copy from the ‘Copy from’ dropdown. Ensure you select ‘Customer’ from the dropdown and click the ‘Add Role’ button at the bottom of the pop-up to add the new user role.

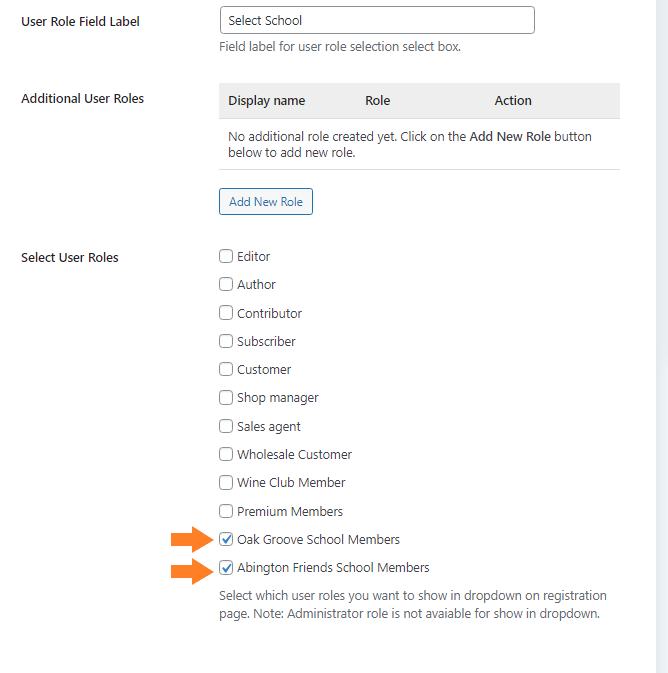
3.4. Select the Roles that Users Can Select While Registering
Once you have added the custom user role, now check the user role checkboxes that you want to add in the ‘User Role Selection’ dropdown on the registration page. This way, users can select the school they want to buy the items from.
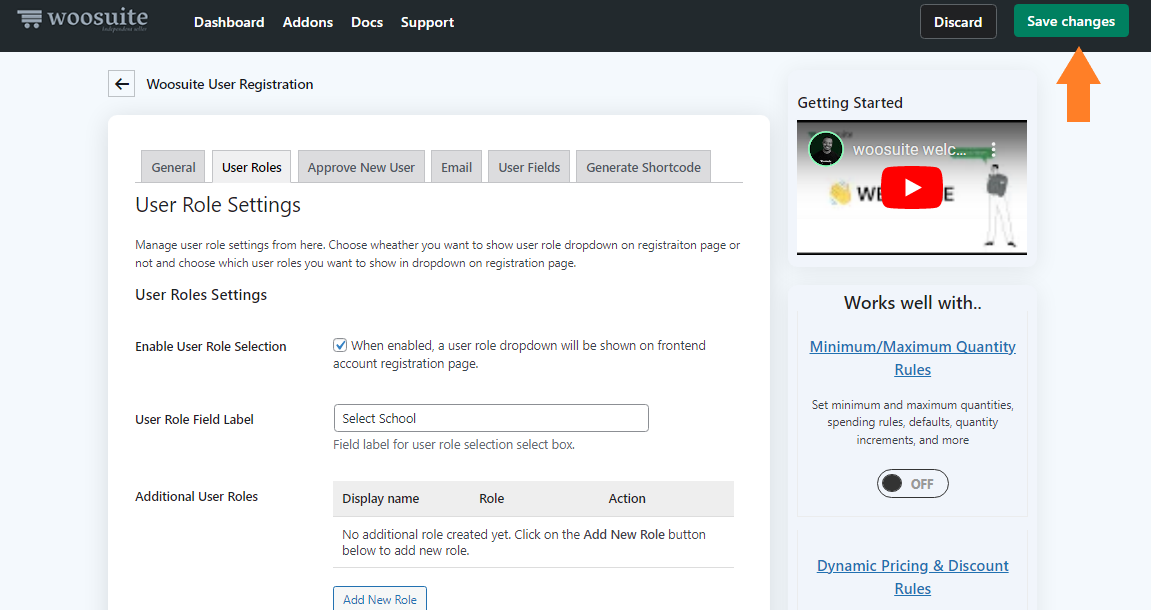
3.5. Save Changes
Now click the green ‘Save Changes’ button at the top right corner of your screen to save the settings.
4. Install and Activate the WooCommerce Restriction Rules Plugin
Note: You can skip this step if you have already installed and activated the WooCommerce Restriction Rules plugin.
To install the WooCommerce Restriction Rules plugin, you will need to install the Woosuite Core plugin and activate it with the help of a license key. We have created a Quick Start Guide for you to figure out how to install and activate the WooCommerce Restriction Rules plugin.
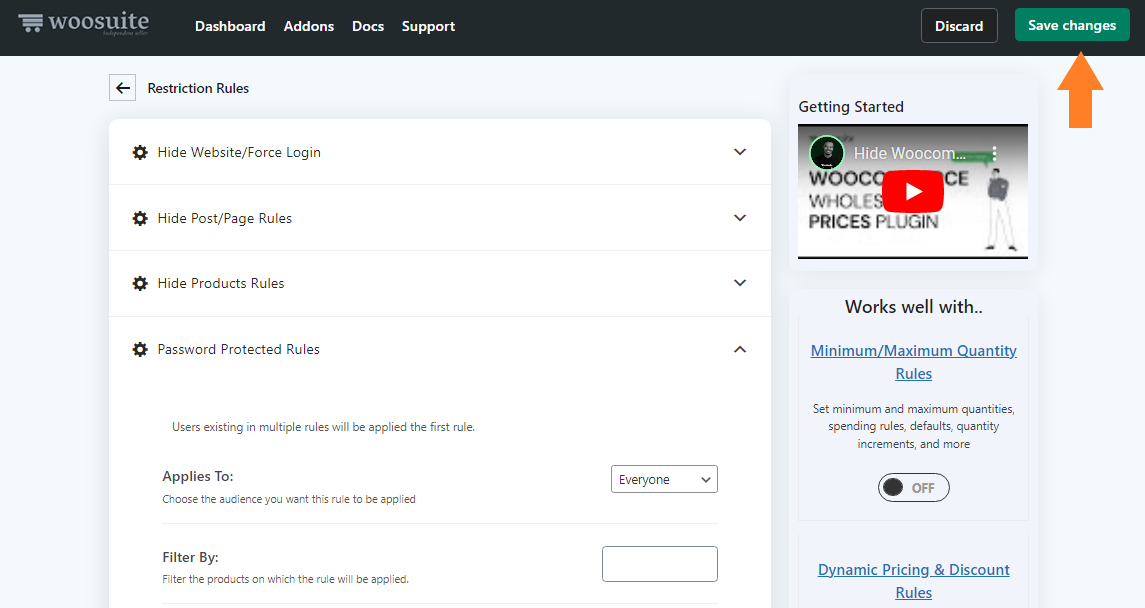
Once you have installed and activated the plugin, navigate to the Woosuite » Restriction Rules from your WordPress dashboard.
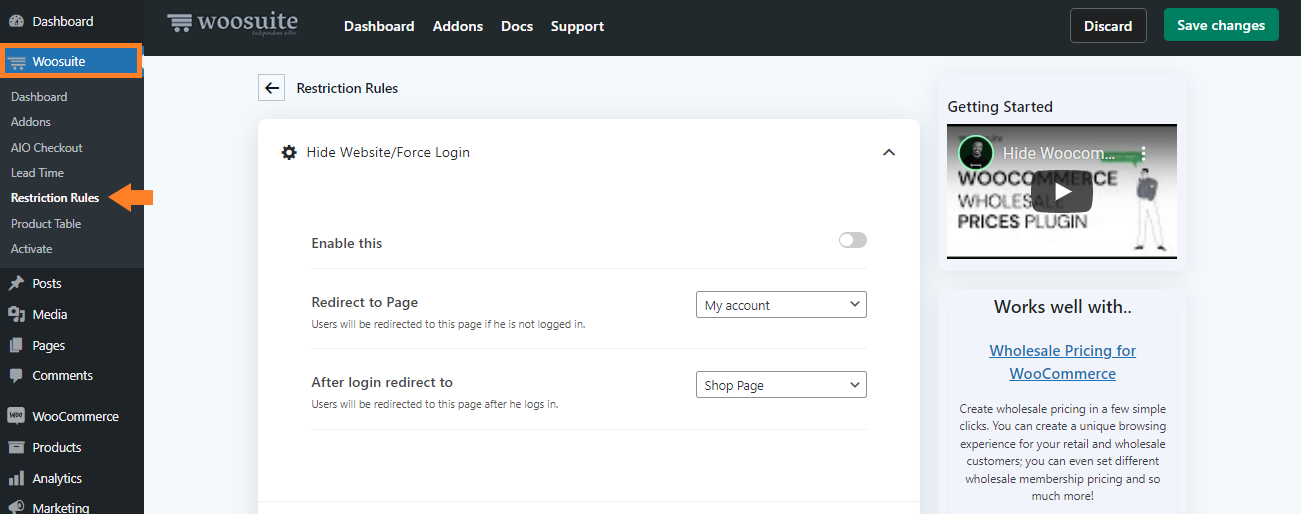
6. Create a Private WooCommerce School Shop
Once you are in the plugin’s settings, we need to make it a private WooCommerce school shop so that only the store members can access the shop page and buy the items.
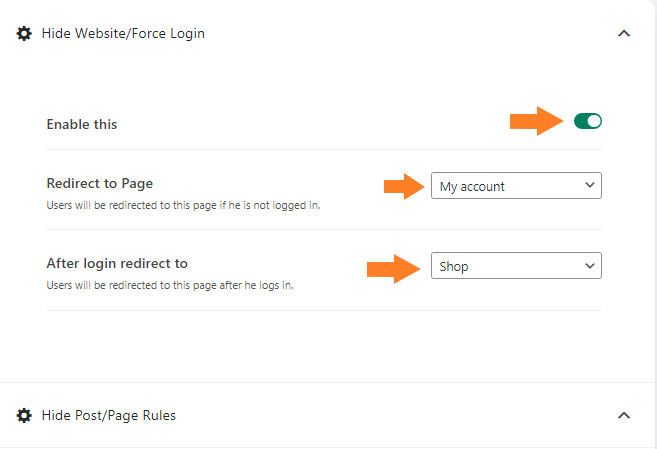
To create a private school shop, enable the ‘Force Login’ and select the page where you want to redirect the users who aren’t logged in, from the ‘Redirect to Page’ field.
You can also redirect users to the shop page after login from the ‘After login redirect to’ field.
After that, we need to add the restrictions to categories so that they’ll only be visible to a particular school audience.
To do so, expand the Hide Product Rules tab by clicking the (▾) from the plugin’s settings.
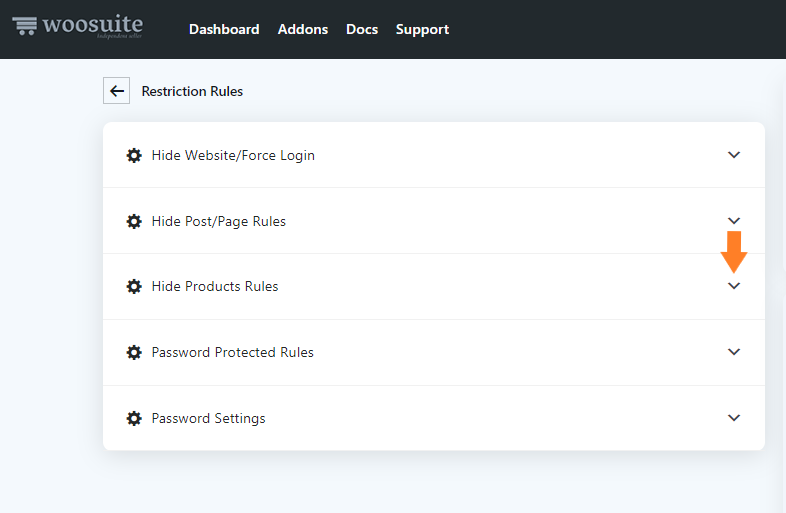
In this tab, you’ll see a few options that will help you add product restrictions.
8. Add Category Restriction Rules
Now I’ll be creating a rule that will hide a product category from a particular user role while the other users won’t be able to see the product category and products in it.
For example, School A audience won’t be able to see the product categories having the products for School B.
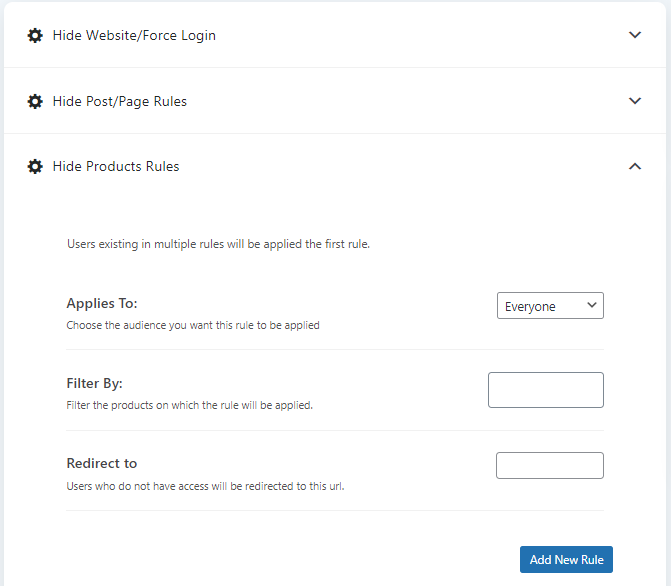
Select the users from the “Applies To” dropdown to create a rule. You’ll get four options:
- Everyone
- Guests
- Specific Roles
- Specific Users
I have selected the “Specific Roles.” Once you select it, you’ll see the “Roles” field from which you can select the different user roles that won’t be able to see products in the selected category
I have selected the user role that we created in the first step.

8.1. Filter By Category
As we want to hide a product category from the user role selected in the above step, we need to select the ‘Categories’ from the ‘Filter By’ dropdown.
Once you select it, a new field will add below it. Select the product category you want to hide from the user role you selected in the above step.

Once you have created this rule, we need to add another rule so that the users with the ‘Abington Friends School Members’ role won’t see the ‘Oak Groove School’ product category.
You need to click the ‘Add New Rule’ button to create another rule.
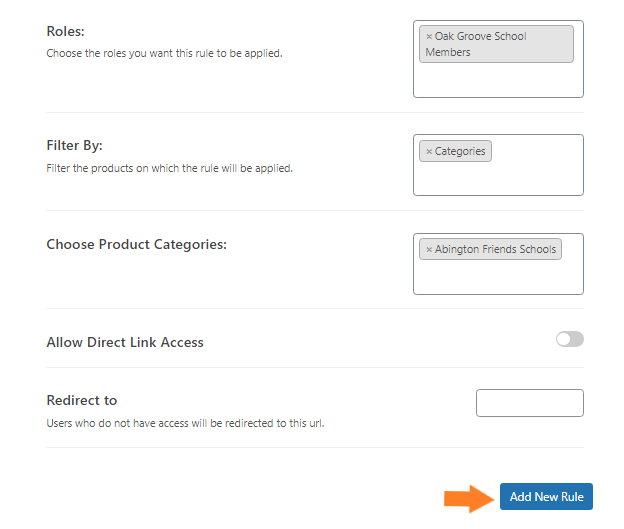
Once you click it, a new rule will add, and this time you need to make a reverse of the rule you created above.

9. Save Changes
Once you have created the rule, click the “Save Changes” button at the top right corner of your screen to save all the settings.
Final Results
Once everything is done, now let’s test the rules.
To test the rules, I visited the site as a normal user, and as you can see in the screenshot below, I was redirected to the ‘My Account’ page,’ where I can log in or register as a new user.
Also, the user can select the school from the ‘Select School’ type dropdown. It will also act as the user role.

Once I registered as a user, I could access the shop page, but I only saw the products related to the school ‘Oak Groove School’ that I selected while registering.
Similarly, When I logged in with ‘Abington Friends School,’ I could see only the products related to the Abington school.
Wrapping Up
That’s it for today’s tutorial.
Now you know how to create a private WooCommerce school shop with the help of the WooCommerce Restriction Rules plugin.
You can create an advanced-level school store that sells the items for all the schools and colleges in a town and expand the business with time. WooCommerce Restriction Rules plugin will help you to hide the products of one school’s audience from the other school’s audience.
This will improve the customer’s buying experience and help you grow.
If you want, you can use the Dynamic Pricing & Discount Rules plugin to offer different types of discounts. I have a complete guide on How to Create WooCommerce Category Discounts that you can follow to learn about it.
If you have any questions, please post them in the comments section. I would love to answer all your questions.
Alternatively, you can contact our customer support for quick assistance. They typically reply within an hour or less.
Ready to take your business to the next level? Download the WooCommerce Restriction Rules plugin to create a successful WooCommerce school shop!


