If you want your customers to create multiple subaccounts under a single account in your WooCommerce store, you are at the right place!
This article will guide you through setting up a company account feature in your store. It will allow the parent account (company account) to monitor the orders placed by the subaccounts and place them on behalf of a subaccount.
Without any further ado let’s jump straight into the tutorial.
On This Page
How to Setup the WooCommerce Company Account?
Allowing customers to create a WooCommerce company account is super helpful to improve the customer experience in case you sell B2B.
There could be several use cases depending upon your targetted customers. For example;
As a B2B store owner, you may sell your products to businesses with multiple branches or purchasing departments. You can keep all the accounts related to one business under a single-parent account (company or manager account), which will improve customer management from your end.
Use Case:
Suppose you sell to a business that has multiple branches. Each branch owner will need to create a separate account in your store. The main manager of that business will also need help to monitor the purchase history of a branch.
Implementing this feature allows each branch manager to independently place orders, manage their accounts, and oversee transactions relevant to their specific location.
Simultaneously, the main manager gains centralized visibility, enabling them to monitor and review activities across all branches efficiently.
The following are the steps to add this feature to your online store.
1. Install and Activate the Subaccounts for WooCommerce Plugin
You must install and activate your store’s ‘Subaccounts for WooCommerce’ plugin. To install it, navigate to Plugins < Add New from your WordPress dashboard and search for the plugin’s name in the search bar.
You need to install the plugin whose author is Mediaticus.
Click the ‘Install Now’ button to install it; once it is installed, it will be replaced with the ‘Activate’ button. Click it to activate the plugin.
Note: I have already installed and activated the plugin, so I see the ‘Active’ button instead of Install now and Activate buttons.

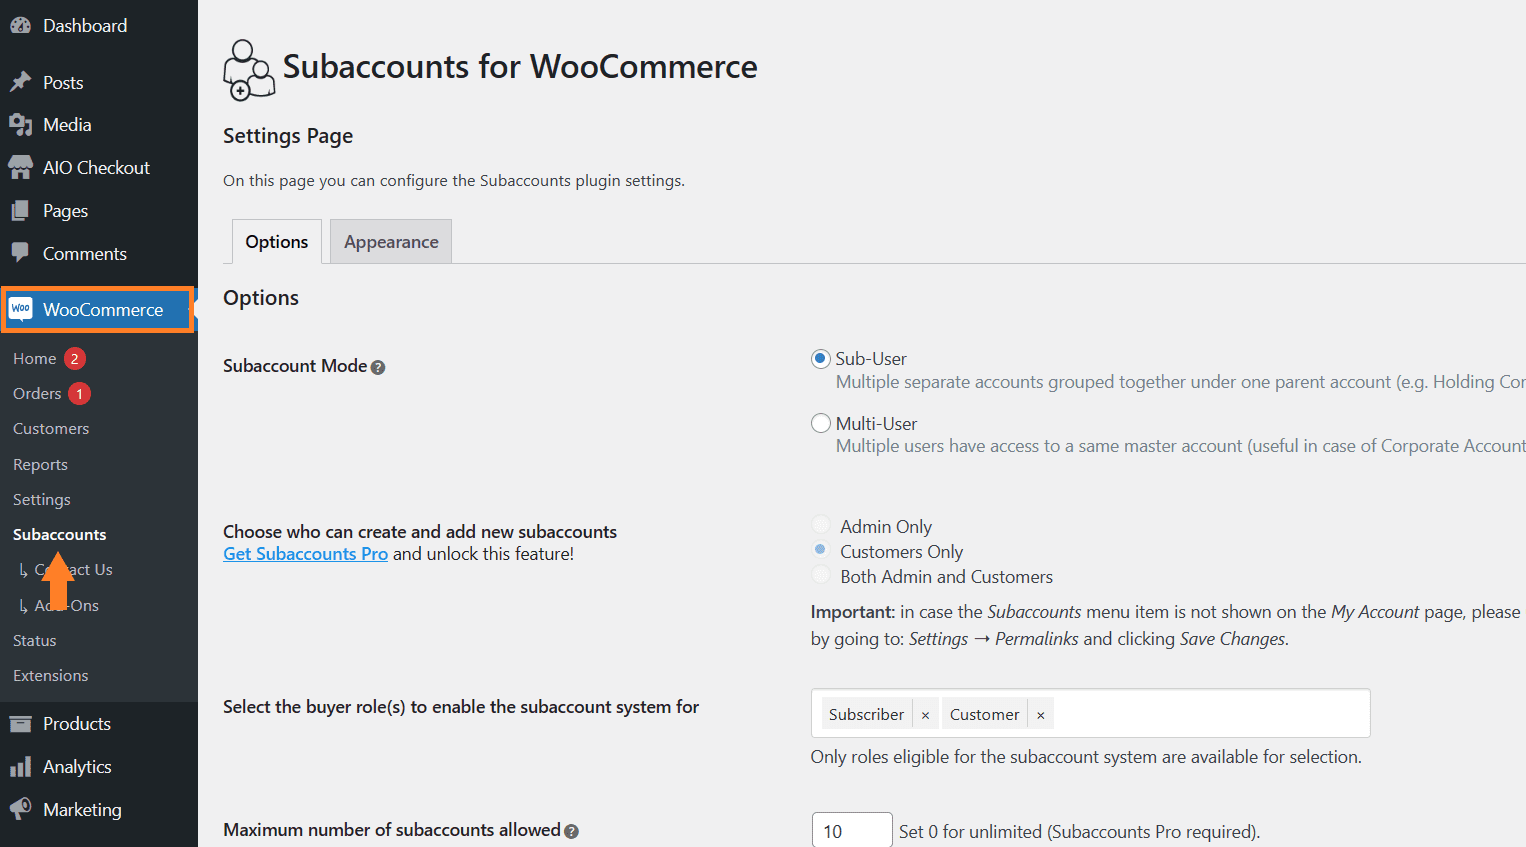
After activating the plugin, navigate to WooCommerce > Subaccounts to access the plugin’s settings.
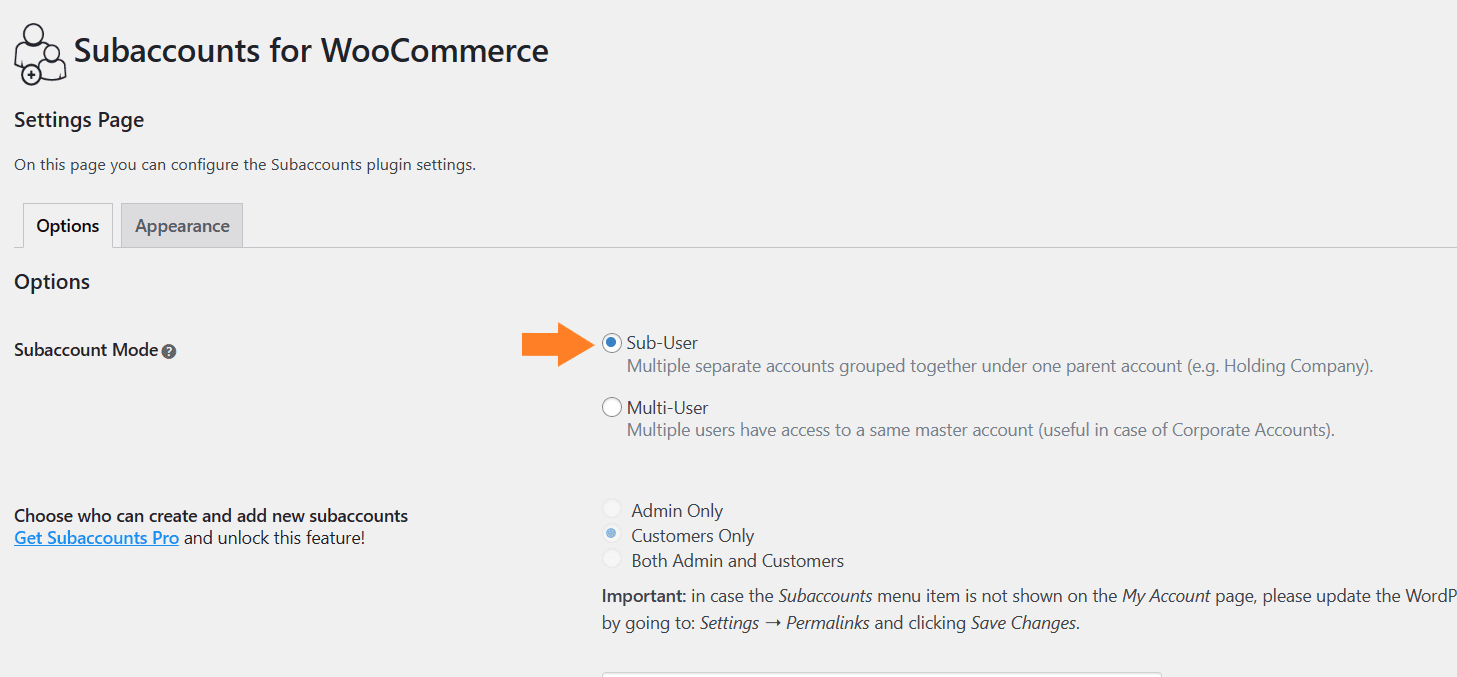
3. Select the Subaccount Mode
Once on the plugin, you need to select the subaccount mode. There are two different modes available.
1. Sub User
In this mode, orders placed by a subaccount (or by a Manager on behalf of a subaccount) are tied to the subaccount itself. A Manager can view his orders in My Account > Orders and the subaccount orders in My Account > Subaccounts > Subaccount Orders section on the front end.
2. Multi-User
In this mode, all orders are tied to the parent account (Manager). Even orders placed by subaccounts are assigned to the Manager afterward.
This is because in Multi-User mode, a parent account is more intended as a company account and subaccounts are intended as employees of the company (each subaccount representing a different purchasing department of the company) and therefore, all orders (being placed by a Manager or by subaccounts) are associated to the company (the parent account).
When this mode is enabled, a manager can view all orders (placed directly or by its subaccounts) in the My Account > Orders section from the front end. A subaccount instead can only view the orders placed by itself, always in the My Account > Orders section.
You can choose the mode depending on your requirements. I have selected the Sub User‘ mode for this tutorial.
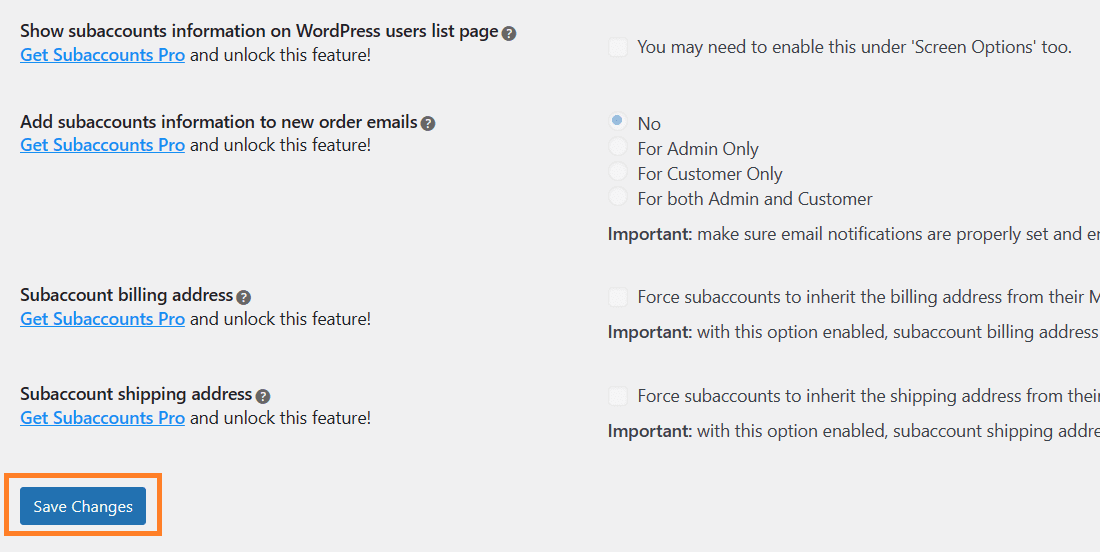
4. Configure the Other Settings
After that, there are a few more settings that you may want to configure before testing the final results. Its free version allows you to configure settings like selecting the user roles you want to enable the subaccounts, setting the maximum number of subaccounts allowed, changing the customer display name, and more.
It is also important to note that the free version only allows the customers to create subaccounts. If you want to create subaccounts, you must purchase its premium version.
The plugin’s premium version allows you to create unlimited subaccounts, show subaccount details in order emails, and more.
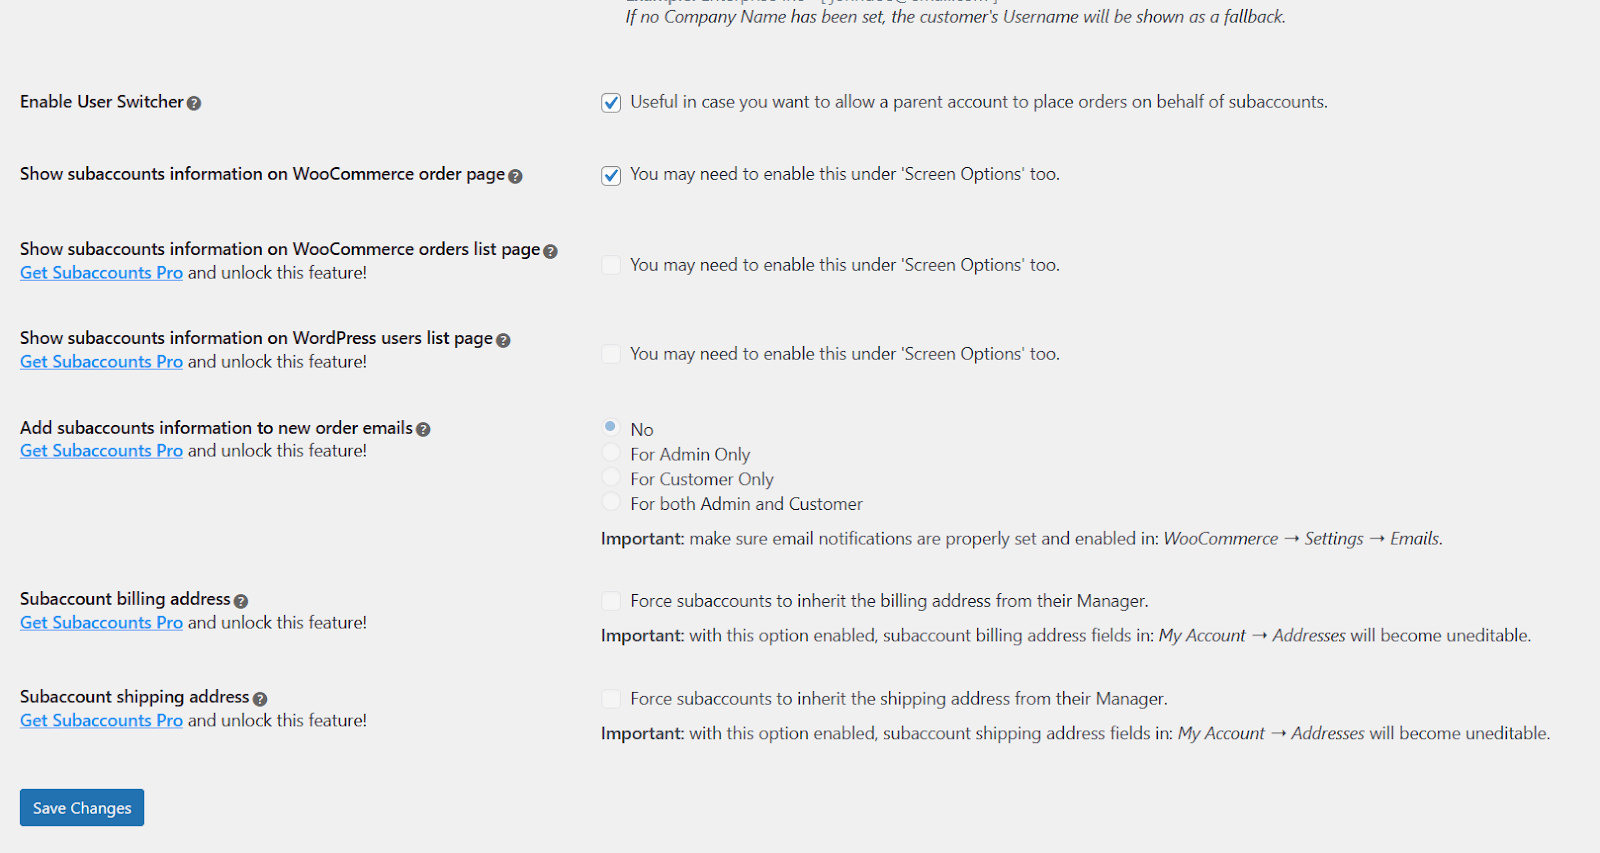
4.1. Save Changes
Once you have adjusted the settings per your requirements, click the blue ‘Save Changes‘ button in the bottom left corner of your screen to save the settings.
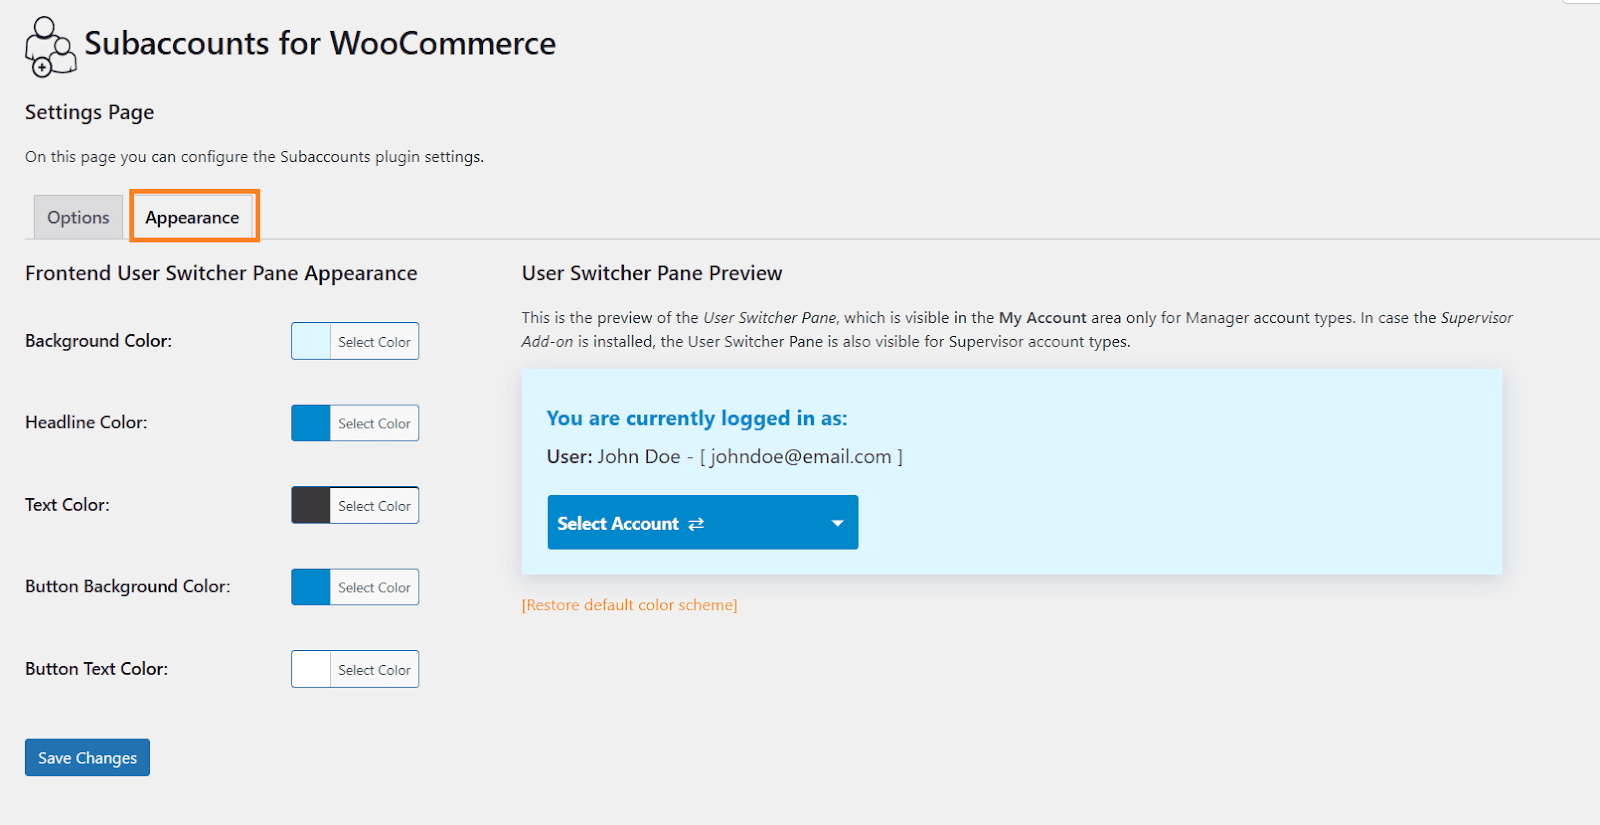
5. Change the Appearance of User Switch Panel
It will add a user switch panel on the customer’s (Parent Account) My Account page to switch to any subaccounts to place the order or view its purchase history.
You can change its appearance by clicking the ‘Appearance’ tab and selecting the colors you want to match your store. I am leaving the colors to default. You can also see the preview on the right side.
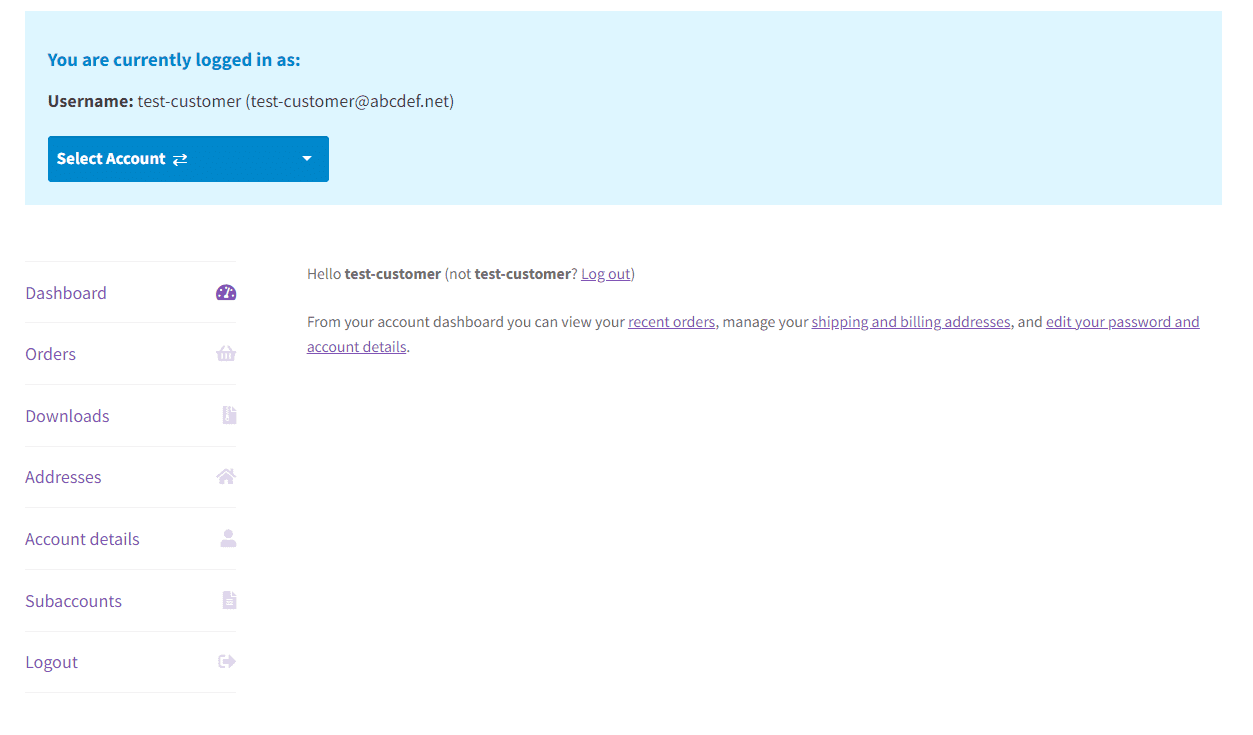
6. Final Results
Let’s test the final results.
To test it, I created a new customer account in my store and logged into it using the customer account details. Upon visiting the My Accounts page, I could see the user switch panel at the top.
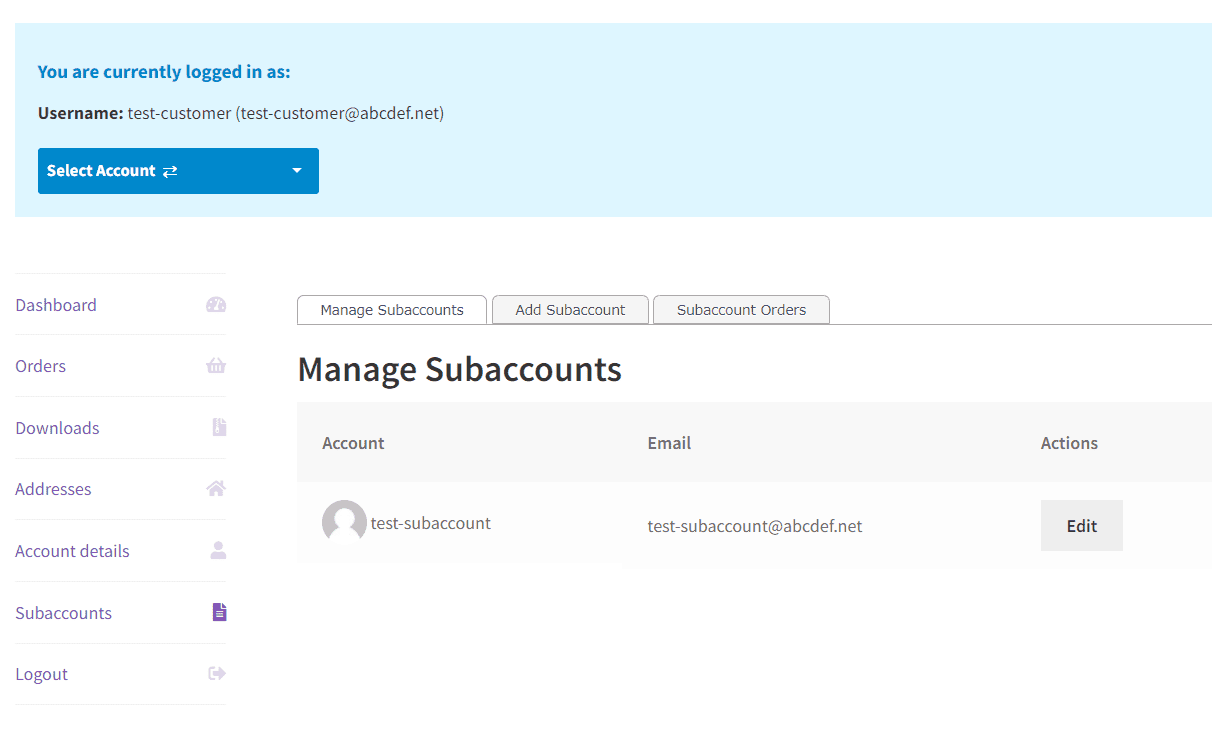
I could click the ‘Subaccounts’ tab and create a new subaccount. This way I could place the orders on behalf of a subaccount. I have created a subaccount to show you an example.
Conclusion
That’s it for today’s article.
I hope it was helpful to you and you allowed customers to create a company account with multiple subaccounts in your WooCommerce store.
By implementing your store’s WooCommerce company accounts feature, you can offer your customers streamlined operations and personalized experiences. It will also help you improve the customer management.


