If you need to test your store’s shopping experience, you may want to shop as a customer.
Or you might want your staff to shop and place orders on behalf of a customer.
WooCommerce does allow you to create manual orders from the backend but to streamline the process further, we can use a plugin like WooCommerce B2B Sales Agents. It will allow you or your sales agents to shop as customers.
In today’s article, I’ll walk you through the step-by-step shopping process as a customer. I’ll also highlight some of the reasons to do so. At the end of this tutorial, I’ll share valuable tips and tricks to improve the customers’ shopping experience on cart and checkout.
So without any further ado, let’s jump into the tutorial.
On This Page
Why Do You Need To Shop As a Customer?
Shopping from your WooCommerce store as a customer can help you and your sales agents in several ways. Here are some of them:
- Experience the Buying Process: Shopping in your wholesale store as a customer will give you a first-hand experience of the buying process. You can understand how the process works from a customer’s point of view.
- Test Functionality: Shopping as a customer can help you test the functionality, such as the ordering process, shipping, and payment gateways. This can help you identify any issues or bugs and fix them before your customers encounter them.
- Identify Pain Points: By shopping in your store as a customer, you can identify any pain points or areas that need improvement. For example, you may notice that the checkout process needs to be simplified, or it takes too long for customers to find the products they seek.
- Take phone orders: A quick and easy way to take phone orders from new or existing customers.
How to Shop as a WooCommerce Customer?
To shop as a WooCommerce customer, follow the following steps.
1. Install and activate the WooCommerce B2B Sales Agents Plugin
Note: You can skip this step if you have already installed and activated the WooCommerce B2B Sales Agents plugin.
To install the WooCommerce B2B Sales Agents plugin, you will need to install the Woosuite Core plugin and activate it with the help of a license key. We have created a Quick Start Guide for you to figure out how to install and activate the WooCommerce B2B Sales Agents plugin.
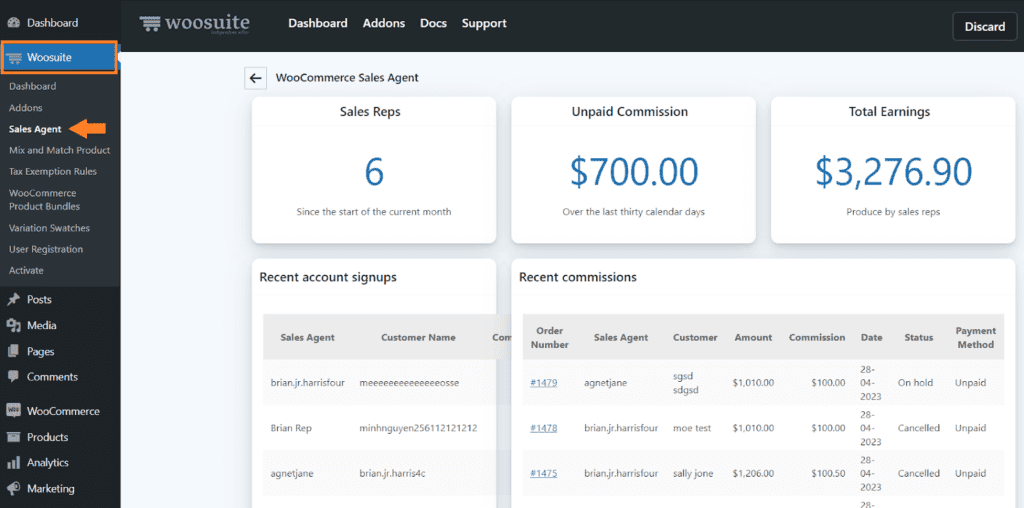
Once the plugin is installed and activated, navigate to Woosuite » Sales Agent from your WordPress admin dashboard.
3. Configure the Settings
There are several options available, but you can neglect a few. You only need to enable a few options to shop as a customer from your online store. These options will help you improve the shopping experience.
If you have sales agents, this will be an excellent addition to your store as it will help you to improve sales and manage the sales agents easily.
Follow the following steps to configure the important settings.
3.1. Allow Sales Agents to Create New Customers
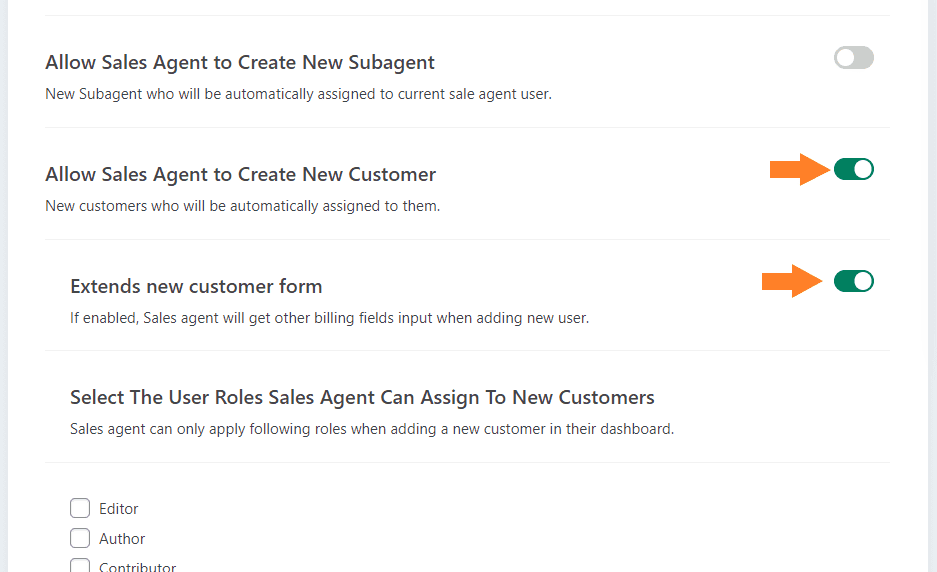
Scroll down. You must enable the ‘Allow Sales Agents to Create New Customers’ option. After enabling it, a new option will appear below it.
You can also enable it to extend the new customer form. If you enable it, the sales agent will get other billing fields input when adding a new user.
3.2. Select the User Roles
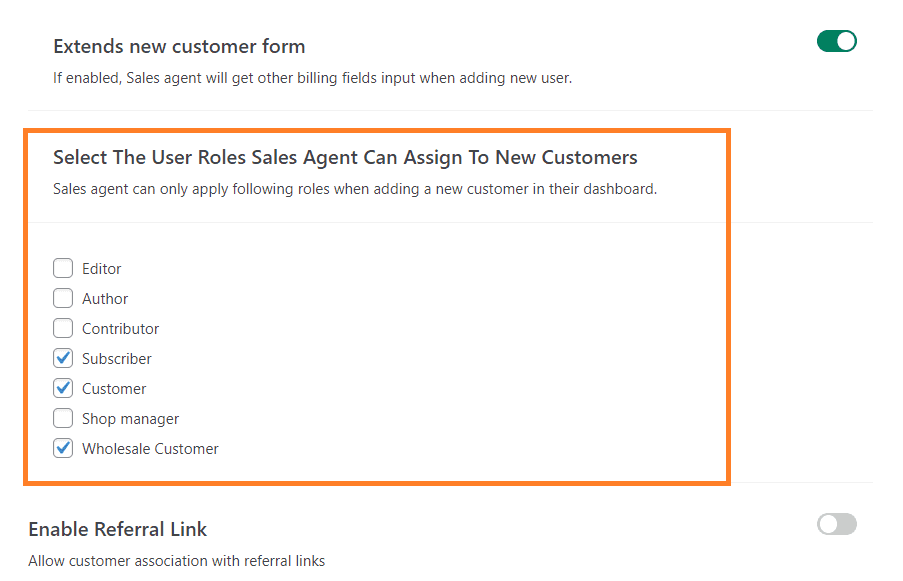
After that, you need to select the user roles the sales agent can assign to new customers. To select the user roles, check the user role box from the ‘Select The User Roles Sales Agent Can Assign To New Customers’ section.
You can also play with the other available settings, like referral links, commissions, and more. But for this tutorial, I am focusing on the options that will be helpful while you or your sales agent shop as a customer.
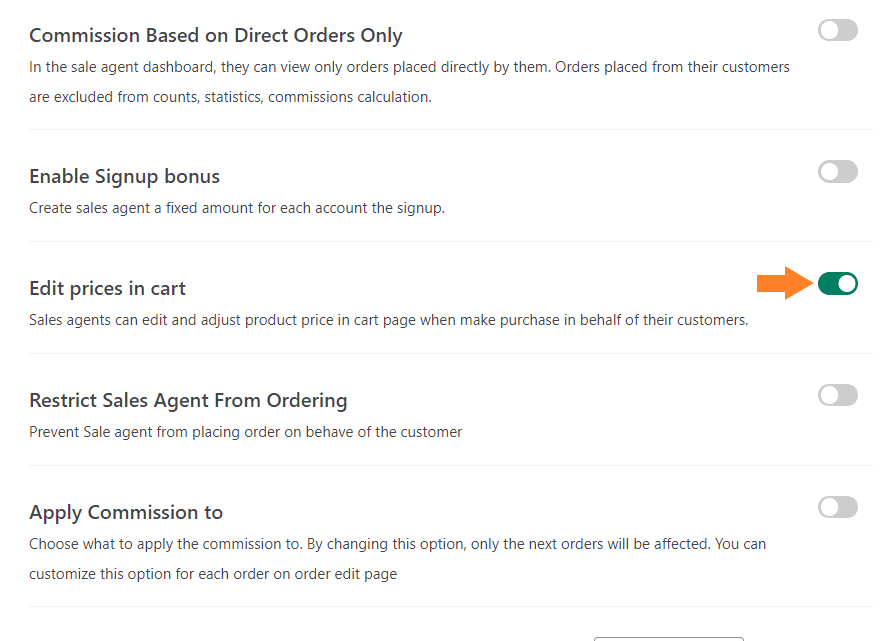
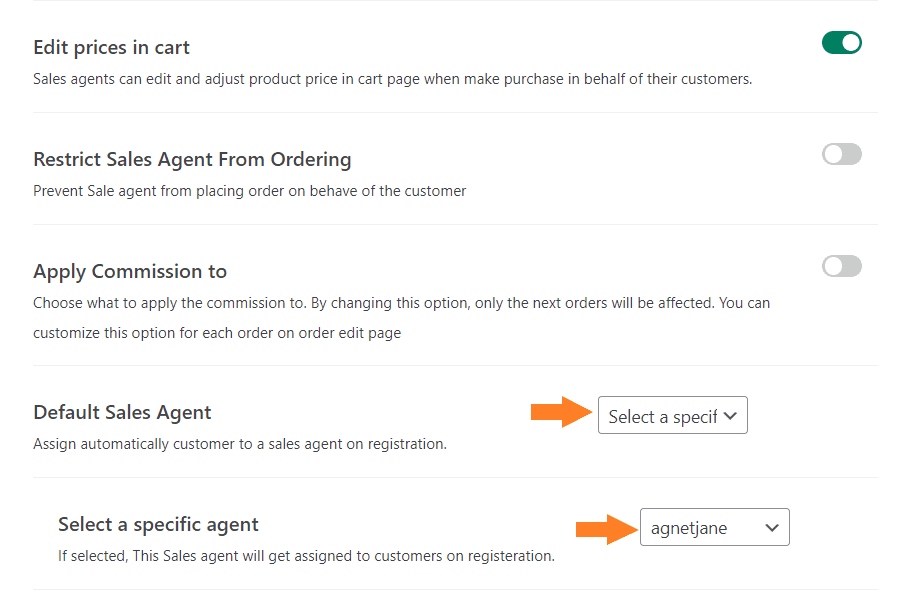
3.3. Allow Editing of the Prices in the Cart
The next thing you need to allow is to edit the prices in the cart. It will help you or your sales agents if they have negotiated the price on the phone.
Enabling this option will allow them to edit the prices directly on the cart page.
3.4. Save Changes
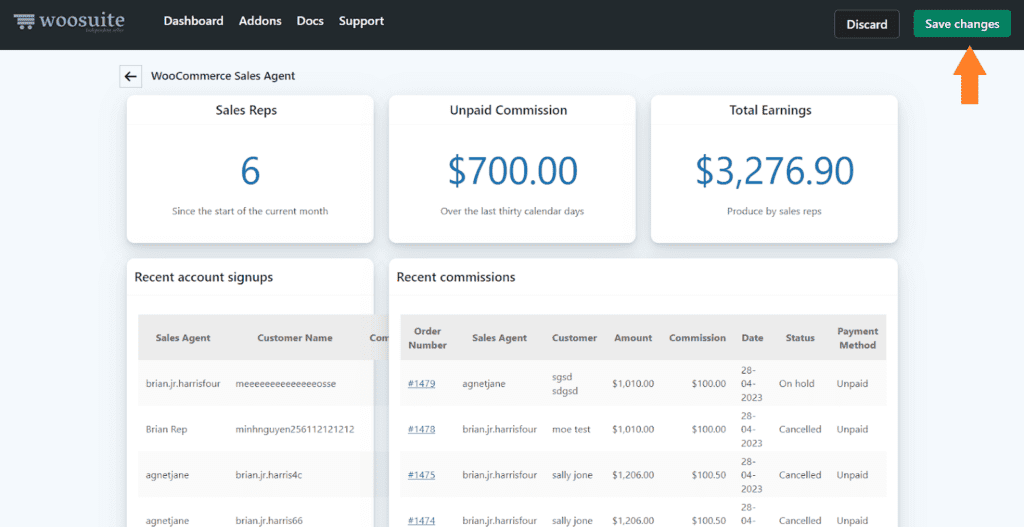
Once you have made these changes, scroll above and click the green ‘Save Changes’ button at the top right corner of your screen to save the settings.

4. Create a Sales Agent
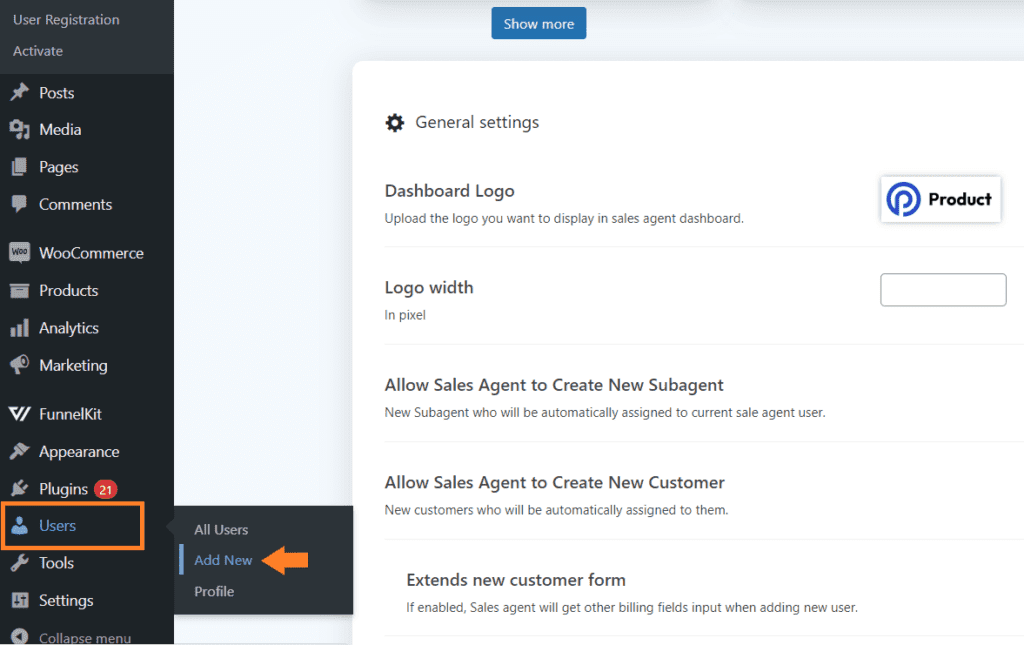
Now, you need to add sales agents to your store. To create a sales agent, navigate to Users » Add New from your WordPress dashboard.
I’ll show you the steps to create a test sales agent. So you can shop as a customer to check the checkout process or shop on behalf of your customers.
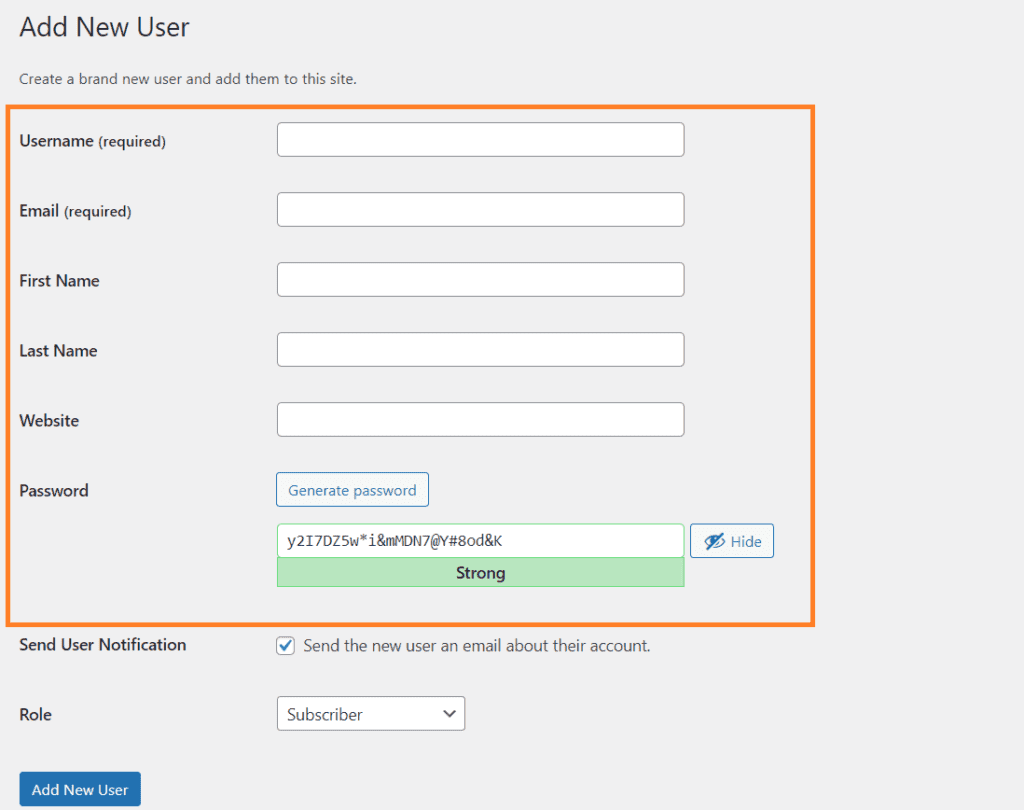
4.1. Fill Out the Form
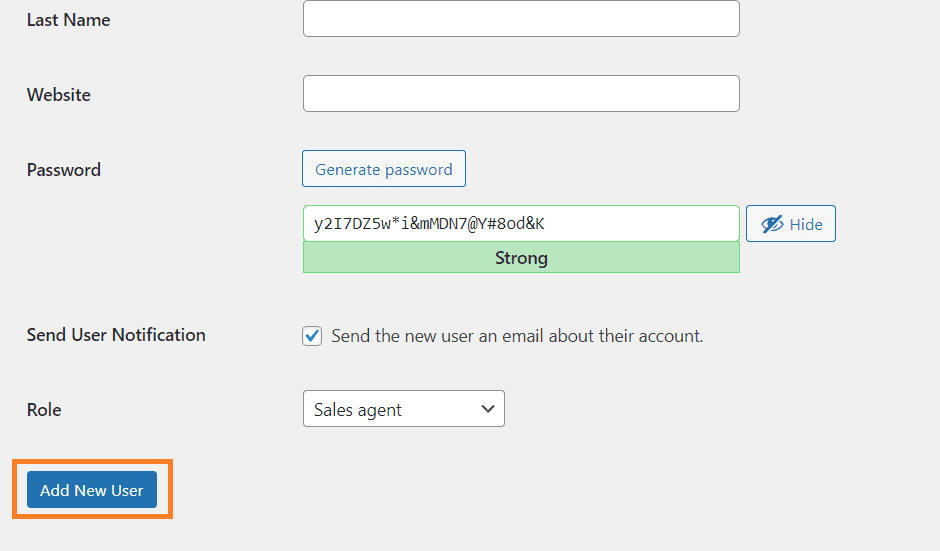
Once you click it, you’ll be redirected to a form page where you can enter the agent details like name, email, and password.
4.2. Specify the Sales Agent User Role
After filling out the necessary details, you need to select the user role. Ensure you select ‘Sales Agent’ from the ‘Role’ dropdown.
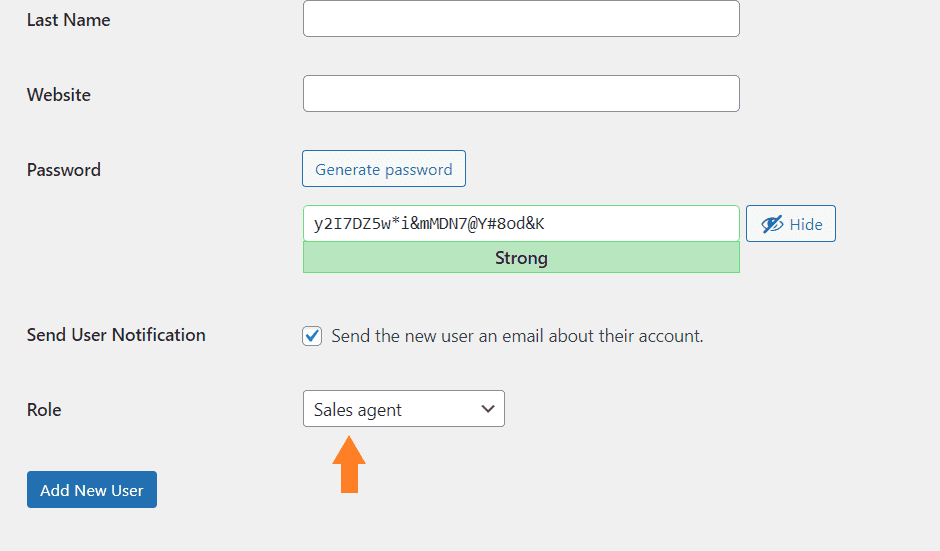
4.3. Add the User Role
Once you have added the details and selected the user role, click the blue ‘Add New User’ button at the bottom left of your screen to add the user as a sales agent to your store.
5. Enable Shop as a Customer
Once you have added a sales agent to your store, we need to assign new customers to a sales agent.
Head back to the sales agent dashboard by navigating to Woosuite » Sales Agent from your WordPress dashboard.
Once you have installed and activated the plugin, it will automatically allow you or the sales agent to shop as a customer by logging into the sales agent dashboard (Stick with the article to find out more about it).
5.1. Select the Sales Agent
Next, you might want to assign all the new customers to a sales agent during registration. You will get five options from the ‘Default Sales Agent’ field.
- Let users choose
- None
- Random
- Select a specific agent
- Reference code
You can choose from the above options, but I am selecting the ‘Select a specific agent’ option for this tutorial. Once you select it, a new field will appear below it from where you can select the sales agent.
Remember, the sales agent you’ll select here will be assigned to all the new customers while registering on your store.
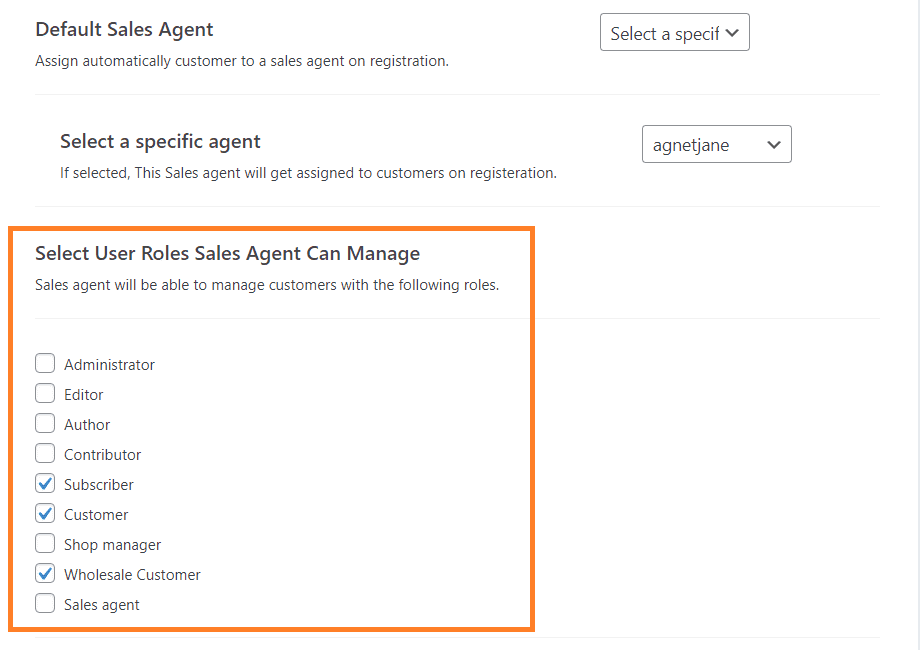
5.2. Select the User Roles Sales Agents Can Manage
Next, we need to select the user roles sales agents can manage. Ensure you choose the same user roles as you selected above.
5.3. Save Changes
Once everything is done, scroll above and click the green ‘Save Changes’ button at the top right corner of your screen to save the settings.
6. Log in to Sales Agent Dashboard
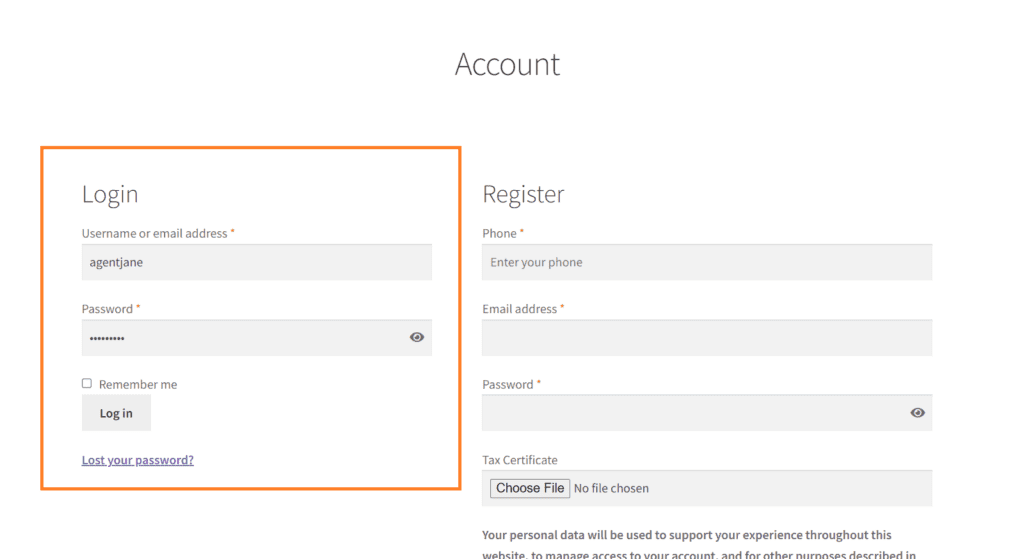
After that, we need to log in to the sales dashboard to shop as a customer. To log in to the sales agent dashboard, open your site in another browser or log out as admin.
After that, navigate to your store’s ‘My Accounts’ page and log in with the details you created in the previous step.
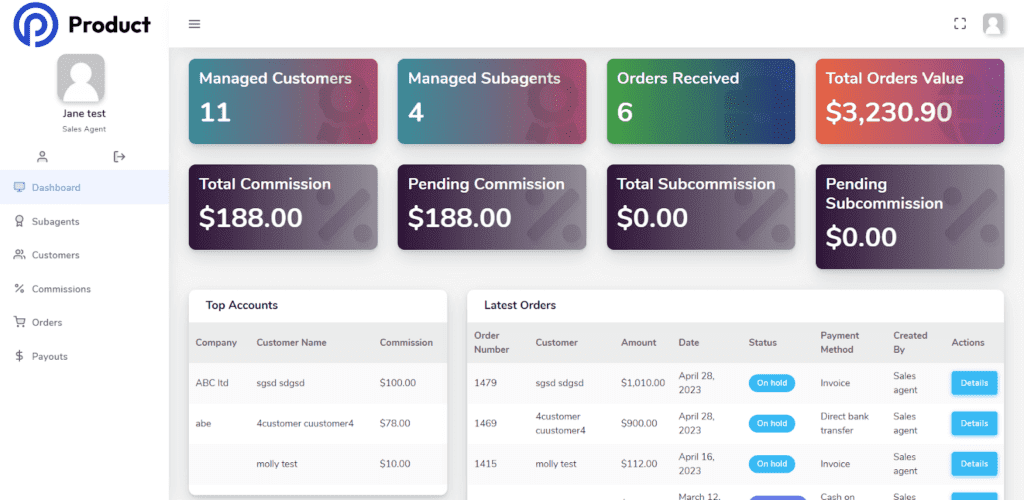
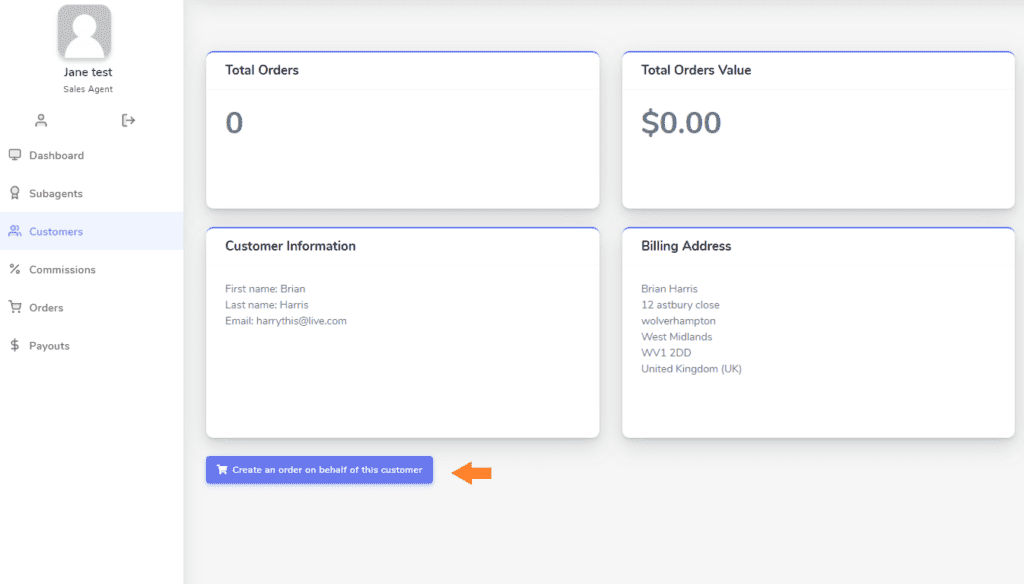
Once you are logged in, you’ll see the following dashboard. Your dashboard might not have the details like customers, orders, and more.
I have been testing it for several customers, which is why I can also see the data.
7. Shop as a Customer
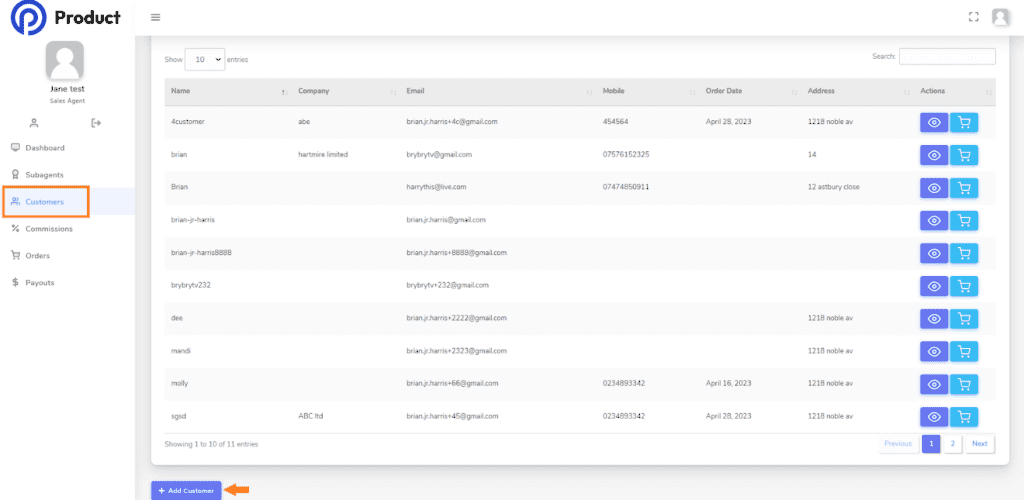
Once you are logged in to your sales agent dashboard, click the ‘Customers’ tab from the left sidebar to see all the customers the sales agent has added.
You may not see any customers if you are a new agent. You can add customers by clicking the ‘Add Customer’ button and filling up the required details.
I am not adding a customer for this tutorial, as I have already added a few.
To shop as a customer, click the cart icon in front of the customer name, or you can view the customer by clicking the eye button and then clicking the ‘Create order on behalf of the customer’ button.
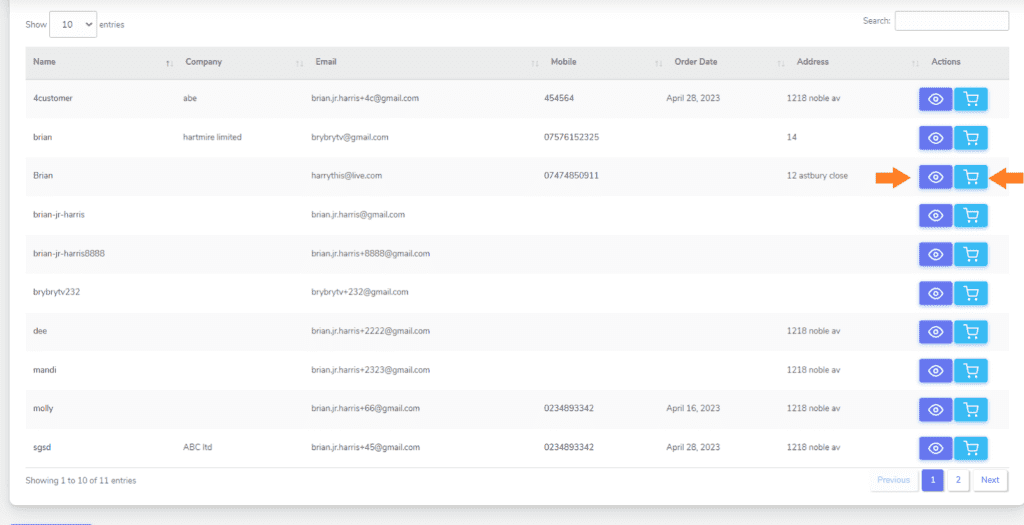
For this tutorial, I view the product and then click the ‘Create order on behalf of the customer’ button to place the order on behalf of the customer.
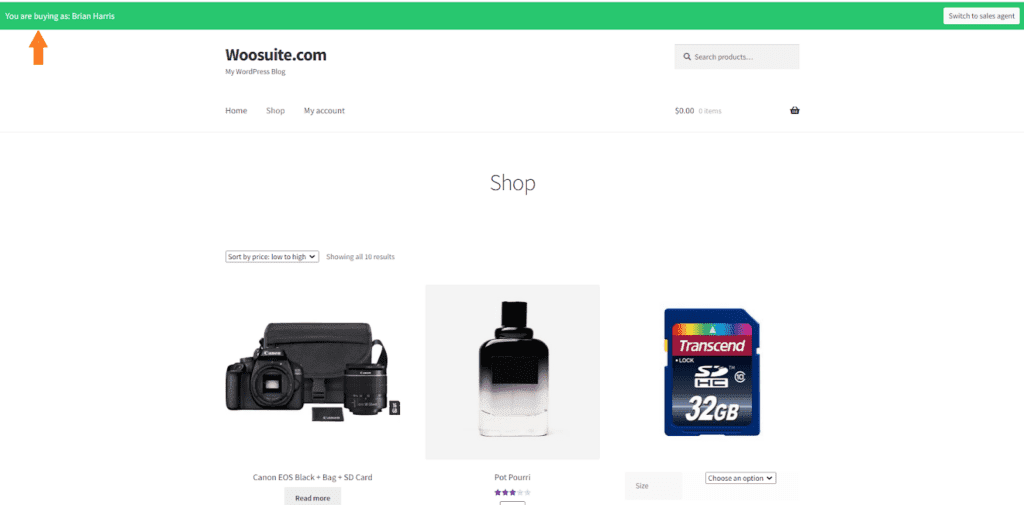
Once you click it, you’ll be redirected to the store where you can shop as a customer and place orders on behalf of your customers.
Final Thoughts
In conclusion, shopping as a customer can provide valuable insights and help you place orders on behalf of a customer faster.
Additionally, a sales agent plugin like WooCommerce B2B Sales Agents can help you manage your sales representatives and provide them with the tools and resources needed to promote and sell your products effectively.
You can also use the AIO Checkout plugin to further improve the shopping experience on your store by improving the cart and checkout pages.
To get started download Woo B2B Sales agent plugin.


