If you sell a high-priced product, then WooCommerce payment plans are beneficial for you to attract customers to purchase the product who might not be able to afford it otherwise..
In today’s article, I’ll walk you through the step-by-step process to set up the WooCommerce payment plans. You can create different plans depending on your choice and product prices.
Before jumping into the tutorial, let’s see a few advantages of using WooCommerce payment plans.
On This Page
Benefits of Offering WooCommerce Payment Plans
Users love paying in installments as equal to discounts. They can pay a certain amount while purchasing the product and pay the remaining amount in payment plans.
This will allow them to enjoy your high-priced products within their pocket. Besides this, there are several benefits of offering payment plans. Following are a few of them.
- Increased conversion rates.
- Easy to pay for customers.
- Increase shopping experience.
- Increase in revenue.
- Attract new customers.
- Build customer trust.
- Increase average order value (AOV).
It is a great tactic to increase sales as well. Buyers having a tight budget look for an affordable product. When they land a product with payment plans, they won’t think twice about getting it.
Now that we are aware of a few benefits of offering payment plans. Let’s dive into the tutorial to set up the WooCommerce payment plans.
Recommend WooCommerce Payment Plans Plugin
AovUp Subscription Plugin
The AovUp Subscription Plugin allows you to offer interest-free installment plans to your customers. It provides the flexibility to choose from multiple installment options, which are automatically collected based on the frequency you set in the backend. Customers agree to these terms during checkout. A key advantage of this plugin is that it works right out of the box without additional plugins, as all subscription features are built-in.
WooCommerce Deposits Plugin
The WooCommerce Deposits Plugin is an add-on for the WooCommerce Subscription Plugin. It’s ideal for adding payment plans or deposits to your store. However, it comes with an additional cost of $219, on top of the $249 required for the WooCommerce Subscription Plugin, making it a more expensive option.
How to Setup the WooCommerce Payment Plans?
To set up the WooCommerce payment plans, I’ll use the WooCommerce Deposits plugin by WooComemrce.
Here are the best deposit and partial payments plugins if you want to use another plugin. You can use any from the list. Also, the process of creating payment plans will be quite similar, with a few amendments.
Please follow the following steps to set up WooCommerce payment plans.
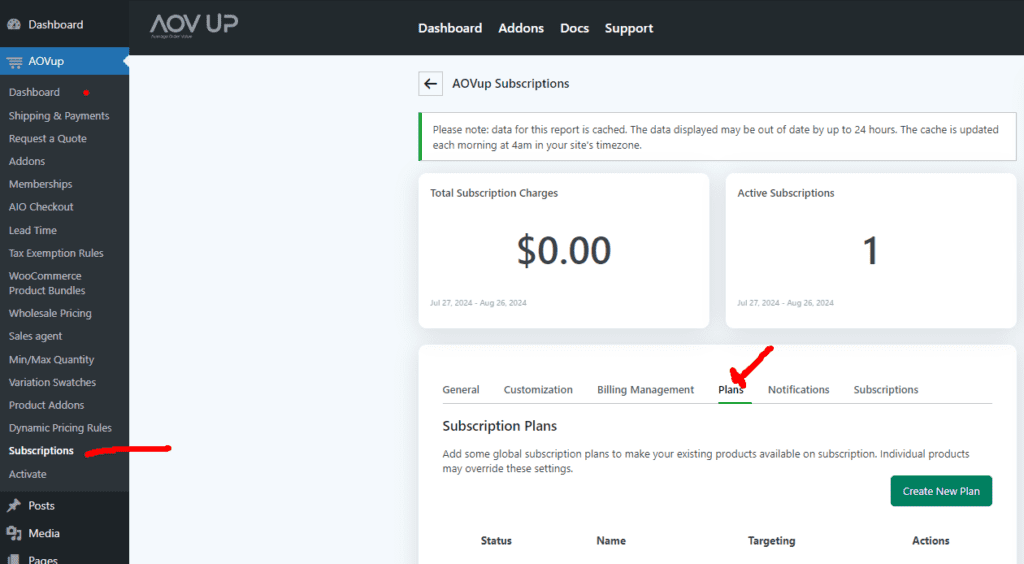
Go to AovUp, select Subscriptions, and then choose Payment Plans.
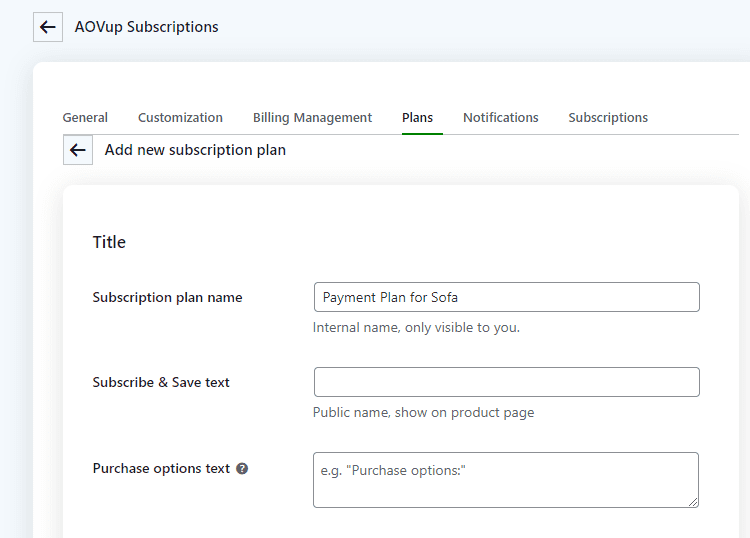
2. Create a New Payment Plan
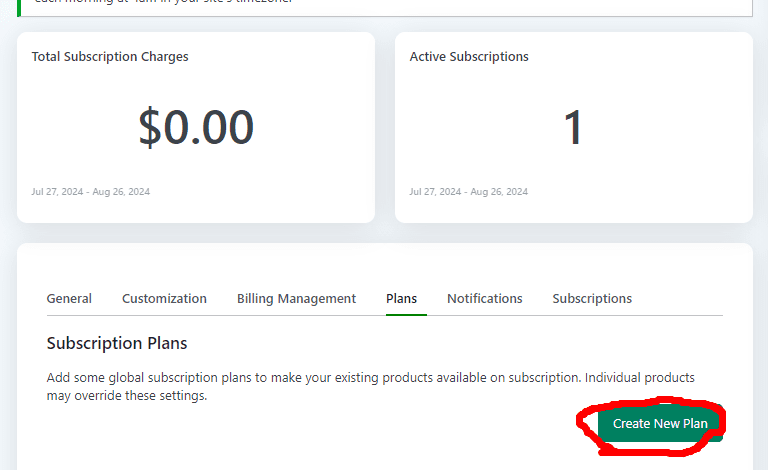
Click on “Create New Payment Plan” and enter the name of the plan. For example, “Payment Plan for Sofa.”
3. Select the Plan Type
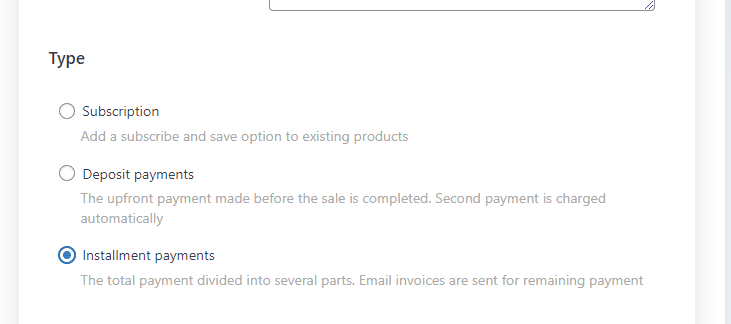
Choose the type of plan. Select “Installment Payments.”
4. Set the Initial Payment
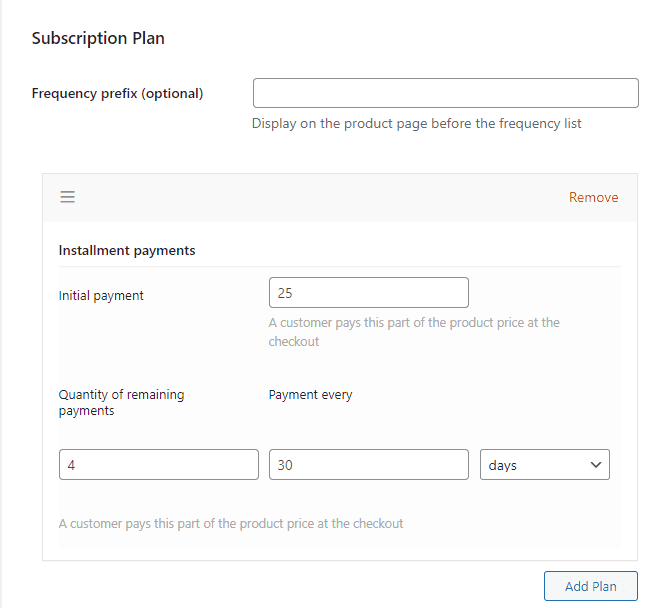
Scroll down to the “Add Plan” section and specify the percentage customers need to pay upfront, such as a 25% deposit.
5. Specify the Number of Installments
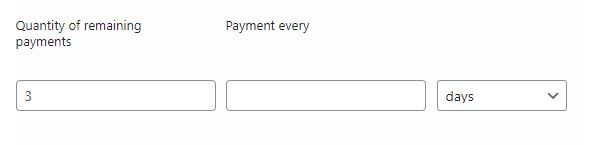
Determine how many payments the total will be divided into. For instance, three installments.
6. Set the Payment Frequency
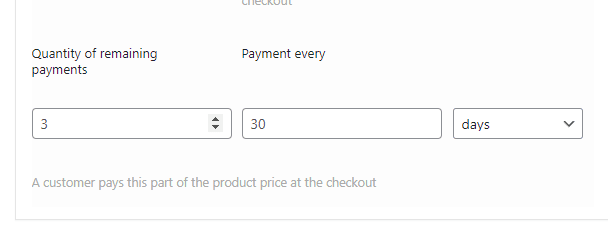
Choose how often the installments will be collected—for example, every thirty days.
You can also select the time in weeks, months, and years. For this tutorial, I am sticking with the days.
7. Apply to a Product Category
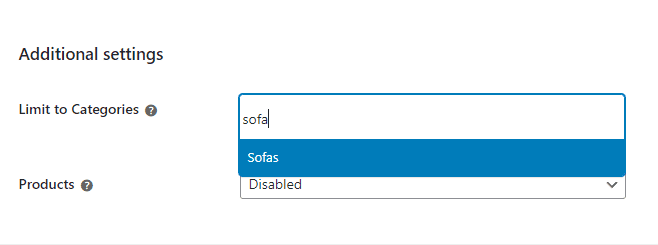
Scroll down to “Additional Settings” and apply the payment plan to the Sofa product category.
8. Save Changes

Click “Save Changes” to finalize the payment plan.
9. Final Results
Now, let’s test the product.
I visited the product page to test it, as shown in the screenshot below. Now, customers can select whether they want to pay in installments or purchase it by paying the full amount at once.
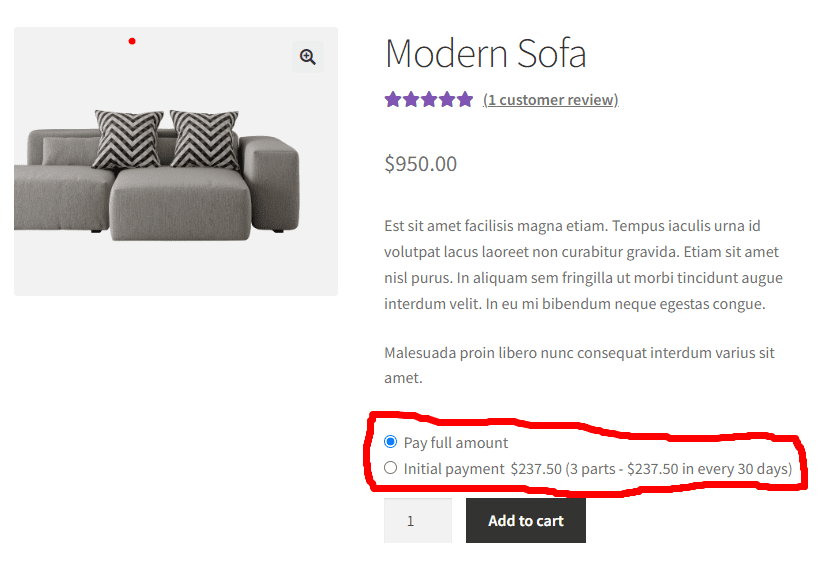
Now users can choose the payment plan and add the product to the cart. Also, when they visit the checkout, they’ll pay the immediate amount you specified at the backend.
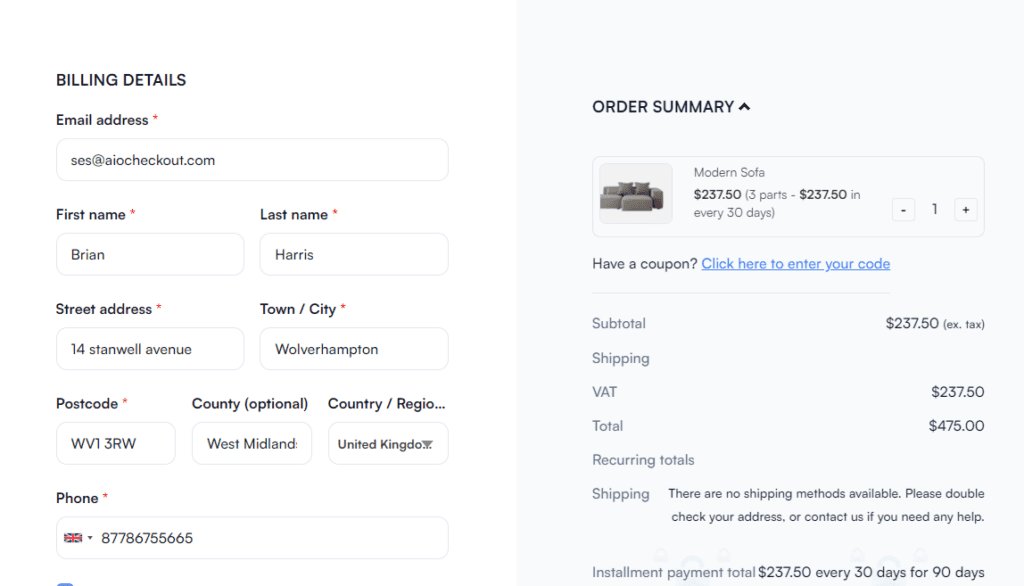
Note: I am using the custom checkout by AIO Checkout. It is similar to the Shopify checkout. The following tutorials will help you with AIO Checkout.
- How To Create a WooCommerce Checkout like Shopify?
- One Page Checkout vs Multi-Step Checkout: Which is Best for Your Online Store?
- How to Remove Shipping from WooCommerce Checkout?
- How to Add a WooCommerce One-Click Buy Checkout
- How to Create a WooCommerce Checkout Countdown?
- How to Combine WooCommerce Cart and Checkout Page?
Also, I have set the taxes. You can follow the following tutorials.
- How to Tax Exempt a User In WooCommerce?
- How to Create A WooCommerce Tax-Exempt Coupon
- 5 Best WooCommerce Tax Plugins
Conclusion
That’s it for today’s tutorial.
I hope this tutorial was helpful to you and you were able to set up WooCommerce payment plans. Allowing customers to pay in installments will significantly affect your sales and revenue.
You can also enable partial payments for the complete store. This will allow the customers to pay in installments for all the products in your store.


