If you run a WooCommerce online store and your customers are based in European Union, you may want to check if they have a valid VAT number.
A lot of businesses in the EU region are tax exempted, so to double-check if they have a valid VAT number you can check the EU VAT number via VIES at your WooCommerce checkout before giving tax exempting them.
It will not only ensure that you are in complying with EU tax regulations but also improves the customer experience and helps you streamline your invoicing process.
In today’s guide, I’ll walk you through the step-by-step process to check the EU VAT number at your WooCommerce checkout. This guide will cover everything from adding a VAT field to validating the VAT number using the VIES VAT checker.
So, without any further ado, let’s jump into the tutorial.
On This Page
What is VIES VAT Check?
The VIES VAT Check (VAT Information Exchange System) is an online service provided by the European Commission that allows businesses to verify the validity of VAT (Value Added Tax) identification numbers within the European Union (EU).
VAT identification numbers are unique identifiers assigned to businesses registered for VAT in an EU member state.
This is particularly important for cross-border transactions within the EU, as businesses are required to charge the appropriate VAT rates based on the customer’s location and VAT registration status.
How to Create an EU VAT Number Checker Via VIES at WooCommerce Checkout?
To add the VIES VAT check at checkout, I’ll use the WooCommerce Tax-Exempt plugin. It will easily allow you to add the VAT check without any advanced configurations.
Follow the following steps to add a VAT number checker at WooCommerce checkout.
1. Install and Activate the WooCommerce Tax Exempt Plugin
Note: You can skip this step if you have already installed and activated the WooCommerce Tax Exempt Plugin.
To install the WooCommerce Tax Exempt Plugin, you must install the Woosuite Core plugin and activate your Woosuite license key. We have created a Quick Start Guide for you to figure out how to install and activate the WooCommerce Tax Exempt Plugin.
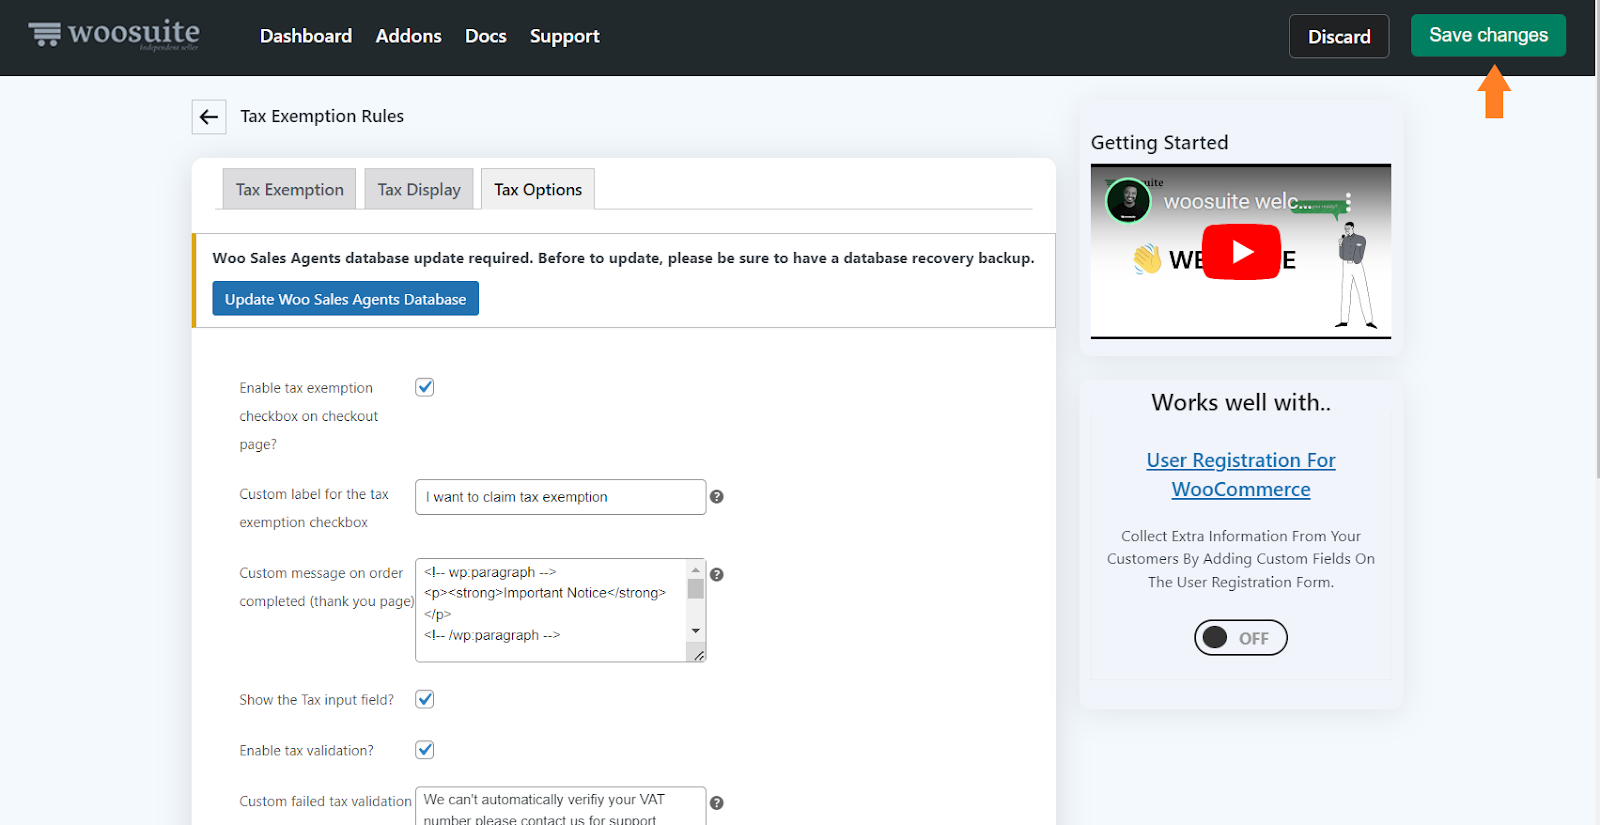
Once the plugin is installed and activated, navigate to the Woosuite » Tax Exemption from your WordPress admin dashboard.
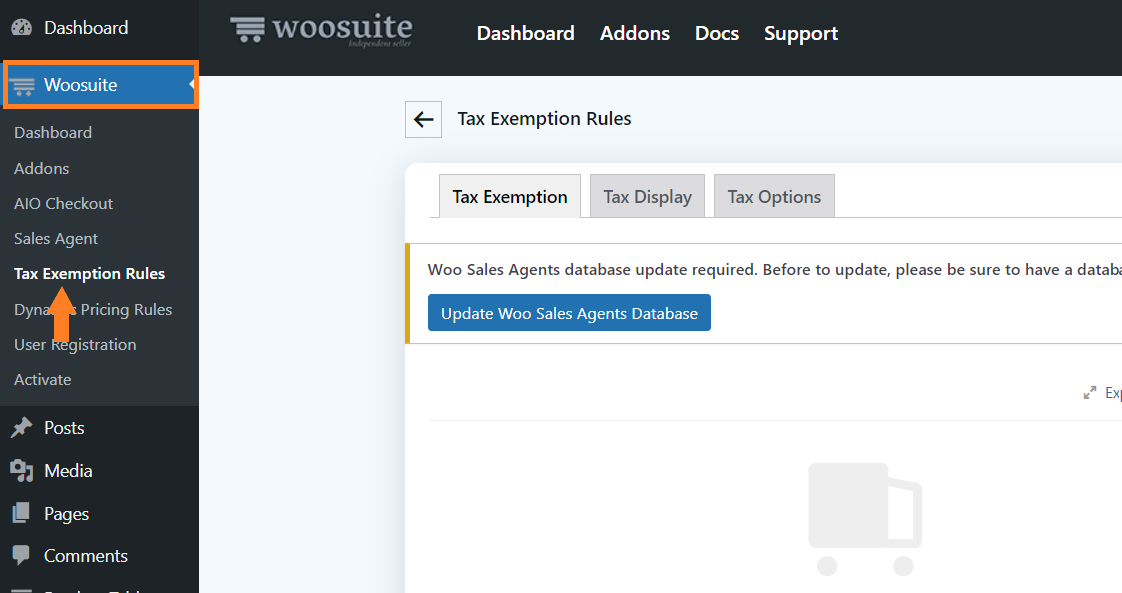
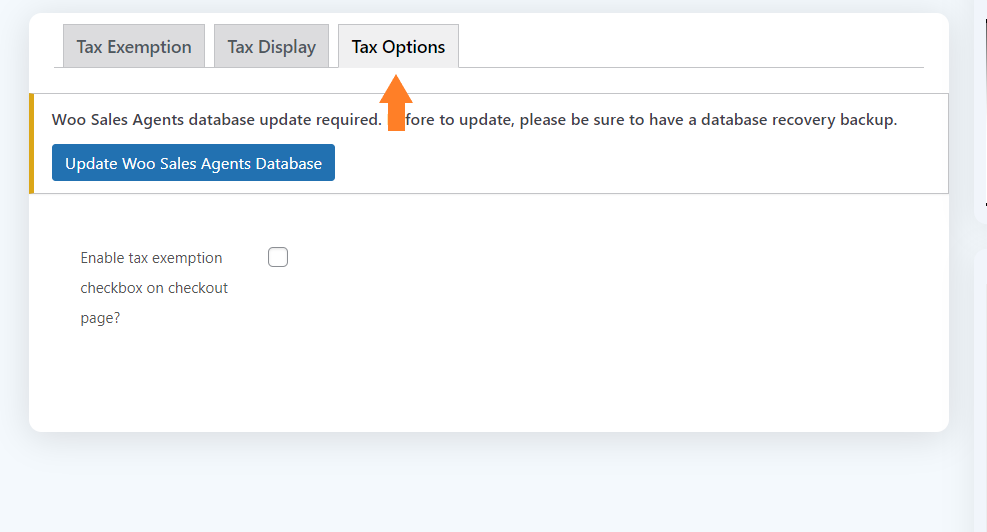
3. Click Tax Options
Once you are in the plugin’s settings, click the ‘Tax Option’ tab to add a VAT checkbox at checkout.
4. Enable Tax Exemption Checkbox
To check the validity of an EU VAT number at checkout, you need to enable the tax exemption checkbox. In WooCommerce, tax exemption typically refers to tax-free purchases made by clients throughout the checkout process.
Click the ‘Tax Exemption’ checkbox to enable it.
Once you check the checkbox, you’ll see a few other settings that we’ll be configuring in the following steps.
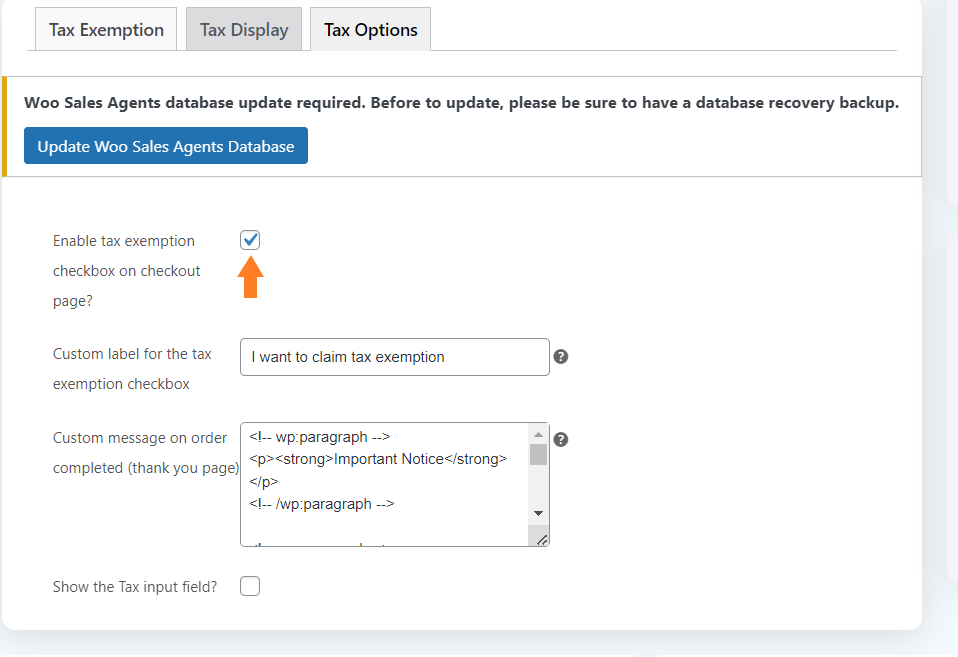
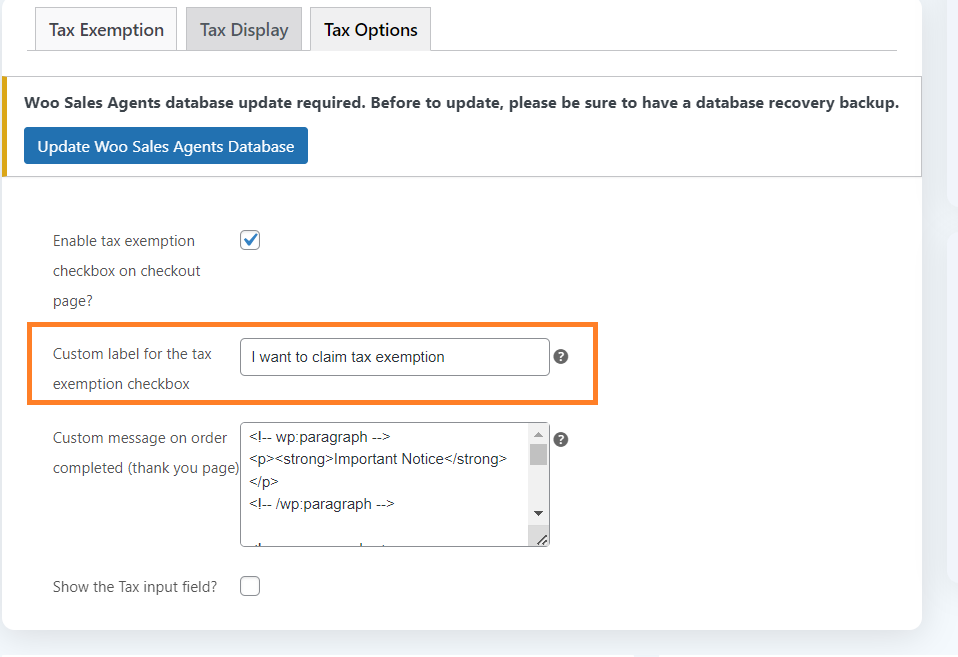
4.1. Add Custom Label for Checkbox
After enabling the tax exemption, you’ll find a new field below it, in which you can add the custom label for the tax exemption checkbox at the checkout.
You can add whatever text you want.
4.2. Add Custom Message on Thank You Page(Optional)
If you want to show a custom message on the thank you page, you can add the HTML in this field. You can add a form or a simple paragraph or anything you want. I’ll leave it to default.

5. Enable the Tax Field
Next, you need to enable the tax input field. To do so, check the ‘Show the Tax input field?’ checkbox. It will create an input field at checkout for entering the tax or VAT number.
Once you’ll enable it, you’ll see a new option below it.

6. Enable VIES VAT Validation
Next, we need to enable tax validation. Otherwise, any user can check the tax exemption checkbox at checkout and remove the tax.
To avoid such a situation, check the ‘Enable Tax Validation’ checkbox to enable the tax validation at checkout.
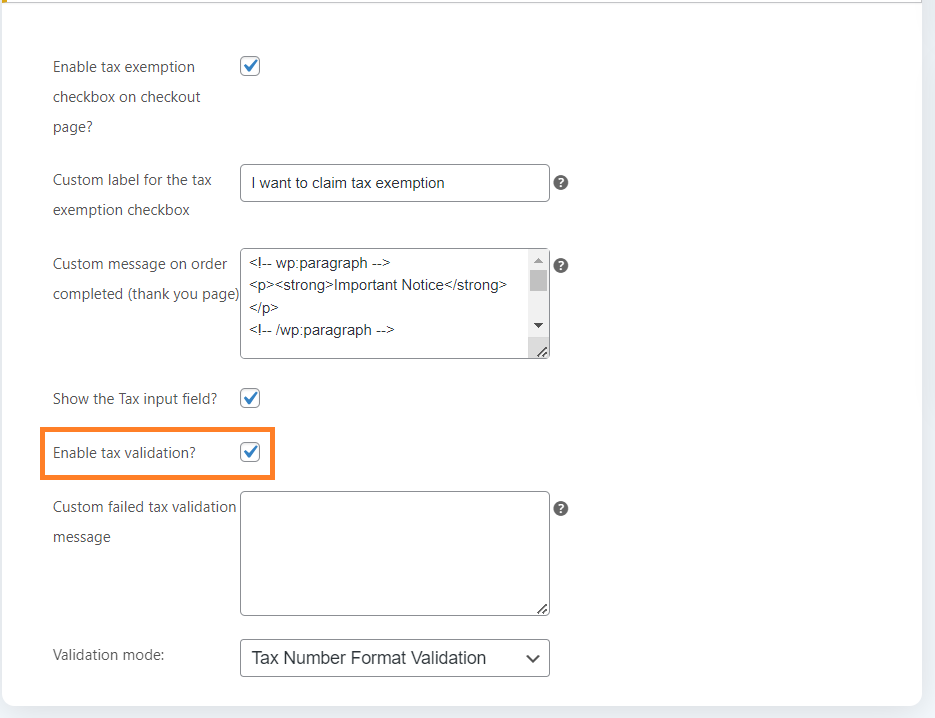
6.1. Add Failed Tax Validation Message
Once you’ll enable the tax validation, you’ll see two new options below it. In the first field, you can add the custom message that will be shown when VAT tax validation is failed.

6.2. Select the Validation Mode
After that, you need to select the validation mode. You can select from two different modes:
- Tax Number Format Validation
- VIES Validation
As we want to add VIES validation at checkout, so ensure to select ‘VIES Validation’ from the dropdown.
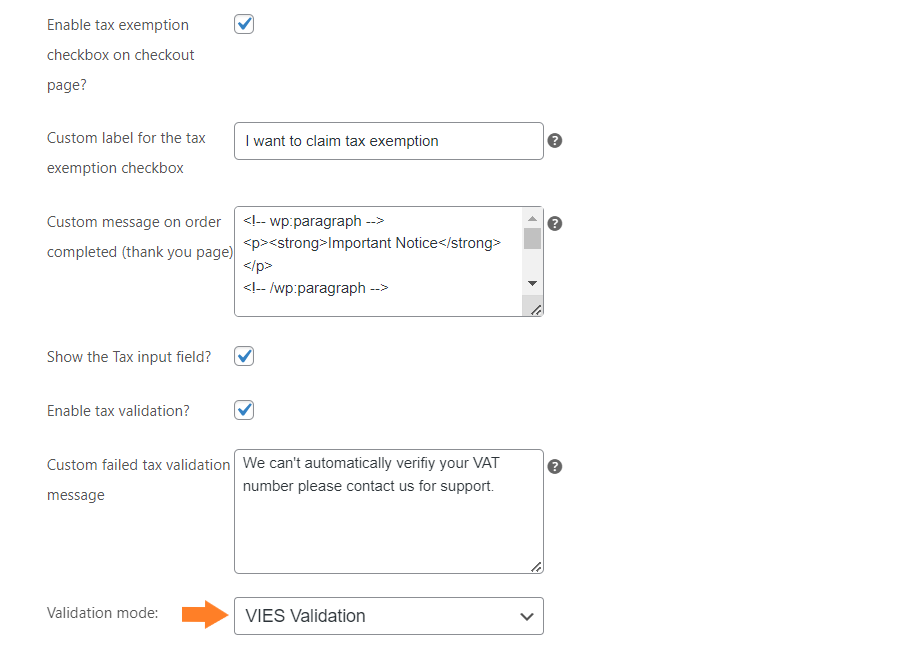
7. Save Settings
Once you have enabled the VIES Validation at checkout, click the green ‘Save Changes’ button at the top right corner of your screen to save the settings.
8. Final Results
After saving the settings, let’s test the EU VAT number checker.
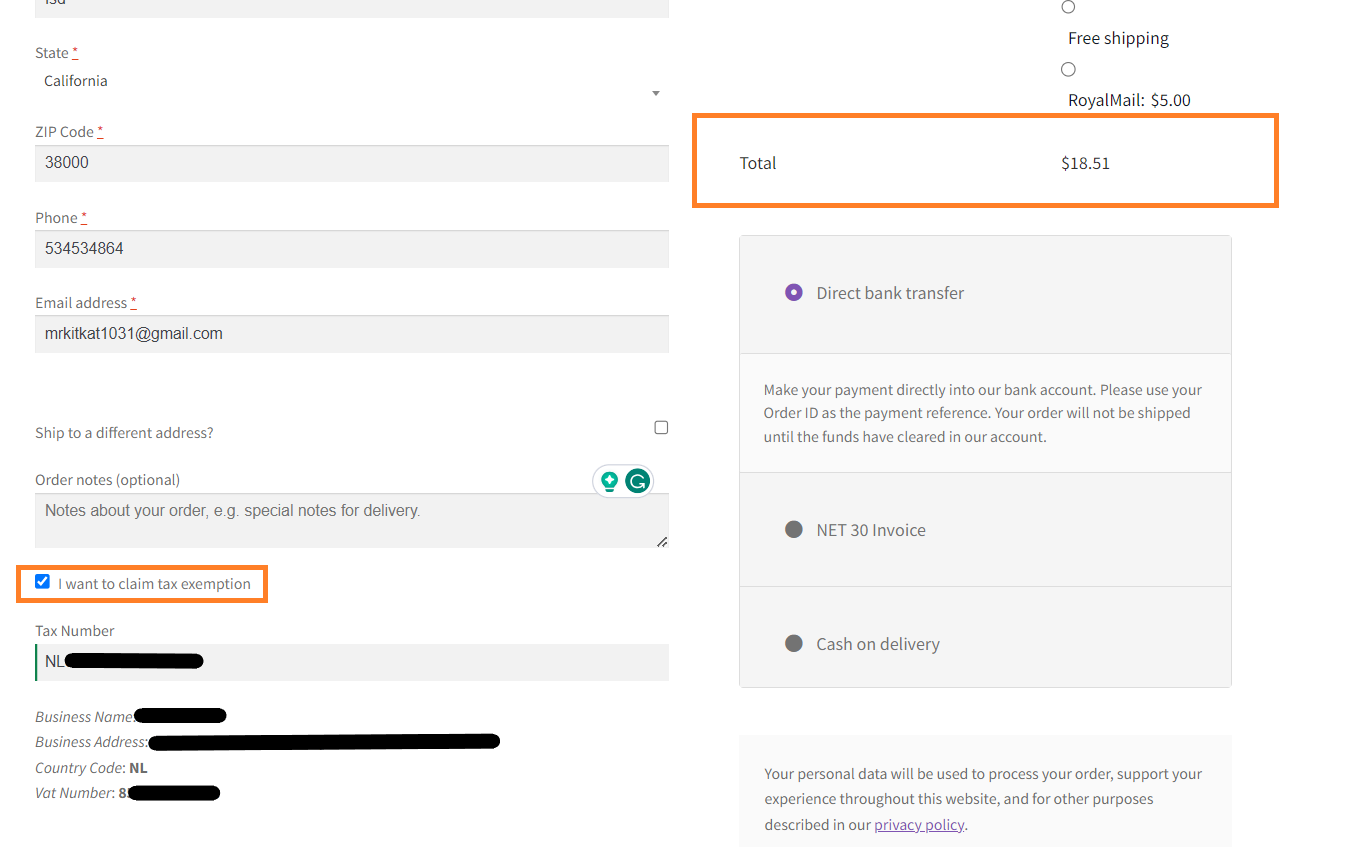
To test it, I added a product to my cart and visited the checkout page. As you can see in the screenshot below that there is a tax exemption checkbox at the bottom of the checkout form.
Also, the tax is applied to my cart based on the product I added to it.
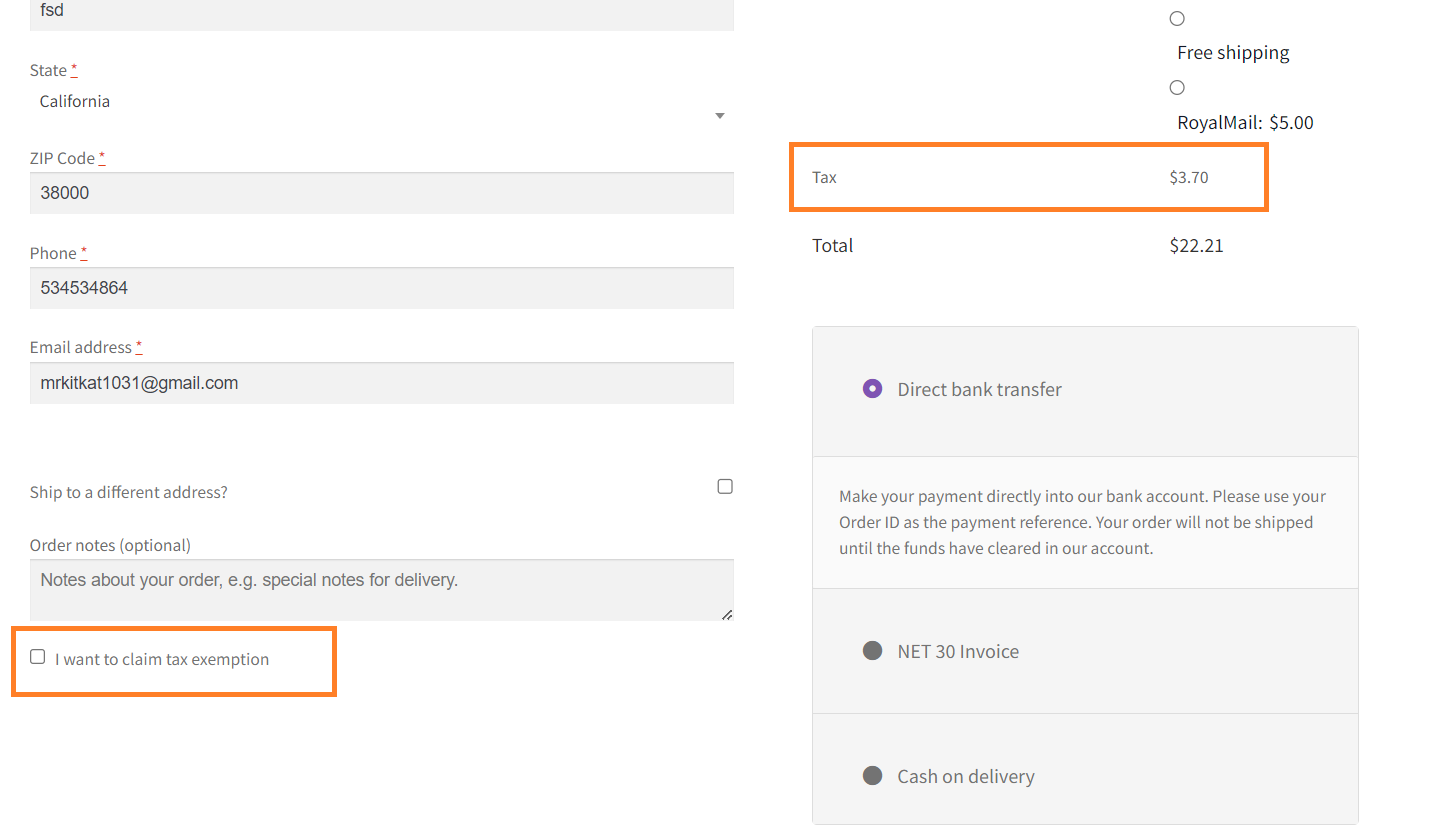
When I’ll check the tax exemption checkbox, a new field will appear where I can add the VAT number for VIES VAT check. If the number is verified successfully, the tax will be removed from the cart.
But if the VAT number can’t get verified, an error message will appear.
Conclusion
That’s it for today’s article.
I hope it was helpful to you and you were able to add an EU VAT number checker via VIES to your WooCommerce checkout page. Adding this check will allow you to tax-exempt your customers with valid VAT numbers.
It will work for your entire store regardless of the product in the cart. If you want to tax-exempt a specific product, product category, user, or country, you may want to check the following tutorial.
Download the WooCommerce Tax Exempt plugin now!


