The add to cart button is one of the most important buttons for any online store. It is the button that customers click to purchase a product. Customizing the add to cart button can significantly impact your store’s bottom line.
Well. In this guide, I’ll show you how to customize the WooCommerce Add to Cart button in 3 different ways.
Before we look at the ways to customize it, let’s take a closer look at its advantages.
On This Page
- 1 Advantages of Customizing the Add to Cart Button
- 2 How to Customize the Add to Cart Button in WooCommerce?
- 3 Method 2: Customize the Add to Cart Button Via AIO Checkout
- 4 Method 3: WooCommerce Change add to cart Text with Code
- 5 Conclusion
Advantages of Customizing the Add to Cart Button
As discussed, it is one of the most important buttons on your store and it must be customized according to the store and products you are selling because of the following benefits.
- To Improve the Customer Experience
Customizing the add to cart button on your WooCommerce store can help you improve the customer’s buying experience.
Let’s say you are selling handmade utensils in your store, so instead of displaying the add to cart text, you can display the text as “Make one for me”. This will let the customers feel that this is specifically for them.
- Get More Sales
Customizing the add to cart button can help you test our CTA to increase your conversion rate and generate more sales. You can replace the add-to-cart text with ‘Buy Now’, which will encourage the customers to buy it directly.
How to Customize the Add to Cart Button in WooCommerce?
You can customize the add to cart button in the following ways:
- You can change the Add to Cart button text.
- You can replace the Add to Cart button with a checkbox.
- You can replace the Add to Cart button with an icon.

I’ll be using the product table plugin for all three methods. So first, you need to install and activate the plugin.
Method 1: Using the WooCommerce Product Table Plugin
Note: You can skip this step if you have installed and activated the WooCommerce Product Table plugin.
To install the WooCommerce Product Table plugin, you will need to install the Woosuite Core plugin and activate it with the help of a license key. We have created a Quick Start Guide for you to figure out how to install and activate the WooCommerce Product Table plugin.
2. Create a New Product Table
Once the plugin is installed and activated, to create a new product table, navigate to Woosuite » Product Table ” from your WordPress dashboard and click the Add New Table button.

Once you click it, you’ll see a screen where you can create and control the table settings.

1. Order Form Display
Now, give an internal name to the table. It won’t be displayed to the customers. It’ll help you manage the product tables if you have made several.

2. Order Form Information
Now expand the Order Form Information by clicking on the (▾)

Now, specify the columns you want to add to the table. To add a column, drag it from the Available Columns section and drop it into the selected Columns section.

Note: Make sure you’ve added the Add to Cart column in the selected columns section to customize the add to cart button.

3. Customizing the Add to Cart Button
3.1 Change the Add to Cart Text
In this section, we will have a look at how to change the add to cart button like this:

Now, in order to change the add to cart text, scroll down to the Rename ‘Add to Cart’ field, and in the field, enter the text you want to display instead of Add to Cart.

Now if you visit the Shop Page of your store, you’ll see all the products are being displayed on a table and the Add to Cart text has been changed to Buy Now.
3.2 Change the Add to Cart Button to a Checkbox
This method can help your customers to select multiple products at a time and add them to the cart just by clicking one button.

Now a customer can select the products and add multiple products to the cart from a single page by clicking on the Add Selected to the Cart button.
So to change the add to cart button to a checkbox, follow the following steps.
Expand the Bulk Add to Cart by clicking on the (▾)

3.2.1 Now to change the add to cart button to a checkbox, select Checkbox Only from the Add to cart button display.

Tip: You can select the Button and Checkbox to display the button and the icon at the same time.
3.3 Change the Add to Cart Button to an Icon
In this section we will have a look at how to change the add to cart button to an icon, follow the following steps.

Now, to replace the add to cart button with an icon, in the Order Form Information section scroll down to the Add to Cart Icon.

Now, upload the cart icon by clicking on the Add/Upload Image button. This will display the cart icon instead of the cart button on the table.

4. Save Changes
Once you have uploaded the icon, now click on the Save Changes button at the top right corner to save the changes.

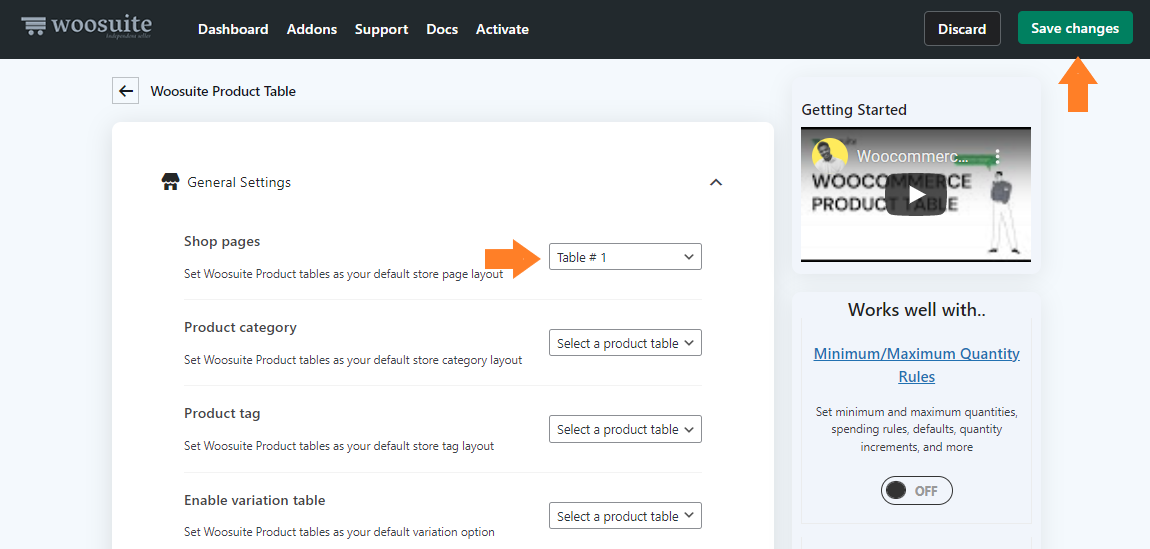
5. Set Woosuite Product Table as the Default Shop Page Layout
To set the Woosuite product table as the default shop page layout, go back to the General Settings of the product table plugin by clicking the top back arrow.

Now select the table from the Shop Pages dropdown and click on the Save Changes button to save the changes.
Method 2: Customize the Add to Cart Button Via AIO Checkout
This method is for you if you only want to customize the add-to-cart button and keep the default shop page layout. You can use the AIO Checkout plugin to customize the button.
The following is the step-by-step process of it:
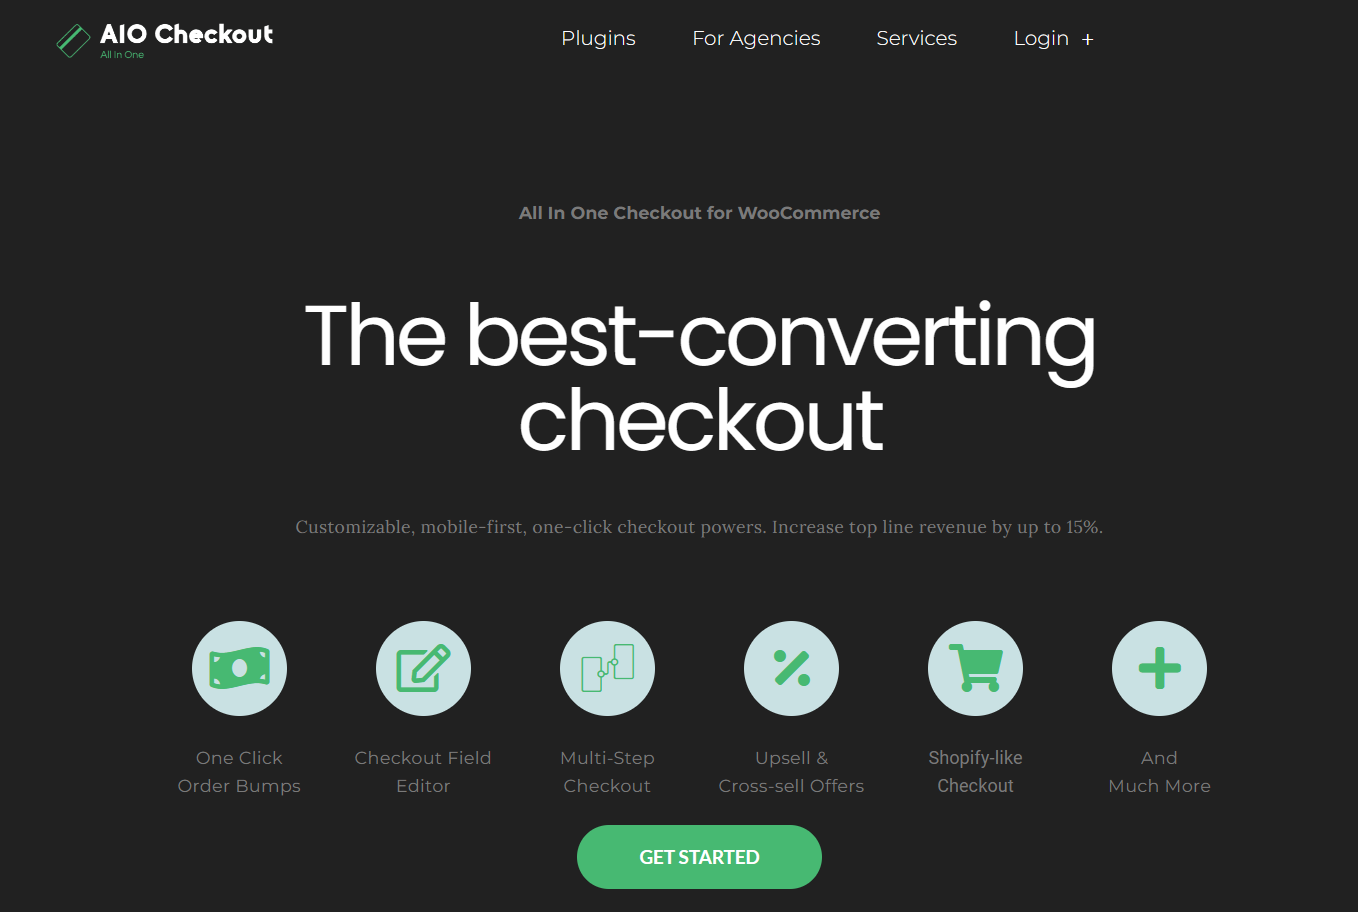
1. Install and Activate the AIO Checkout Plugin
First, we need to download the AIO Checkout plugin from the official AovUp store.
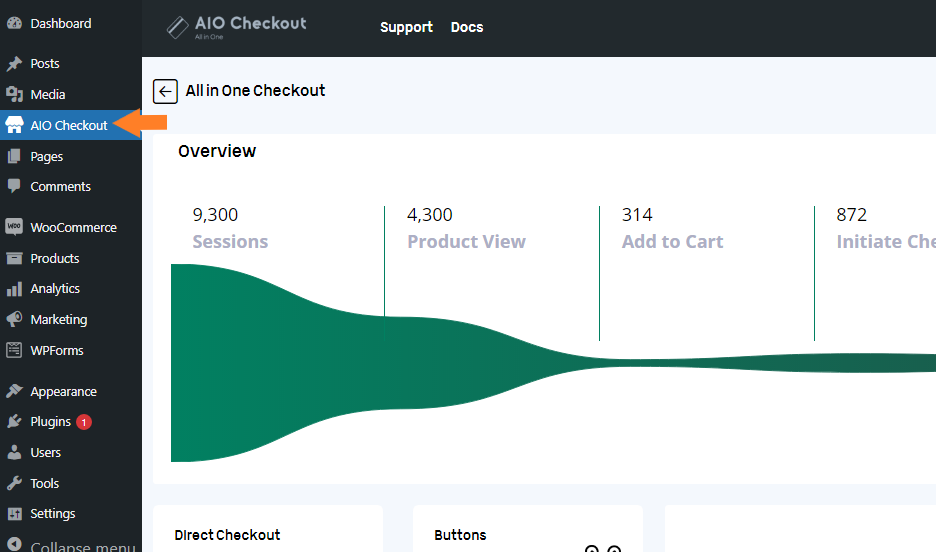
Once you have downloaded it, navigate to the Plugins > Add New from your WordPress admin dashboard, and click the Upload button to upload the downloaded file to install and activate the plugin.
Once you have installed and activated the plugin, navigate to AIO Checkout from your WordPress dashboard.
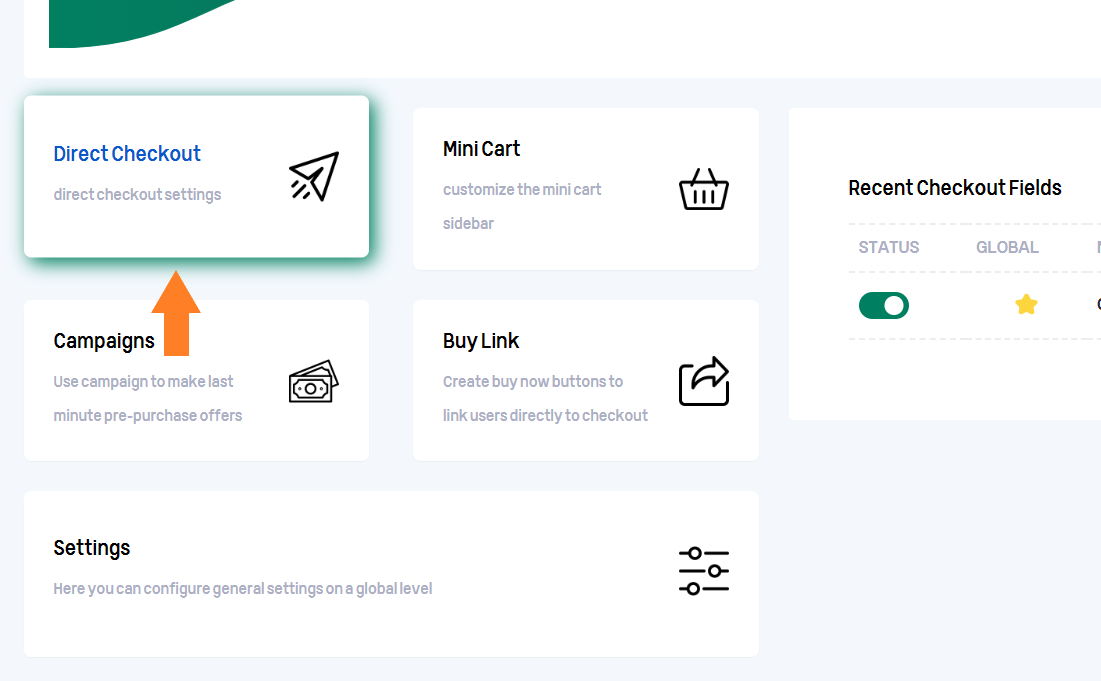
3. Customize the Add to Cart Button
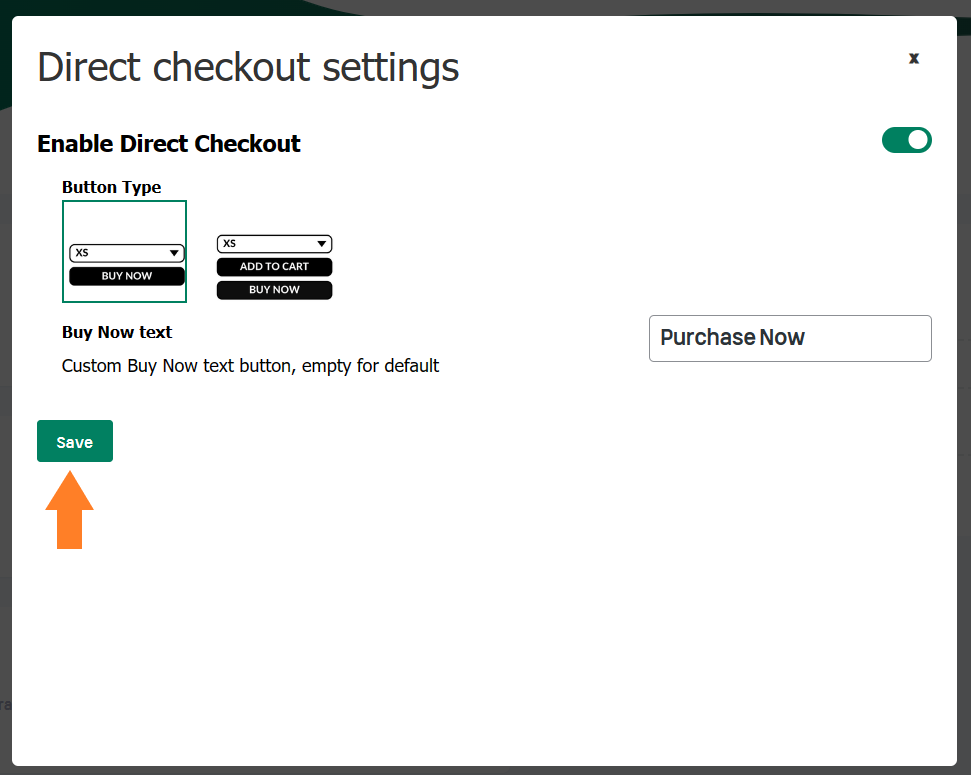
We need to enable direct checkout to customize the add-to-cart button text on the shop and product page. On the plugin’s settings page, hover over the ‘Direct Checkout’ box and click it.
Once you click it, a popup will appear from where you can enable the direct checkout to customize the cart button on the WooCommerce shop and product pages.
To enable it, toggle the “Enable Direct Checkout” button.

3.1. Customize the Add to Cart Button
Enabling it will replace the add-to-cart button on the shop and the product pages with the “Buy Now” button. It will take the users to the checkout page, skipping the add-to-cart in WooCommerce, and the users will be able to purchase the products quickly.
You can also customize its text.
You also have the option to display the “Add to Cart” and “Buy Now” buttons simultaneously. I’ll only show the buy now button and customize its text (customize the add-to-cart button).

3.2. Save Settings
Finally, click the green save button at the bottom left of the popup to save the settings.
4. Final Results
Let’s see the final results.
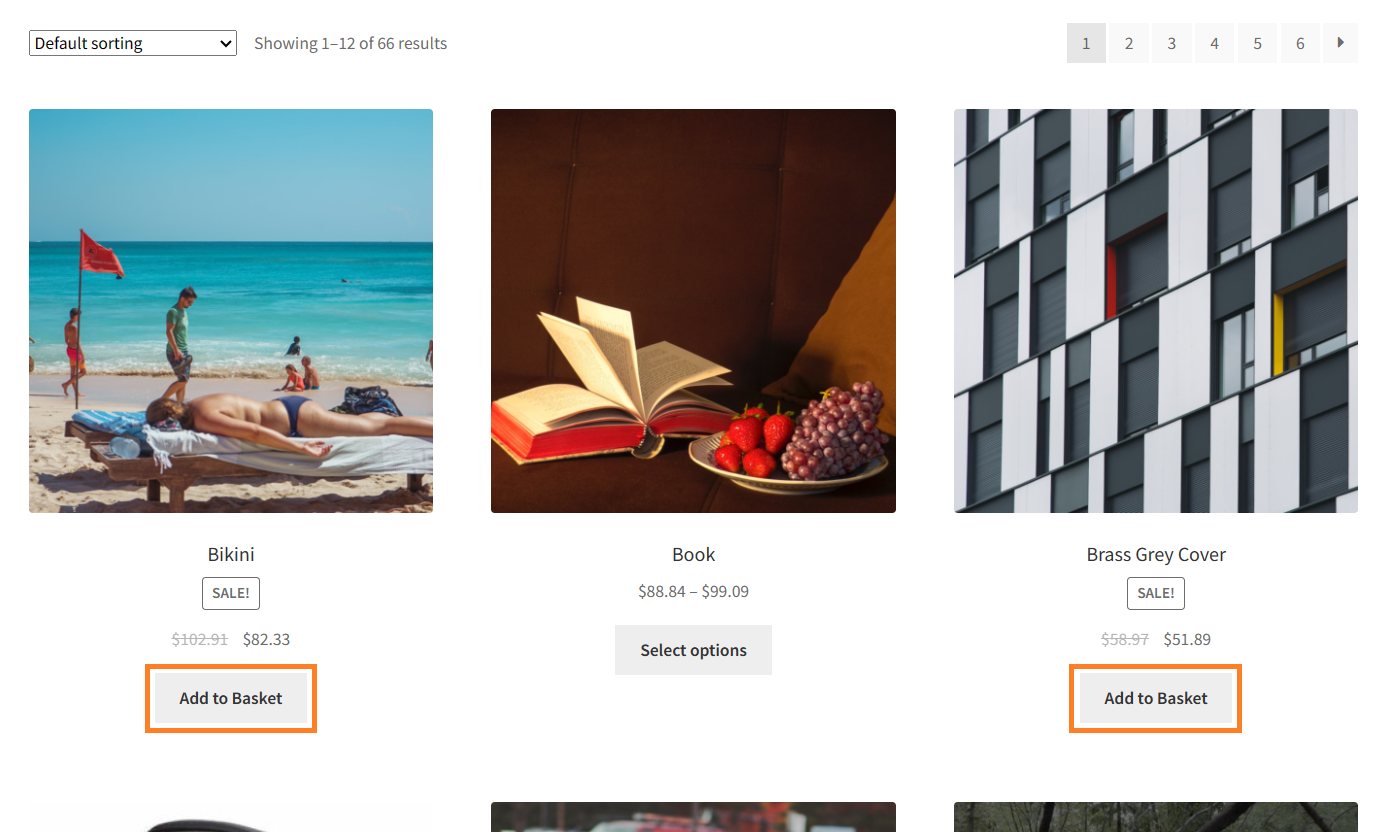
I visited the shop page of my demo store, and the add-to-cart button text was changed. By clicking it, I could directly complete the checkout.
Note: You can enable the mini-cart using AIO Checkout to let your customers see their cart before going to the checkout page.
Method 3: WooCommerce Change add to cart Text with Code
Use this code to change add to cart text on the shop page
// This changes the add to cart on the Shop Page
add_filter( 'woocommerce_product_add_to_cart_text', 'aovup_shop_page_add_to_cart_text' );
function aovup_shop_page_add_to_cart_text() {
    return __( 'Add to Bag', 'text-domain' );
}
Use this code to change add to cart text on the product page
// This changes the add to cart on product page
add_filter('woocommerce_product_single_add_to_cart_text', 'aovup_add_to_cart_text');
function aovup_add_to_cart_text() {
    return __('Add to Basket', 'text-domain'); // Change this to your desired text
}
Conclusion
Now, it’s up to you to configure the settings of the plugin as you want. You can use any of the above mentioned methods to customize the add to cart button.
The wooCommerce Product Table plugin is one of the easiest ways to customize the add-to-cart button. This plugin will help you boost your products’ visibility and let the users add multiple products to the cart.
Let me know in the comments section, which method you’ll be using? Also, if you have any queries, you can ask them in the comments or contact our customer support. Our dedicated customer support team typically replies within 48 hours.
To get started, download the WooCommerce Product Table plugin today!


