Grouped products are one of the product data types that you can create in WooCommerce. Unlike other product types, it does now involve any purchase product rules.
If you are selling simple and similar products in your WooCommerce store, grouping the products can help you a lot to increase the average order value. WooCommerce grouped products allow you to combine several simple and similar products(Child Products) into a single product(Parent Products).
Users can buy all the products in a group product in just a few clicks, and if they want to buy a few, they can also do so.
So In today’s article, I’ll explain how to create a grouped product in WooCommerce and everything else you need to know about WooCommerce grouped products.
On This Page
What are the WooCommerce Grouped Products?
A WooCommerce group product is a collection of two or more similar products. The Grouped Product can be named ‘Parent Product,’ and the products within the parent product can be named ‘Child Products’ for better understanding.
One thing that needs to be clarified is that the grouped products aren’t similar to the bundled products.
Grouped Products differ from bundled products as they do not allow you to include:
- You cannot add variable products in a grouped product.
- You cannot offer discounts on grouped products without using a third-party plugin like Dynamic Pricing & Discount Rules.
Following are a few benefits of grouped products.
- Encourage customers to try new products.
- Increase AOV (Average Order Value)
- Increase the Sales
- Better customer experience in terms of deliverability.
Let’s take an example to understand the WooCommerce grouped products better.
Suppose you have a WooCommerce plant shop where you offer different types of plants. Usually, when a user comes to your store to purchase flowering plants.
They must navigate each plant’s page and add them to their cart. This becomes very time-consuming and might annoy the customers.
To avoid such conditions, WooCommerce grouped products come in handy. A grouped product will allow you to group the different plants into a single product while selling each plant separately.
This way, customers can shop for similar products they might also want to buy from a single product page in a few clicks. Users don’t need to purchase each product in the group. Instead, they can even buy one of them and complete the checkout.
Note: You will need a product bundle plugin if you want to include variable products and offer discounts on your grouped products.
Learn more about Creating a Variable Product Bundle.
Now that we know about the grouped products, let’s dive into our tutorial without further ado.
How to Create a Grouped Product in WooCommerce?
To create a WooCommerce grouped product in WooCommerce, follow the following steps.
1. Add Child Products to WooCommerce
First, you must create child products, which we will add to the parent product to create a grouped product later.
For example, I will create a plant pack(group product), and the product within that pack will be the child products.
To create a new product, navigate to WordPress Admin Dashboard, and click the Products » Add New.
Once you click it, you will be redirected to a page from where you can create a new product. Follow the following steps to create a new product.
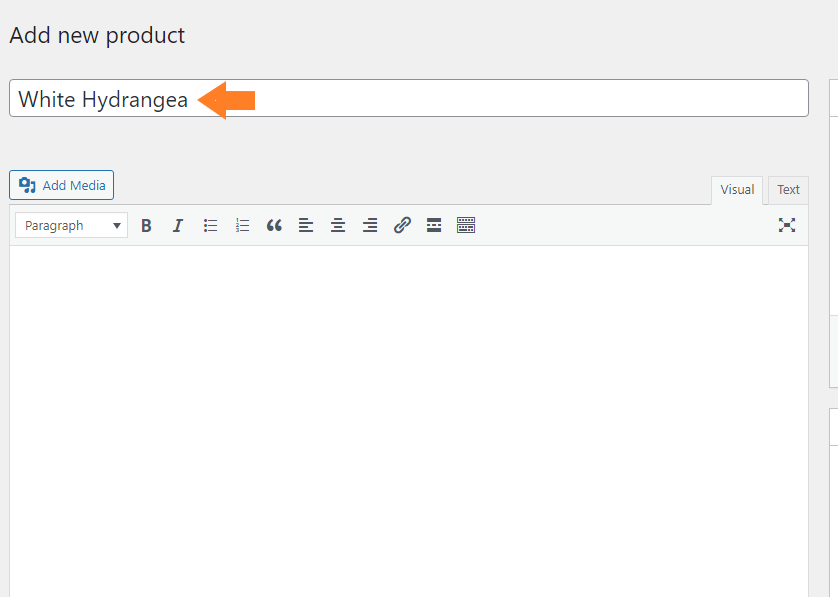
1.1. Enter Product Name
Once you click it, you’ll be redirected to the page from where you can create a new product and configure its settings.
In the ‘Product Name’ field, enter the product’s name.
1.2. Add Short Description
Now, scroll to the ‘Short Description’ section, and add a short description of the product.

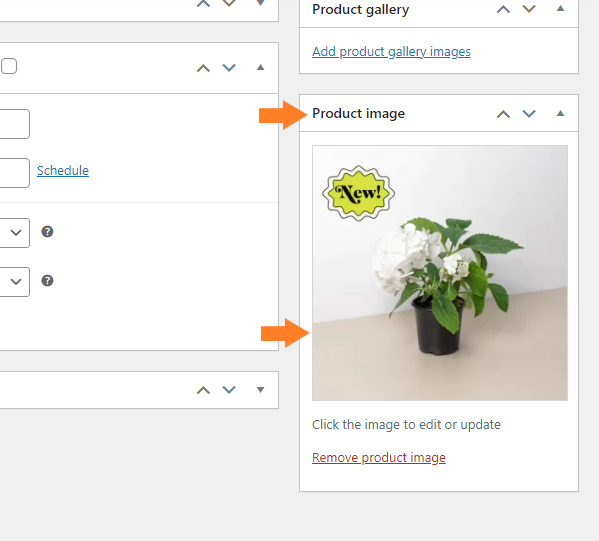
1.3. Add Product Cover Image
Now in the ‘Product Image’ section, add the cover image of the grouped product. I have added a demo image just for the sake of this tutorial, but you can add the cover image of your grouped product.
1.4. Set the Product Category
In the ‘Product Category’ section, select the product category. I have already created a category according to my products.
You can click the ‘Add New Category’ button in the ‘Product Categories’ section to create a new category if you don’t have the category.

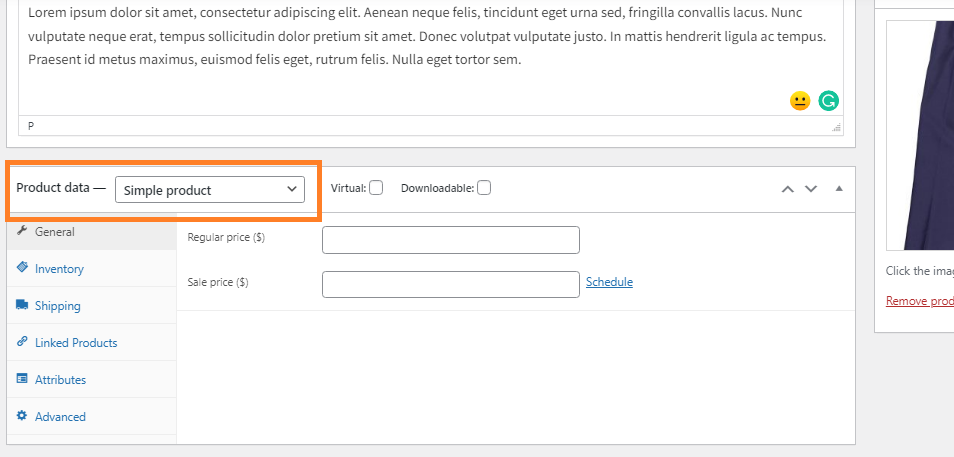
1.5. Select the Product Type
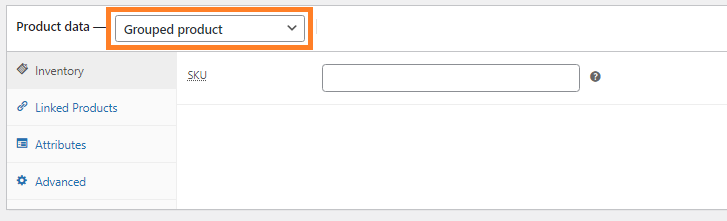
Once you have added the product name, description, and images, scroll to the ‘Product Data’ section, and you’ll get four options from the ‘Product Data’ dropdown.
- Simple Product: This option will allow you to create simple products with no variations.
- Grouped Product: Selecting this option will allow you to create grouped products.
- External/Affiliate Product: This option will allow you to sell external products you don’t own.
- Variable Product: This option will allow you to create products with variations.
Each option will give you different tabs. Select ‘Simple Product’ from the dropdown.
1.6. Set the Product Price
In the ‘Regular Price’ field, enter the product’s price. You can also add a sales price if you want. But for this tutorial, I’ll go with the regular price.

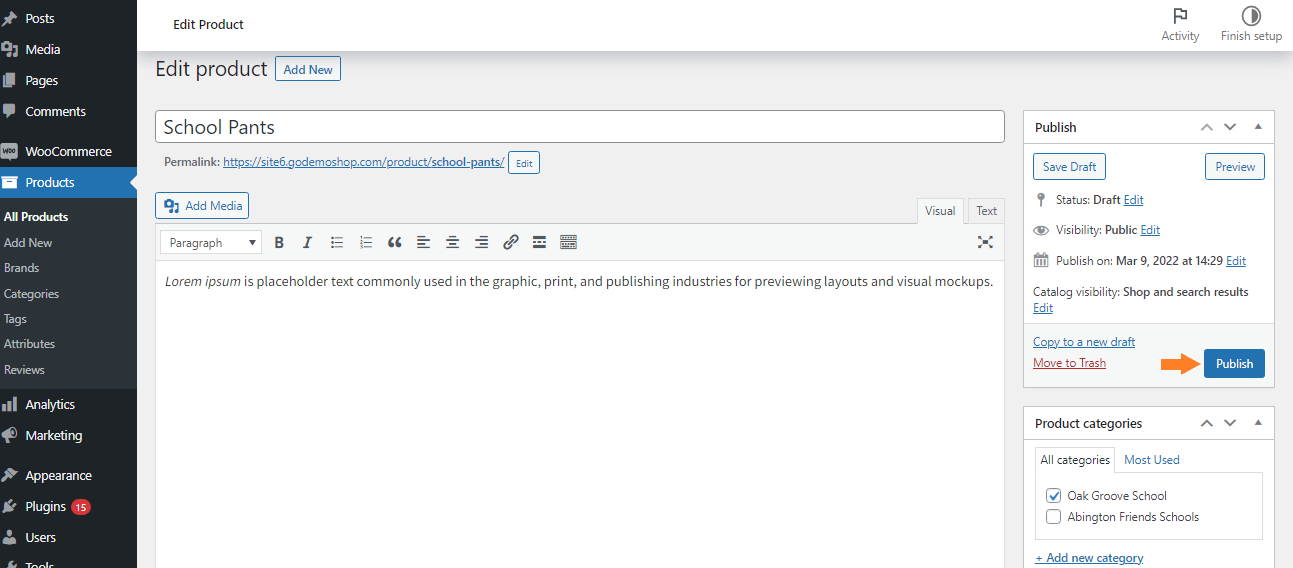
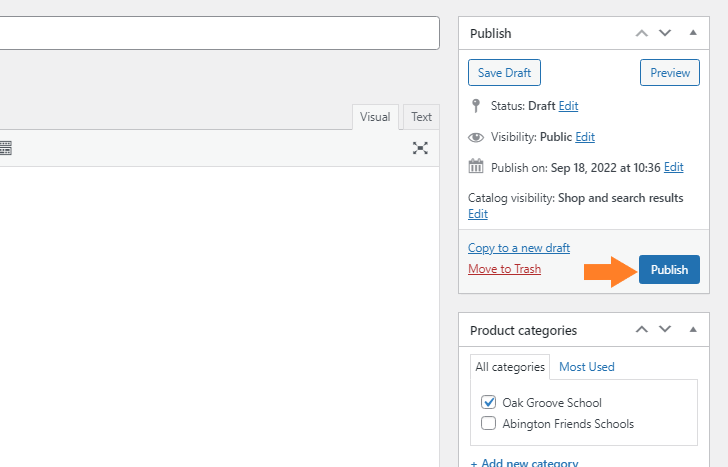
1.7. Publish the Product
Scroll to the top of the page and click the blue ‘Publish’ button to publish the product.
You can repeat the process to create more child products if you want. As I have taken the example of the plant shop, so I have added a few more plant products to my store. These will be child products.

2. Create a Grouped Product
Once you have created the child products, it’s time to create a parent product/grouped product.
To create a product, please follow the steps mentioned in the first step of this tutorial. Once you have made the basic adjustments to the product, scroll to the ‘Product Data’ section from the product edit page.
As we create a grouped product, select the ‘Grouped Product’ from the dropdown.
2.1. Click the Linked Products Tab
Click the ‘Linked Products’ tab from the left side of the product data section.
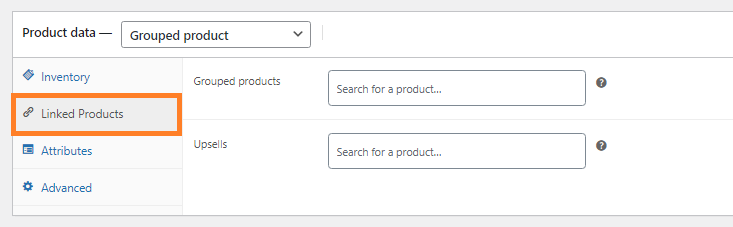
2.2. Add Products to the Grouped Product
Now is the time to link the child products we created in the previous step. All the selected products will be linked together. You can also sell each child product as individual products.
Select the child products you want to group in the ‘ Grouped Products‘ field.

3. Add Product Gallery
Now we need to add the product gallery to the ‘Product Gallery’ section. The goal of adding the gallery is to allow customers to see each child product closely.
Click the ‘Add New Product Gallery Image’ button in the ‘Product Gallery’ section to add the product gallery images.
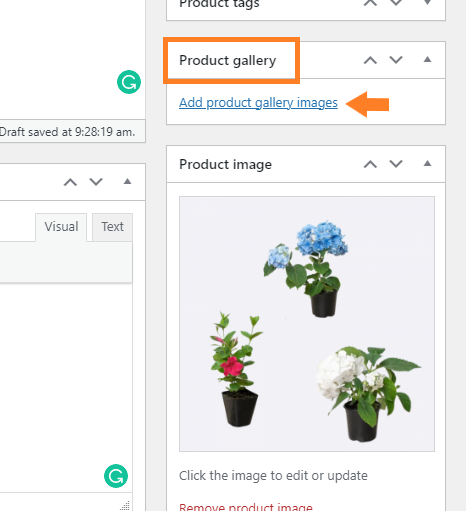
Once you click it, you’ll be redirected to a popup where you can select and upload the images to your site.
I have already uploaded the product gallery images.

Bonus Tip: You can use the WooCommerce Additional Variation Images plugin to improve the product gallery and add additional variation images to each variation of a product. This plugin will also allow you to edit the product gallery.
Learn more about How to Add Additional Variation Images in WooCommerce.
4. Publish the Product
Once you have made all the necessary settings, scroll to the top of the page and click the ‘Publish’ button to publish the grouped product.
5. Final Results
Congrats on successfully creating a WooCommerce grouped product.
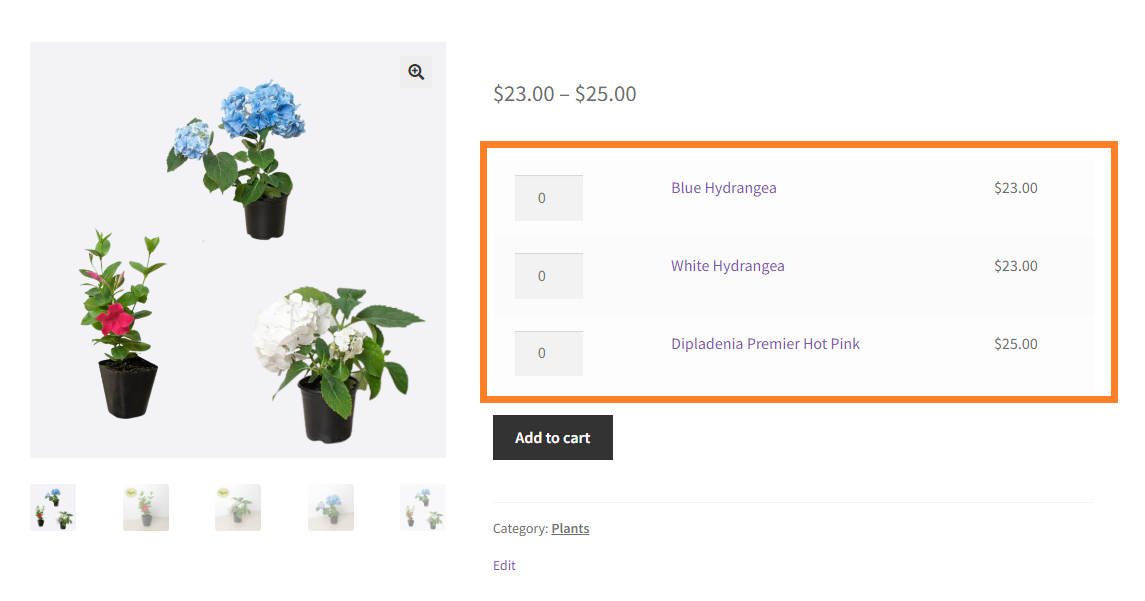
Now we need to test it. To test the grouped product, visit the product page on your WooCommerce store, and you’ll see the product gallery and the other products in the group.
Now you can select the quantity of each product and click the ‘Add to Cart’ button to add all the products to the cart at once.
Bonus tip: If you are interested in grouping your products, you might be interested in creating a mix-and-match bundle for your customers. This way, customers choose the products in their bundle, and you get to increase your average order value.
Final Words
Now you know how to create grouped products in WooCommerce. You may have noticed that WooCommerce makes creating grouped products simple and provides you with everything you need to start.
But you can use third-party plugins like WooCommerce Additional Variation Images and WooCommerce Mix and Match Products to improve the grouped products and get more advanced features.


