Do you want to sell ebooks on WooCommerce?
Great, because WooCommerce lets you sell anything, including digital goods such as ebooks in your store.
Thanks to likes Amazon Kindle and the lower overall cost, ebooks have skyrocketed in their adoption with over 191 million ebooks sold in the US in 2020. Needless to say, it’s a growing market with established marketplaces like Sellfy, Amazon Kindle Direct Publishing, Rakuten Kobo, and many others worth selling through.
However today, I’ll show you how to sell ebooks on WooCommerce to ensure you can sell without the extra marketplace fees and actually own your own customer data.
Here’s a quick sneak peek of the final results:
So, without further ado, let’s jump into the tutorial.
On This Page
- 1 How to Sell Ebooks on WooCommerce?
- 1.1 1. Install and Activate the WooCommerce Product Table Plugin
- 1.2 2. Create Additional Field Relating to your eBook
- 1.3 2. Create an Ebook Product in WooCommerce
- 1.4 3. Navigate to Product Table Settings
- 1.5 4. Create a New Table
- 1.6 5. Set Table as Default Shop Page Layout
- 1.7 6. Save Changes
- 1.8 7. Use Shortcode(optional)
- 1.9 8. Final Results
- 2 Conclusion
How to Sell Ebooks on WooCommerce?
Here, I’ll show you how to sell ebooks on WooCommerce with the help of WooCommerce Product Table and ACF plugin.
Follow the following steps to sell ebooks on Woocommerce
1. Install and Activate the WooCommerce Product Table Plugin
Note: You can skip this step if you have already installed and activated the WooCommerce Product Table plugin.
To install the WooCommerce Product Table plugin, you will need to install the Woosuite Core plugin and activate it with the help of a license key. We have created a Quick Start Guide for you to figure out how to install and activate the WooCommerce Product Table plugin.
2. Create Additional Field Relating to your eBook
This is where you’d install and activate advanced custom fields, assuming you’ve done so, let’s get straight into the steps.
Navigate to Custom Field > Add New
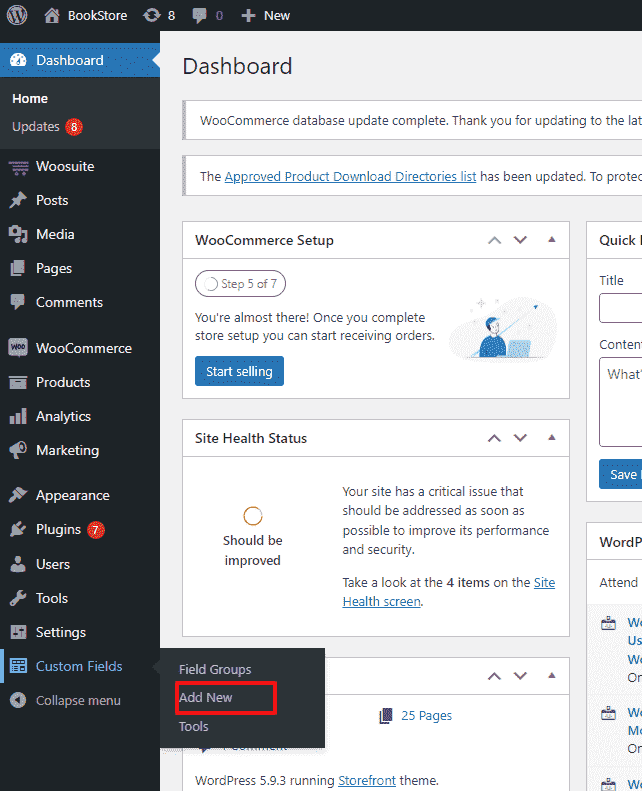
2. Create your field, in my case, I create three fields language, released, and pages to allow us to display additional information to customers.
3. In this section we need to select ‘Post Type’ ‘is equal to’ ‘Product’. Doing this allows us to display our custom post type on the product page.
4. Click Publish to save changes.

2. Create an Ebook Product in WooCommerce
Follow the following steps to create an ebook product in WooCommerce.
1. From your WordPress Admin Dashboard
To add a new ebook product, navigate to WordPress Admin Dashboard, and click on the Products » Add New.
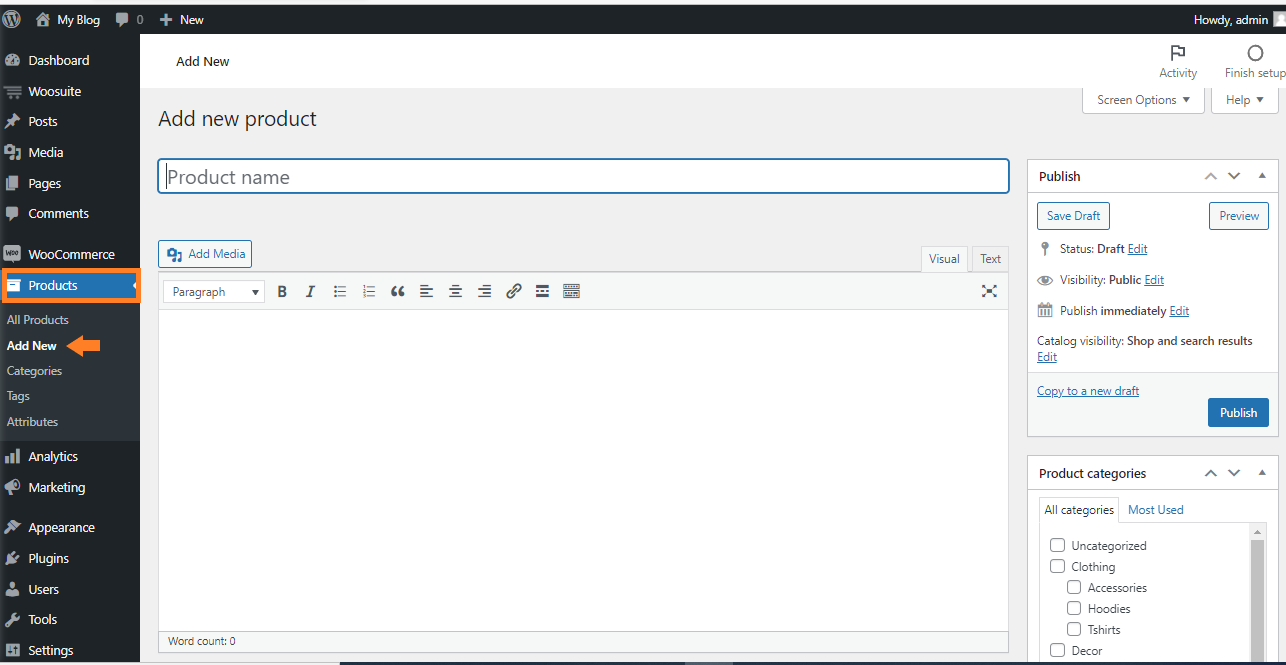
2. Enter eBook Name
In the Product Name field, enter the name of the product.

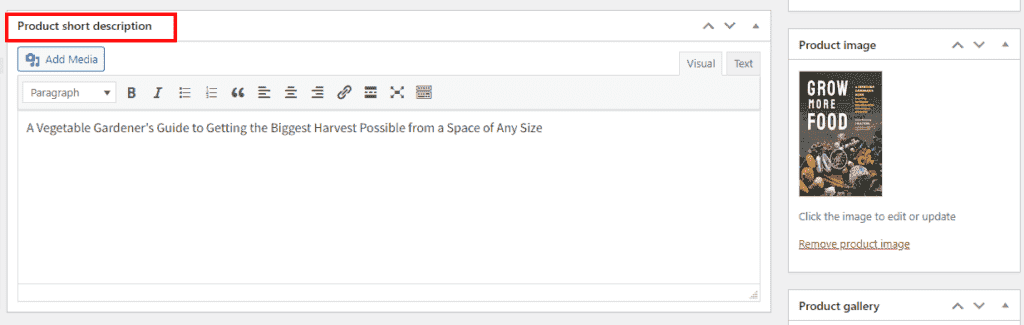
3. Add Short Description
Now, scroll to the Short Description section, and add a short description of the ebook.
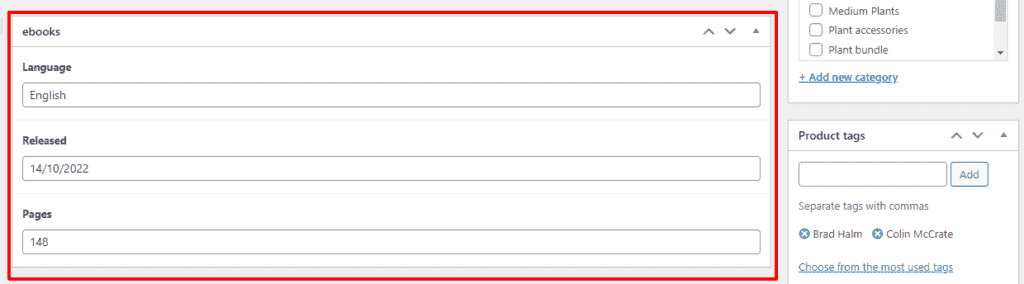
4. Fill in Additional eBook Information
If you remember earlier we created some custom fields, so this is where they’ll show up, and now we can go ahead and fill in this additional information relating to our ebook.
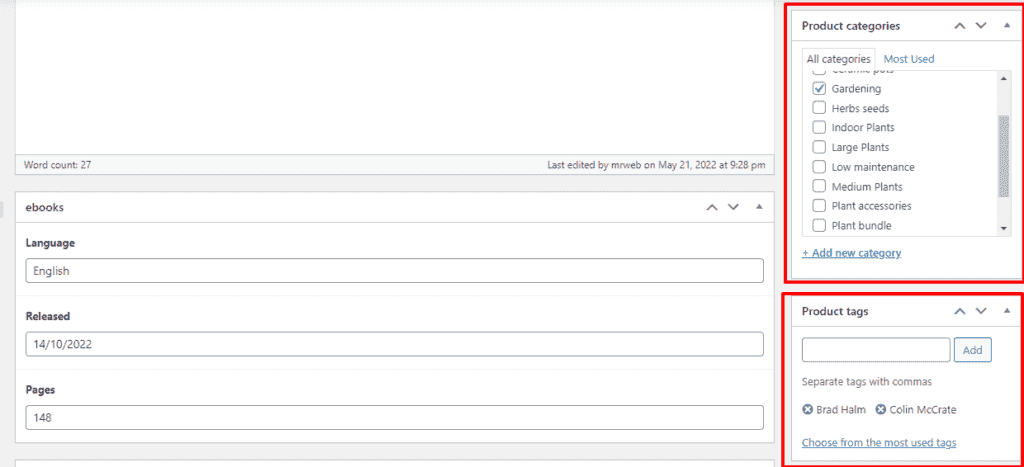
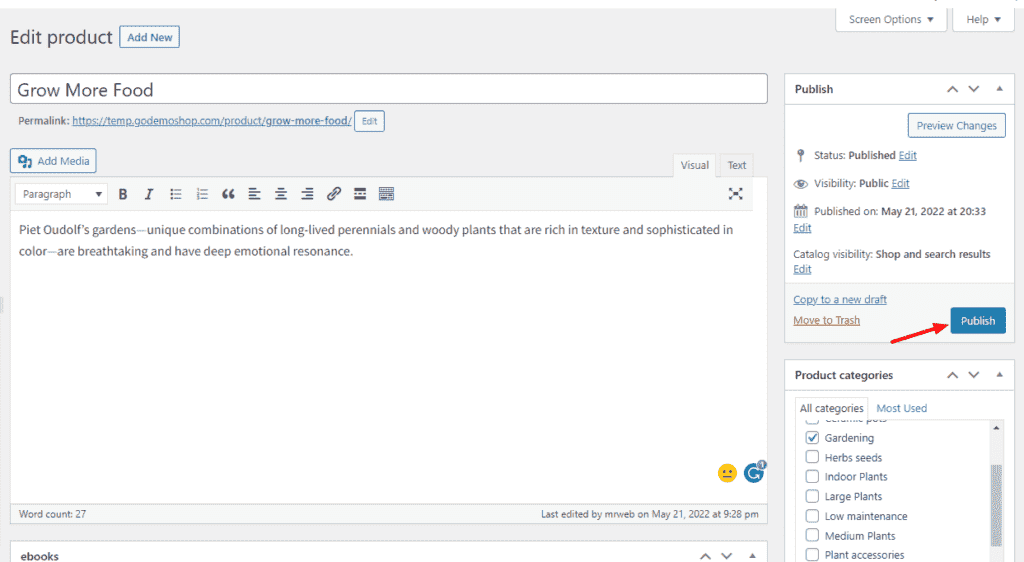
5. Categorising your eBook
I’m going to create a category so we can easily categorize eBooks and I’m going to use the tag section to enter the author of the book.
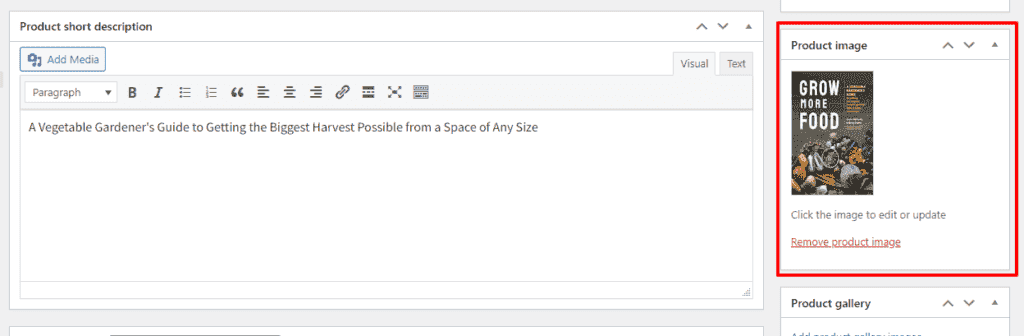
6. Add Cover Image
Now in the Product Image section, add the ebook image.
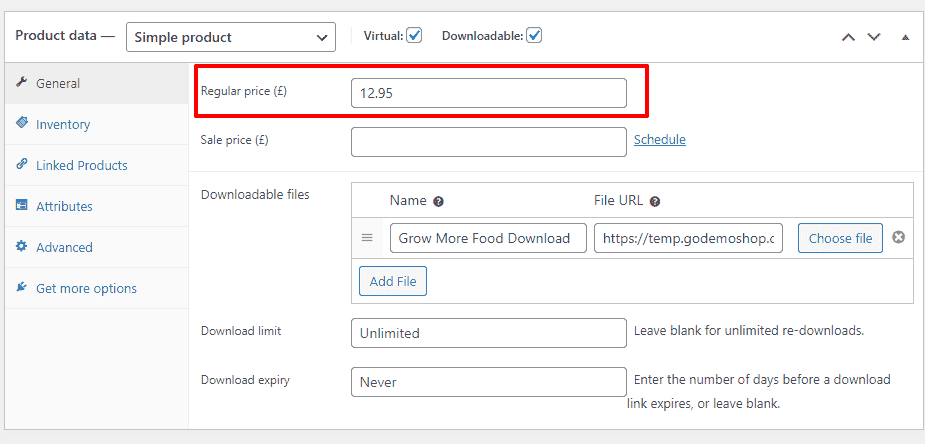
7. Create a Downloadable Files
To create a downloadable product, scroll down to the Product Data section and check the Virtual and Downloadable boxes.
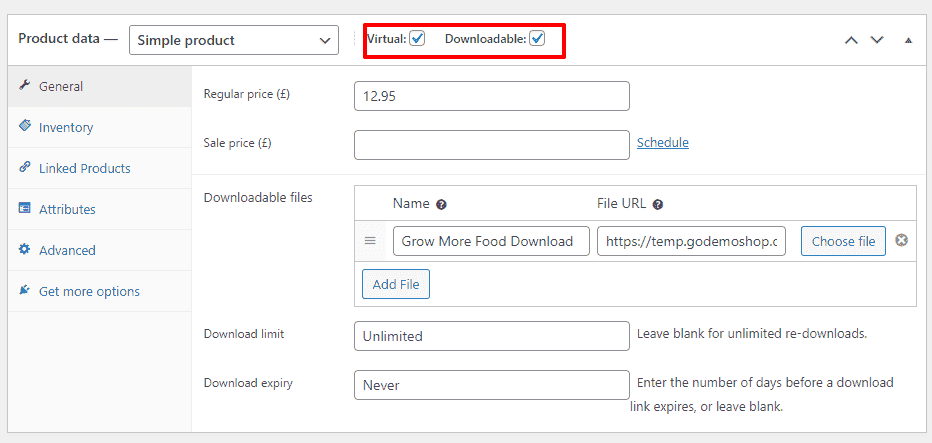
8. Enter the Price of the eBook
Now, in the Regular Price field, enter the price of the ebook.
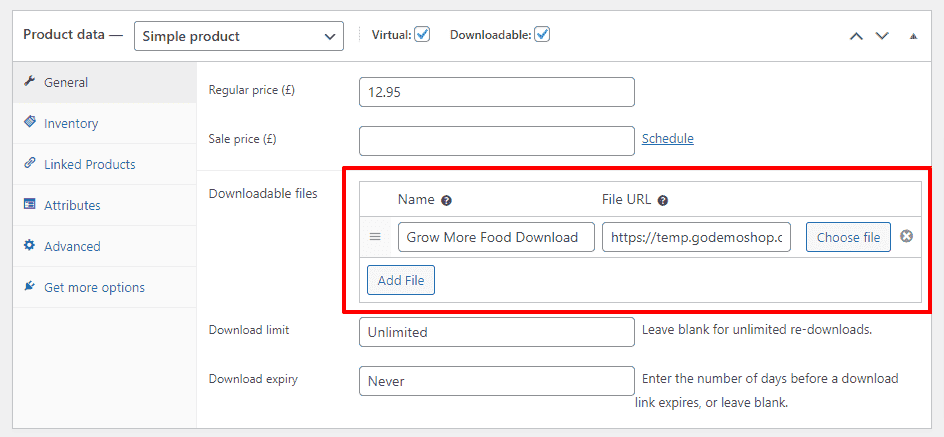
9. Add Downloadable File
Now in the downloadable files, give a name to the file and add the ebook file URL.
Note: You can upload the files on dropbox, drive or any other cloud storage and paste the link here. I have uploaded the video file on my WordPress and pasted the link here.
10. Publish eBook
Now finally, click on the Publish button to publish the product.
Once you’re done setting up your first product then, repeat this process until you’ve added all the ebooks that you’d like to sell.
Navigate to Woosuite » Product Table from your WordPress dashboard.
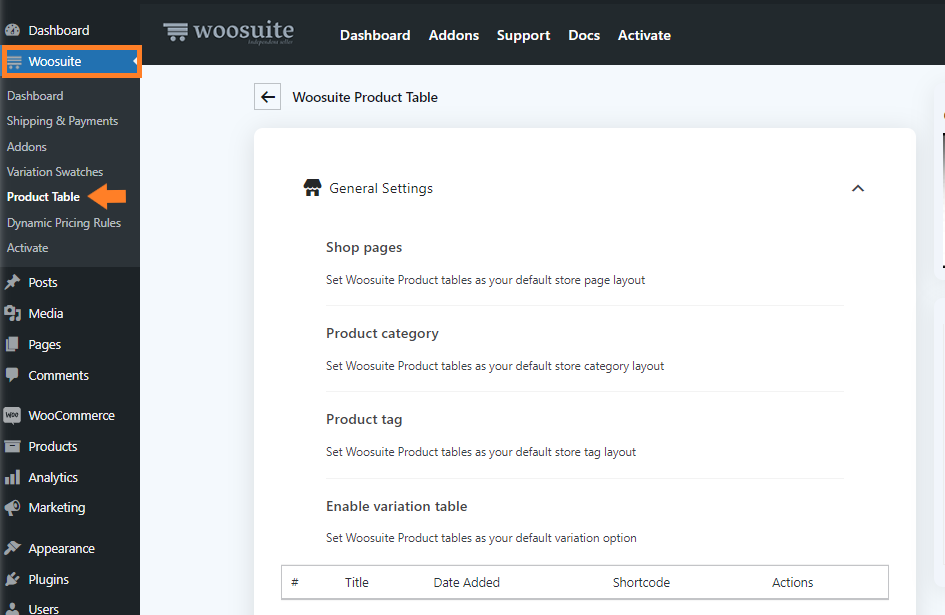
4. Create a New Table
To create a new table, click on the Add New Table button.
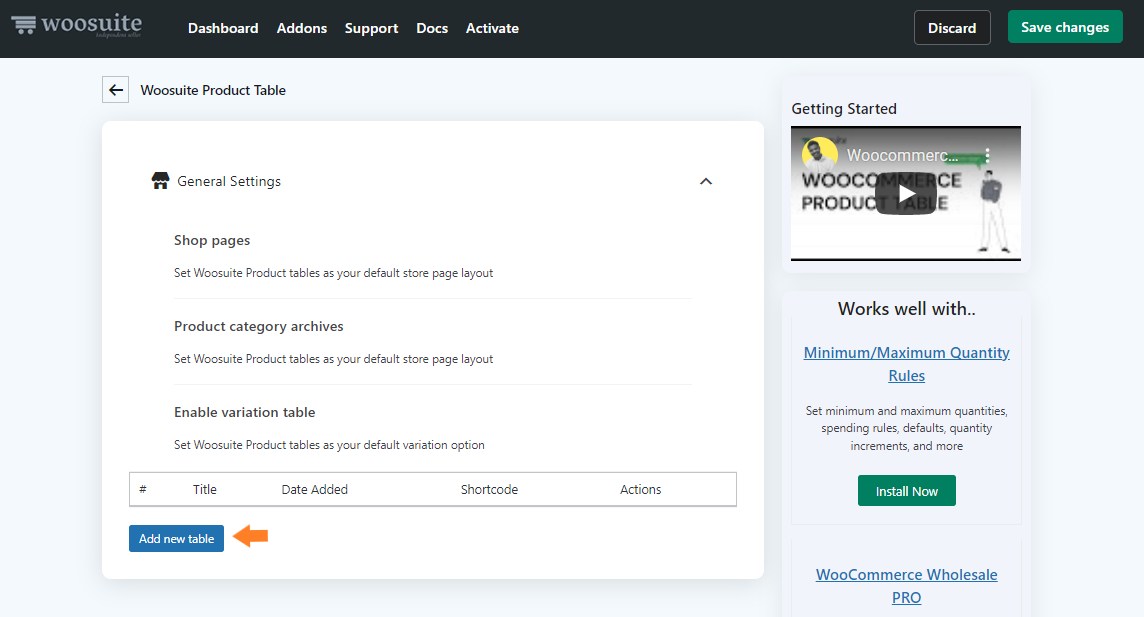
Once you click it, you’ll see a screen where you can create and control the different table settings.
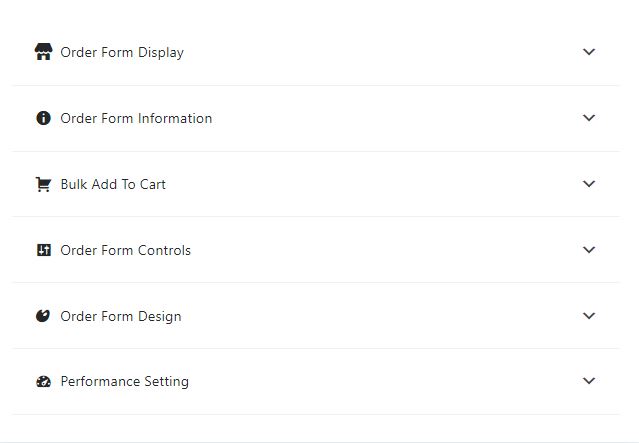
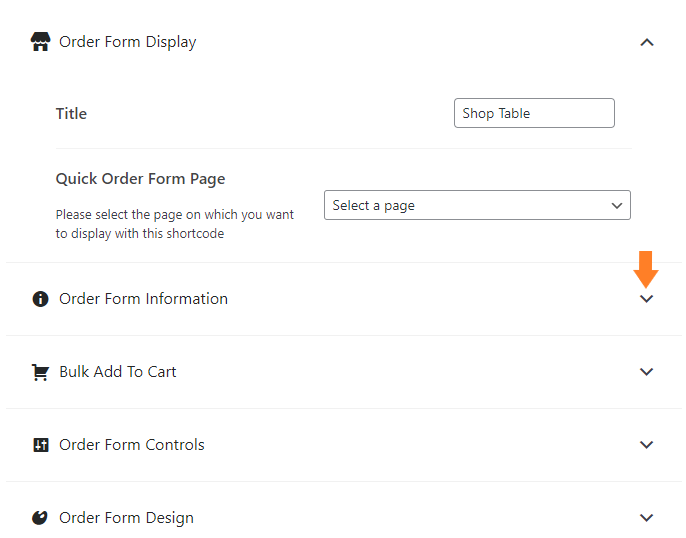
1. Order Form Display
Give an internal name to the table.

2. Order Form Information
Now expand the Order Form Information by clicking on the (▾)
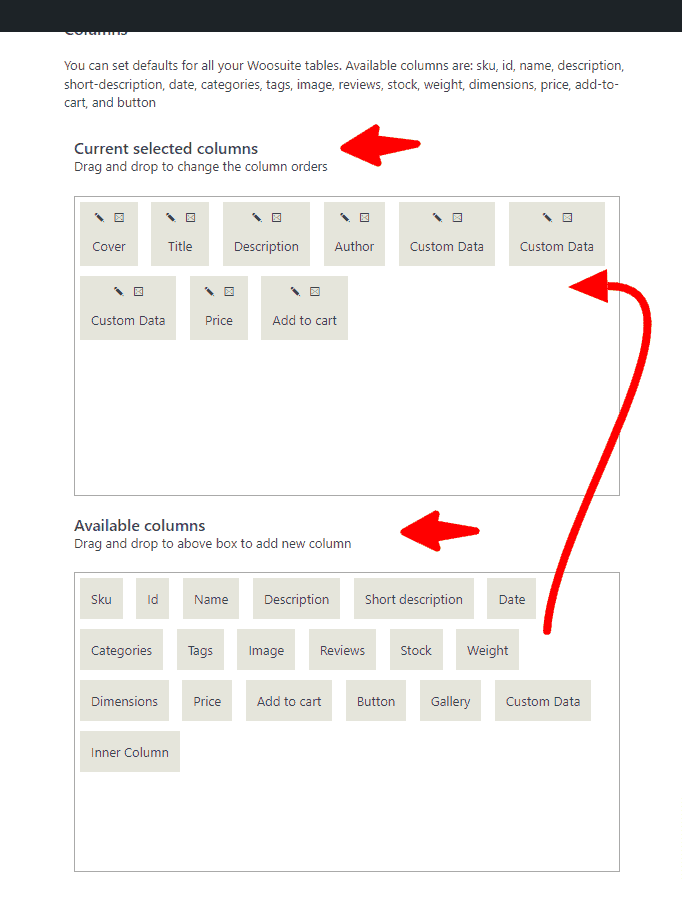
Now, specify the columns you want to add in the table. To add a column just drag the column from the Available columns section and drop it in the selected columns sections.
I have added 9 columns: Image, Name, Short Description, Tag, Our custom fields, Price, and Add to Cart
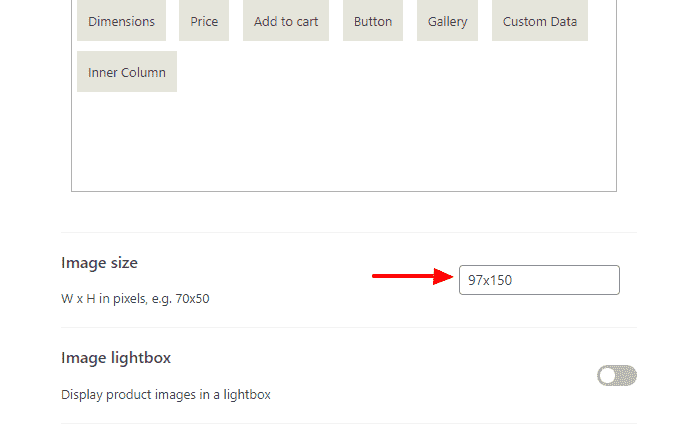
3. Change the Image Size
Now scroll down to the Image Size field, and enter the size of the image. The default size will be 70*50.
In this section, we will create our ebook filtering so customers can quickly find the particular title for which they are searching.
Navigate to Form Controls > Products filters and select custom.
Here we will add:
categories,attributes,tags,sale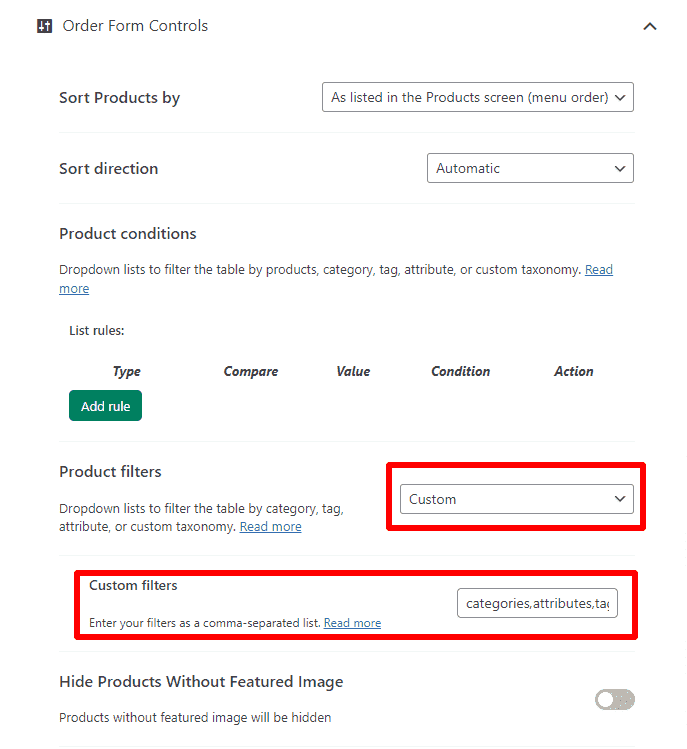
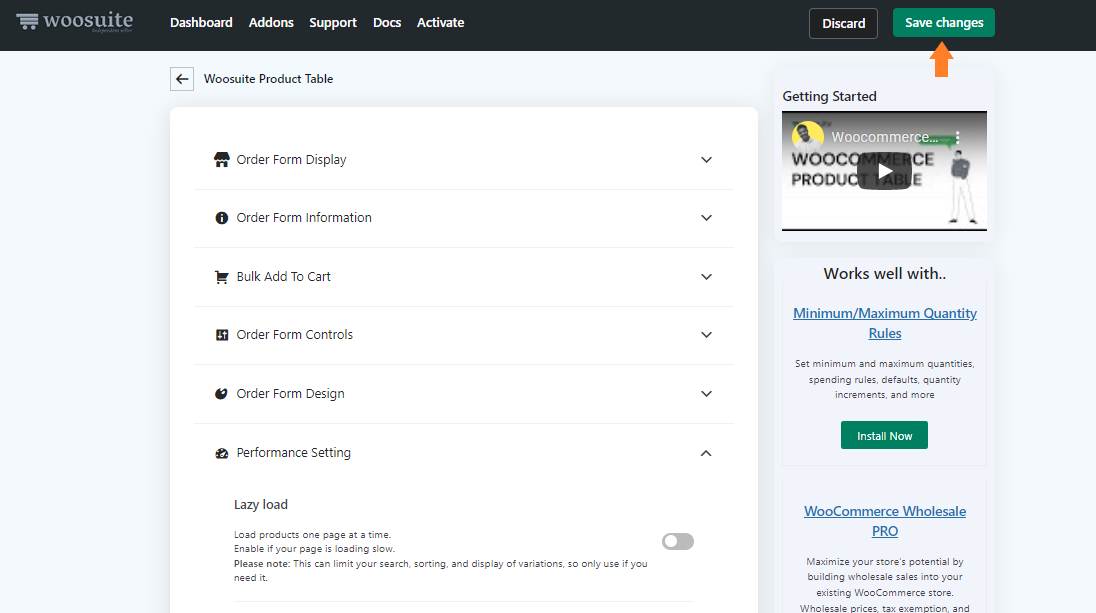
5. Save Changes
Once you have created the table, now click on the Save Changes button on the top right corner to save the changes.
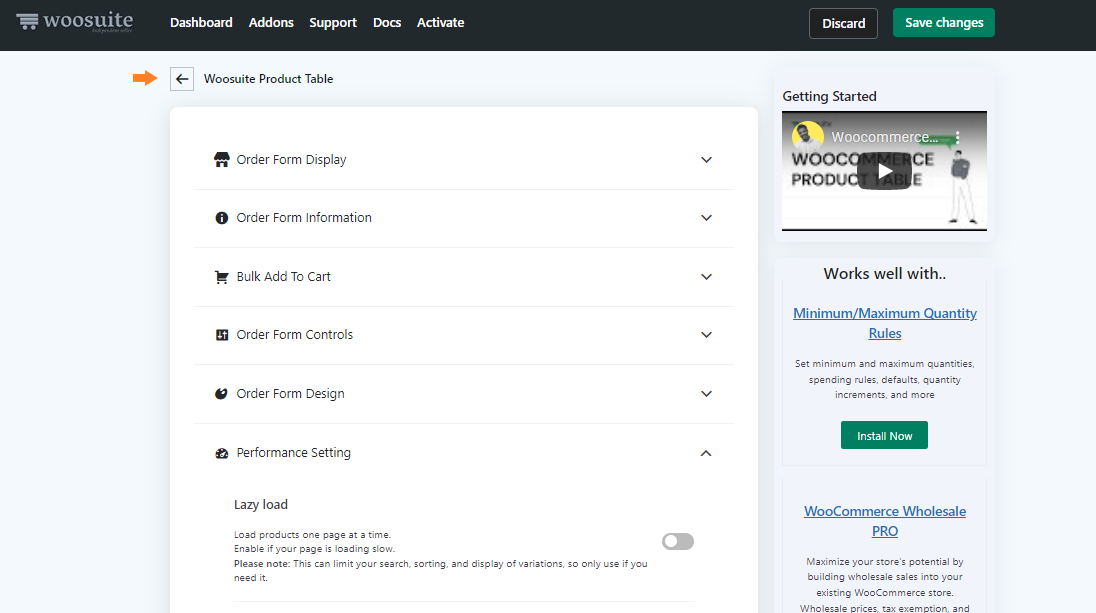
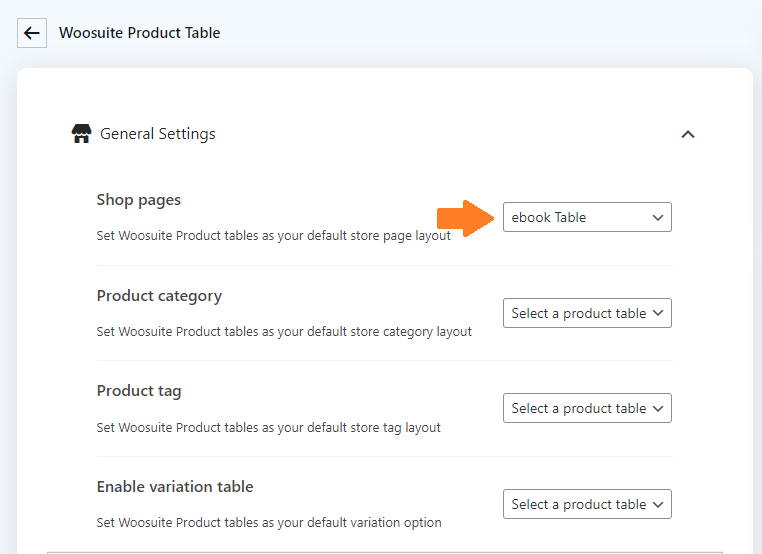
5. Set Table as Default Shop Page Layout
Now, go back to the General Settings of the plugin by clicking on the back arrow at the top.
Now select the table from the Shop Pages dropdown to display the table on the shop page.
6. Save Changes
Once you have selected the table from the dropdown, now click on the Save Changes button on the top right corner to save the changes.

7. Use Shortcode(optional)
In the plugin’s General Settings, you’ll see the Shortcode of the table you just created. You can use this shortcode to display the table on any page on your store.
To use the shortcode, click on the Copy button next to the shortcode to copy it. ‘
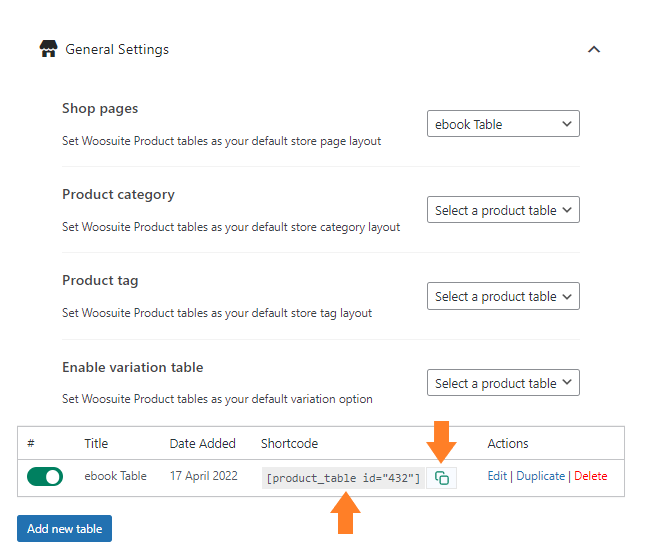
Once you have copied the code, you can paste it where you want to display the table in your store.
8. Final Results
Now let’s test if it is working or not. To test the table, view the shop page of your store and you’ll see that the ebooks are displayed in a table/grid.
Conclusion
That’s it you just created an ebook table to sell ebooks in your store. You can sell any digital product like audio files or video files using this same guide.
The visitors will be able to view all the ebooks from a single page and add multiple products to the cart at once. Once they purchase it they’ll be able to download the ebooks.
Now it’s up to you to configure the settings as you want and create ebook tables. If you have any queries, you can ask them in the comments or contact our customer support. Our dedicated customer support team typically replies within 48 hours.
Download the WooCommerce Product Table plugin today and build something great at your store!


