Do you want to create product specifications in WooCommerce? If you do, then you have come to the right place. In this article, I will show you how to enable WooCommerce product specification.
As you know, WooCommerce does not offer any features to create product specifications by default. So, we will use the Product Table plugin to add product specifications features. You can customize the specific data you want to display to your customers.
So keep reading and check out how to create product specifications in WooCommerce.
On This Page
- 1 Why Might You Want to Add the WooCommerce Product Specification Table?
- 2 How to Enable WooCommerce Product Specification?
- 2.1 1. Install and Activate Woosuite Core Plugin
- 2.2 2. Install and Activate Product Table Plugin
- 2.3 3. Quick Order Form
- 2.4 4. Install and Activate WooCommerce Advanced Field Plugin
- 2.5 5. Add a New Field Group
- 2.6 6. Edit the product and add the value in the custom field
- 2.7 7. Add Custom Data to Product Table Columns
- 3 Final Result
- 4 Frequently Asked Questions
- 5 Conclusion
Why Might You Want to Add the WooCommerce Product Specification Table?
Adding the product specification table to your WooCommerce store has several benefits. One of the major benefits is that it allows the users to view all product information on the same page. Suppose you have a music store and want to display different attributes like Artist, Album, BPM, Recording location, and much more. You can create the product specification table and display that information. As a result, it will be easier to view the product information.
Now, let’s start setting up the product specification table using the Product Table plugin.
How to Enable WooCommerce Product Specification?
We will install and activate the required plugins in this section. By the end of this article, you will be able to create a product specification table on your WooCommerce store. So, follow all the below steps carefully and verify settings with the given images.
Note: You can skip the first two steps if you have already installed and activated the mentioned plugins.
1. Install and Activate Woosuite Core Plugin
First, you have to download the Woosuite core plugin file on your device. After that, you need to upload and install the plugin to your WooCommerce site.
Go to Plugins and click Add New. Then click on the Upload plugin and choose the plugin file. After uploading the plugin, click Install Now.
Plugins > Add New > Upload Plugin > Choose File > Install Now

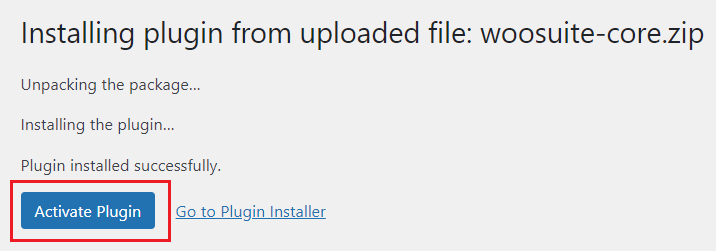
When the plugin is installed successfully, click on Activate Plugin to activate the plugin.
2. Install and Activate Product Table Plugin
After the Woosuite core plugin is activated, there will be a new option, “Woosuite” on the WordPress dashboard. On the Woosuite’s Addons page, you can manage your plugins by installing, activating, and deactivating them.
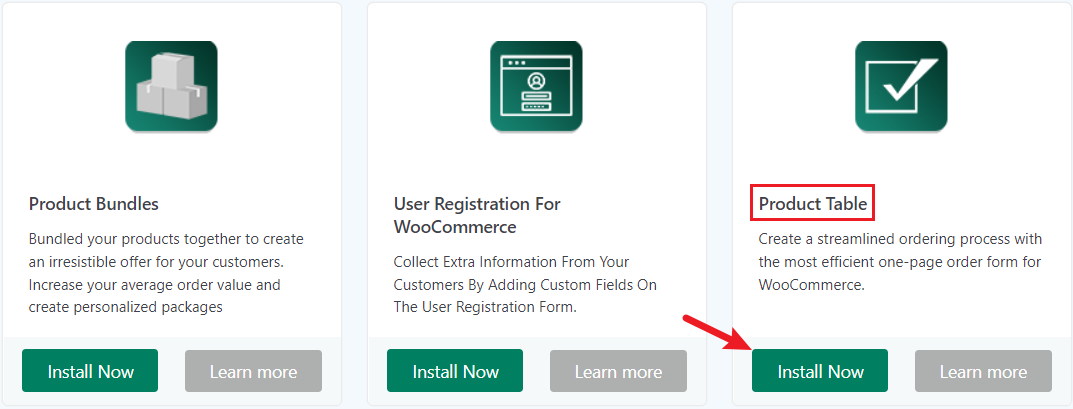
Click on Woosuite and go to the Addons page. Then find the Product Table plugin and click Install Now to install it.
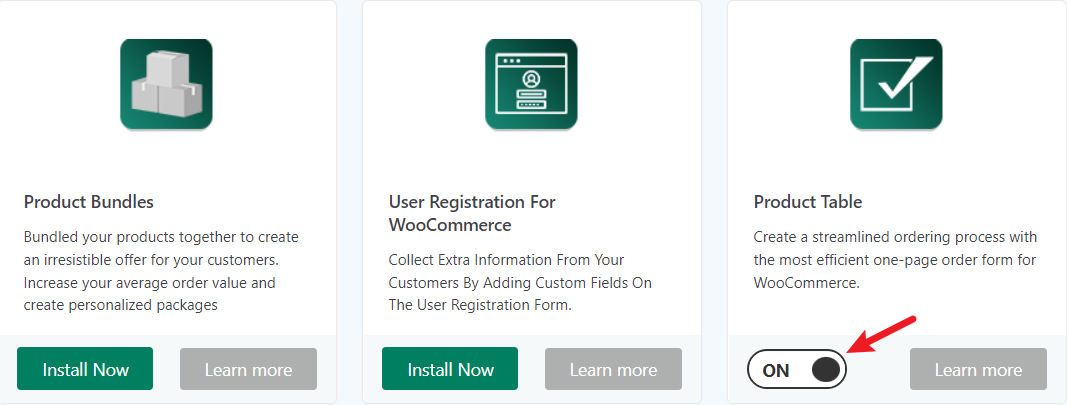
You have to activate the plugin by turning the button to ON, as shown below.
3. Quick Order Form
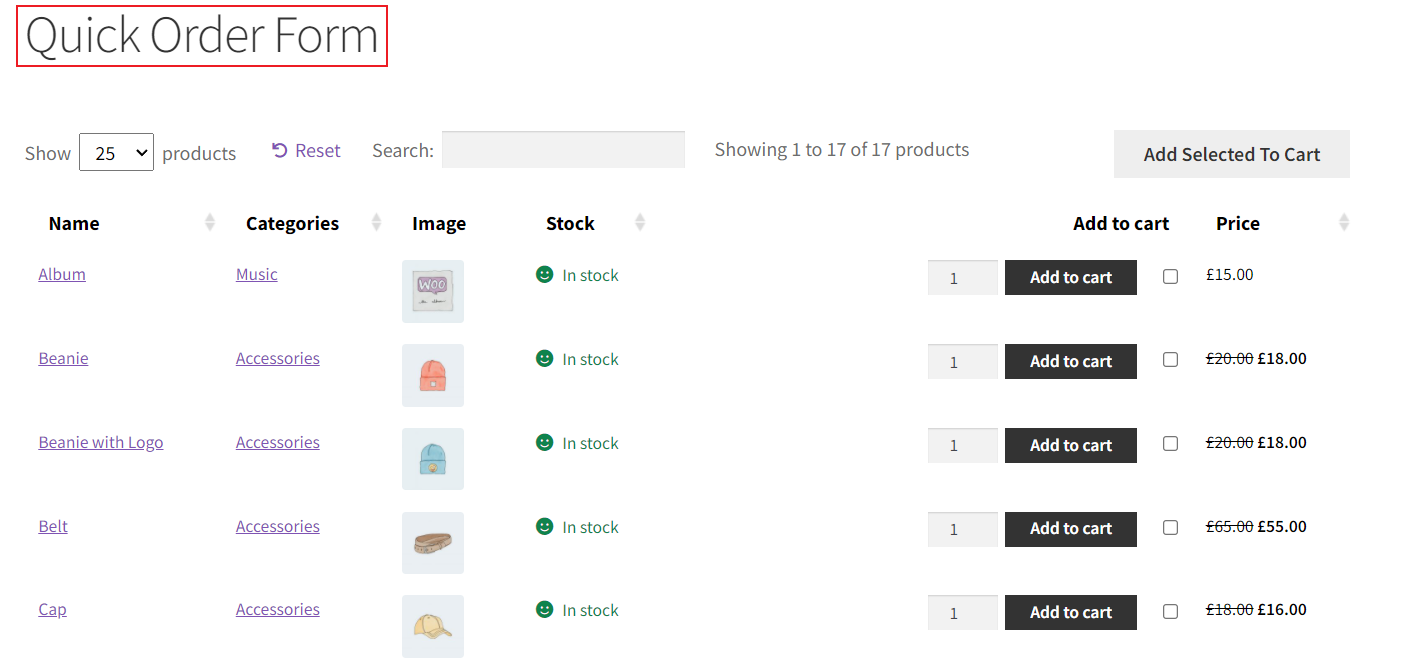
After activating the plugin, it will create the Quick Order Form page, displaying the product table. You can choose other pages to display the product table from the settings. You can also use the code [product_table id = “id_number”] on any page to display the product table on that page.
In the next section, we will create product specifications on the product table. The columns of the product table might not be sufficient to display the required information. You can add new fields to show the product specification.
You can use the Advanced Custom Field plugin to add new fields in WooCommerce. The Product Table plugin allows you to display your custom data within advanced custom fields.
4. Install and Activate WooCommerce Advanced Field Plugin
We will use the WooCommerce Advanced Field plugin to create new fields in our store.
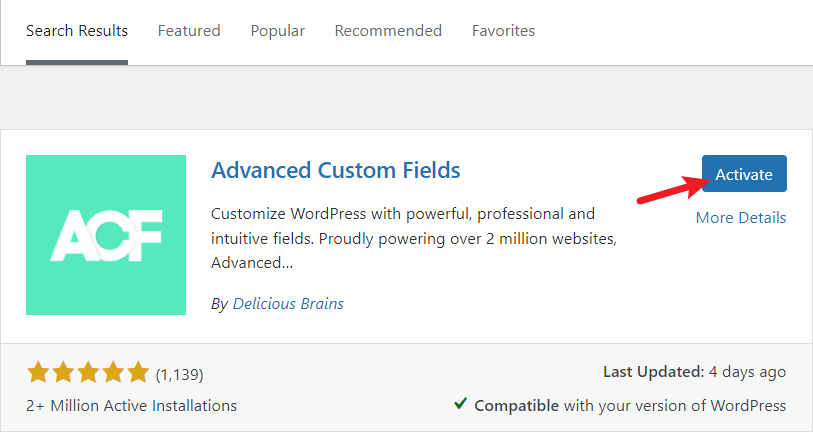
Go to Plugins>>Add New and search for Advanced Custom Field. Click Install Now to install the plugin.

After the ACF plugin is installed, activate the plugin.
5. Add a New Field Group
After activating the ACF plugin, the Custom Tables option will be available in the WooCommerce dashboard.
Go to Custom Tables and Click Add New to create a new field group. Under the field group, you can add one or more fields to your site.
The first box is for the name of the field group.
To add a field for products, set the rule to Post Type is equal to Product as shown in the image below.
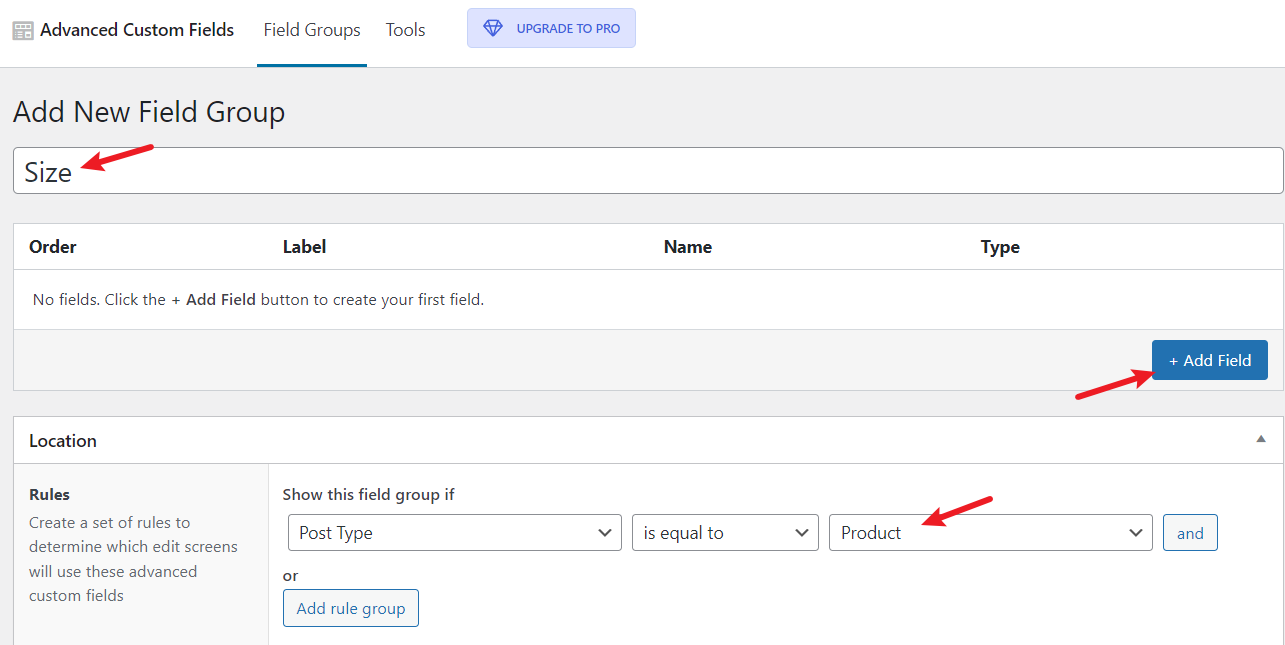
You can create a new field using the Add New button.
- Field Label: The field name appears on the Edit page and the product table.
- Field Name: This name will be later used to link the field with the custom data column.
- Field Type: Use this option to select what type of data you want in the field. For example, text, URL, email, password etc.

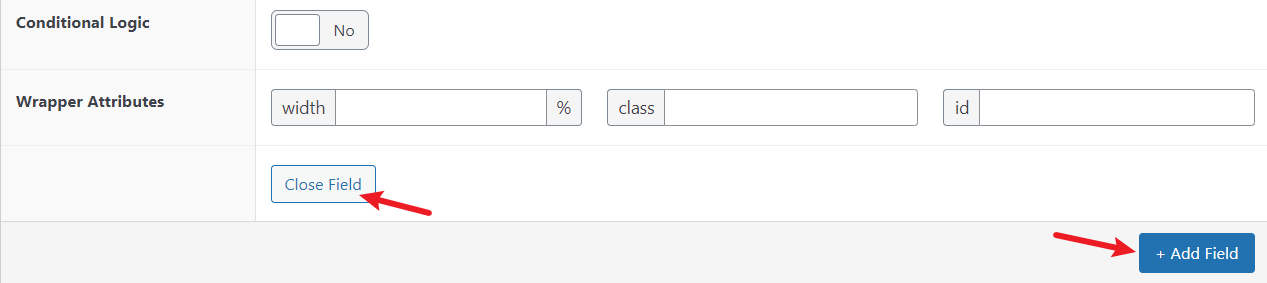
Below the field settings, you can find the Close Field and Add Field options. The Close Field minimizes the field settings, and the Add Field adds a new field in the field group.
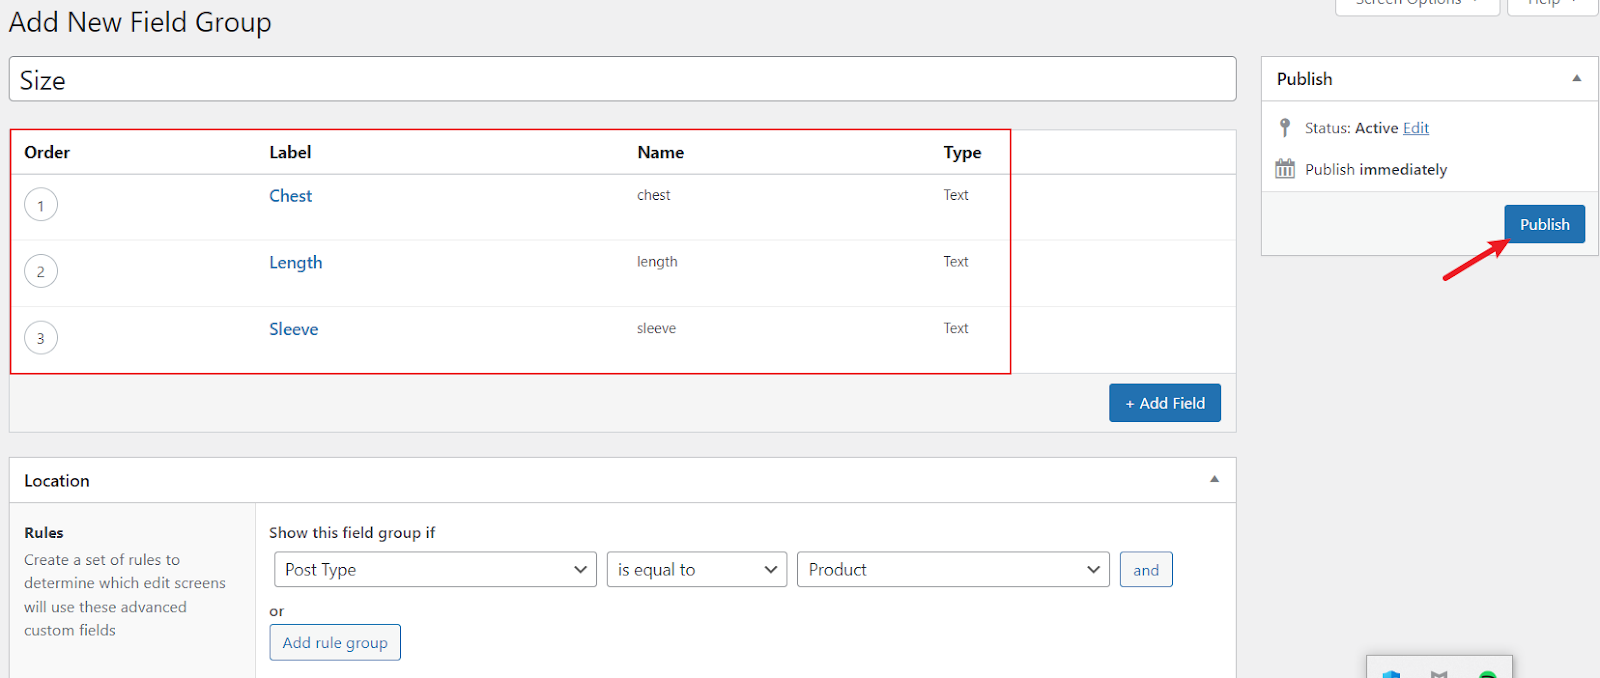
We have added two more fields using the Add Field option. After you finish adding the fields, click Publish to apply them to your site.
6. Edit the product and add the value in the custom field
We have created our custom fields, but we have not provided any values to the fields. This section will show how you can enter values in those custom fields.
The field groups are shown in the product. Go to Products and click Edit on any specific product to add the value.

Under the Edit section, you can find the field group you have created. Enter values you want to display in the custom fields.
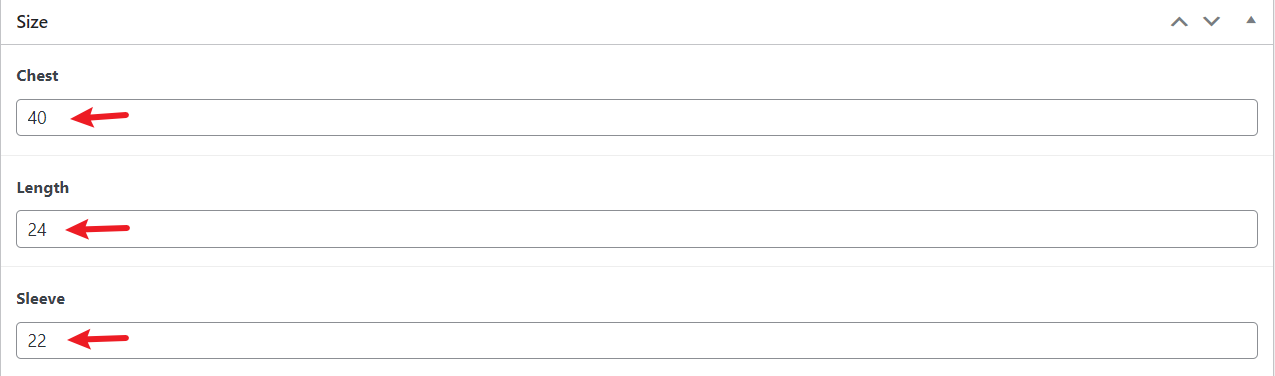
Then update the product by clicking the Update button.
Similarly, you can provide values in the custom fields for all of your products.
7. Add Custom Data to Product Table Columns
Now, it’s time to configure the final settings for displaying the product specification table.
Go to Product Table from the Woosuite dashboard. Click Edit on your active product table.
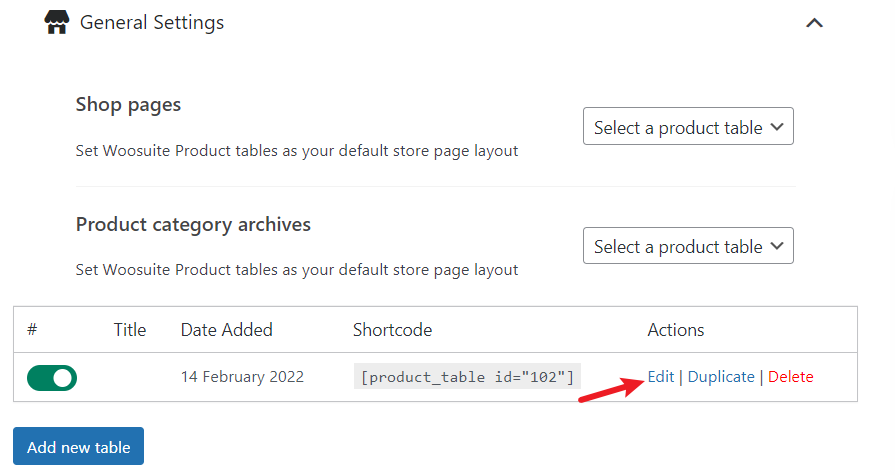
On the Woosuite Product Table settings, expand the Order Form Information. You can add new columns to display on the product table using the drag and drop feature.
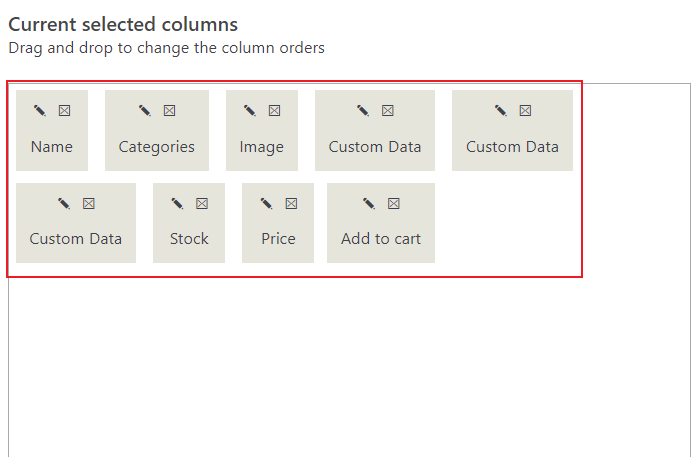
To display the columns for the custom field, drag and drop custom data from the Available Columns to the Current Selected Columns.

We want to display three custom fields, so three Custom Data are selected.
Now, click on the pencil icon of Custom Data to link it with the custom field.
Select Post Meta in the Data Source and enter the field name in the Meta Key.
The following example sets the column for the Chest field.
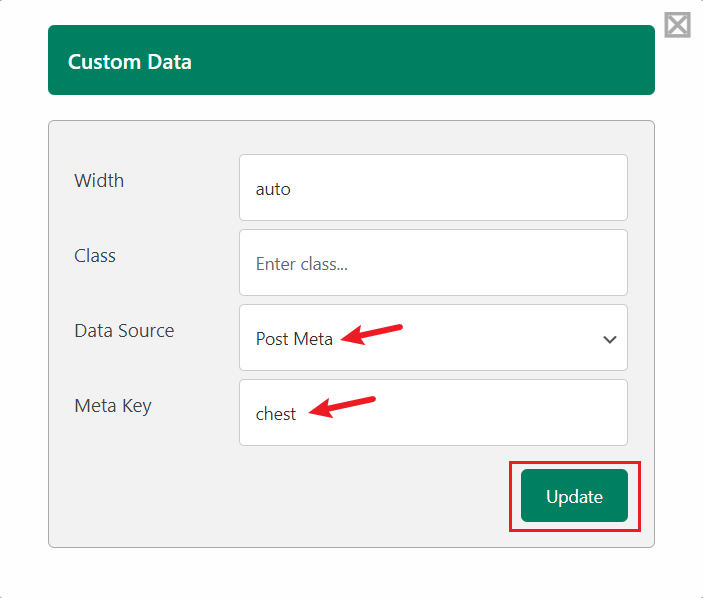
Similarly, you can do the same things for other custom fields.
You can drag and drop to change column orders in the product table.
After configuring all the above settings, click Save changes to apply to the site.
Final Result
Now, let’s visit the product table page to verify whether the applied settings are visible in the store.
As you can see, the product specification is displayed on the table.

Frequently Asked Questions
Q. How do I use WooCommerce plugin product specifications?
Ans. The Product Table plugin offers a simple way to create a product specifications table in a few clicks.
Q. How do I add a table description in WooCommerce?
Ans. The Product Table plugin allows you to create an infinite amount of customizable tables. Whether you have 100 or 10000 products, this plugin can list them all in a user-friendly way.
Conclusion
This article teaches you to create WooCommerce product specifications using the Product Table plugin. We have also shown how you can change columns of the product table. The Product Table plugin is an excellent choice to display table descriptions on your WooCommerce store.
We hope this article gave you an idea of creating product specifications for your WooCommerce store. If you have any queries, please let us know in the comment section below.
Ready to create WooCommerce product specifications?
Install the Product Table plugin today.


