Let me guess, you are a photographer or a business that wants to sell its photos online with the help of WordPress and WooCommerce. Right?
Well, I’ve got you covered here.
WooCommerce allows you to easily sell physical and digital products like Music, Videos, Ebooks, and photos. Due to the ease of use of WooCommerce, you can start selling your photos online in just a few simple steps.
So, In today’s article, I’ll walk you through every step that’ll help you sell your photos online. I’ll be using the WooCommerce and the Woocommerce Product Table plugin. This plugin will allow you to display the images in a gallery/table from which users can view the photos and buy any of them.
Here are the final results we’ll be achieving today.

On This Page
- 1 Is WordPress Good For a Photography Website?
- 2 Store Examples Sellings Photos Online
- 3 Tips to Sell Photos Online With WordPress
- 4 How to Sell Photos with WooCommerce?
- 4.1 1. Install and Activate the WooCommerce Product Table Plugin
- 4.2 2. Add a Downloadable Image in WooCommerce
- 4.3 3. Create Custom Fields Using ACF Plugin
- 4.4 4. Navigate to Product Table Settings
- 4.5 5. Create a New Table
- 4.6 6. Set Table as Default Shop Page Layout
- 4.7 7. Save Changes.
- 4.8 8. Final Results
- 5 Which is the Best Website to Sell Photos?
- 6 Conclusion
Is WordPress Good For a Photography Website?
WordPress powers more than 40% of online websites, and the number is increasing daily. This is because of its ease of use, scalability, and features.
WordPress is an excellent platform for creating a photography website. It offers a range of themes and plugins specifically designed for photographers, making it easy to create a stunning and professional-looking site to showcase your work.
Additionally, WordPress is highly customizable, SEO-friendly, and easy to use, making it a great option for photographers of all experience levels.
Now that we know WordPress is a good choice for selling photos online, let’s examine some store examples.
Store Examples Sellings Photos Online
Here are a few examples of independent seller’s stores selling photos online. These do not specifically use WordPress but can give you ideas about their strategies, pricing, and more that might be helpful to you.
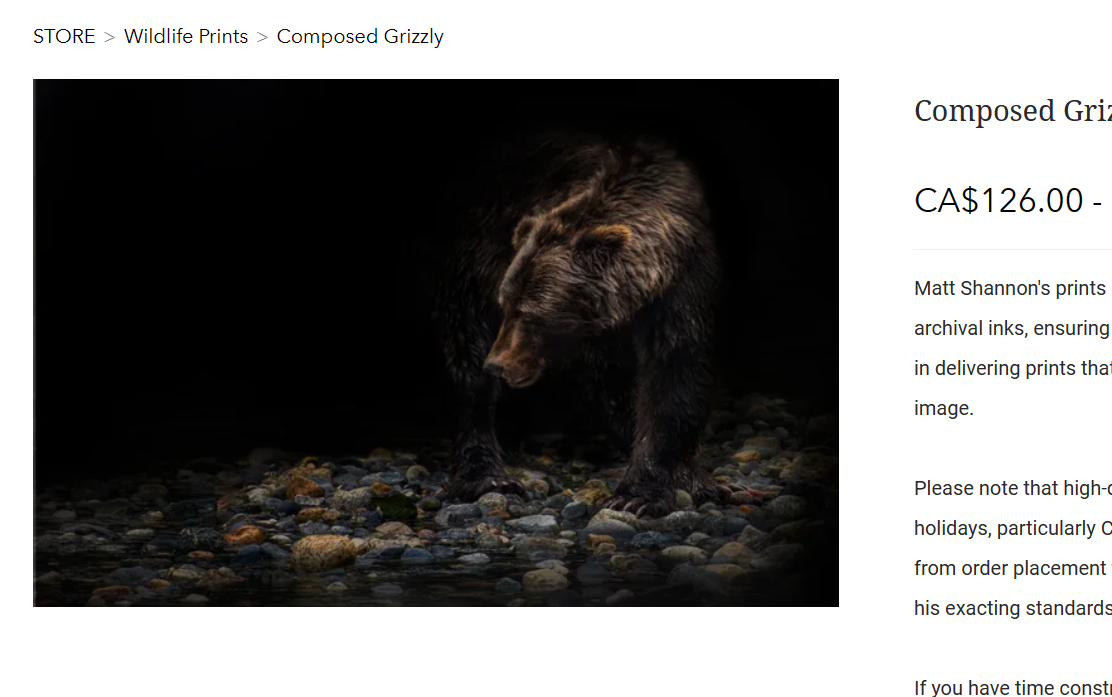
1. Matt Shannon
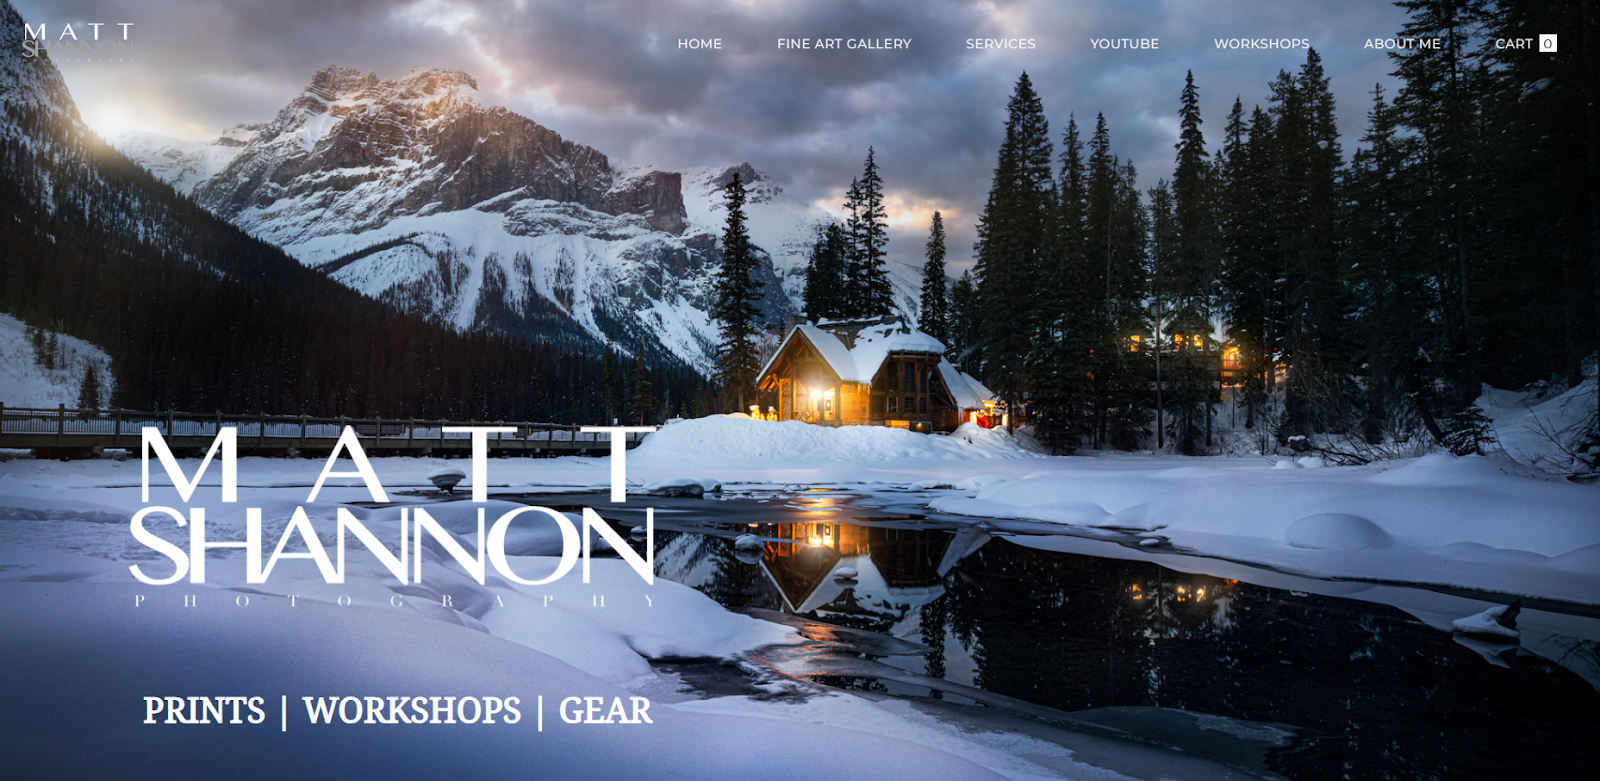
It is a website selling nature and landscape photos. It offers a user-friendly shopping experience for customers to purchase prints in different sizes and formats.
Its simple and elegant design effectively showcases the artist’s work. In addition to selling photos and prints, he also provides workshops and sells gear.
2. Scott French Prints
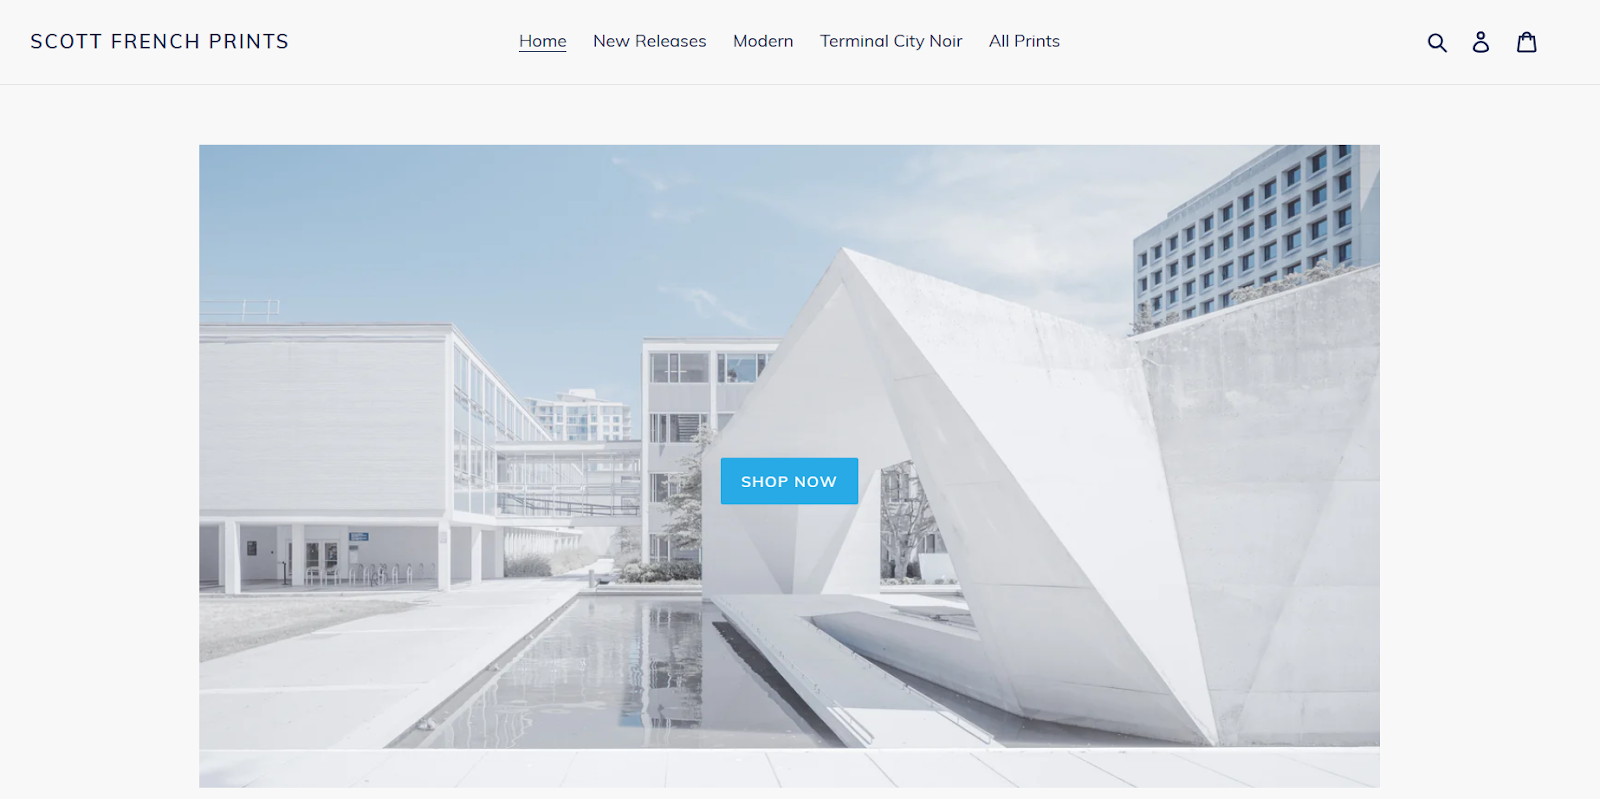
It is also an excellent example of a store that sells photos online. Its design is simple and sleek. The store features various stunning images, including landscapes and scenic views, that capture nature’s beauty.
Each photo is presented professionally and visually appealing, inviting visitors to explore the collection further.
It offers a range of print sizes and formats, allowing customers to select the perfect option to suit their preferences and needs. The site is well-organized, making it easy for customers to browse the collection and make purchases.
3. Wollertz Photography
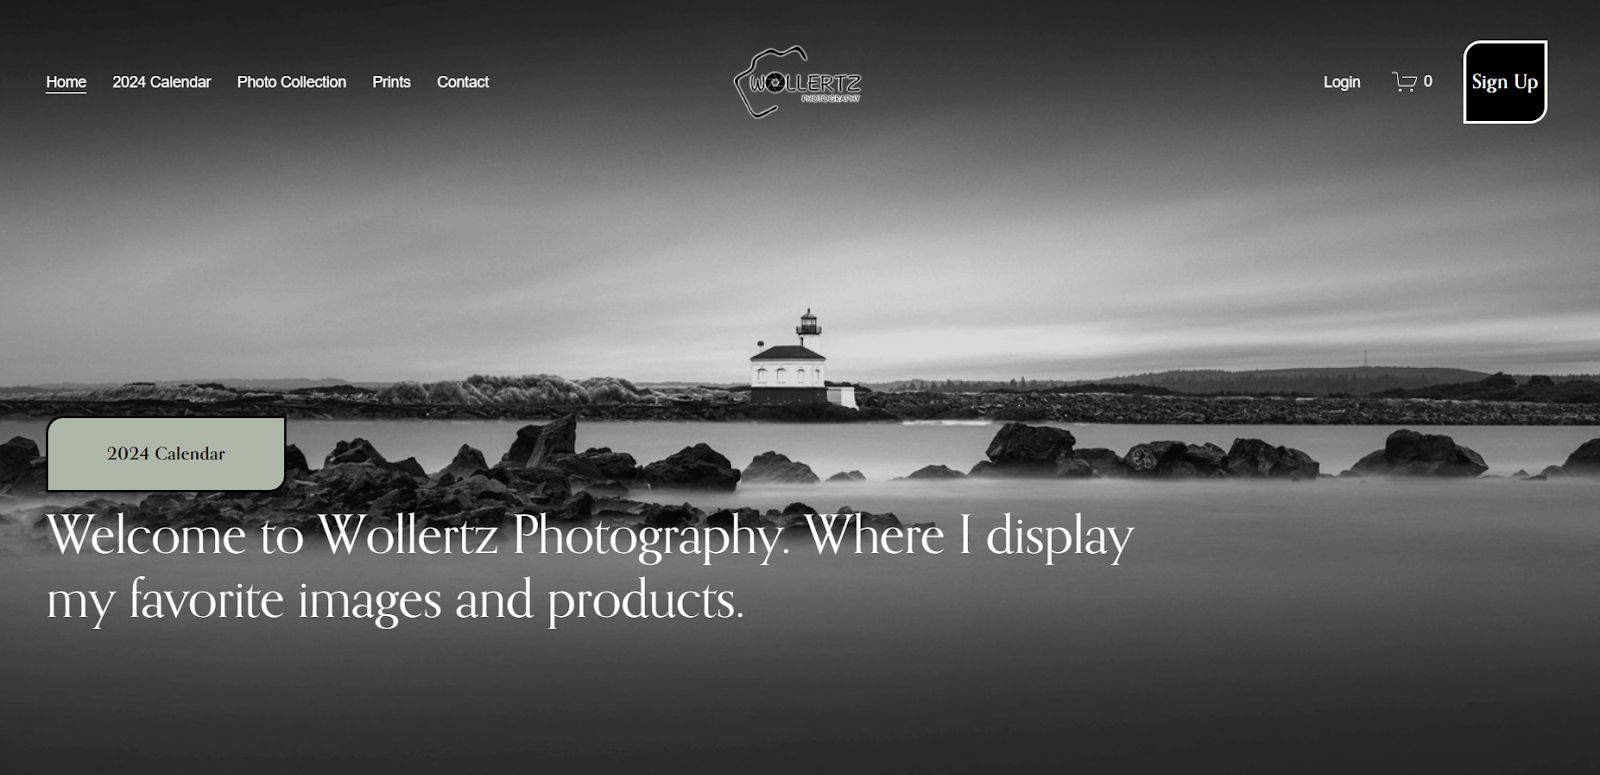
The website features a stunning collection of nature, landscape, and wildlife photography, highlighting the beauty and diversity of the natural world. The homepage welcomes visitors with a slideshow of captivating images, inviting them to explore the portfolio further.
Each photo is presented in high resolution, showcasing the photographer’s skill and attention to detail. Visitors can easily purchase the prints in different sizes and formats.
Now that we have seen some examples, let’s dive into the process of selling photos online with WordPress.
Tips to Sell Photos Online With WordPress
Once you have created your WordPress site to sell photos online, you may need to focus on a few things to earn good revenue from it.
I have compiled a few tips gathered from researching independent artists, that might be helpful to you to get success in it. The following are the tips that you can utilize to keep selling photos in the long run and earn good revenue from them.
1. Sell High-Quality Images
Selling high-quality images to attract buyers and charge good prices is crucial. Ensure the images are clear, sharp, and well-composed, without blurriness or distortion. You also need to offer different sizes and allow customers to select the size they want.
You can also allow them to add custom-size dimensions and purchase it. The photos must be of high resolution, which means they can be printed or displayed in large formats without losing quality.
To ensure your images are high quality, use a good camera or smartphone with a high-resolution sensor, pay attention to lighting and composition, and use photo editing software to enhance your images if needed.
You also need to price your photographs strategically. Research the market to see what other photographers are selling their art for. It is a good idea to start selling your art or prints at $80 and gradually increase the price over time.
You can also charge different pricing for different print sizes. WordPress easily allows you to do so.
2. Keep Your Gallery Organized
Organizing your gallery to make it easy for customers to browse and find the photos is also important. WordPress allows you to organize your photos using categories and tags.
If you sell different photos like landscapes, nature, people, etc., create a category for each type and add the related photos. This way, customers can easily find photos that interest them.
You can also utilize the power of tags to make it easy for them to search the photos. Adding a descriptive but short title to improve its visibility is also important.
Consider creating separate galleries for different types of photos or projects to make navigation easier for your visitors. WordPress allows you to categorize your images and easily create different galleries.
3. Offer Limited Edition Photos
When you start selling photos, you can sell limited- or open-edition photos. It entirely depends on your requirements, but as a beginner, you need to create a sense of urgency and add value to your art, making it more exclusive and encouraging customers to purchase it.
On the other hand, open editions allow your customers to print indefinitely. As mentioned above, it depends on your goals, but you should sell limited editions to align with a more premium quality.
It will affect your sales and create a brand awareness that will help you in the long run.
4. Flexible Licensing Options
You should also offer flexible licensing options. It will allow you to cater to a wider range of customers with different needs and budgets and maximize the potential earnings from your photos.
For example, you can offer licenses for personal use, commercial use, or exclusive rights. You can also offer different pricing tiers based on the image’s size and resolution or the intended use.
You should also clearly define each license’s terms to avoid confusion or disputes with buyers. You can also offer royalty-free licenses, allowing customers to use the photos for unlimited projects without paying royalties.
5. Collab With a Print-On-Demand Company
To sell photos and prints online on your WordPress website, you can either print the photos yourself (DIY) or collaborate with a print-on-demand company.
You can also print your own, but be ready for packaging, shipping, and quality control. It can also be more expensive, especially if you sell larger print sizes. Many independent sellers, like Scott French Prints, have collaborated with a print-on-demand company.
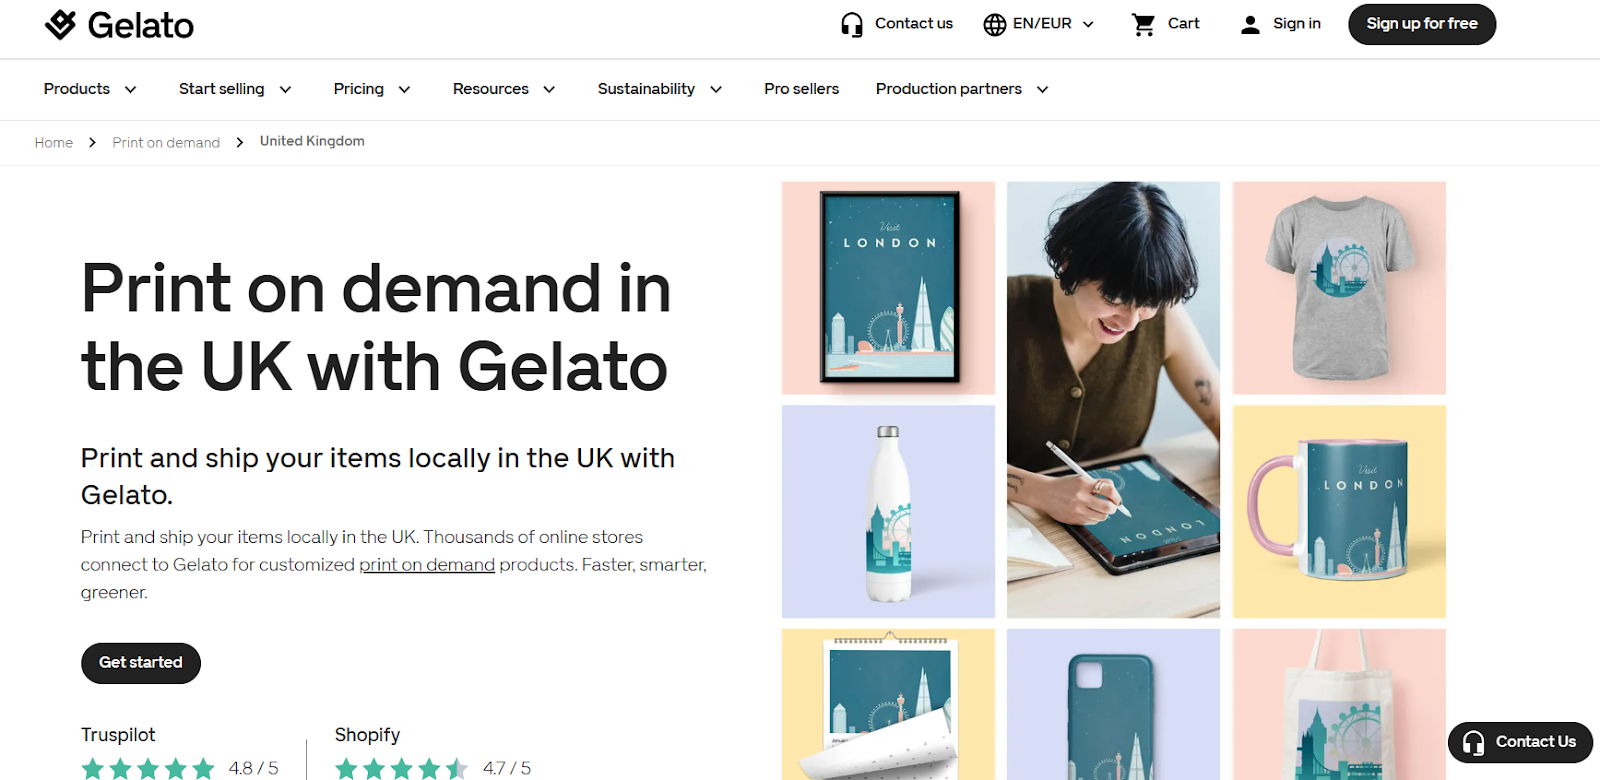
I also recommend collaborating with a company like Gelato that handles printing, shipping, packaging, and quality control. This will give you more time to improve your skills and focus on different tactics for attracting traffic to your site and converting it into sales.
6. SEO Optimization
Another good tip is to SEO-optimize your WordPress site to drive organic traffic and increase your visibility in search engine results.
Use relevant keywords and tags in your image titles, descriptions, and metadata to optimize your website for search engines. Use descriptive filenames for your images and include alt text to help search engines understand the content of your images.
You can use a plugin like Yoast SEO to improve the SEO as it highlights the parts that need to be improved. It also gives you some keyword suggestions.

You can also optimize your website’s performance and loading speed, as these are important factors for SEO. WordPress provides several different speed optimization plugins like W3 Total Cache, which will help you increase your loading times.
7. Social Media Promotion
Social media is a powerful tool for promoting your photography and reaching a wider audience. You should use platforms like Instagram, Facebook, Twitter, and Pinterest to showcase your work, engage with your audience, and drive traffic to your website.
Share your photos regularly, use hashtags to increase visibility, and interact with your followers to build a loyal fan base. You can add your social media followers to a mailing list and send them exciting offers to encourage them to purchase your art.
You can also run promotions or special offers on social media to attract more buyers and increase sales.
These are a few tactics or tips that Pro photo sellers give to beginners. Even if your site isn’t using WordPress, you can use the above tips to sell your photos.
So let’s straight jump into the tutorial and explore how to sell photos with WordPress and WooCommerce.
How to Sell Photos with WooCommerce?
Here, I’ll show you how to create an image gallery/table with the help of the WooCommerce Product Table plugin and sell photos with WooCommerce.
Follow the following steps to create an image gallery and sell photos with Woocommerce.
1. Install and Activate the WooCommerce Product Table Plugin
Note: You can skip this step if you have already installed and activated the WooCommerce Product Table plugin.
To install the WooCommerce Product Table plugin, you will need to install the Woosuite Core plugin and activate it with the help of a license key. We have created a Quick Start Guide for you to figure out how to install and activate the WooCommerce Product Table plugin.
2. Add a Downloadable Image in WooCommerce
Follow the following steps to create a downloadable image product in WooCommerce.
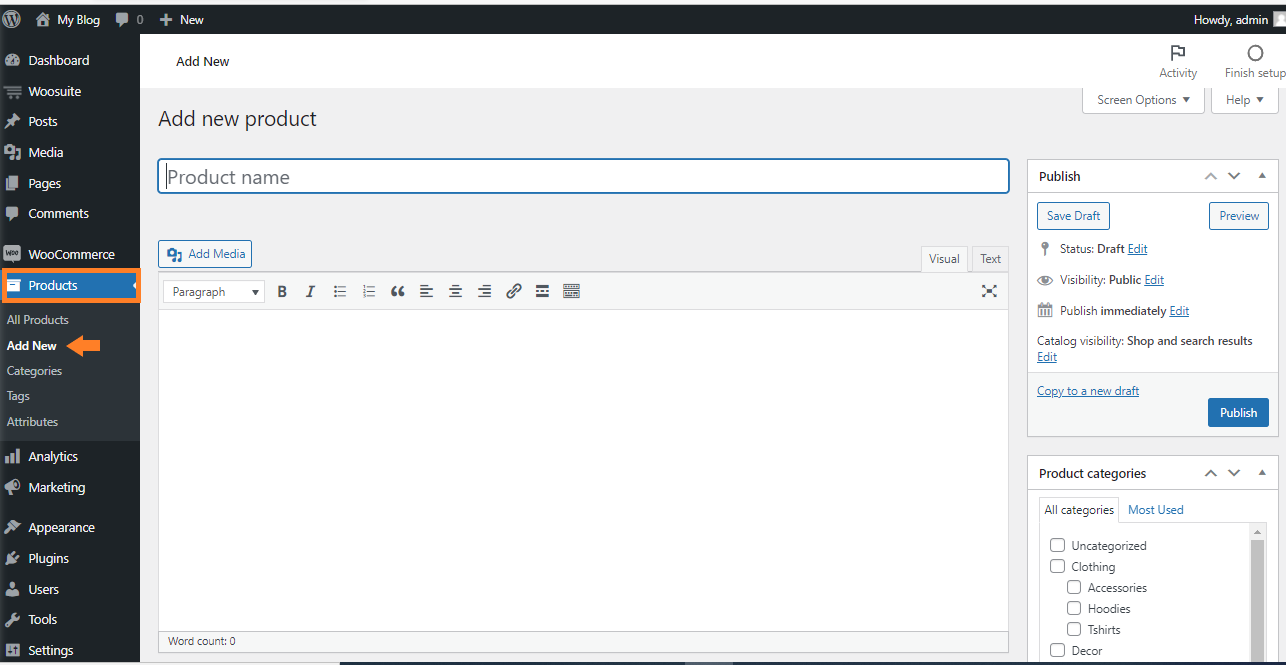
1. From WordPress Admin Dashboard
To add a new product, navigate to WordPress Admin Dashboard, and click on the Products » Add New.
2. Enter Product Name
In the Product Name field, enter the name of the product.
3. Create a Downloadable Product
To create a downloadable product, scroll down to the Product Data section and check the Virtual and Downloadable boxes.
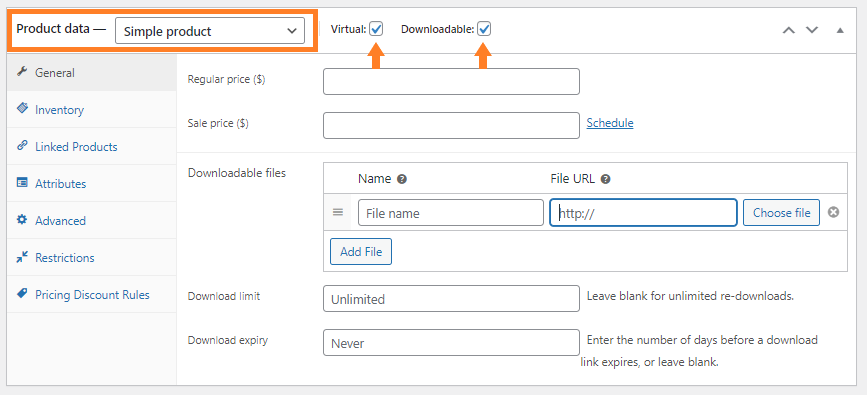
4. Enter the Price of the Product
Now, in the Regular Price field, enter the price of the image product.

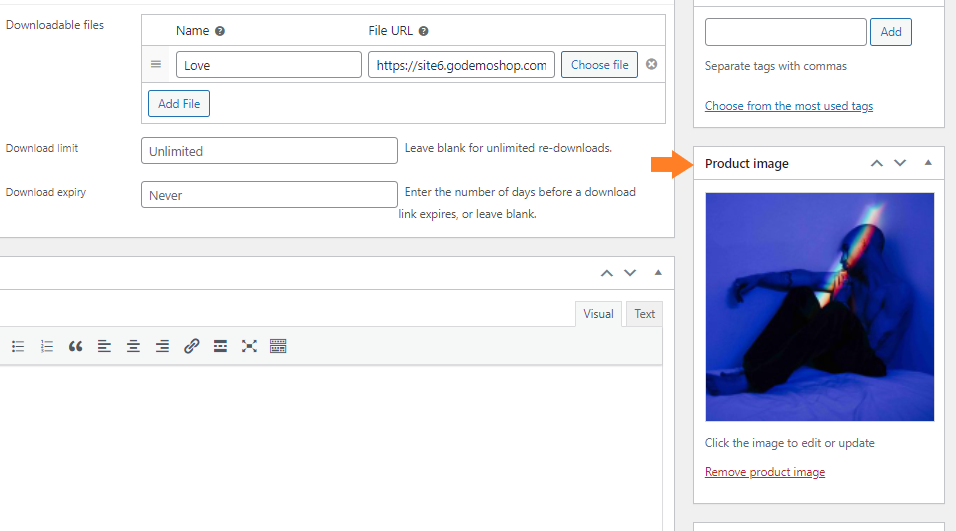
5. Add a Downloadable Image File
Now in the downloadable files, give a name to the file and add the file URL.
Note: You can upload the files on dropbox, drive or any other cloud storage and paste the link here. I have uploaded the image file on my WordPress and pasted the link here.

6. Add Product Image
Now, we need to add the product image so that the users can see what they are going to get if they buy it. It’ll work like a preview of the image.
In the Product Image section, add the cover image.
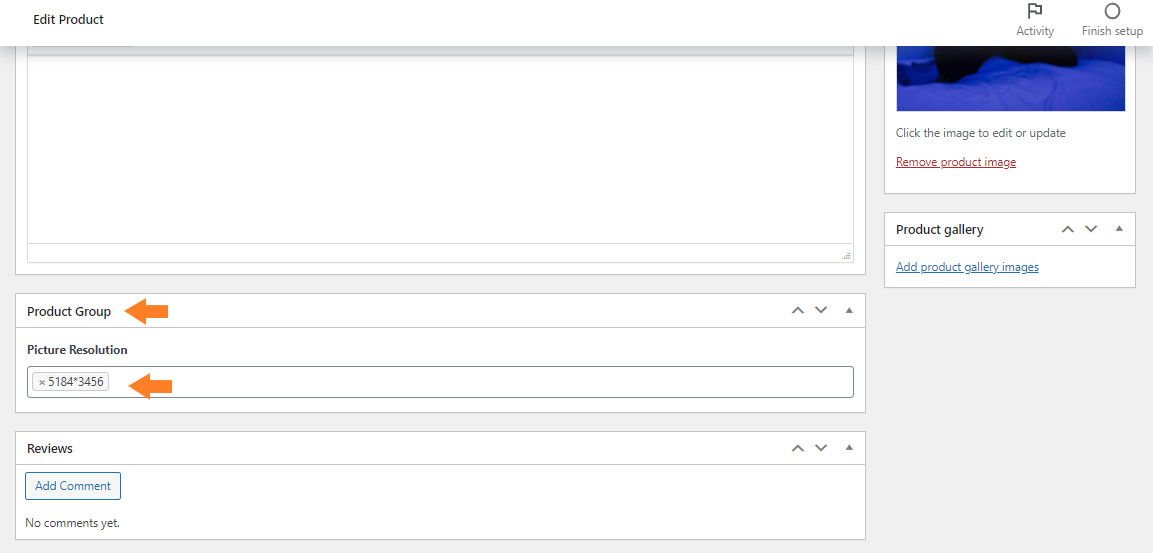
3. Create Custom Fields Using ACF Plugin
Now, to create some custom fields like the Resolution you need to use the Advanced Custom Fields plugin.
I have added the Picture Resolution as the custom field.

To create a custom field, install the ‘Advanced Custom Field’ plugin by navigating to Plugins » Add New and searching for “advanced custom field to create a custom field”.

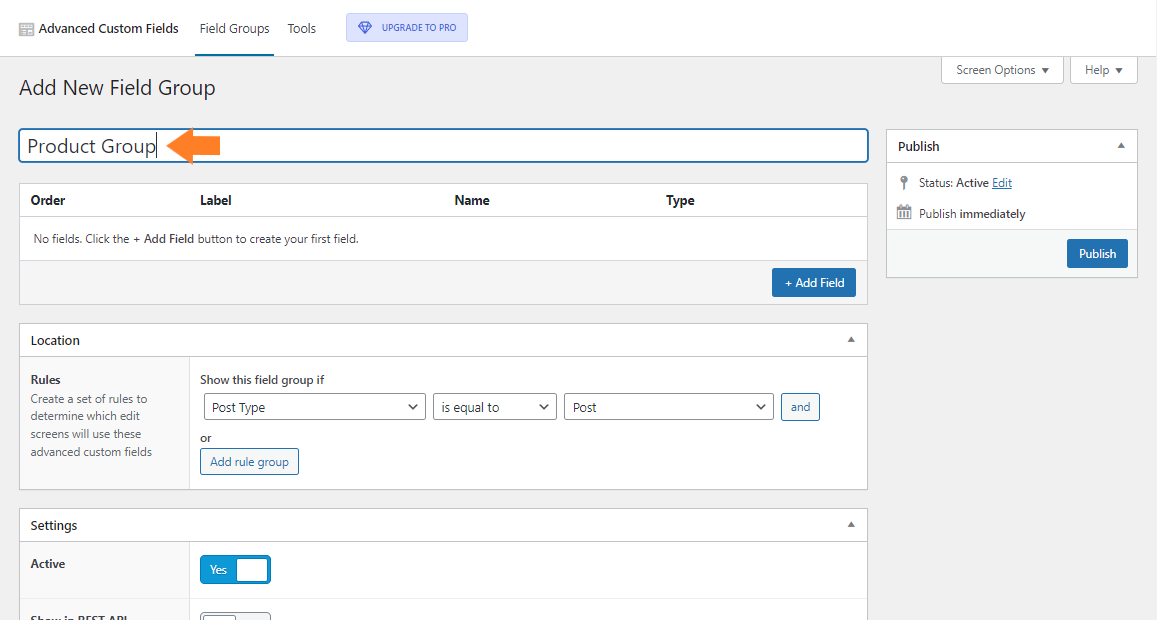
3.1. Add a Custom Field Group
Once the plugin is installed and activated, now to create custom fields, navigate to Custom Fields » Add New.

3.2. Add Title of the Field Group
Now in the Add Title field, give a name to the field group.
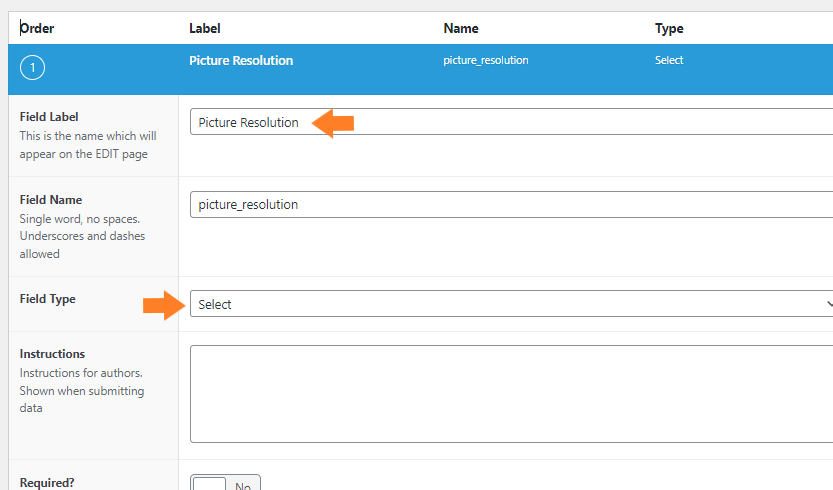
3.3. Add a Field
Now click on the Add Field button to add a field to the group.

3.4. Set Field Lable and Type
Once you click the button, you’ll see the field settings where you can set the field label and type. You can add as many custom fields as you want.
3.5. Select the Location and Position of the Field
Now, scroll down to the Location section and select the position where you want to display the custom field.
As in our case, we want to display it in the product, so I have selected Post Type as Product.

3.6. Publish the Field
Now click on the Publish button to publish the field.
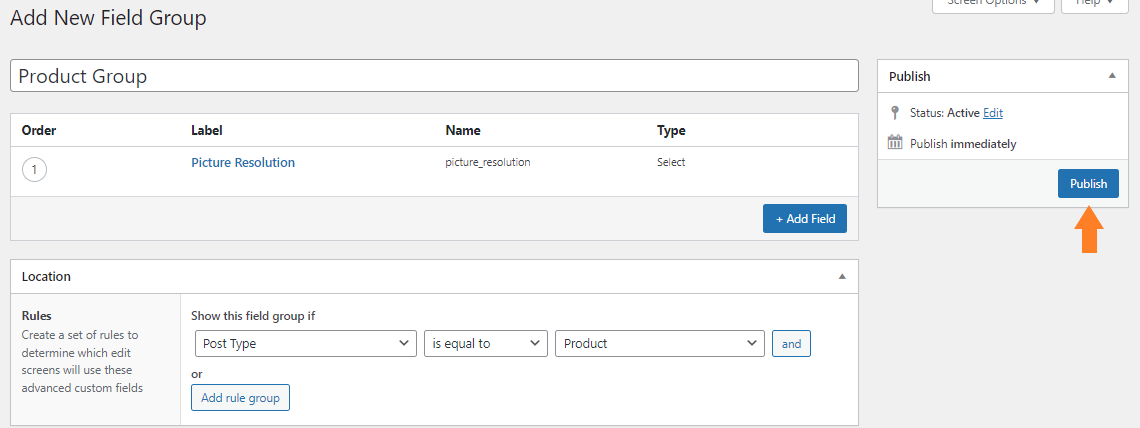
Now if you edit the product, you’ll see that the custom field has been added and you can select the value in the custom field you want.
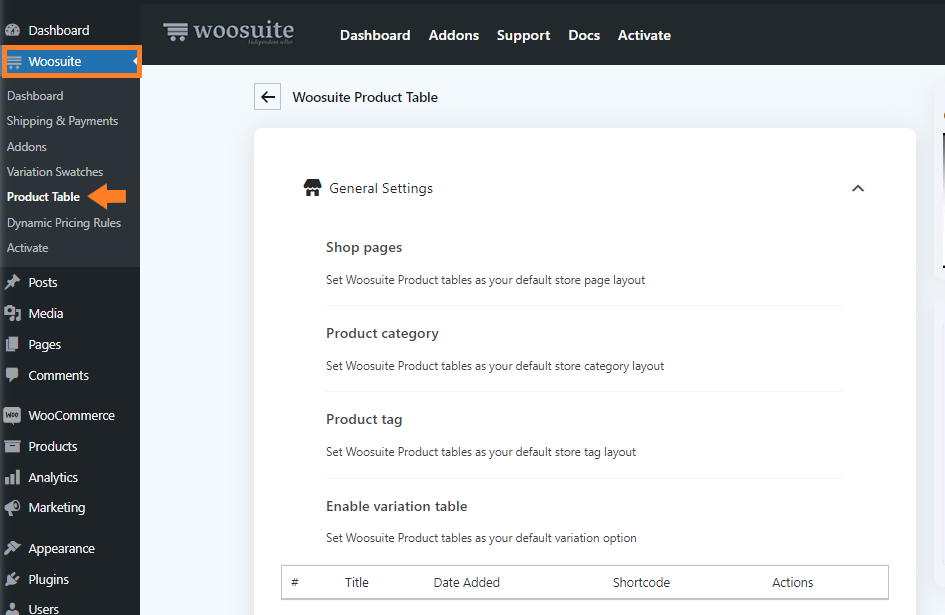
Once the product is created now navigate to Woosuite » Product Table from your WordPress dashboard.
5. Create a New Table
Now, we need to create a new table so that the images are displayed in a list and we will get an image gallery.
To create a new table, click on the Add New Table button.

Once you click it, you’ll see a screen where you can create and control the different table settings.
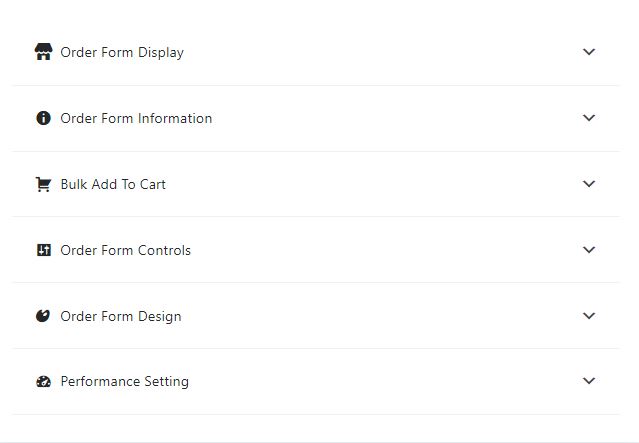
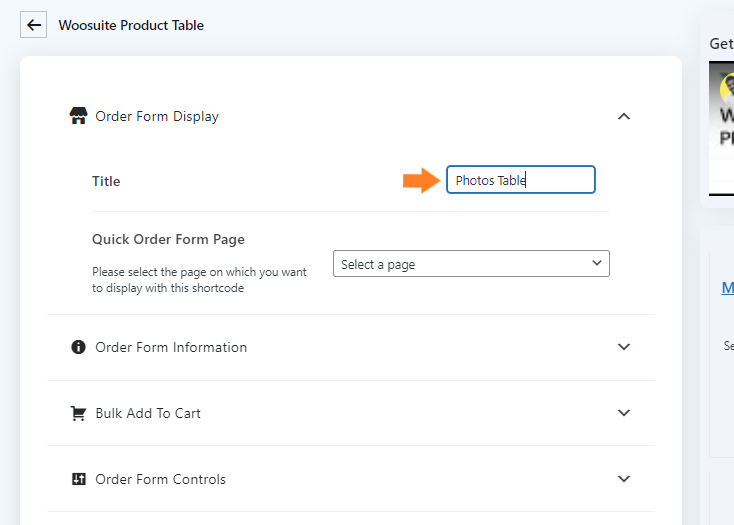
1. Order Form Display
Give an internal name to the table. This is helpful in managing the product table in case you have created several tables.
2. Order Form Information
Now expand the Order Form Information by clicking on the (▾)

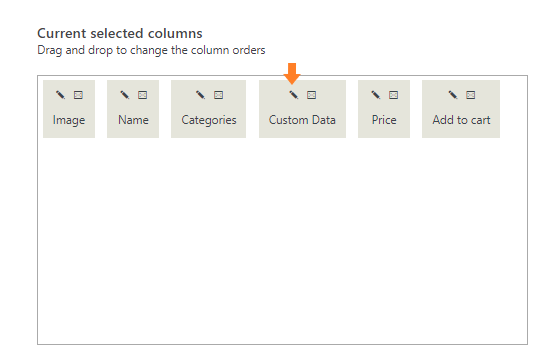
Now, specify the columns you want to add to the table. To add a column just drag the column from the Available columns section and drop it in the selected columns sections.

3.1. Set the Custom Field
Now we need to display the custom field in the table. To display it, click on the pencil icon on the ‘Custom Data’ column.
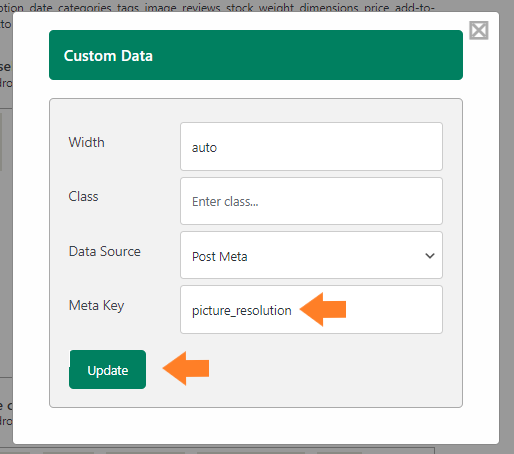
3.2. Select Data Source
Now, from the Data Source dropdown, select Post Meta.

3.3. Add Meta Key
Now, in the Meta Key field, enter the custom field name, you created with the Advanced Custom Fields plugin and click on the Update button.
4. Replace Add to Cart Button With an Icon
Now, we’ll replace the add to cart button with an icon. To do so scroll down, until you see the Add to Cart Icon.

Now, upload the cart icon by clicking on the Add/Upload Image button. This will display the cart icon instead of the cart text in the table.

Once done, don’t forget to save the changes by clicking on the save changes button at the top right corner.
6. Set Table as Default Shop Page Layout
Now, go back to the General Settings of the plugin by clicking on the back arrow at the top.

Now, select the table from the Shop Page dropdown to set the Woosuite Product table as your default store page layout.

7. Save Changes.
Now click on the Save Changes button at the top right corner to save the changes.

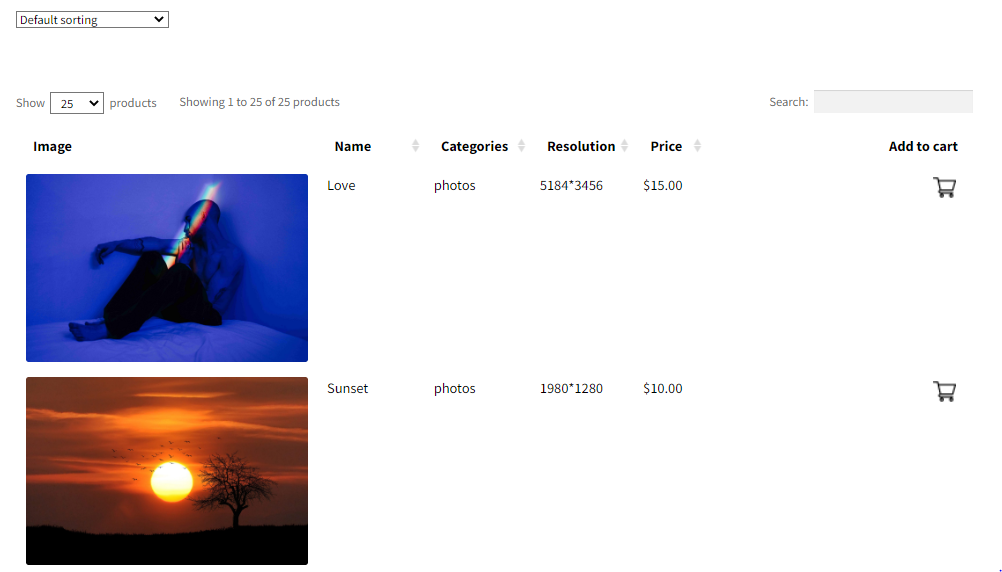
8. Final Results
Now let’s test if it is working or not. To test it, visit the shop page of your store and you’ll see that the image products are displayed on the shop page in a table/grid which gives an excellent image gallery look.
Which is the Best Website to Sell Photos?
We have already covered selling photos on our website. There are photo-selling marketplaces where you can quickly access a wide range of audiences and start selling.
But it is not as easy as it sounds. Such marketplaces are pretty saturated, and beginners may find it hard to sell there. Moreover, they also keep a huge chunk on each sale depending upon several factors.
However, it can be a good idea to start from there, build a reputation, and then create your site. The following are a few marketplaces to sell photos online.
1. Shutterstock
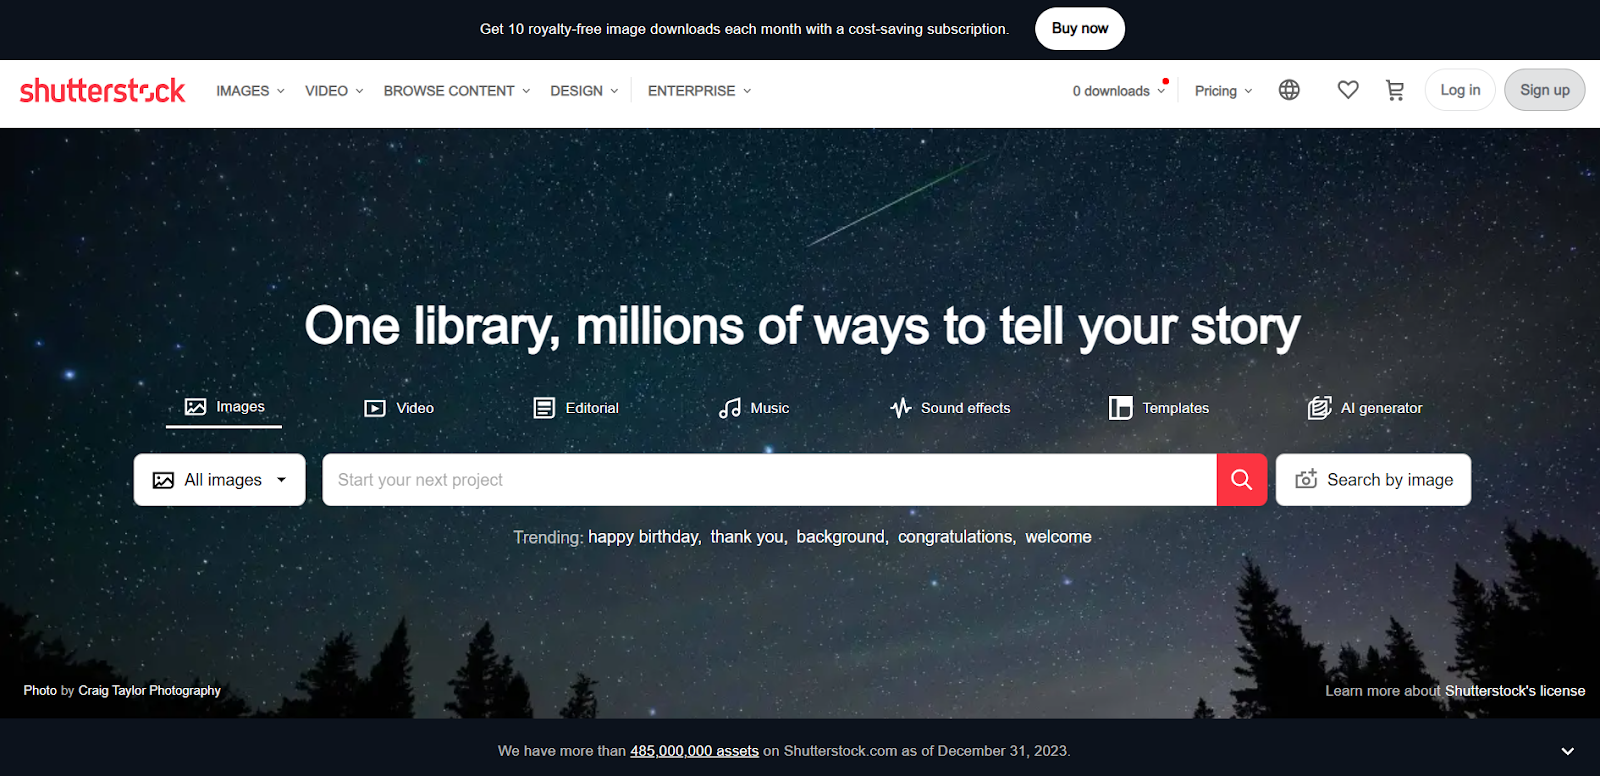
It is one of the largest and most well-known stock photo agencies. It offers a wide range of images, graphics, and videos for purchase. Depending on their earnings tier, it keeps 15% to 40% of the sale price for each image.
Shutterstock has a large customer base and offers a subscription-based model, which can lead to regular sales for photographers. However, the competition can be high, and the commission rates may be lower than other platforms.
2. Alamy
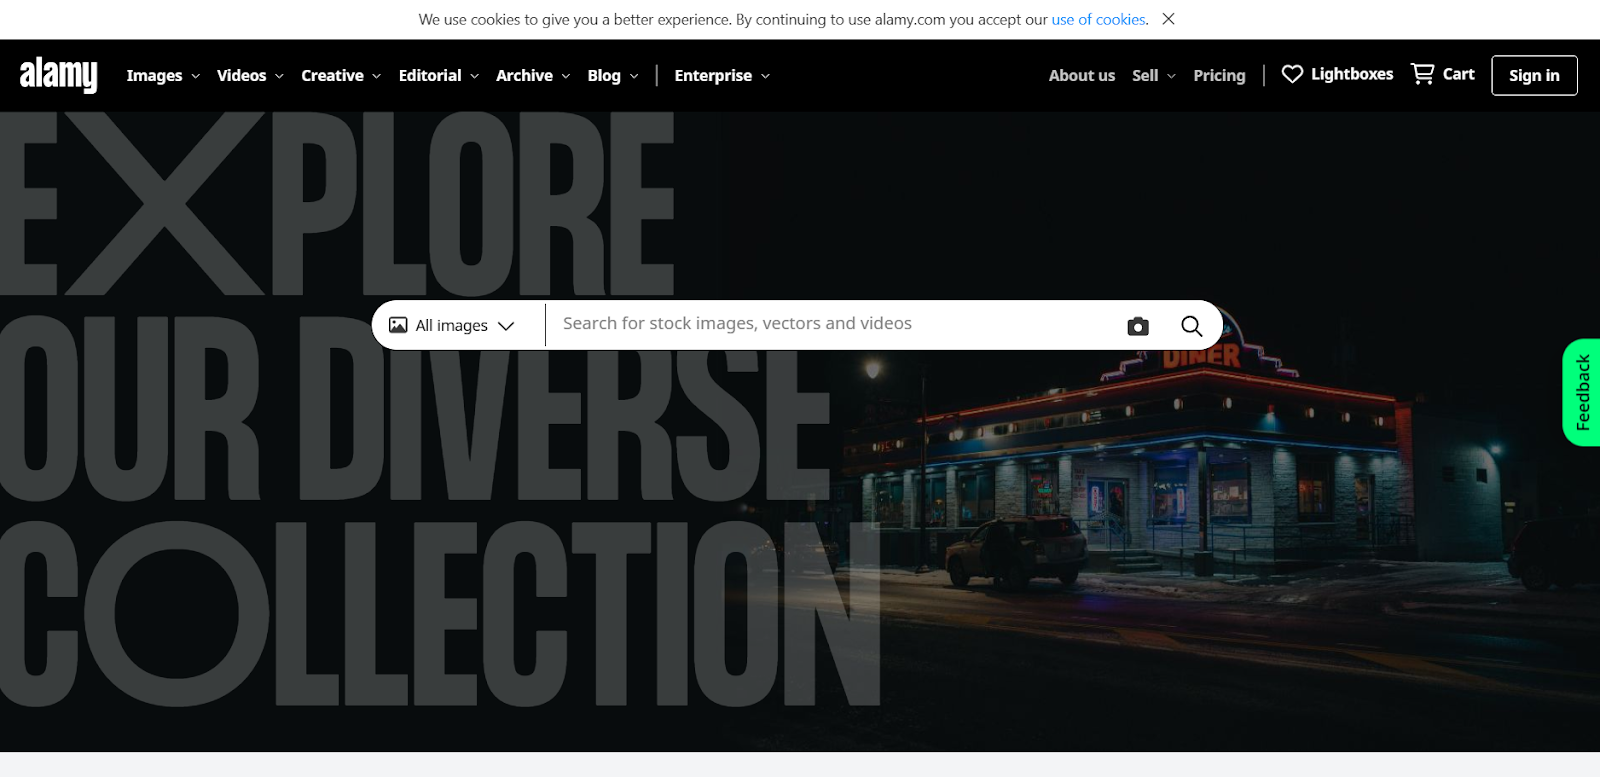
It is known for its fair and transparent pricing model. It keeps a 50% commission on each sale, which is higher than that of many other stock photo agencies.
Alamy also offers a variety of licensing options and does not require exclusivity, allowing photographers to sell their images on other platforms. However, its customer base is smaller than some other marketplaces, which can impact sales volume.
3. Getty Images
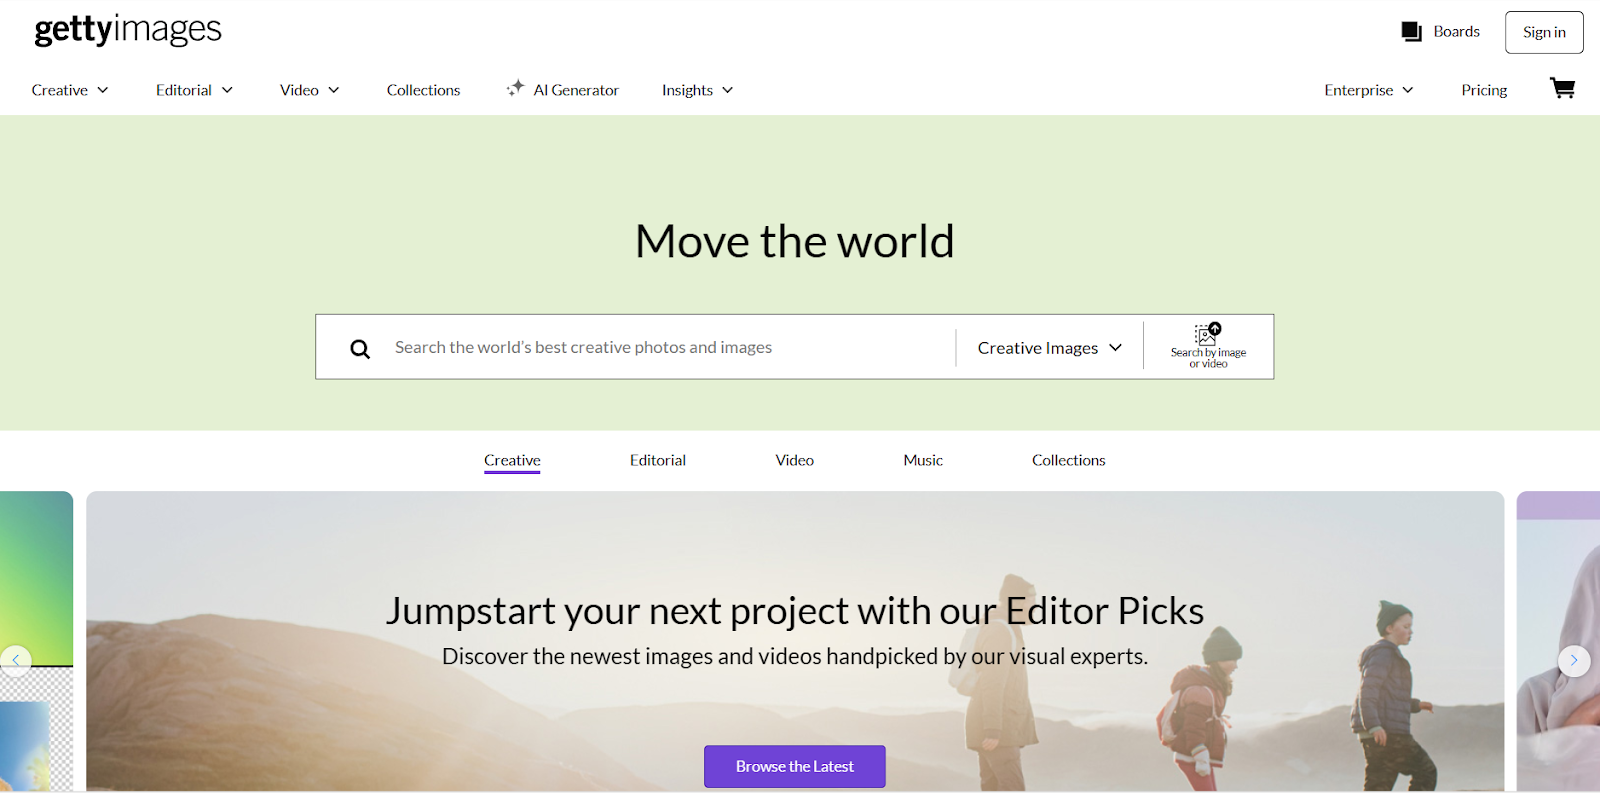
Getty Images is another well-known photo agency that is known for its high-quality images and reputable brand. It keeps 15-45% of the sale price, depending on the type of license purchased and whether the image is exclusive to Getty Images.
It has a large customer base, including many major corporations and media outlets, which can lead to high-value sales. However, it has strict quality standards and requires exclusive rights to some images, which may limit photographers’ ability to sell their images elsewhere.
4. Etsy

It is not a traditional photo-selling website, but it can be a great platform for photographers to sell their photos and art. It allows photographers to create their own stores and sell prints directly to customers.
Its commission rates are relatively low, with a listing fee of $0.20 per item and a 5% transaction fee. You can use Etsy’s customizable storefronts and marketing tools to attract buyers and maximize sales.
You can easily redirect your Etsy customers to your website. It will help you to build your brand and get sales from your site.
5. EyeEm

It is a unique platform that combines a stock photography marketplace with a social media network for artists. It uses AI to select and license photos from photographers, offering royalty-free and rights-managed licenses.
Its commission rates vary based on the license type and the photographer’s exclusivity status but generally range from 50% to 75%. You should know that its quality standards are high, so submitting high-quality, professional-looking images is important to maximize sales.
Additionally, it offers a range of tools and features to help photographers promote their work and connect with buyers.
Conclusion
This is how you can sell photos online with the help of WooCommerce and the WooCommerce Product Table plugin.
This plugin will help you to display all the products on the shop page so that the users can view all products from the same page and they won’t have to click through the product to view all the information.
Now it’s up to you to configure your settings and create different product galleries.
Download the WooCommerce Product Table plugin today and build something great at your store!


