If you sell to a single country, you may want to hide the country field from the WooCommerce checkout. Moreover, hiding the country field allows you to streamline the checkout process, simplify the user interface, or align it with your business requirements.
Whether you want to exclude the country field for a specific target audience or eliminate unnecessary complexity, understanding how to achieve this customization can save you time and enhance the overall shopping experience for your customers.
In today’s article, I’ll walk you through the step-by-step process of hiding the country field from the WooCommerce checkout. At the end of this tutorial, I’ll also share helpful tips to improve the customer experience further.
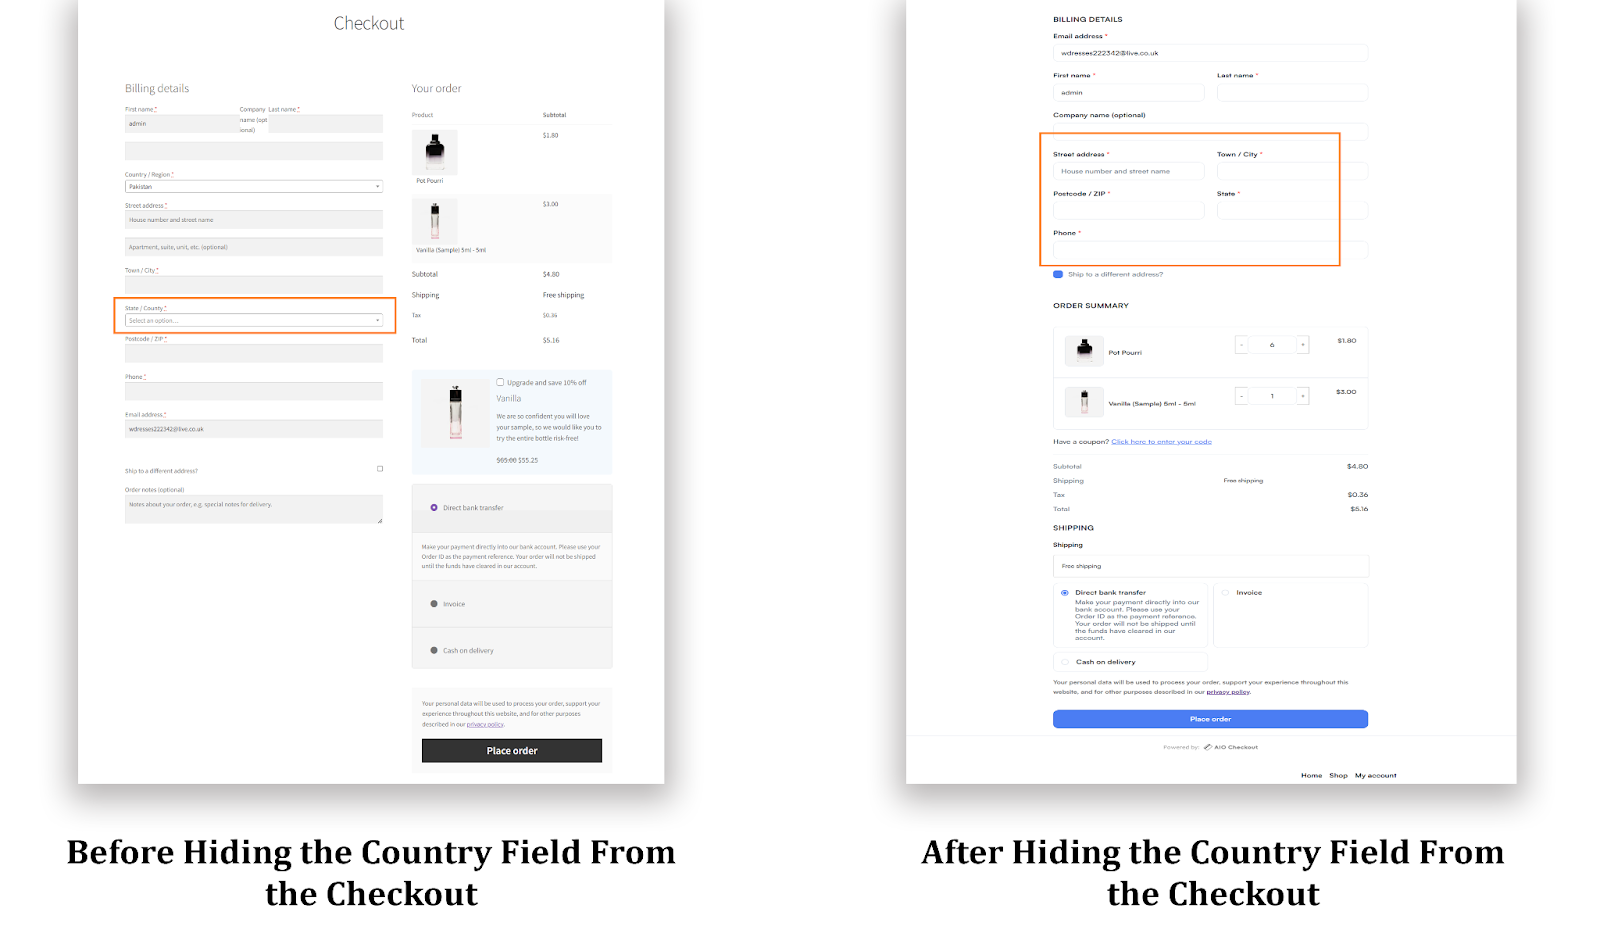
Preview
Here’s the preview of the final results we’ll achieve in today’s tutorial.
So, without any further ado, let’s jump into the tutorial.
On This Page
- 1 How to Hide WooCommerce Country Field From the Checkout?
- 2 Wrapping Up
How to Hide WooCommerce Country Field From the Checkout?
I’ll use the AIO Checkout plugin to hide the country field from the checkout. It is a simple, advance, and all-in-one plugin that will help you with several things and improve conversion rates.
Follow the following steps to hide the country field from the WooCommerce checkout.
1. Install and Activate the AIO Checkout Plugin
First, download the AIO Checkout plugin from the Woosuite store. It is free for now, and you can get it by submitting the form.

Once you have downloaded it, navigate to the Plugins » Add New from your WordPress admin dashboard, and click the Upload button to upload the downloaded file to install and activate the plugin.
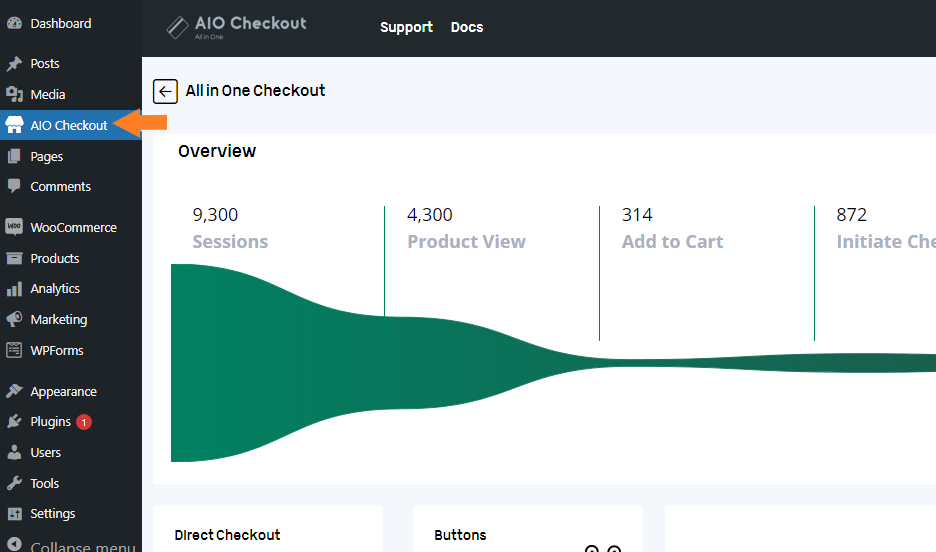
Once you have installed and activated the plugin, navigate to AIO Checkout from your WordPress dashboard.
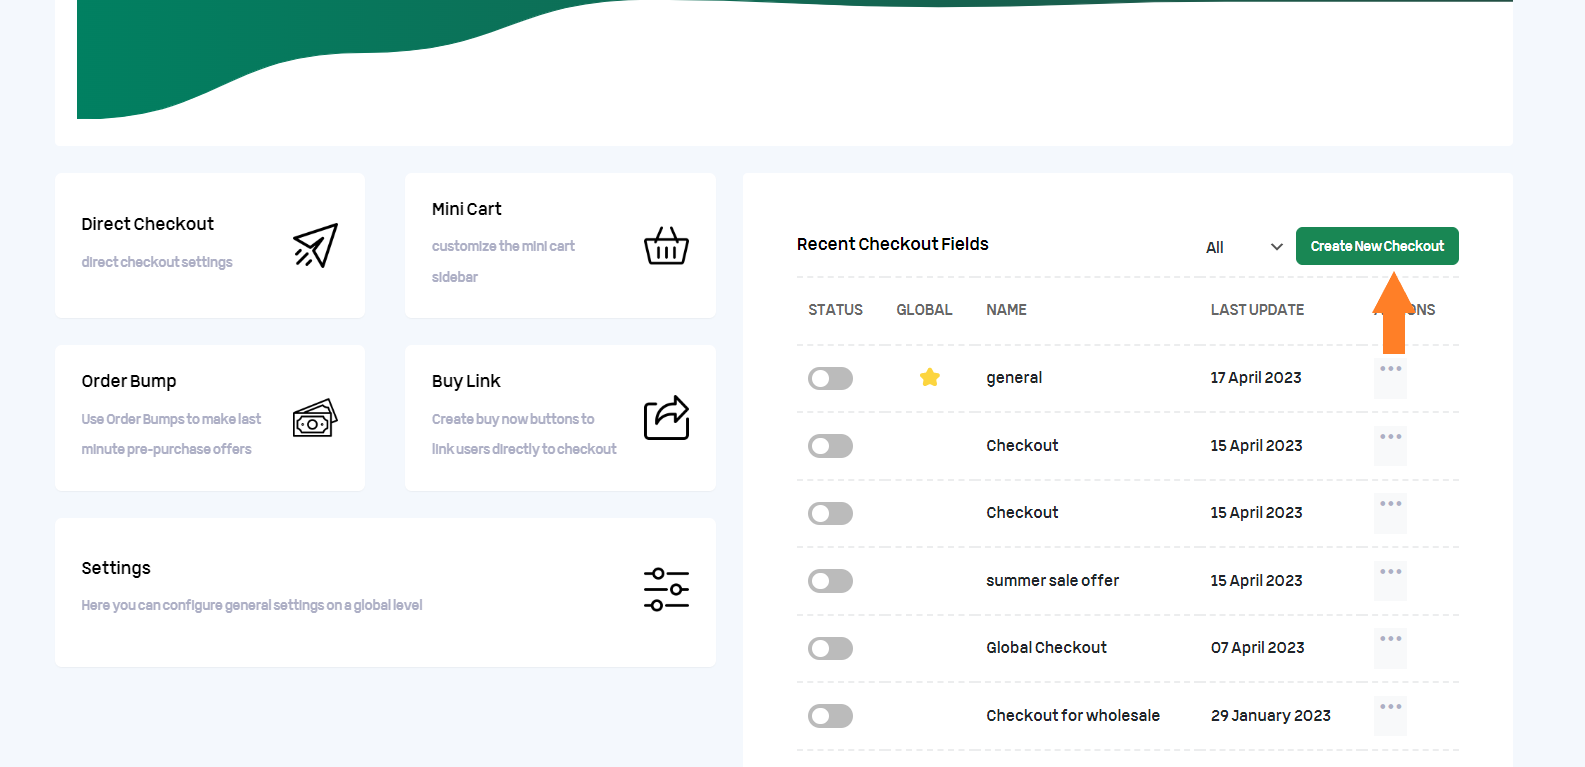
3. Create a New Checkout Form
I have already created a few checkout forms, but I’ll create a new one for this tutorial to show you the complete process.
Click the “Create New Checkout” button to create a new checkout form.
4. Hide Country Field From the Checkout
Once you click the button, a new checkout form will create. It’ll be the default WooCommerce checkout form, but you can completely customize it and remove any field you want.
You can also add custom fields like birthday fields, VAT number field, etc.

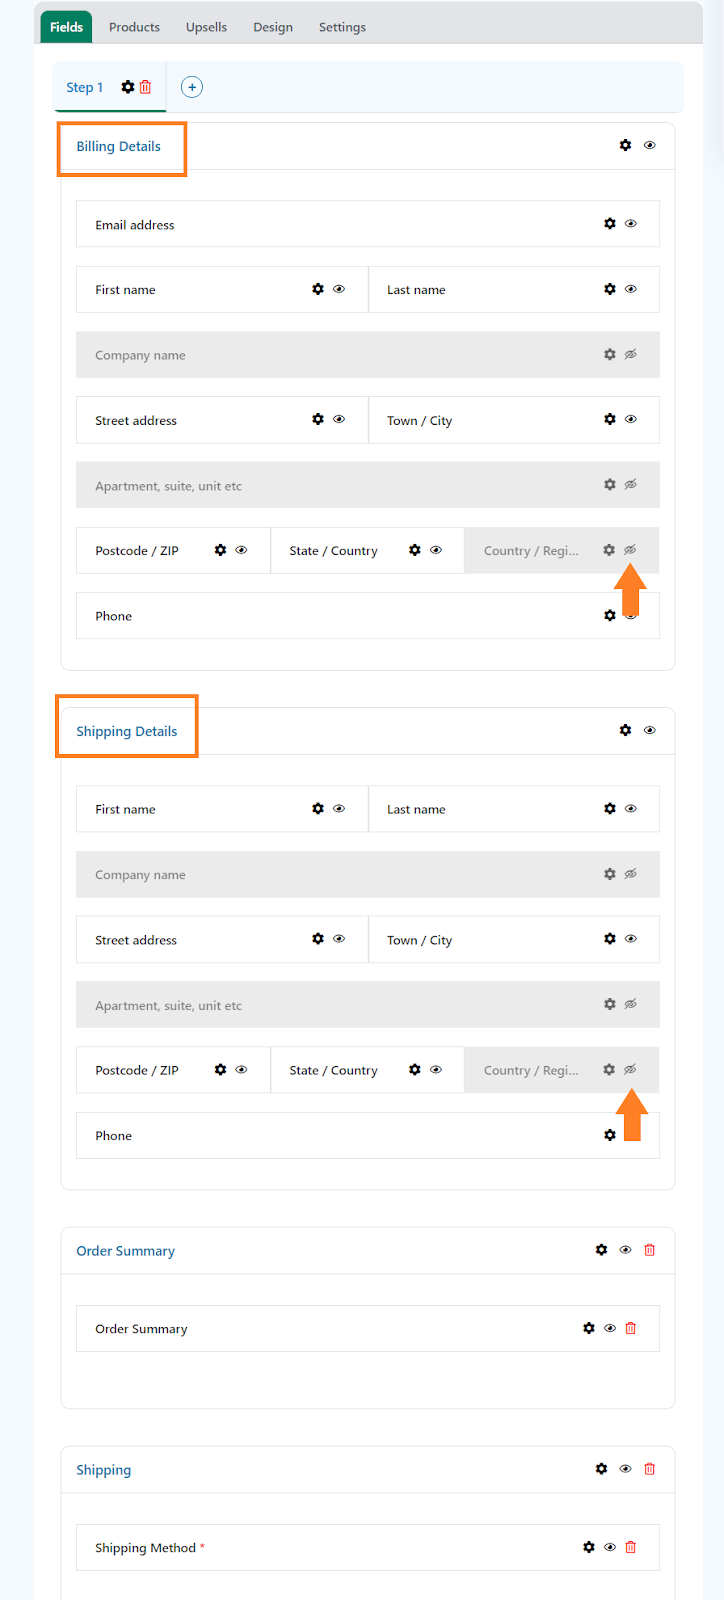
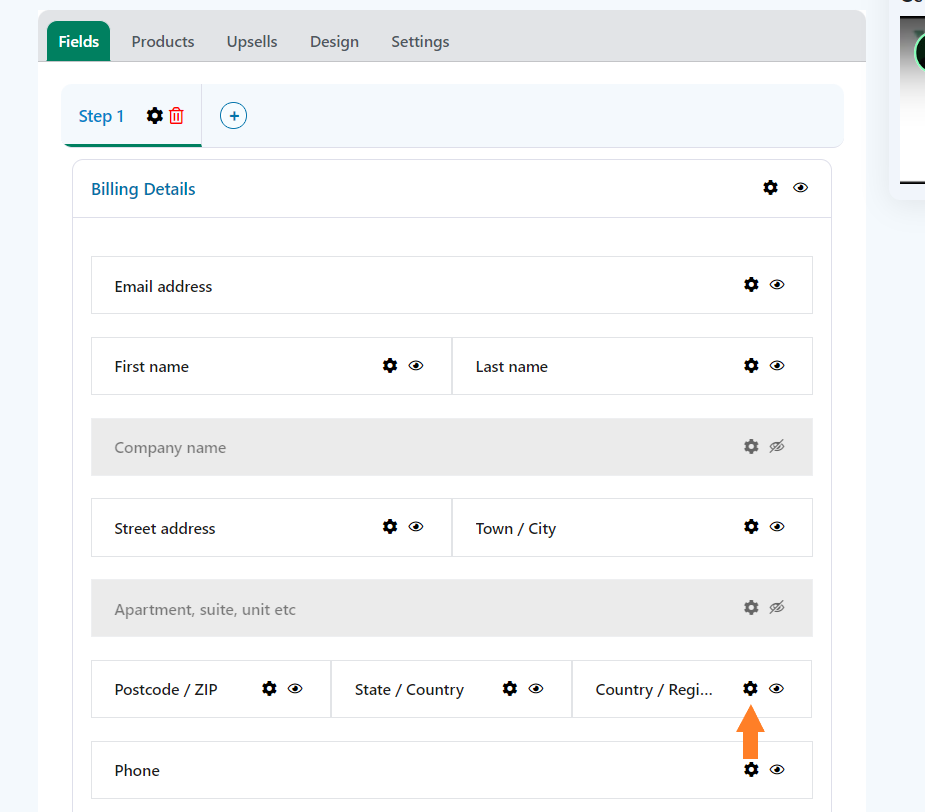
To hide the country field, you need to hide it from the billing and shipping details sections. There are two things you can do.
- Hide the Country Field
- Make the Country Field Optional
I’ll explain both methods one by one.
4.1. Hide Country Field From the Checkout
To completely hide the country field, click the black Eye Icon on the country field. It will hide/remove it from the checkout.
You also need to hide it from the shipping details section to remove/hide it from the WooCommerce checkout completely.
4.2. Make the Country Field Optional
The other option is to make it an optional field. Sometimes, customers want to select the country to ensure they have selected the right country to get the product delivered. In that case, you can make the country field an optional field.
Click the black Gear Icon on the country field to make it optional.
Once you click the icon, a popup will slide in from the right side of your screen from where you can control the appearance and other settings of the country field.
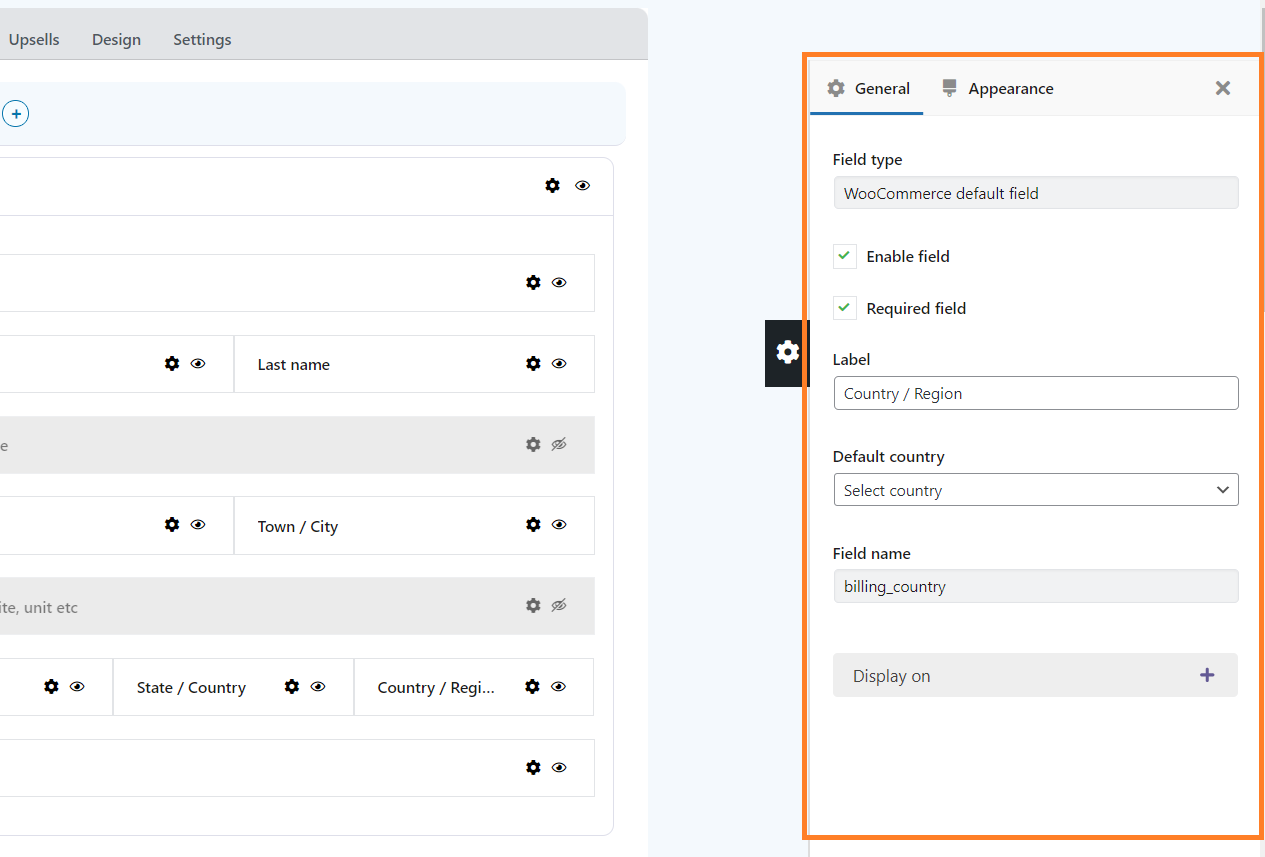
4.2.1. Uncheck the Required Field
Uncheck the required field from the popup to make the country field optional.

It will only work for the field under the billing section. If you want to make it an optional field from the shipping section, you need to repeat the same steps for it.

Note: For this tutorial, I am hiding the country field from the WooCommerce checkout, so users won’t be able to select their country from the billing and shipping sections.
5. Select the Design of the Checkout Form
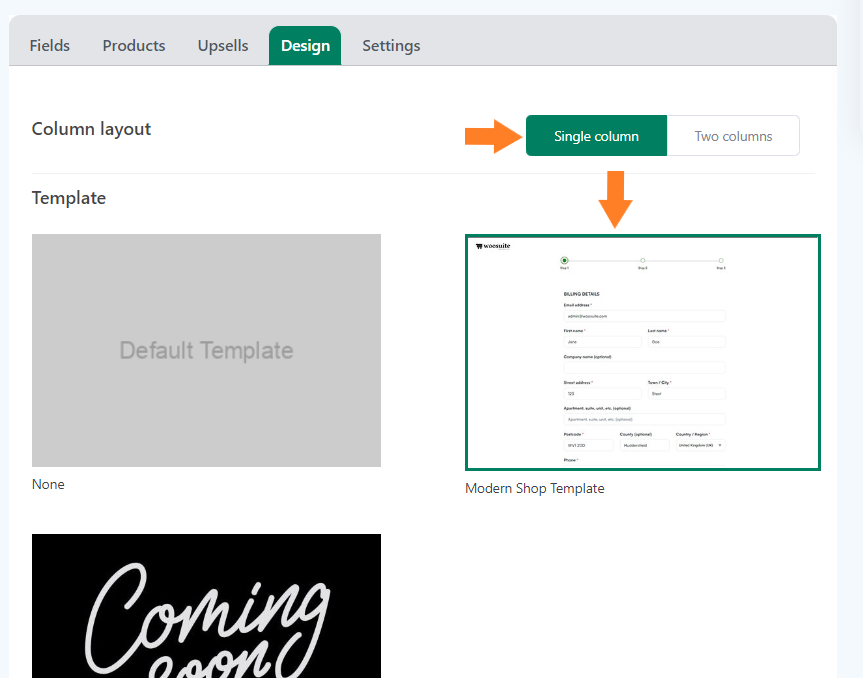
Once you have hidden the country field from the WooCommerce checkout, next, we need to select the design of the checkout form/page.
Click the “Design” tab to select the form’s design. You can choose the design as
- Single Column
- Two Columns
I have used the “Single-Column” design and ‘Modern Shop Template’ for this tutorial, but you can choose any available designs and templates. Soon, it will have a few more templates that you can use.
6. Enable the Checkout
After selecting the checkout design, we need to enable this checkout form. Click the ‘Settings’ tab.
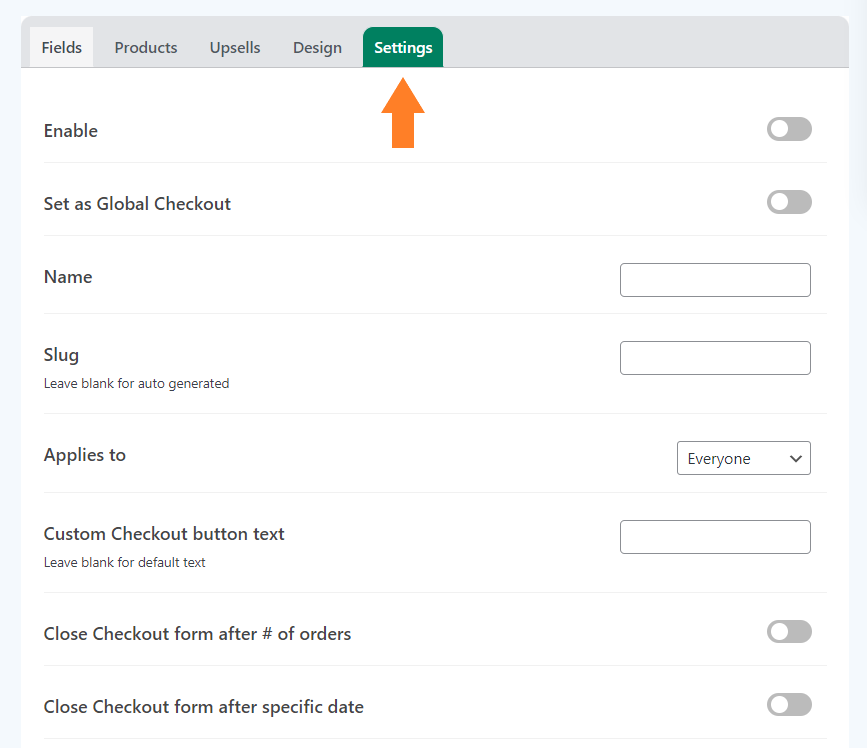
6.1. Enable the Checkout Form
To enable the checkout form, toggle the ‘Enable’ button. Also, ensure you have enabled the ‘Set as Global Checkout’ option to make this form the global checkout.
You can leave it disabled if you want to set this checkout form for specific user roles. I am enabling it as global checkout as I don’t want to set a user restriction.

6.2. Give a Name to the Form
Now, we need to give a name to this form. It will only be displayed to the admin. It is helpful if you have created different checkout layouts for different user roles.
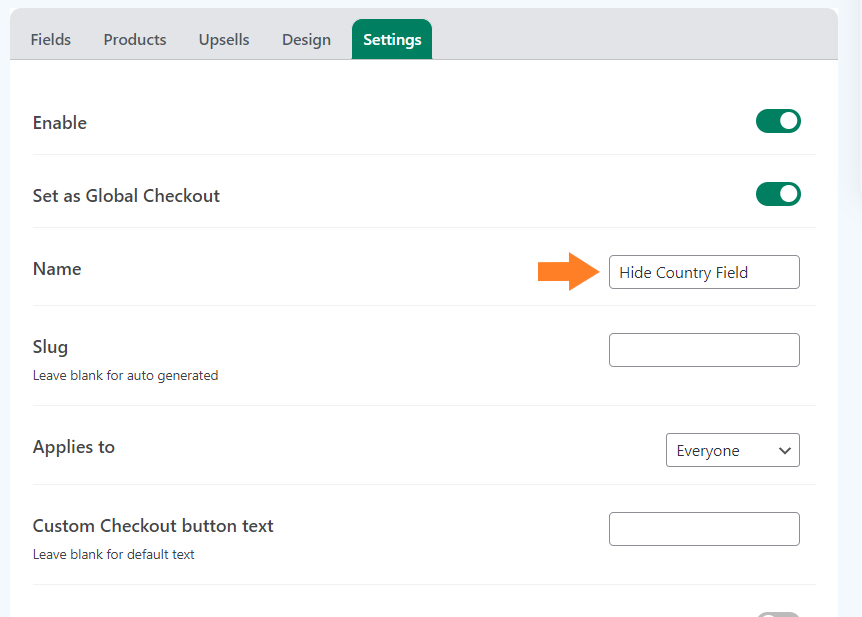
Note: You can also explore the other available settings and set a custom checkout button text. But I’ll move to the next step to keep this tutorial short and to the point.
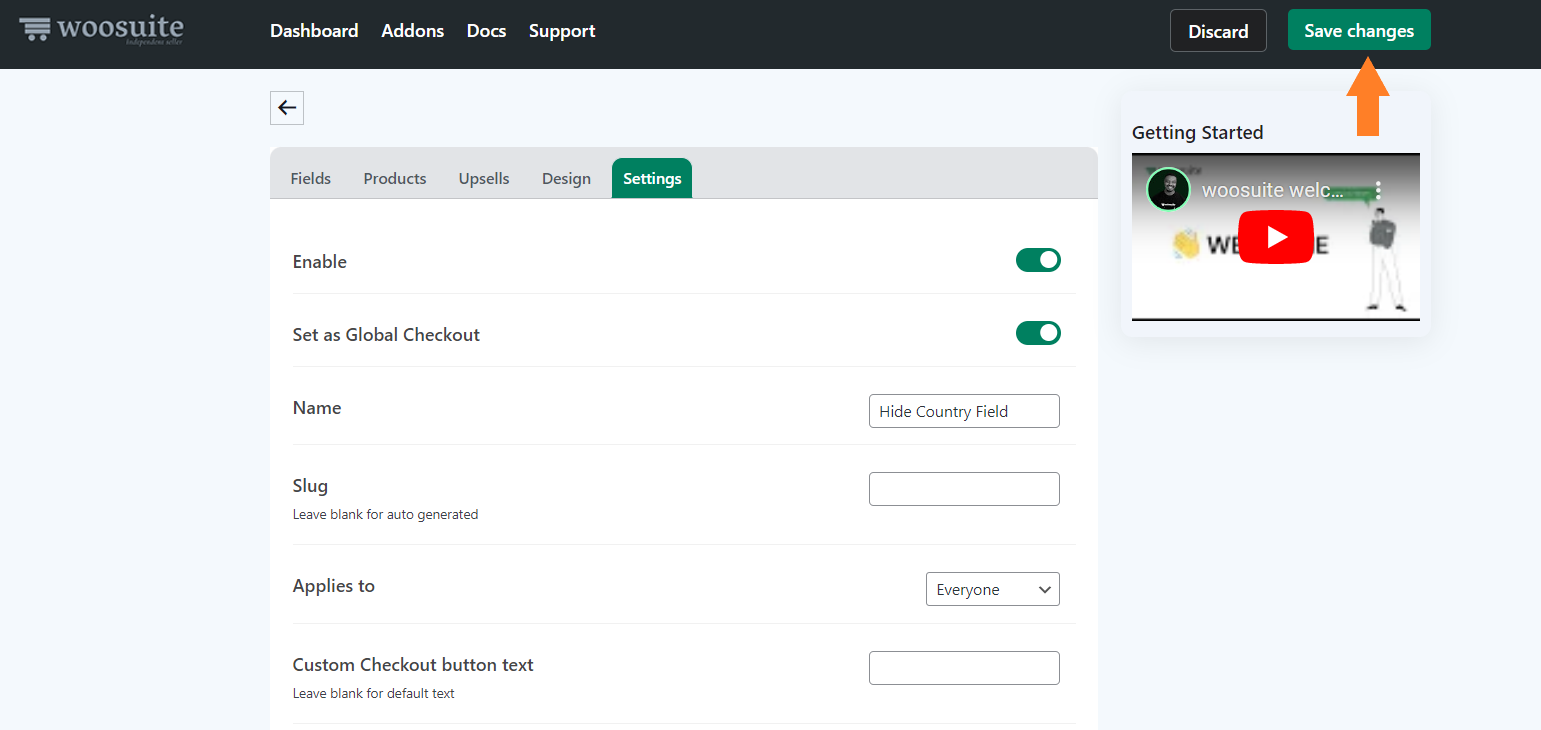
7. Save the Changes
Now click the green “Save Changes” button at the top right corner of your screen to save the settings.
8. Final Results
Now, let’s see the final results.
To test the final results, I first visited my store’s checkout page without doing all the above steps. I could see the country field, and it was a required field.
After that, I hid the country field and revisited the checkout page. And this time, no country field was in the billing and shipping details section.
Wrapping Up
That’s it for today’s tutorial. I hope this article was helpful to you and you were able to hide the country field from the WooCommerce checkout.
The AIO Checkout plugin can help you improve the store’s checkout experience and take your store to the next level. It is developed specifically to enhance and customize the WooCommerce cart and checkout.
Download the AIO Checkout plugin now!


